1. Introduction
This user manual provides essential information for the Geekplus ASUS NUC 12 Pro Mini PC, model ASUSNUC12WSHi7. This compact desktop computer is equipped with an Intel 12th Gen Core i7-1260P processor, Intel Iris Xe graphics, 32GB DDR4 RAM, and a 1TB PCIe 4.0 NVMe SSD, running Windows 11 Pro. Please read this manual thoroughly before operating your device to ensure proper setup and usage.
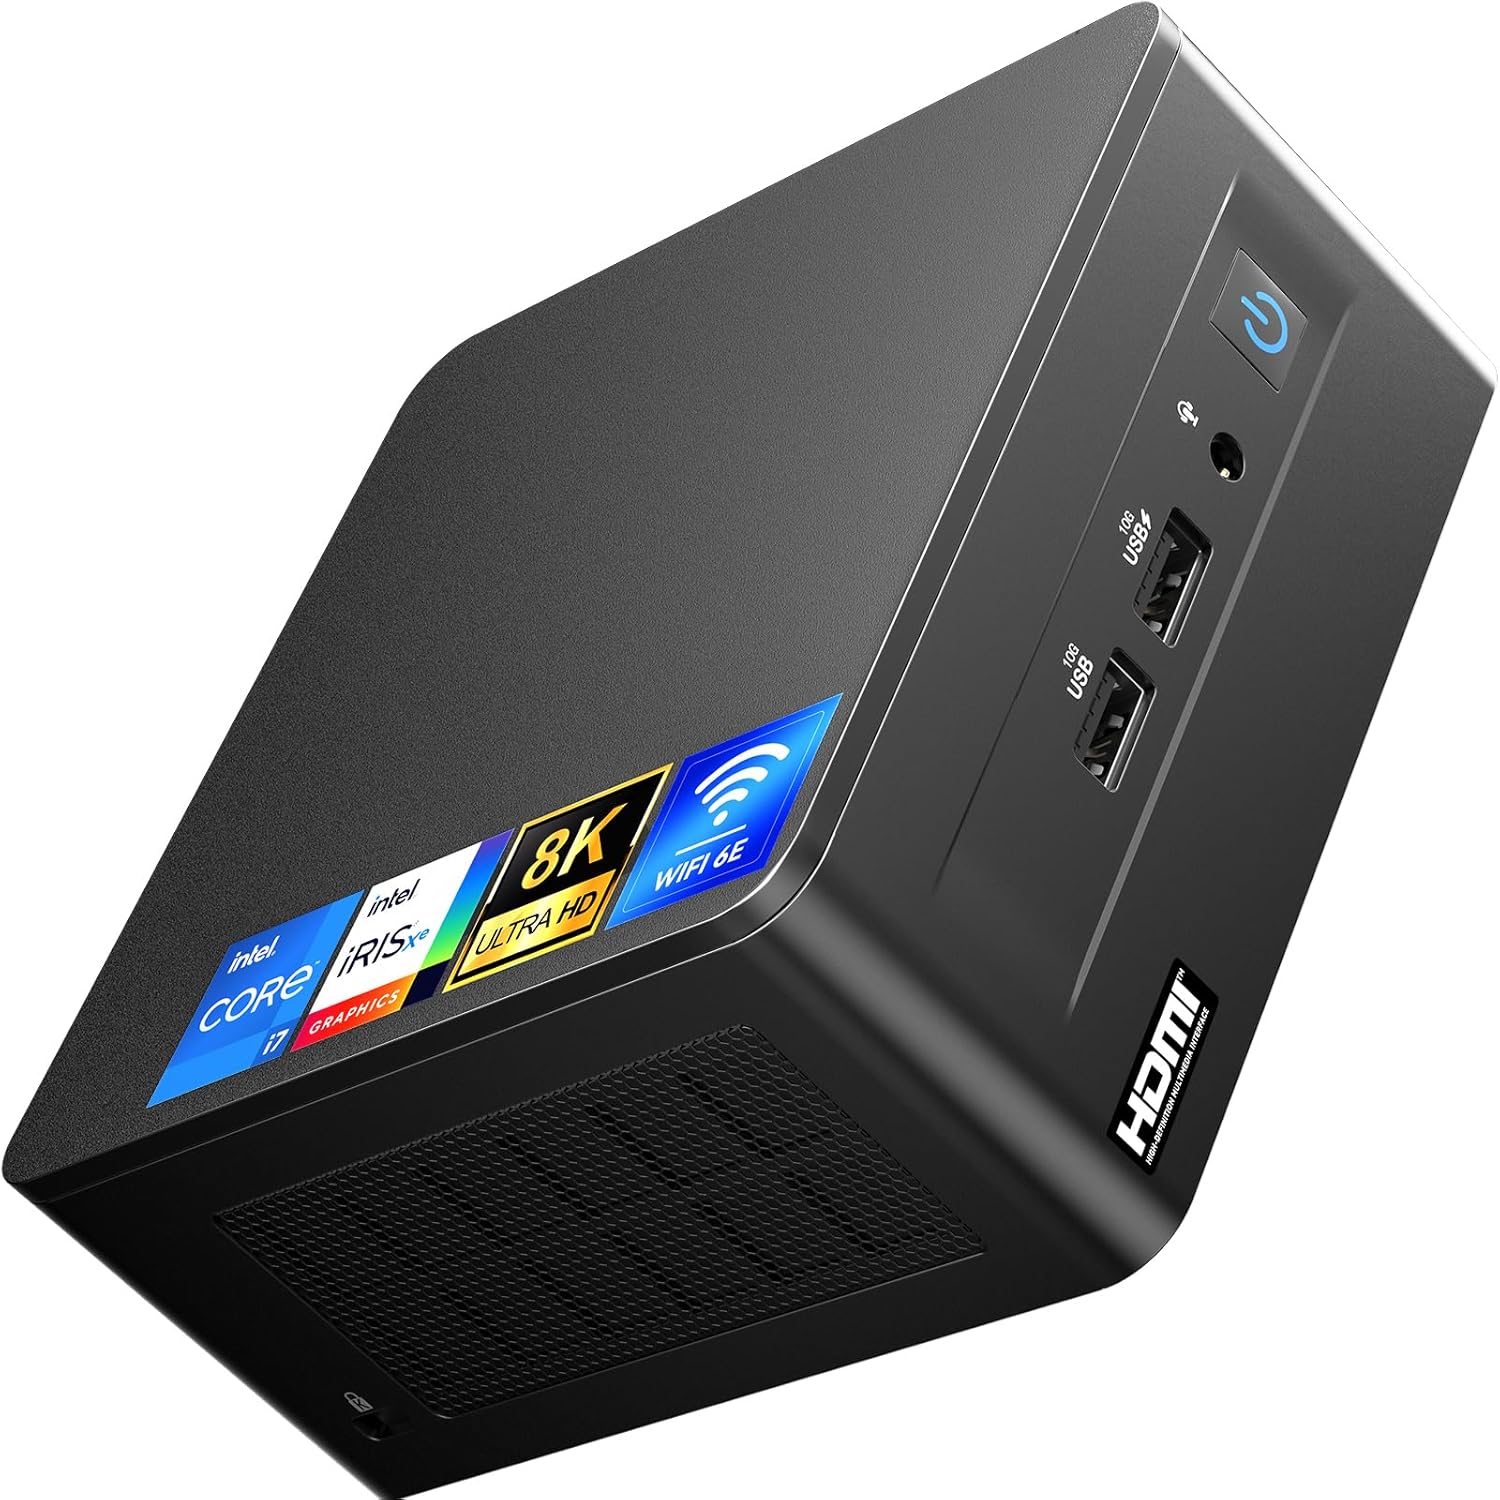
Figure 1.1: Front view of the ASUS NUC 12 Pro Mini PC, showcasing its compact design and front ports.
2. What's in the Box
Verify that all items listed below are included in your package. If any items are missing or damaged, please contact customer support.
- ASUS NUC 12 i7 Mini PC (with 32GB RAM & 1024GB SSD)
- Power Supply
- VESA Mounting Plate
- AC Cable
- Screws (6x)
- User Manual (3x, likely including this one)

Figure 2.1: All components included in the ASUS NUC 12 Pro Mini PC package.
3. Setup Instructions
Follow these steps to set up your ASUS NUC 12 Pro Mini PC.
- Connect Peripherals: Connect your monitor(s) using the HDMI 2.0b or Thunderbolt 4 ports. Connect your keyboard and mouse to the available USB ports.
- Network Connection: For wired internet, connect an Ethernet cable to the Intel I226 RJ45 LAN port. For wireless, ensure your Wi-Fi network is available.
- Power Connection: Connect the AC cable to the power supply, then connect the power supply to the 12-20V DC input on the Mini PC. Plug the AC cable into a power outlet.
- Power On: Press the power button located on the front of the device. The system will boot into Windows 11 Pro.
- Initial Windows Setup: Follow the on-screen instructions to complete the Windows 11 Pro setup, including language, region, network, and user account creation.
- VESA Mounting (Optional): Use the included VESA mounting plate and screws to attach the Mini PC to the back of a compatible monitor or a VESA-compatible mount. This saves desk space.

Figure 3.1: Detailed view of the front and rear ports for connecting peripherals and power.
4. Operating Instructions
4.1 Basic Operation
Your ASUS NUC 12 Pro Mini PC comes pre-installed with Windows 11 Pro. Once the initial setup is complete, you can begin using your computer for various tasks.
- Power On/Off: Press the front power button to turn on the device. To shut down, click the Start button in Windows, then select Power > Shut down.
- Restart: From the Start menu, select Power > Restart.
- Sleep Mode: From the Start menu, select Power > Sleep.
4.2 Connectivity
The Mini PC offers extensive connectivity options:
- Wi-Fi 6E: For high-speed wireless internet access. Configure Wi-Fi settings through Windows.
- Bluetooth 5.3: Connect wireless peripherals such as keyboards, mice, and headphones. Manage Bluetooth devices through Windows settings.
- USB Ports: Utilize the USB 3.2 Gen2 Type-A and USB 2.0 Type-A ports for connecting various USB devices.
- Thunderbolt 4: Provides high-speed data transfer, video output (DP 1.4a), and power delivery.

Figure 4.1: The Mini PC's wireless capabilities, including Wi-Fi 6E and Bluetooth 5.3.
4.3 Multi-Display Support
The ASUS NUC 12 Pro supports up to three 4K UHD displays or a single 8K display, offering versatile options for productivity and entertainment.
- Connect monitors via the HDMI 2.0b ports and Thunderbolt 4 ports.
- Configure display settings within Windows to extend or duplicate your desktop across multiple screens.

Figure 4.2: Example setup demonstrating the Mini PC's multi-display capabilities.
4.4 Storage and Memory Expansion
The Mini PC comes with 32GB DDR4 RAM and a 1TB M.2 NVMe SSD.
- RAM: The two SODIMM slots can be expanded up to 64GB DDR4 RAM.
- SSD: The M.2 NVMe SSD can be upgraded up to 2TB. An additional M.2 SATA SSD or 2.5-inch SATA HDD (up to 2TB) can be added for expanded storage (not included).
Note: Opening the device to upgrade components should be done carefully. Refer to the detailed service manual (if available from the manufacturer) for specific instructions to avoid damage and potential warranty voidance.
5. Maintenance
Regular maintenance helps ensure the longevity and optimal performance of your Mini PC.
- Cleaning: Use a soft, dry cloth to clean the exterior of the device. For dust accumulation in vents, use compressed air. Ensure the device is powered off and unplugged before cleaning.
- Software Updates: Regularly check for and install Windows updates to ensure your system has the latest security patches and performance improvements. Go to Settings > Windows Update.
- Ventilation: Ensure the Mini PC is placed in a well-ventilated area. Do not block the air vents to prevent overheating. The device is designed for efficient heat dissipation for quiet operation.
- Data Backup: Regularly back up important data to an external drive or cloud storage to prevent data loss.
6. Troubleshooting
If you encounter issues with your ASUS NUC 12 Pro Mini PC, refer to the following common troubleshooting steps.
- No Power:
- Ensure the power cable is securely connected to the Mini PC and the power outlet.
- Verify the power outlet is functional by plugging in another device.
- Check the power adapter for any visible damage.
- No Display:
- Confirm that the monitor is powered on and the correct input source is selected.
- Check the display cables (HDMI, Thunderbolt) are securely connected to both the Mini PC and the monitor.
- Try connecting to a different monitor or using a different cable if available.
- System Not Booting / Stuck at ASUS Screen:
- Perform a complete power cycle: Disconnect the power adapter, wait 30 seconds, then reconnect and try booting again.
- If the issue persists, it may indicate a hardware problem. Contact customer support.
- Wi-Fi/Bluetooth Connectivity Issues:
- Ensure Wi-Fi and Bluetooth are enabled in Windows settings.
- Restart your router/modem.
- Update network adapter drivers through Device Manager.
- Slow Performance:
- Check Task Manager (Ctrl+Shift+Esc) for applications consuming excessive CPU or RAM.
- Ensure Windows and drivers are up to date.
- Run a disk cleanup and defragmentation (for HDDs, not typically needed for SSDs).
- Verify adequate ventilation to prevent thermal throttling.
For further assistance, please refer to the Warranty and Support section.
7. Specifications
| Feature | Detail |
|---|---|
| Model Number | ASUSNUC12WSHi7 32GB+1TB |
| Processor | Intel Core i7-1260P (12 Cores, 16 Threads, up to 4.7 GHz) |
| Graphics | Intel Iris Xe Graphics (Integrated) |
| RAM | 32GB DDR4 SDRAM (3200 MHz, 2x SODIMM slots, expandable to 64GB) |
| Storage | 1TB PCIe 4.0 NVMe SSD (expandable up to 2TB M.2 NVMe/SATA or 2.5" SATA HDD) |
| Operating System | Windows 11 Pro |
| Wireless Connectivity | Wi-Fi 6E, Bluetooth 5.3 |
| Ethernet | Intel I226 RJ45 LAN (2.5GbE) |
| Video Output | 2x HDMI 2.0b, 2x Thunderbolt 4 (supports DP 1.4a) - up to 8K resolution |
| USB Ports | 3x USB 3.2 Gen2 Type-A, 1x USB 2.0 Type-A |
| Audio | 3.5mm Stereo Headset Jack |
| Dimensions (LxWxH) | 4.6 x 4.4 x 2 inches |
| Weight | 3 pounds |

Figure 7.1: Overview of the Intel Core i7-1260P processor specifications.
8. Warranty and Support
Your Geekplus ASUS NUC 12 Pro Mini PC comes with a comprehensive warranty and dedicated customer support.
- Warranty: A 3-year warranty is provided for this product. This covers manufacturing defects and hardware malfunctions under normal use.
- Lifetime User Support: Geekplus offers lifetime worry-free user support. If you encounter any product concerns or require technical assistance, please do not hesitate to contact the Geekplus support team.
For support inquiries, please refer to the contact information provided with your purchase documentation or visit the official Geekplus support website.
