
1. Introduction
Thank you for choosing the AZZUNO MF-160Pro 5-in-1 Multiprocess Welder. This versatile machine is designed to handle a wide range of welding and cutting tasks, making it suitable for both professional and DIY applications. It integrates five distinct functions: FLUX MIG, GAS MIG, PLASMA CUTTING, HF TIG, and STICK welding.
Key features include dual voltage compatibility (110V/220V), a powerful 40A output for plasma cutting, and synergic control for MIG welding, which automatically adjusts parameters for ease of use. The HF TIG mode offers non-contact arc starting for precise welding of mild steel and stainless steel. This manual provides essential information for safe operation, setup, maintenance, and troubleshooting.

Figure 1.1: The AZZUNO MF-160Pro 5-in-1 Multiprocess Welder, shown with the included flux core welding wire.
2. Safety Instructions
Always prioritize safety when operating welding and plasma cutting equipment. Failure to follow safety precautions can result in serious injury or death.
- Eye and Face Protection: Always wear a welding helmet with appropriate shade settings to protect against arc flash and sparks.
- Body Protection: Wear flame-resistant clothing, heavy-duty gloves, and safety shoes. Avoid synthetic materials.
- Ventilation: Ensure adequate ventilation to remove welding fumes and gases. Work in a well-ventilated area or use fume extraction equipment.
- Electrical Safety: Ensure the machine is properly grounded. Do not operate in wet conditions. Inspect cables and connections for damage before each use.
- Fire Prevention: Keep flammable materials away from the welding area. Have a fire extinguisher readily available.
- Work Area: Keep the work area clean and free of clutter. Ensure stable footing.
- Read Manual: Read and understand the entire user manual before operating the machine.
3. Product Components and Accessories
The AZZUNO MF-160Pro package includes the following components:
- AZZUNO MF-160Pro 5-in-1 Welder Machine
- .035" 10LBS Flux Core Welding Wire (AWS E71T-GS)
- MIG Torch
- Plasma Cutting Torch
- HF TIG Torch
- Stick Electrode Holder
- Ground Clamp
- Consumables (nozzles, tips, electrodes, etc.)
- User Manual

Figure 3.1: All components and accessories included with the AZZUNO MF-160Pro welder.
4. Setup
4.1 Power Connection
The AZZUNO MF-160Pro supports dual voltage input (110V/220V). The machine automatically detects the input voltage. Ensure your power supply matches the machine's requirements and is properly grounded.
4.2 Wire Installation (MIG/Flux MIG)
- Open the wire feed compartment.
- Place the wire spool onto the spindle, ensuring it rotates freely.
- Feed the wire through the guide tube and into the drive rollers.
- Close the drive roller tension arm and adjust tension as needed.
- Ensure the correct drive roller size is installed for your wire diameter (.035" for the included flux core wire).
4.3 Gas Connection (GAS MIG/HF TIG)
For GAS MIG and HF TIG operations, connect your shielding gas cylinder (e.g., CO2 for MIG, Argon for TIG) to the gas inlet on the rear of the machine using a gas hose and regulator. Ensure all connections are secure and leak-free.
4.4 Torch and Ground Clamp Connection
Connect the appropriate torch (MIG, TIG, or Plasma) and the ground clamp to their respective terminals on the front panel of the machine. Ensure connections are tight.
5. Operating Instructions
5.1 Control Panel Overview
The AZZUNO MF-160Pro features an intuitive control panel with a single button and two knobs for easy operation.

Figure 5.1: The simplified control panel for easy mode selection and parameter adjustment.
- "CHOOSE" Button: Press to cycle through welding modes (FLUX MIG, GAS MIG, PLASMA CUTTING, HF TIG, STICK). Hold for 3 seconds to activate synergic mode (SYN).
- Left Knob: Adjusts parameters such as CUT Post-gas (3-11S) and TIG Pre-flow (0-3S) depending on the selected mode.
- Right Knob: Adjusts welding current (A) or voltage (V) depending on the selected mode.
5.2 Welding Modes

Figure 5.2: The five integrated welding and cutting functions of the AZZUNO MF-160Pro.
5.2.1 FLUX MIG Welding
This mode uses flux-cored wire and does not require external shielding gas. Ideal for outdoor use or when gas cylinders are inconvenient.
- Select "FLUX MIG" mode using the "CHOOSE" button.
- Adjust wire feed speed and voltage using the knobs. For simplified operation, hold the "CHOOSE" button for 3 seconds to activate synergic mode, which automatically sets recommended parameters based on wire diameter.
- Ensure the correct polarity for flux core wire (DCEN - Direct Current Electrode Negative).
5.2.2 GAS MIG Welding
Requires shielding gas (e.g., CO2 or Argon/CO2 mix) and solid wire. Provides cleaner welds with less spatter.
- Connect gas cylinder and select "GAS MIG" mode.
- Activate synergic mode for automatic parameter adjustment based on wire diameter and gas type.
- Adjust voltage and wire feed speed manually if not using synergic mode.

Figure 5.3: Examples of MIG and HF TIG welding applications.
5.2.3 PLASMA CUTTING
Equipped with a powerful 40A output, this function allows for precise cutting of various metals.
- Select "PLASMA CUT" mode.
- Connect an air compressor to the machine's air inlet.
- Adjust cutting current using the right knob.
- The machine offers a clean cut of 10mm and a maximum cut of 14mm at 220V.

Figure 5.4: Plasma cutting capabilities, showing clean and maximum cut thicknesses at different voltages.
5.2.4 HF TIG Welding
High-Frequency TIG mode provides non-contact arc starting, reducing contamination and improving precision, especially for mild steel and stainless steel.
- Connect Argon gas and select "HF TIG" mode.
- Adjust welding current and pre-flow/post-flow gas settings using the knobs.
- Ensure the tungsten electrode is properly sharpened and installed.
5.2.5 STICK Welding (MMA)
Also known as Manual Metal Arc (MMA) welding, this mode uses coated electrodes.
- Select "STICK" or "MMA" mode.
- Connect the electrode holder and ground clamp.
- Adjust welding current based on the electrode type and diameter.
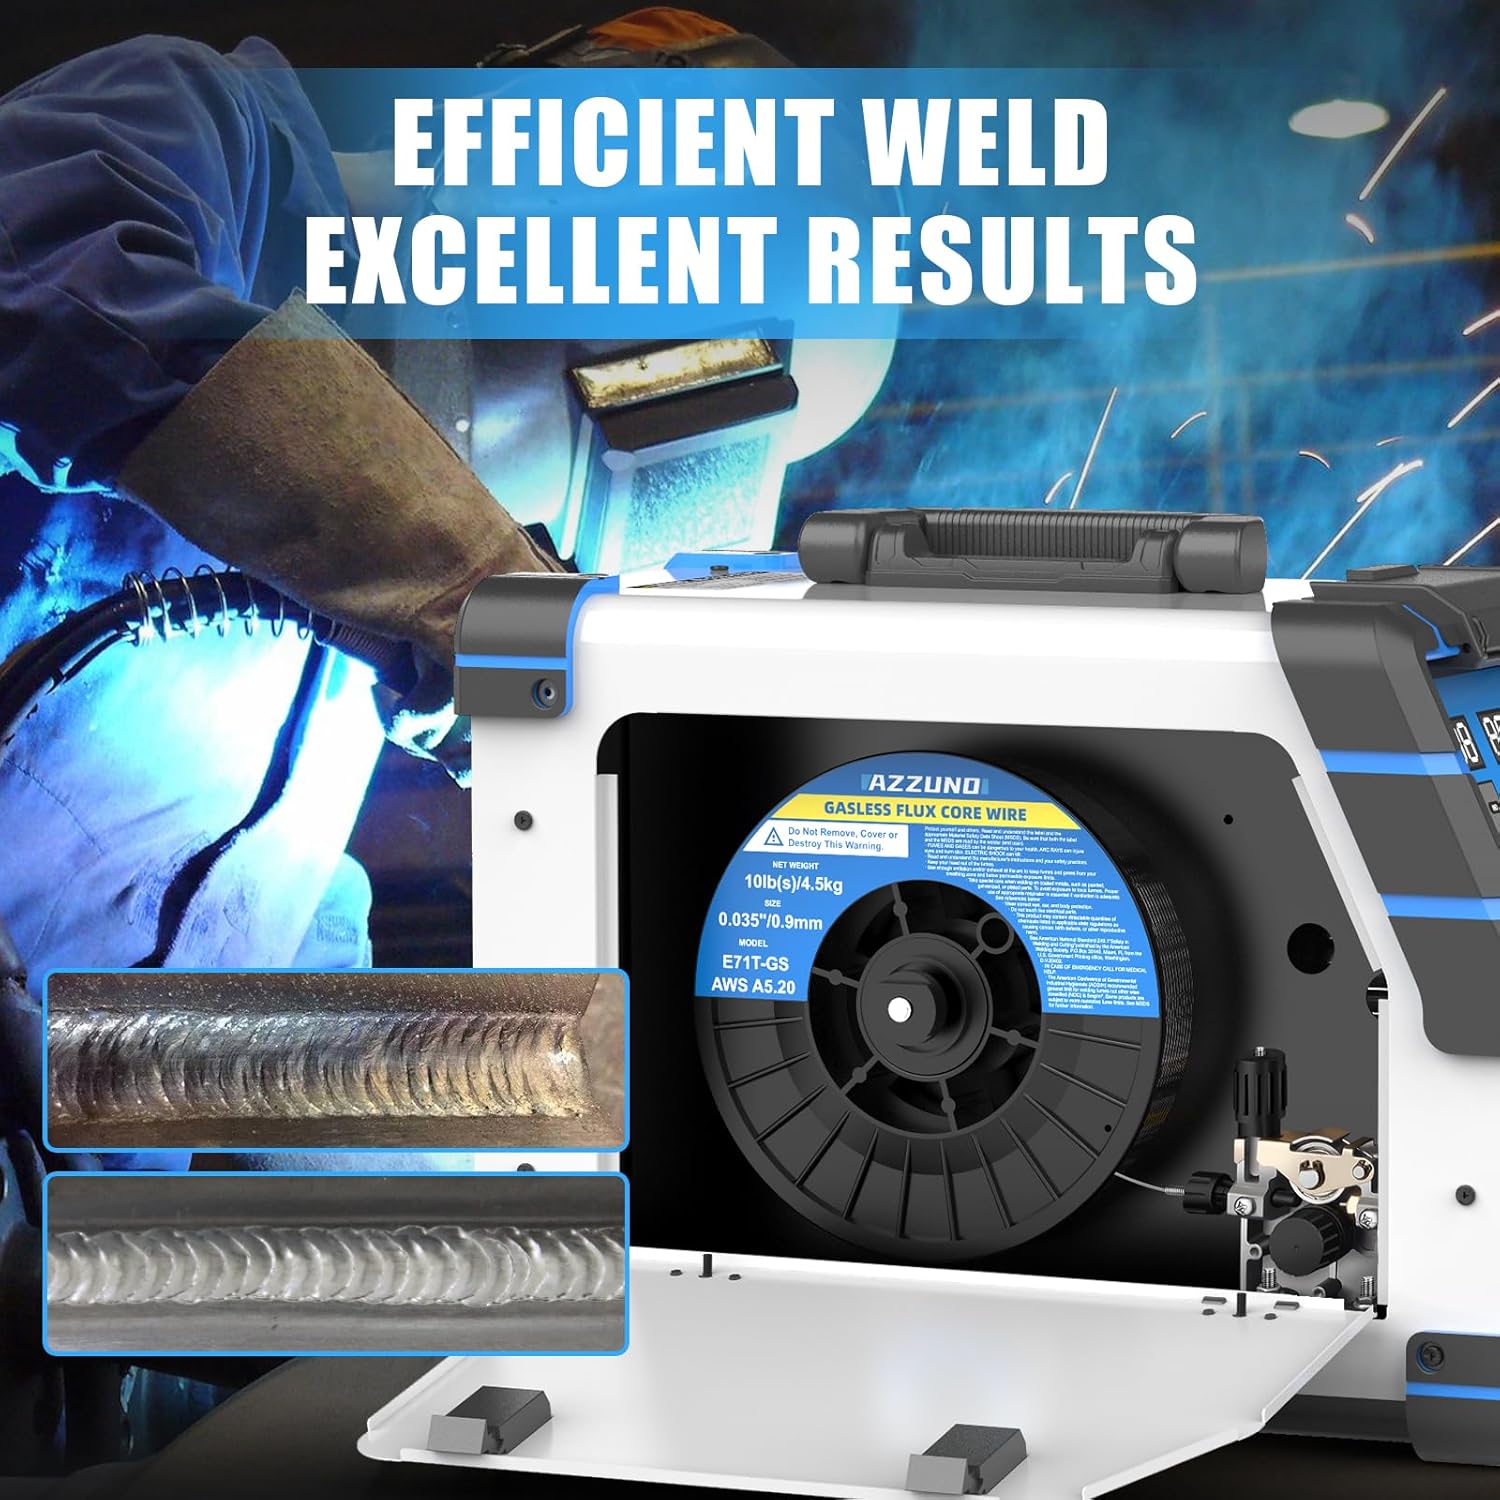
Figure 5.5: Examples of high-quality weld beads achievable with the AZZUNO MF-160Pro.
6. Maintenance
Regular maintenance ensures the longevity and optimal performance of your AZZUNO MF-160Pro welder.
- Cleaning: Periodically clean the machine's exterior with a dry cloth. Use compressed air to blow out dust and debris from inside the machine, especially around cooling vents. Ensure the machine is unplugged before cleaning.
- Consumables: Regularly inspect and replace worn-out consumables such as MIG contact tips, plasma cutting nozzles and electrodes, TIG collets and tungsten electrodes.
- Cable Inspection: Check all welding cables, power cords, and gas hoses for cuts, abrasions, or loose connections. Replace damaged components immediately.
- Wire Feed System: Clean the wire feed rollers and guide tubes to prevent wire feeding issues.
7. Troubleshooting
This section addresses common issues you might encounter. For problems not listed here, contact AZZUNO customer support.
| Problem | Possible Cause | Solution |
|---|---|---|
| No power | Power cord unplugged, circuit breaker tripped, machine fuse blown. | Check power connection, reset breaker, inspect/replace fuse. |
| No arc (MIG/TIG/Stick) | Poor ground connection, incorrect settings, worn consumables, wrong polarity. | Ensure good ground, verify settings, replace consumables, check polarity. |
| Poor wire feed (MIG) | Incorrect drive roller tension, clogged liner, wrong wire size, tangled wire. | Adjust tension, clean/replace liner, use correct wire, untangle wire. |
| Plasma cutter not cutting | Insufficient air pressure, worn consumables, incorrect current. | Check air supply, replace nozzle/electrode, adjust current. |
8. Specifications
Below are the technical specifications for the AZZUNO MF-160Pro Multiprocess Welder and the included Flux Core Welding Wire.
8.1 AZZUNO MF-160Pro Welder
- Model: MF-160Pro
- Functions: FLUX MIG, GAS MIG, PLASMA CUTTING, HF TIG, STICK
- Input Voltage: 110V/220V Dual Voltage
- Plasma Cutting Output: 40A
- Plasma Clean Cut (220V): 10mm
- Plasma Max Cut (220V): 14mm
- Weight: Approximately 28 LBS
- Dimensions (Approx.): 19.5" (Length) x 9.5" (Width) x 12.6" (Height)

Figure 8.1: Approximate dimensions and weight of the AZZUNO MF-160Pro welder.
8.2 Flux Core Welding Wire
- Wire Model: AWS E71T-GS
- Wire Diameter: .035" (0.9mm)
- Net Weight: 10 LBS (4.5kg)
- Polarity: DCEN (Direct Current Electrode Negative)

Figure 8.2: Detailed specifications for the included AZZUNO Flux Core Welding Wire.
9. Warranty and Support
For warranty information, technical support, or service inquiries, please contact AZZUNO customer support through the retailer where the product was purchased or visit the official AZZUNO website. Please have your product model number (MF-160Pro) and purchase details ready when contacting support.
No official product videos are available for this model at this time.

