
PowMr POW-M60-ULTRA
Contents
PowMr 60AMP MPPT Solar Charge Controller User Manual
Model: POW-M60-ULTRA
1. Product Overview
The PowMr 60AMP MPPT Solar Charge Controller is designed for efficient and safe charging of 12V, 24V, 36V, and 48V lead-acid and lithium batteries. This advanced controller features Maximum Power Point Tracking (MPPT) technology to optimize power harvest from your solar panels, ensuring maximum efficiency for your solar power system. It supports a wide range of solar voltage and power inputs and includes comprehensive protection features.
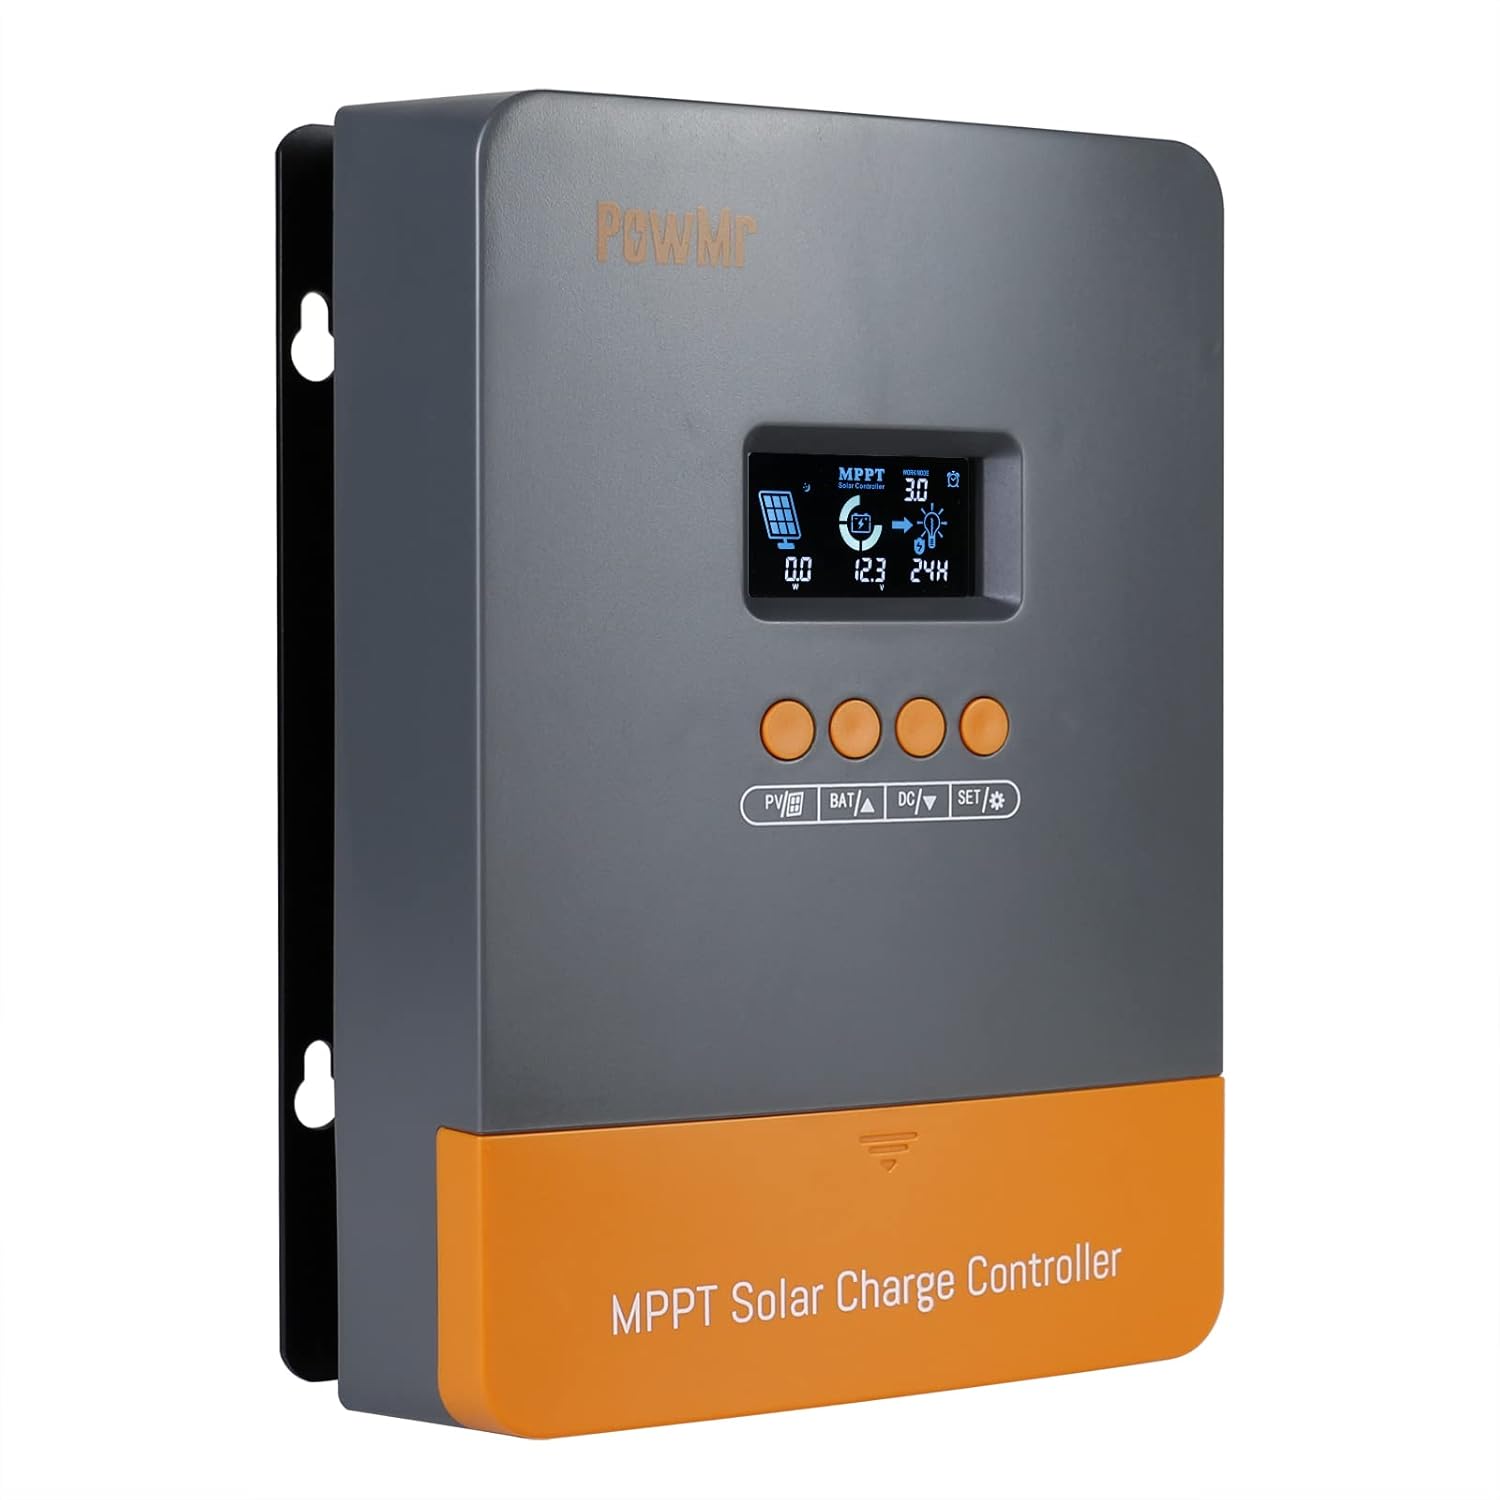
Figure 1: PowMr 60AMP MPPT Solar Charge Controller, front view.
Key Features:
- Parallel Capability: Up to 12 units can be connected in parallel to expand system capacity, power output, and reliability.
- Wide Voltage/Power Support: Supports various system voltages (12V, 24V, 36V, 48V) with corresponding maximum input powers (e.g., 2800W for 48V system).
- Battery Compatibility: Compatible with lead-acid (Sealed, Gel, Flooded) and lithium (LiFePO4) batteries, with customizable charging parameters.
- Comprehensive Protections: Includes short circuit, overcurrent, reverse polarity, overvoltage, and over-discharge protections.
- User-Friendly Display: Features a detailed LCD screen and four intuitive buttons for easy operation and monitoring.

Figure 2: Overview of the 60AMP MPPT Solar Charge Controller's main features and capabilities.

Figure 3: Diagram illustrating the 9 built-in electronic protections of the PowMr MPPT Solar Controller.
2. Setup and Installation
Proper installation is critical for the safe and efficient operation of your solar charge controller. Always ensure all power sources are disconnected before making any connections. Observe correct polarity for all connections.
Safety Precautions:
- Ensure all devices are switched off before connecting components.
- Wear insulating gloves if necessary and ensure the environment is dry.
- Use appropriate cable gauges to prevent power loss and overheating. Recommended cable: 10mm²/7AWG~6mm²/10AWG.
- Install fuses or protective devices to safeguard the system from overloads or short circuits.
Connection Procedure:
- Connect the Battery to the Controller:
This is the first and most crucial step. Connect the positive (+) terminal of the battery to the positive (+) battery terminal on the charge controller. Then, connect the negative (-) terminal of the battery to the negative (-) battery terminal on the charge controller. Ensure correct polarity to avoid damage. The controller's display should illuminate, indicating a successful battery connection.
- Connect the Solar Panels to the Controller:
After the battery is connected, connect the positive (+) lead from your solar panel array to the positive (+) PV input terminal on the controller, and the negative (-) lead to the negative (-) PV input terminal. Only connect the solar panels when there is sufficient sunlight to avoid unnecessary current surges. Ensure the solar panels are correctly oriented and receive adequate sunlight.
- Connect the Load (Optional):
If you are connecting a DC load directly to the controller, connect the positive (+) load wire to the positive (+) load terminal and the negative (-) load wire to the negative (-) load terminal. For AC loads, connect an inverter directly to the battery bank, ensuring it is properly fused.

Figure 4: Detailed wiring diagram for connecting solar panels, battery, and load to the PowMr MPPT Solar Charge Controller.
Parallel Connection (for multiple units):
The PowMr 60AMP MPPT controller supports parallel operation for increased capacity, allowing up to 12 units to work together. In a parallel setup, communication between controllers is achieved through communication lines. Each controller must be connected to a separate solar array, but all parallel controllers are connected to the same battery bank.

Figure 5: Schematic illustrating how to connect multiple PowMr MPPT Solar Charge Controllers in parallel.
3. Operating Instructions
The controller features a clear LCD display and four buttons for easy monitoring and configuration of system parameters.
Display and Buttons:
The "0 Layer Display" provides real-time information about your solar system. The four buttons (PV, BAT/A, DC/V, SET/↻) allow you to navigate through menus and adjust settings.

Figure 6: Explanation of the "0 Layer Display" showing icons and data points for solar panel, battery, and load status.
- Day or Night Indicating Icon: Shows current operational mode.
- Battery Icon and SOC: Displays battery charge status.
- Work Mode: Indicates the current working mode of the controller.
- State and Warning Indication: Provides status updates and alerts.
- Solar Panel Voltage/Power/Current: Real-time data from the PV array.
- Charging Power/Charging Current/Battery Voltage: Information about the charging process.
- Load Working Mode/Load Power/Load Current/Load Voltage: Details about the connected DC load.
Setting Battery Parameters:
The controller comes with pre-set charging parameters for Sealed, Gel, Flooded, and Li (LFP) batteries. You can also customize charging settings for other battery types. Refer to the detailed user manual (not this summary) for specific steps on navigating the menu and adjusting parameters like charging voltage, float voltage, and low voltage disconnect.
4. Maintenance
Regular maintenance ensures the longevity and optimal performance of your solar charge controller and overall solar system.
- Inspect Connections: Periodically check all wiring connections for tightness and corrosion. Loose connections can lead to inefficient charging or damage.
- Clean Solar Panels: Ensure solar panels are clean and free from dust, dirt, or debris that can reduce their efficiency.
- Monitor Battery Health: Regularly check the battery's voltage and overall health. Ensure it is not over-discharged or overcharged.
- Controller Environment: Ensure the controller is installed in a well-ventilated area, free from excessive dust or moisture, to prevent overheating.
- Firmware Updates: Check the manufacturer's website for any available firmware updates that might improve performance or add features.
5. Troubleshooting
If you encounter issues with your PowMr MPPT Solar Charge Controller, refer to the following common problems and solutions. For more complex issues, contact customer support.
| Problem | Possible Cause | Solution |
|---|---|---|
| Controller display is off / No power | Battery not connected or low voltage; reversed battery polarity; loose connections. | Ensure battery is connected first and has sufficient voltage. Check all battery connections for tightness and correct polarity. |
| Battery not charging | Solar panels not connected; insufficient sunlight; PV input voltage too low/high; incorrect battery type setting; faulty panel/wiring. | Verify solar panel connections. Ensure panels receive direct sunlight. Check PV input voltage against specifications. Confirm battery type setting matches your battery. Inspect panel wiring for damage. |
| Battery draining at night | Controller idle consumption; continuous load connected; faulty battery. | Reduce load or ensure it is within the controller's rated output (25A). Consider manual disconnects for battery and solar panels in small-scale systems during prolonged low-light periods to prevent deep discharge. Check battery health. |
| Overcurrent/Short Circuit Protection activated | Load current exceeds controller rating; short circuit in load or wiring. | Reduce load or ensure it is within the controller's rated output (25A). Inspect load wiring for any short circuits. |
6. Specifications
| Attribute | Detail |
|---|---|
| Model Number | POW-M60-ULTRA |
| Rated Battery Charging Current | 60A (Configurable 2A to 60A) |
| Rated Load Output Current | 25A |
| System Voltage Compatibility | 12V / 24V / 36V / 48V Auto |
| Max PV Input Voltage | 160V |
| Max PV Input Power (48V System) | 2800W |
| Product Dimensions (L x W x H) | 6" x 3.03" x 8.7" (152.4mm x 76.96mm x 220.98mm) |
| Item Weight | 3.17 Pounds (1.44 Kilograms) |
| Mounting Holes | 4 x ⌀10mm |
7. Warranty and Support
For detailed warranty information, please refer to the documentation included with your product or visit the official PowMr website. PowMr offers fast service support for their products.
If you require technical assistance or have questions regarding your PowMr 60AMP MPPT Solar Charge Controller, please contact PowMr customer support through their official channels. You can often find support contact information on the manufacturer's website or within the product packaging.
Ask a question about this manual
Ask about setup, troubleshooting, compatibility, parts, safety, or missing instructions. Manuals+ will review the question and use this page’s manual context to help answer it.