
Product Overview
The AWOL VISION 110" Motorized ALR Floor Rising Projector Screen (Model F110C) is designed to enhance your home theater experience. It features premium HBSI ALR screen material, offering over 50% enhanced gain compared to CBSP screens, and supports 4K/8K projections. The screen boasts a 170° wide viewing angle and 0.8 peak gain, with an acoustic transparent design for optimal sound integration. Its motorized floor-rising mechanism includes intelligent control with memory function and USB synchronization for automatic deployment and retraction with your projector.
This screen is engineered to reject up to 95% of ambient light, ensuring vibrant colors and sharp contrasts even in well-lit environments, thanks to its cirriform optical surface lens microstructure. The design prioritizes ease of setup and space-saving, retracting seamlessly when not in use.

Image: The AWOL VISION ALR Floor Rising Screen displaying a vibrant image in a living room setting, highlighting its ambient light rejection capabilities.
Setup Instructions
The AWOL VISION motorized floor-rising projector screen is designed for quick and easy installation. Follow these steps to set up your screen:
- Unboxing and Placement: Carefully unbox the screen. Due to its size and weight, it is recommended that two people handle the unit. Place the screen on a stable, level surface in your desired viewing area. Ensure there is adequate space for the screen to rise and retract without obstruction.
- Attaching Feet (if applicable): If separate feet are provided, attach them securely to the base of the screen according to the included hardware and instructions.
- Power Connection: Connect the power cord to the screen and then to a standard electrical outlet.
- USB Synchronization: For automatic screen operation with your projector, connect the provided USB Synchronized Trigger to a USB port on your projector. This allows the screen to automatically rise when the projector powers on and retract when it powers off.
- Initial Screen Deployment: Use the RF wireless remote control to raise the screen for the first time. The screen will rise to its default maximum height.
- Adjusting Screen Limit (Memory Function): The screen features a memory function to set your desired upper limit.
- Raise the screen to your preferred viewing height.
- Refer to the remote control instructions for specific steps to save this position. Typically, this involves pressing a "Set" or "Memory" button followed by a confirmation.
- The motor and mechanism will synchronize automatically within 30 seconds in adjustment mode.
- Once set, the screen will consistently rise to this preset limit.
- Projector Placement: Position your ultra-short throw projector directly in front of the screen, ensuring it is centered and at the correct distance and height for optimal image projection. Refer to your projector's manual for specific placement recommendations.

Image: What's in the Box - Motorized screen, user manual, RF wireless remote, power cord, USB Synchronized Trigger, and non-slip mat.
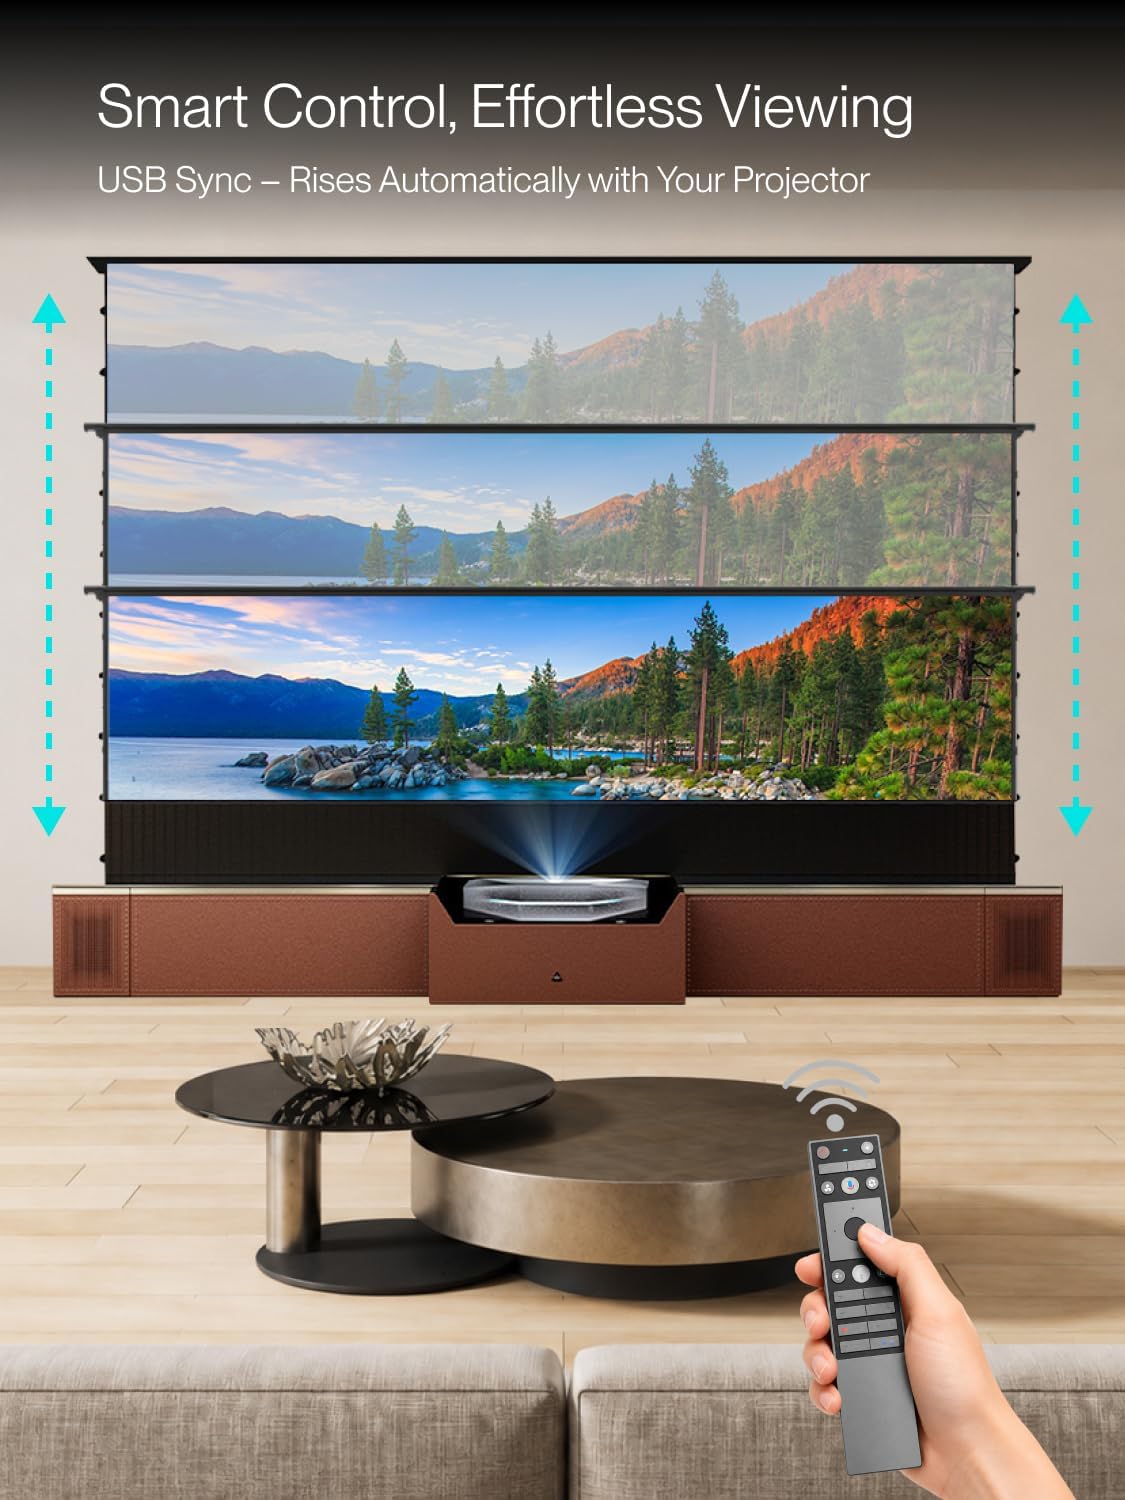
Image: Visual guide for the 110-inch screen dimensions and recommended projector placement. Ensure your projector is positioned correctly relative to the screen for the best image quality.

Image: USB Synchronization process: Power on projector -> USB Sync -> Screen Up. This feature automates screen deployment with projector activation.
Operating Instructions
Operating your AWOL VISION motorized screen is straightforward, offering both manual and automatic control options.
Manual Control with Remote
Use the provided RF wireless remote control to manually raise or lower the screen. The remote allows precise control over the screen's position.
- Press the UP button to raise the screen.
- Press the DOWN button to lower the screen.
- Press the STOP button to pause the screen at any desired height.
Automatic Control with USB Synchronization
When the USB Synchronized Trigger is connected to your projector's USB port, the screen will operate automatically:
- Powering on your projector will automatically trigger the screen to rise to its preset memory limit.
- Powering off your projector will automatically trigger the screen to retract into its casing.
This feature provides seamless integration and convenience for your home theater system.

Image: Smart Control, Effortless Viewing. The remote control allows for easy adjustment of the screen's position.
Video: Guidance on Motorized Floor Rising Cinematic Screen. This video demonstrates the operation and features of the motorized screen.
Maintenance
Proper maintenance ensures the longevity and optimal performance of your AWOL VISION projector screen. Follow these guidelines:
- Cleaning the Screen Surface:
- Gently wipe the screen surface with a soft, lint-free cloth.
- For stubborn marks, lightly dampen the cloth with distilled water. Avoid harsh chemicals, abrasive cleaners, or excessive moisture, as these can damage the ALR material.
- Always wipe in one direction, from top to bottom, to prevent streaks.
- Cleaning the Casing: Wipe the exterior casing with a soft, dry cloth to remove dust.
- Motorized Mechanism: The motorized mechanism is designed for maintenance-free operation. Avoid attempting to lubricate or disassemble any part of the motor or retraction system.
- Storage: When not in use, ensure the screen is fully retracted into its casing to protect the screen material from dust, light, and potential damage.
- Environmental Conditions: Operate and store the screen in a clean, dry environment, away from extreme temperatures, direct sunlight, and high humidity.
Troubleshooting
If you encounter issues with your AWOL VISION projector screen, refer to the following common troubleshooting steps:
| Problem | Possible Cause | Solution |
|---|---|---|
| Screen does not rise or retract. | No power, remote control battery low, USB trigger not connected/faulty, motor issue. |
|
| Screen stops mid-way or does not reach full height/retraction. | Obstruction, memory limit incorrectly set, power fluctuation. |
|
| Image appears distorted or uneven. | Projector not aligned, screen not flat, screen material damage. |
|
| USB synchronization not working. | USB trigger not connected, projector USB port issue, trigger malfunction. |
|

Image: Floor-Rising Screen FAQs. This image provides quick answers to common questions regarding screen usage and functionality.
Product Specifications
| Feature | Detail |
|---|---|
| Model Number | F110C |
| Screen Size (Diagonal) | 110 inches |
| Aspect Ratio | 16:9 |
| Screen Material | HBSI ALR (Ambient Light Rejecting) TPU Material |
| Ambient Light Rejection | Up to 95% |
| Peak Gain | 0.8 |
| Viewing Angle | 170° |
| Compatibility | Ultra Short Throw Projectors, 4K/8K Ultra HD |
| Acoustic Feature | 0.4mm Micro-Perforated Acoustic Design (Acoustic Transparent) |
| Mounting Type | Floor Mount |
| Control Methods | RF Wireless Remote, USB Synchronized Trigger |
| Product Dimensions (W x H) | 6.3"W x 68.9"H (Case dimensions, screen height varies) |

Image: AWOL VISION Electric Tension Floor Screen Specifications. This diagram provides detailed measurements and technical specifications for various screen sizes, including the 110-inch model.
Warranty and Customer Support
AWOL VISION is committed to providing excellent customer service and product reliability.
Warranty Information
This product comes with a 1-year warranty from the date of purchase. The warranty covers manufacturing defects and ensures the product meets its specified performance standards. Please retain your proof of purchase for warranty claims.
Customer Support
For any questions, technical assistance, or warranty claims, please contact AWOL VISION customer support:
- Phone / WhatsApp: +1 (888) 891-6866
- Email: support@awolvision.com
Our dedicated support team is available 24/7 to assist you.

Image: AWOL Vision Commitments, highlighting 1-year warranty and contact information for support.


