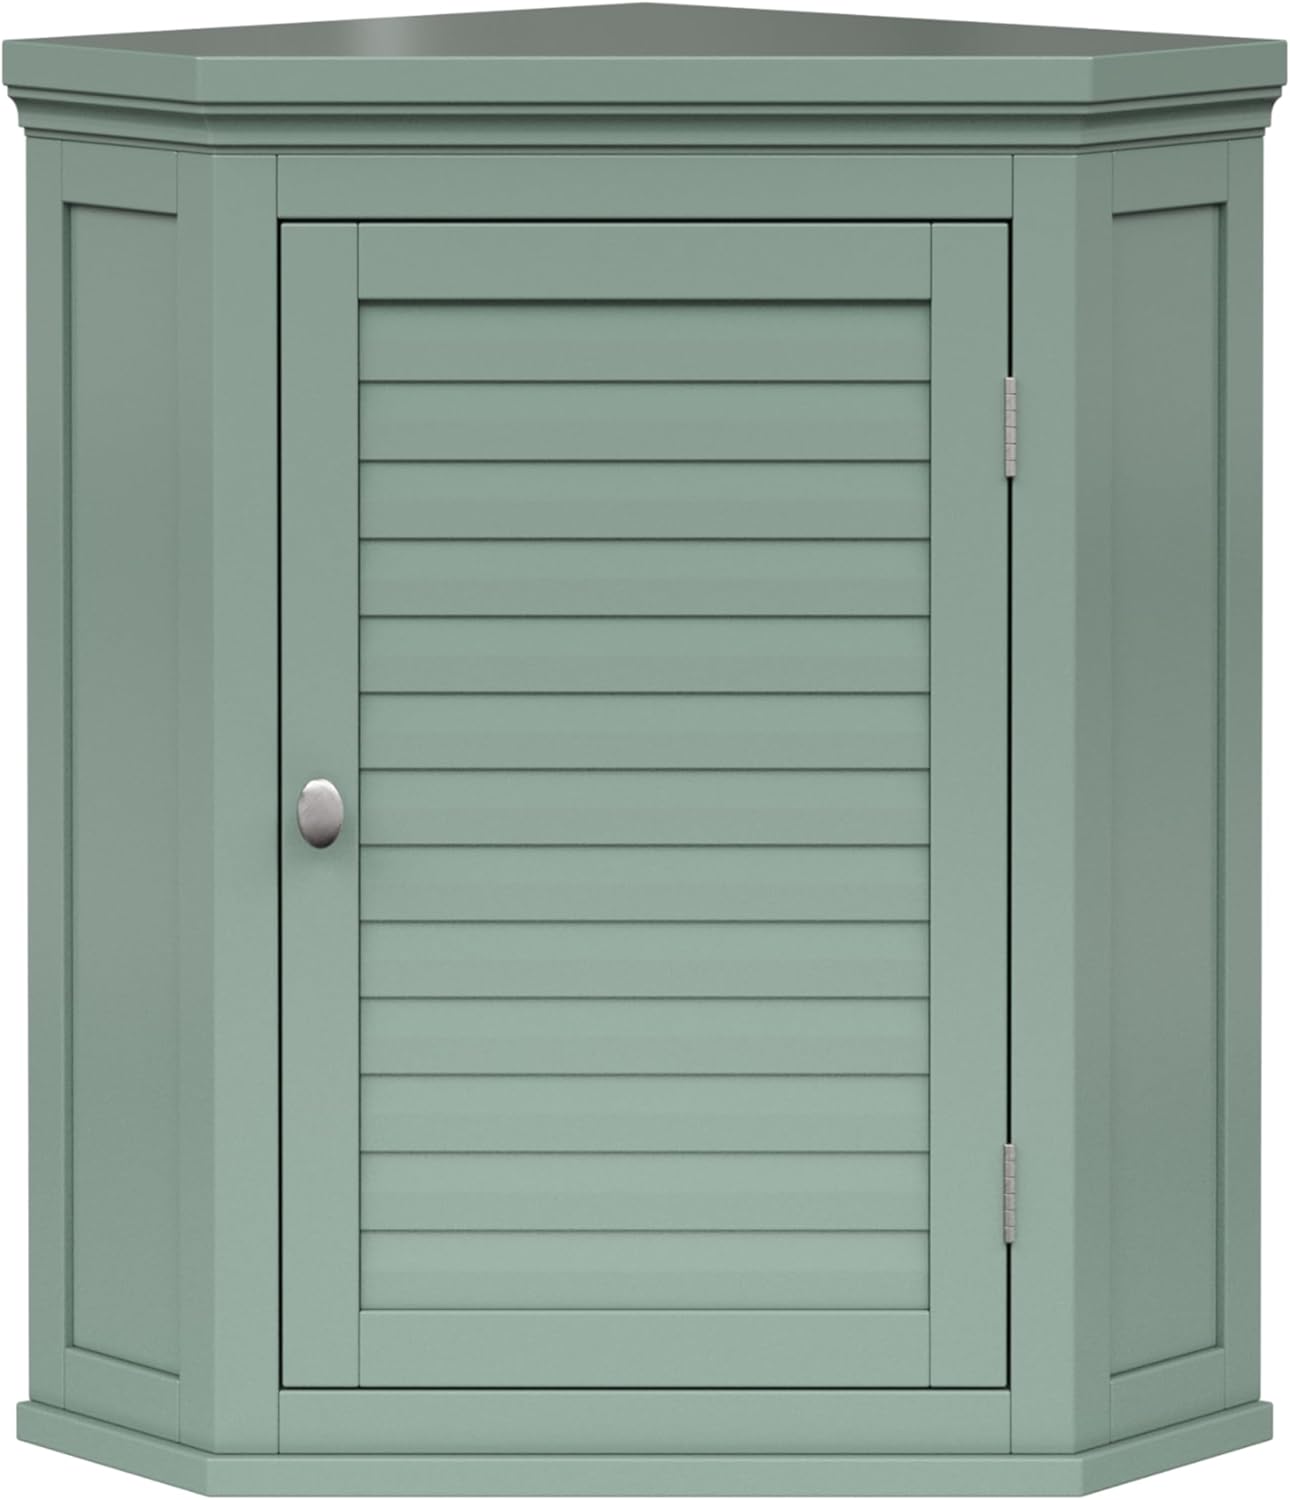
1. Introduction
Thank you for choosing the Teamson Home Stratford Wall Cabinet. This manual provides essential information for the safe assembly, installation, operation, and maintenance of your new cabinet. Please read all instructions carefully before beginning assembly and retain this manual for future reference.
Important Safety Information
- Always secure the cabinet to the wall to prevent tip-over. Failure to do so can result in serious injury.
- Exercise caution when opening and closing the louvered door to avoid finger trapping.
- Ensure all hardware is securely fastened before use. Periodically check fasteners for tightness.
- Do not overload the cabinet or shelves. Refer to the specifications section for weight limits if available.
- Keep small parts and packaging materials away from children during assembly.
2. Package Contents
Before assembly, verify that all components listed below are present and undamaged. If any parts are missing or damaged, please contact customer support.
- Wall Cabinet Panels (various pieces for frame, door, back panel)
- Adjustable Shelf (1)
- Mounting Hardware (screws, wall anchors, cam locks, dowels, etc.)
- Door Knob (1)
- Hinges (2)
3. Assembly Instructions
Assembly typically requires two adults. Follow these steps carefully.
Tools Required
- Phillips Head Screwdriver
- Hammer (optional, for dowels)
- Drill with appropriate bit for wall anchors (for installation)
- Level
- Measuring Tape
- Pencil
Step-by-Step Assembly
- Unpack and Identify Parts: Carefully unpack all components and lay them out on a clean, soft surface to prevent scratches. Identify each part using the provided diagram (if included).
- Attach Cam Bolts: Screw cam bolts into the designated holes on the side panels and top/bottom panels. Do not overtighten.
- Connect Side Panels to Bottom Panel: Insert dowels and cam bolts from the side panels into the corresponding holes on the bottom panel. Secure with cam locks.
- Install Back Panel: Slide the back panel into the grooves of the assembled frame. Secure with small screws if provided.
- Attach Top Panel: Connect the top panel to the side panels using dowels, cam bolts, and cam locks.
- Assemble Door: Attach hinges to the cabinet door and then to the main cabinet frame. Ensure the door opens and closes smoothly.
- Install Door Knob: Attach the door knob to the cabinet door.
- Insert Adjustable Shelf Pins: Place the shelf support pins into the desired holes inside the cabinet.
- Place Adjustable Shelf: Rest the adjustable shelf on the installed pins.

4. Installation Instructions
This cabinet is designed for wall mounting in a corner. Proper installation is crucial for stability and safety.
Wall Mounting
- Choose Location: Select a corner on a sturdy wall. Ensure there are no electrical wires or plumbing pipes behind the wall where you plan to drill.
- Mark Mounting Points: Hold the cabinet in the desired position against the wall. Use a pencil to mark the locations of the pre-drilled mounting holes on the back of the cabinet onto the wall. Use a level to ensure the marks are aligned horizontally.
- Drill Pilot Holes: Using a drill bit appropriate for your wall type and the provided wall anchors, drill pilot holes at the marked locations.
- Insert Wall Anchors: Gently tap the wall anchors into the pilot holes until they are flush with the wall surface.
- Mount Cabinet: Align the cabinet's mounting holes with the installed wall anchors. Insert the mounting screws through the cabinet's back panel and into the wall anchors. Tighten securely with a Phillips head screwdriver. Do not overtighten to avoid damaging the cabinet or wall.
- Verify Stability: Gently pull on the cabinet to ensure it is firmly attached to the wall and does not wobble.

5. Operating Instructions
The Teamson Home Stratford Wall Cabinet is designed for convenient storage in various rooms.
Adjusting the Shelf
The cabinet features one adjustable shelf, allowing you to customize storage space according to your needs.
- Empty the Shelf: Remove all items from the adjustable shelf.
- Remove Shelf: Carefully lift the shelf off its support pins.
- Relocate Pins: Remove the shelf support pins and reinsert them into the desired set of holes along the cabinet's interior sides. Ensure pins are at the same height on both sides.
- Reinsert Shelf: Place the shelf back onto the newly positioned support pins.
6. Maintenance
Proper care will ensure the longevity and appearance of your cabinet.
- Cleaning: Wipe the cabinet surfaces with a dry cloth. Avoid exposure to excessive moisture, as this can damage the engineered wood. Do not use harsh chemicals or abrasive cleaners.
- Inspections: Periodically check all screws and fasteners to ensure they remain tight. Retighten if necessary.
- Avoid Direct Sunlight: Prolonged exposure to direct sunlight may cause fading or discoloration.
7. Troubleshooting
This section addresses common issues you might encounter.
| Problem | Possible Cause | Solution |
|---|---|---|
| Cabinet wobbles after installation. | Mounting screws are loose or not properly secured to wall anchors. | Ensure all mounting screws are fully tightened into the wall anchors. Verify wall anchors are appropriate for your wall type. |
| Door does not close properly or is misaligned. | Hinges are loose or improperly installed. | Check hinge screws for tightness. Adjust hinges if they have adjustment screws to align the door. |
| Shelf is not level. | Shelf support pins are not inserted at the same height. | Remove the shelf and pins. Reinsert pins into corresponding holes on both sides, ensuring they are at the same level. |
| Missing parts during assembly. | Packaging not thoroughly checked. | Double-check all packaging materials. If parts are still missing, contact Teamson Home customer support. |
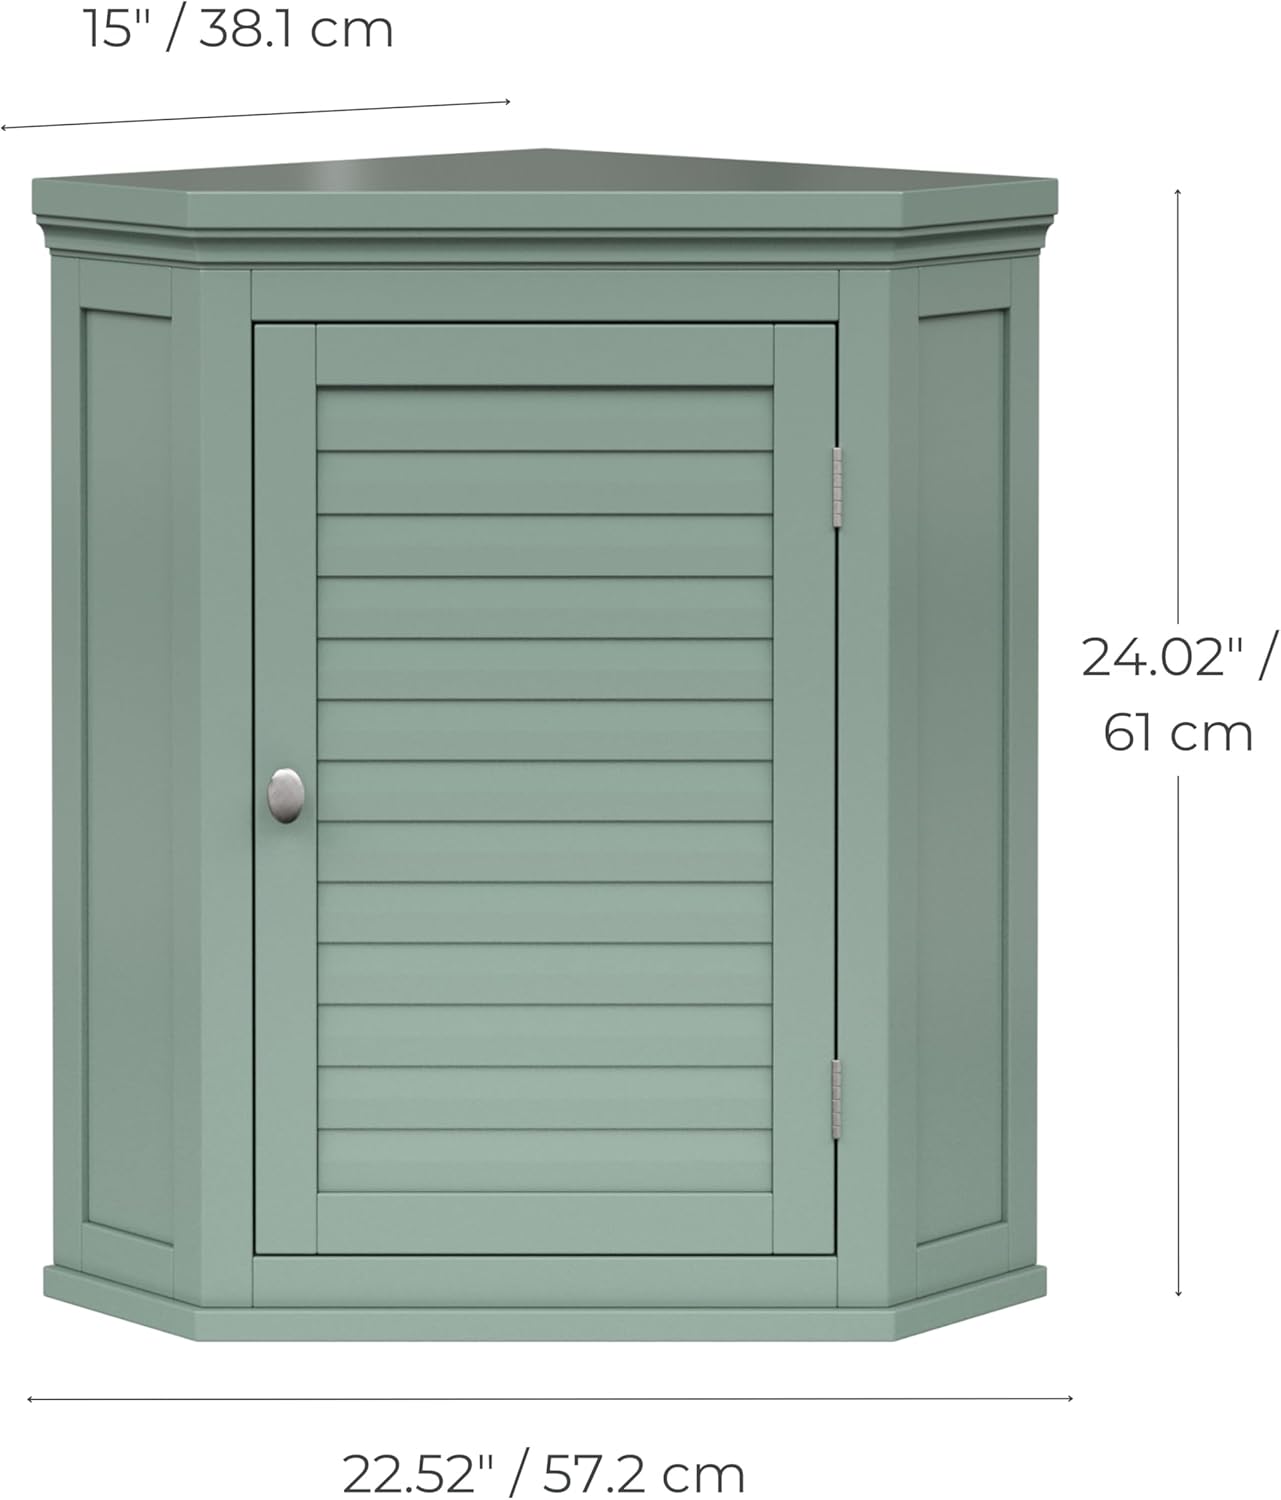
8. Specifications
Key technical details for the Teamson Home Stratford Wall Cabinet.
| Feature | Detail |
|---|---|
| Model Name | ELG-587SG |
| Brand | Teamson Home |
| Color | White |
| Product Dimensions (L x W x H) | 22.52"D x 24.02"W x 15"H (57.2 cm D x 61 cm W x 38.1 cm H) |
| Material | Engineered Wood |
| Mounting Type | Wall Mount |
| Number of Shelves | 1 (Adjustable) |
| Assembly Required | Yes |
| Item Weight | 26.2 pounds |
| UPC | 810136542950 |

9. Warranty and Support
For warranty information or customer support regarding your Teamson Home Stratford Wall Cabinet, please refer to the documentation included with your purchase or visit the official Teamson Home website. If you have questions about assembly, missing parts, or product functionality, please contact Teamson Home customer service directly.
Contact Information: Please refer to the manufacturer's website or your purchase receipt for the most current customer service contact details.


