
1. Important Safety Information
Please read and understand all instructions before assembling and using this bunk bed. Failure to follow these instructions can result in serious injury.
- Always use the guardrails on the top bunk to prevent falls.
- Do not exceed the maximum weight capacity of 350 lbs for the lower bunk. The top bunk also has a weight limit; refer to the product specifications for details.
- Carefully follow all assembly instructions to ensure the stability and safety of the bed structure.
- Be cautious when handling product components during assembly due to their weight and size.
- Ensure all connections are securely tightened before use and periodically check for tightness.
- Only use mattresses of the specified size for each bunk.
2. Product Overview
The KLMM L-Shaped Metal Bunk Bed is designed for efficient space utilization, featuring a twin-sized upper bunk and a full-sized lower bunk. Its robust steel construction ensures durability and stability. The L-shaped configuration offers a unique layout suitable for various room arrangements.

Image 2.1: Assembled KLMM L-Shaped Metal Bunk Bed, Twin Over Full.
3. Specifications
| Feature | Detail |
|---|---|
| Model | Twin Over Full Bunk Bed |
| Brand | KLMM |
| Material | Steel (Powder Coated Finish) |
| Overall Product Dimensions | 76.96"L x 77.36"W x 49.6"H |
| Upper Bunk Slats | 20 |
| Lower Bunk Slats | 20 |
| Weight Limit (Lower Bunk) | 350 Pounds |
| Item Weight | 115 Pounds |
| Assembly Required | Yes |
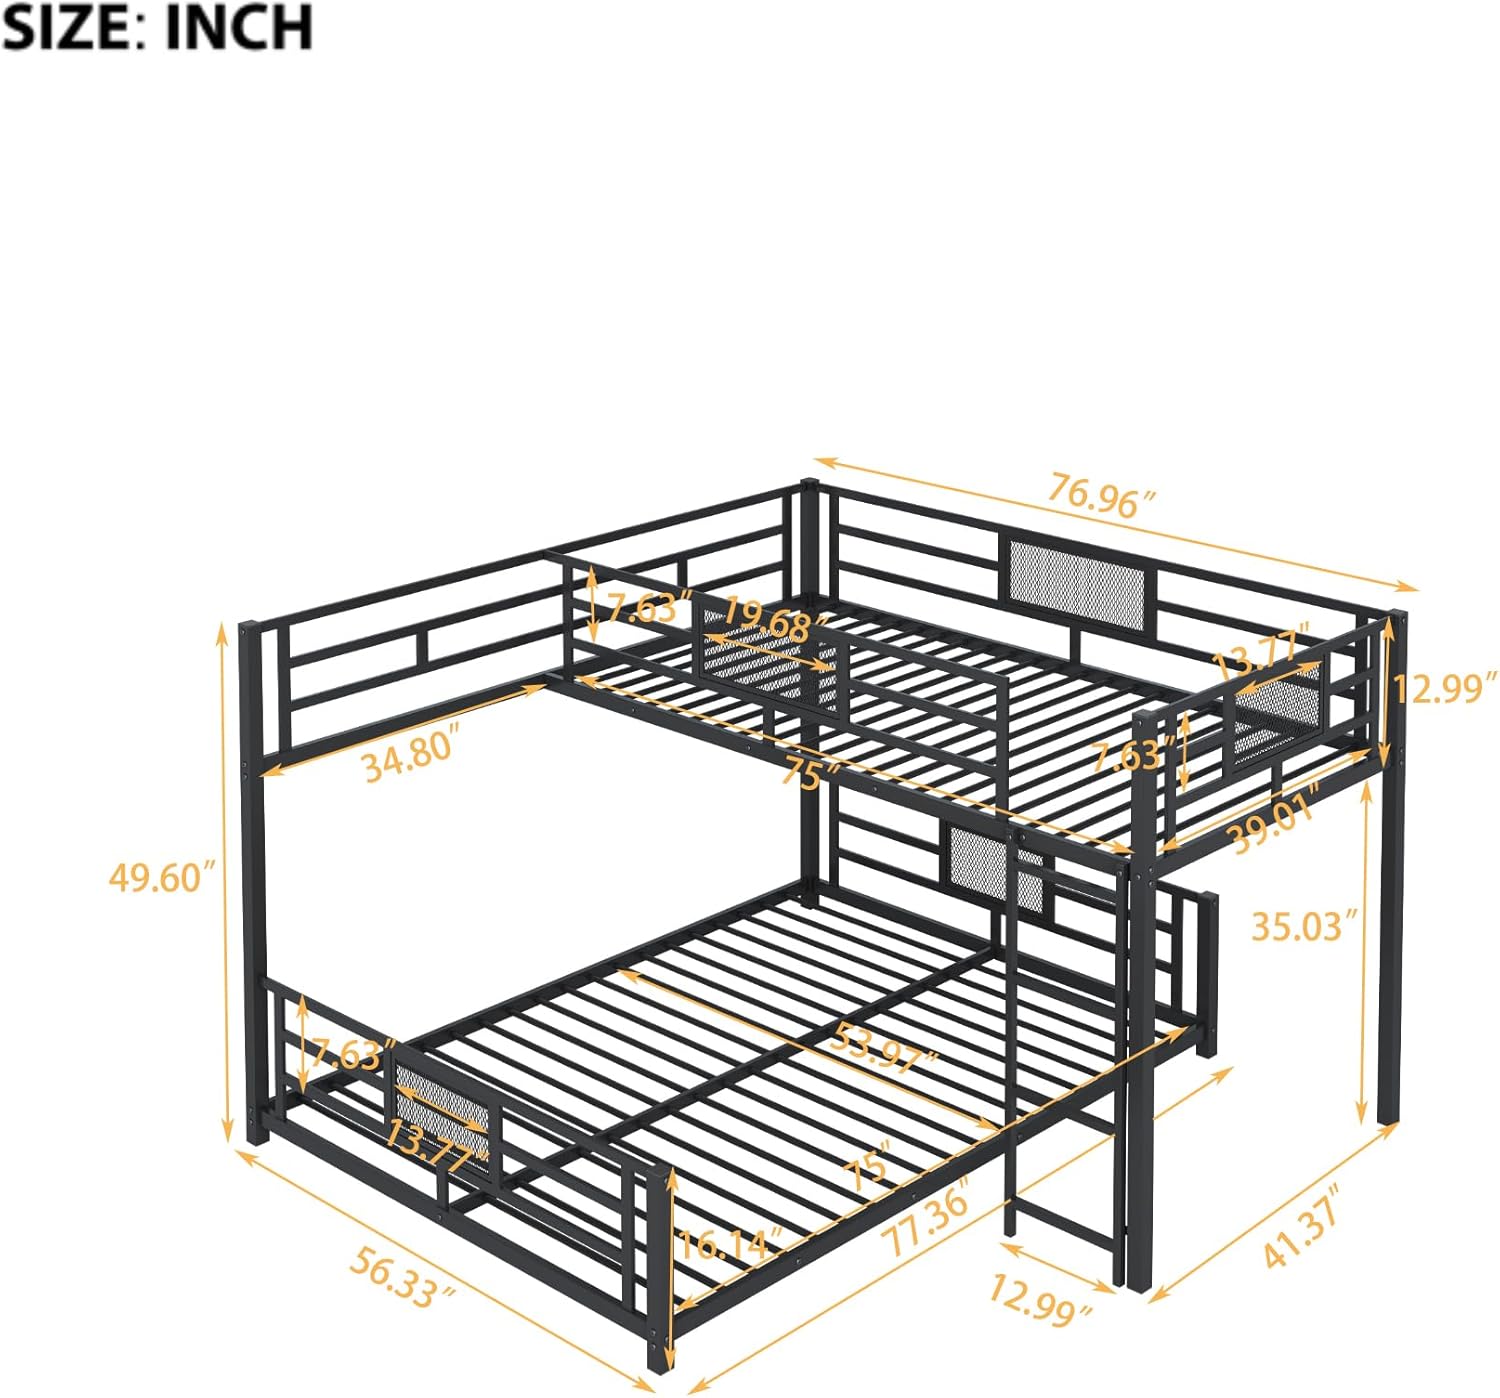
Image 3.1: Product dimensions for the KLMM L-Shaped Metal Bunk Bed.
4. Package Contents
Upon opening the package, verify that all components are present and undamaged. The package should contain:
- All necessary bunk bed frame components
- All necessary tools for assembly
- Assembly instruction guide
If any parts are missing or damaged, please contact customer support immediately.
5. Setup and Assembly
Assembly of the KLMM L-Shaped Metal Bunk Bed is designed to be straightforward. Follow the included detailed assembly instruction guide step-by-step. All required tools are provided within the package.
Assembly Tips:
- Review Instructions: Before starting, thoroughly read the entire assembly guide to familiarize yourself with the process and identify all parts.
- Organize Parts: Lay out all components and hardware in an organized manner. Verify that all parts listed in the manual are present.
- Two-Person Assembly: While possible for one person, assembly is significantly easier and safer with two people.
- Secure Connections: Ensure all bolts and screws are tightened securely at each step. Periodically re-check tightness after initial assembly.
- Poles and Slats: Some users have noted that certain poles or slats may require careful alignment and firm pressure to stay in place during initial assembly. Developing a consistent technique for securing these components can be helpful.
- Sticker Removal: If any protective or labeling stickers leave residue, gentle cleaning with a suitable adhesive remover or warm soapy water may be necessary.

Image 5.1: Components of the L-shaped metal bunk bed frame before assembly.
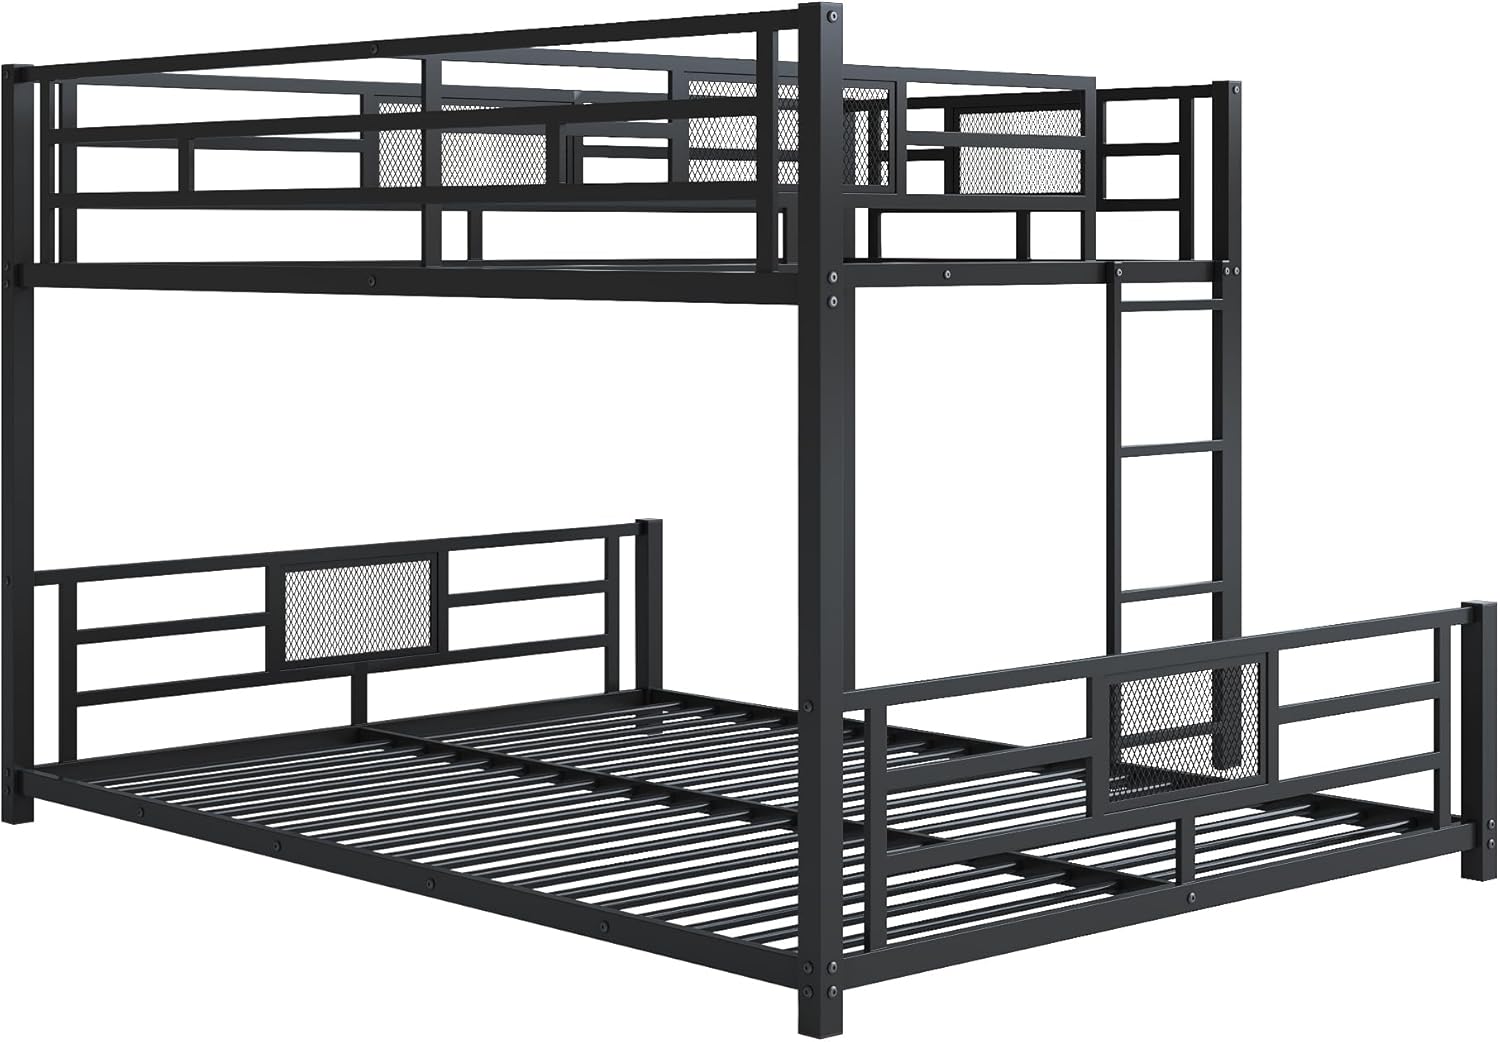
Image 5.2: Front view of the L-shaped metal bunk bed frame components.
6. Operating Instructions
Once assembled, the bunk bed is ready for use. Adhere to the following guidelines for safe operation:
- Ladder Use: Always use the built-in ladder for accessing the top bunk. Ensure the ladder is stable and securely attached before climbing.
- Guardrails: The top bunk is equipped with full-length guardrails for safety. Ensure these are always in place and undamaged.
- Weight Limits: Do not exceed the specified weight limits for each bunk. The lower bunk has a limit of 350 lbs. Refer to specifications for the top bunk's limit.
- Mattress Compatibility: Use only mattresses that fit snugly within the bunk frames to prevent gaps that could pose a hazard.
- No Horseplay: Prohibit jumping or rough play on or around the bunk bed.
7. Maintenance
Regular maintenance helps prolong the life and ensure the safety of your bunk bed.
- Cleaning: Wipe down the metal frame with a soft, damp cloth. Avoid abrasive cleaners or harsh chemicals that could damage the powder-coated finish.
- Tighten Connections: Periodically (e.g., every 3-6 months) check all bolts, screws, and connections to ensure they remain tight. Re-tighten as necessary.
- Inspect for Damage: Regularly inspect the frame, slats, ladder, and guardrails for any signs of wear, damage, or bending. Discontinue use if significant damage is found and contact support.
8. Troubleshooting
This section addresses common issues you might encounter.
- Issue: Parts do not fit or align during assembly.
Solution: Double-check the assembly guide to ensure you are using the correct parts for each step and that they are oriented correctly. Sometimes, parts may appear similar but have subtle differences. Do not force parts together. - Issue: Bed feels wobbly after assembly.
Solution: Ensure all bolts and screws are fully tightened. A loose connection can cause instability. Re-check all connections from the beginning. Ensure the bed is on a level surface. - Issue: Missing or damaged parts.
Solution: Refer to the package contents list. If any parts are missing or arrived damaged, contact KLMM customer support with your purchase details and a description of the issue. - Issue: Ladder feels insecure.
Solution: Verify that the ladder is correctly attached to the bunk bed frame according to the assembly instructions. Ensure all fasteners securing the ladder are tight.
9. Warranty and Support
For any quality problems or concerns regarding your KLMM L-Shaped Metal Bunk Bed, please contact the seller or manufacturer directly. Refer to your purchase documentation for specific warranty terms and contact information. Keep your proof of purchase for warranty claims.