
1. Introduction
The HOMCOM Stepper with Handlebar and LCD Display (Model A90-263GY) is designed for effective full-body fitness exercises in a home environment. This compact and robust fitness machine features an ergonomic handlebar for upper body support, adjustable hydraulic resistance for smooth stepping, and an integrated LCD screen to monitor your workout progress. This manual provides essential information for safe assembly, operation, and maintenance of your stepper.

Image 1.1: The HOMCOM Stepper with Handlebar and LCD Display, fully assembled.
2. Safety Information
Please read and understand all safety instructions before using the stepper. Failure to follow these instructions may result in injury or damage to the equipment.
- Consult a physician before starting any new exercise program, especially if you have pre-existing health conditions.
- Keep children and pets away from the equipment during use and storage.
- Ensure the stepper is placed on a flat, stable, and non-slip surface. Use a protective mat if necessary.
- The maximum user weight for this stepper is 100 kg (220 lbs). Do not exceed this limit.
- Always wear appropriate athletic footwear while exercising.
- Inspect the equipment for any signs of wear, damage, or loose parts before each use. Do not use if damaged.
- Do not attempt to modify the stepper. Use only manufacturer-approved replacement parts.
- Stop exercising immediately if you feel pain, dizziness, or shortness of breath.
- The pedals are designed with a non-slip surface. Ensure your feet are securely placed before beginning your workout.

Image 2.1: Non-slip features on the stepper, including pedals, handlebars, and foot covers.
3. Package Contents
Before assembly, carefully unpack all components and verify that you have received all the items listed below. If any parts are missing or damaged, do not proceed with assembly and contact customer support.
- Main Stepper Frame
- Handlebar
- Pedals (2 units)
- LCD Display Unit
- Assembly Hardware (screws, bolts, washers)
- Instruction Manual (this document)
Note: 1 AAA battery is required for the LCD display and is not included in the package.

Image 3.1: The product is shipped in one package.
4. Assembly and Setup
The HOMCOM Stepper is designed for straightforward assembly. Follow these steps carefully:
- Unpack Components: Remove all parts from the packaging and lay them out on a clean, flat surface. Refer to the 'Package Contents' section to ensure all items are present.
- Attach Handlebar: Securely attach the handlebar to the main frame using the provided screws and tools. Ensure all connections are tight and stable.
- Install Pedals: Mount the pedals onto their respective pivot points on the stepper mechanism. Confirm they are firmly attached and move freely.
- Insert Battery into LCD Display: Open the battery compartment on the back of the LCD display unit. Insert one AAA battery (not included), ensuring correct polarity. Close the compartment.
- Attach LCD Display: Secure the LCD display unit into its designated slot on the handlebar.
- Placement: Place the assembled stepper on a level, stable surface, ensuring there is enough clear space around it for safe operation.
5. Operating Instructions
Follow these instructions for effective and safe use of your HOMCOM Stepper.
5.1 Getting Started
- Stand facing the stepper, holding the handlebar for balance.
- Step onto the non-slip pedals one foot at a time. Ensure your entire foot is comfortably placed on the pedal.
- Begin a stepping motion, moving your feet up and down in a controlled manner. The stepper's hydraulic system allows for smooth left and right movements, engaging various muscle groups.
5.2 Adjusting Resistance
The stepper features adjustable hydraulic resistance, allowing you to customize your workout intensity.
- Locate the resistance adjustment knob, typically found at the front or base of the main column.
- Turn the knob clockwise (+) to increase the stepping resistance, making your workout more challenging.
- Turn the knob counter-clockwise (-) to decrease the stepping resistance, making your workout easier.
- Adjust the resistance gradually to find a level that suits your fitness level and workout goals.

Image 5.1: The resistance adjustment knob for customizing workout intensity.
5.3 Using the LCD Display
The integrated LCD display helps you track your workout metrics.
- MODE Button: Press the 'MODE' button to cycle through different display functions, which typically include:
- TIME: Duration of your current workout.
- COUNT: Total number of steps taken during the current workout.
- CALORIES: Estimated calories burned during the current workout.
- STRIDES/MIN (SCAN): Displays each metric for a few seconds in a continuous loop.
- RESET Button: Press and hold the 'RESET' button to clear all current workout data (Time, Count, Calories) and start fresh.
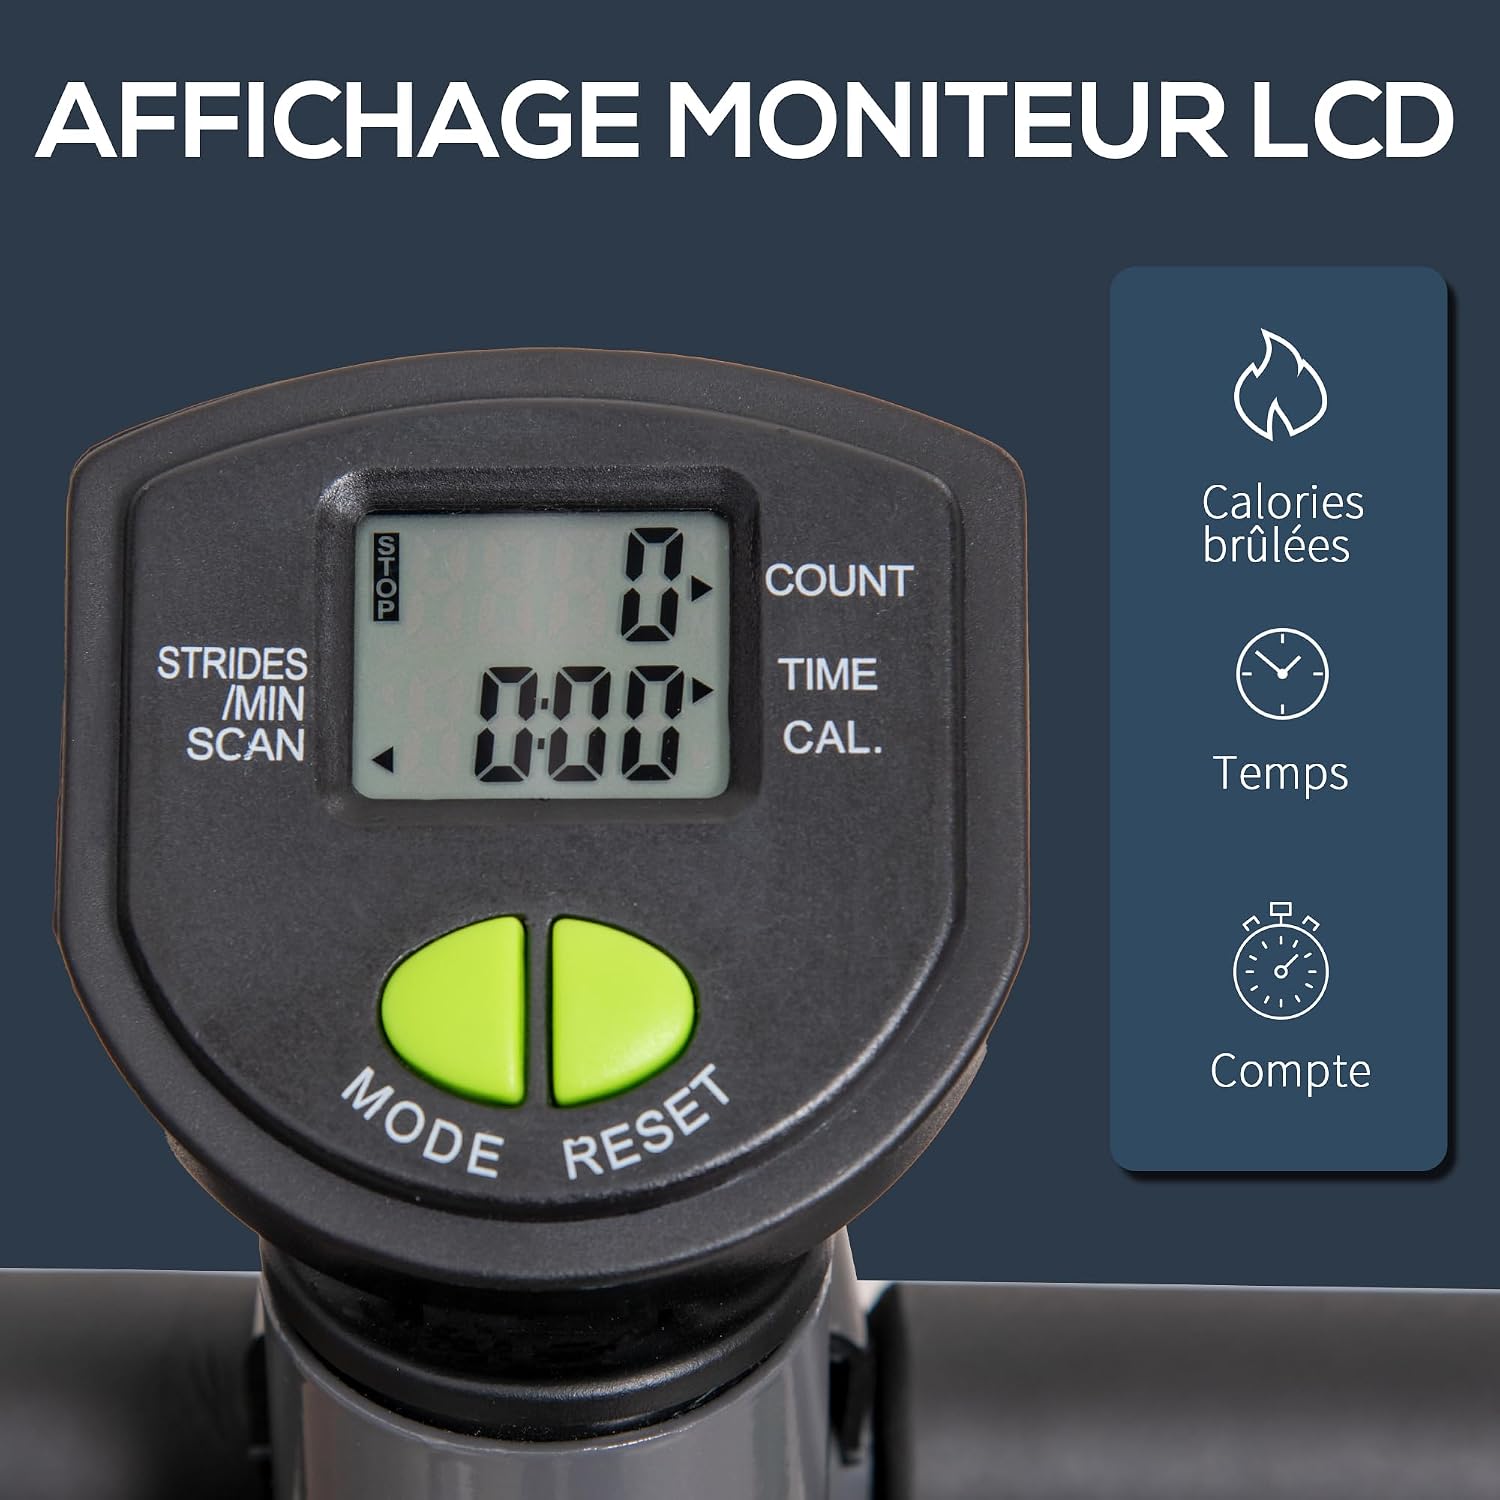
Image 5.2: The LCD display showing workout duration, step count, and calories burned.
5.4 Full Body Exercise
The ergonomic handlebar provides stable upper body support, allowing you to engage various muscle groups for a comprehensive workout, including your hips, legs, and lumbar region.
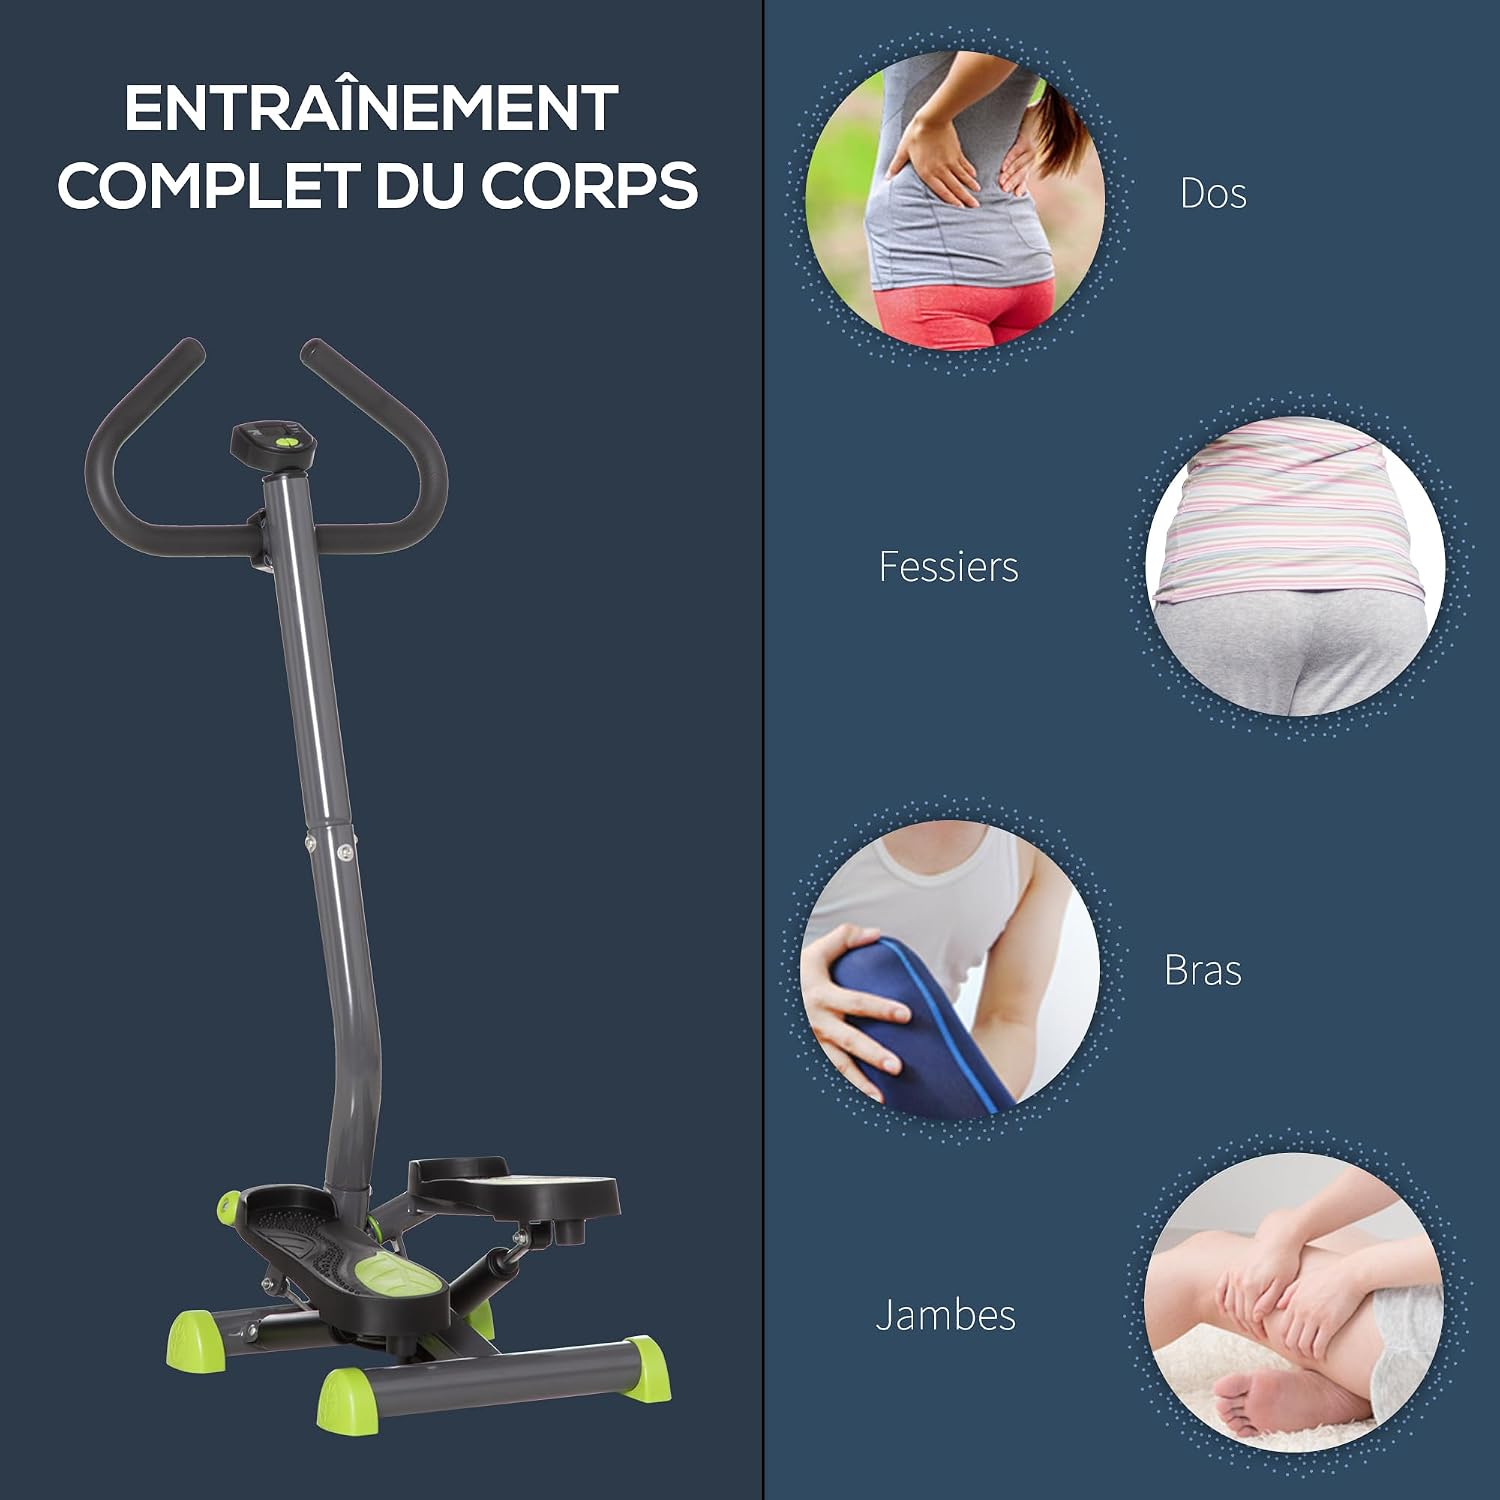
Image 5.3: The stepper provides a full-body workout, targeting the back, glutes, arms, and legs.
6. Maintenance
Regular maintenance ensures the longevity and safe operation of your HOMCOM Stepper.
- Cleaning: After each use, wipe down the stepper with a damp cloth to remove sweat and dust. Avoid using abrasive cleaners or solvents that could damage the finish.
- Inspection: Periodically check all bolts, nuts, and moving parts for tightness. Tighten any loose fasteners. Inspect the hydraulic cylinders for any signs of leakage or damage.
- Lubrication: If you notice any squeaking or stiffness in the stepping mechanism, apply a small amount of silicone-based lubricant to the pivot points and hydraulic cylinder connections.
- Storage: Store the stepper in a cool, dry place away from direct sunlight and extreme temperatures. Its compact design allows for easy storage in limited spaces.

Image 6.1: The hydraulic cylinders provide smooth resistance and require occasional inspection.
7. Troubleshooting
This section addresses common issues you might encounter with your stepper.
| Problem | Possible Cause | Solution |
|---|---|---|
| Squeaking or excessive noise during operation | Loose fasteners; lack of lubrication; uneven surface. | Check and tighten all bolts and screws. Apply silicone-based lubricant to pivot points. Ensure the stepper is on a flat, stable surface. |
| LCD display not working or showing incorrect data | Dead or incorrectly installed battery; loose connection. | Replace the AAA battery, ensuring correct polarity. Check if the display unit is securely attached. |
| Uneven or jerky stepping motion | Stepper not on a level surface; hydraulic cylinder issue. | Relocate the stepper to a perfectly flat surface. Inspect hydraulic cylinders for damage or leaks. If issues persist, contact customer support. |
| Resistance feels too easy or too hard | Resistance knob setting. | Adjust the resistance knob (clockwise for harder, counter-clockwise for easier) to your desired level. |
8. Specifications
Detailed specifications for the HOMCOM Stepper Model A90-263GY.
| Feature | Specification |
|---|---|
| Model Number | A90-263GY |
| Overall Dimensions (L x W x H) | 55 cm x 44 cm x 108 cm (21.7 in x 17.3 in x 42.5 in) |
| Pedal Dimensions (L x W) | 32 cm x 11 cm (12.6 in x 4.3 in) |
| Weight | 9.3 kg (20.5 lbs) |
| Maximum User Weight | 100 kg (220 lbs) |
| Main Material | Alloy Steel |
| Color | Grey with Green accents |
| Display Type | LCD (Time, Count, Calories, Scan) |
| Battery Required | 1 x AAA (not included) |
| Resistance Type | Adjustable Hydraulic Cylinders |

Image 8.1: Key dimensions of the HOMCOM Stepper.
9. Warranty Information
Specific warranty terms and conditions may vary depending on your region and retailer. Please refer to the warranty card included with your purchase or consult your retailer's website for detailed information regarding warranty coverage, duration, and claims procedures. Generally, warranties cover manufacturing defects for a limited period from the date of purchase.
10. Customer Support
For technical assistance, questions about assembly, missing parts, or any other inquiries, please contact HOMCOM customer service or the retailer from whom you purchased the product. When contacting support, please have the following information ready:
- Product Model Number: A90-263GY
- Date of Purchase
- Place of Purchase (Retailer Name)
- A detailed description of the issue
You can often find contact information on the HOMCOM official website or on your purchase receipt.