
1. Important Safety Instructions
Please read all instructions carefully before using the appliance. Keep this manual for future reference.
- Ensure the voltage rating on the appliance corresponds to your mains voltage.
- Do not immerse the appliance, power cord, or plug in water or other liquids.
- Always unplug the appliance from the power outlet before cleaning and when not in use.
- Do not operate any appliance with a damaged cord or plug, or after the appliance malfunctions or has been damaged in any manner.
- Keep children away from the appliance during operation.
- Use the appliance only for its intended household purpose.
- Avoid contact with hot surfaces, such as the steam wand and portafilter.
2. Product Overview
The De'Longhi Dedica Maestro Plus EC950.M is a compact espresso machine designed for preparing high-quality espresso and milk-based beverages at home. It features 15 bars of pressure for rich espresso extraction and advanced milk frothing technology.
Key Features:
- 15-Bar Pressure System: Ensures optimal extraction for a rich aroma and hazelnut crema.
- Thermoblock Heating System: Provides rapid heating and maintains stable water temperature for consistent brewing.
- Auto LatteArt Technology: Automatically froths milk to selected temperature and texture levels (LatteArt/Microfoam, Fine, Dense).
- Self-Cleaning Steam Wand: Maintains hygiene and performance of the milk frothing system.
- Intuitive Control Panel: Features 5 buttons for simple and immediate operation.
- Adjustable Cup Height: Accommodates various cup sizes.
- Eco-Friendly Design: Made with 40% recycled plastic and includes an automatic standby system for reduced energy consumption.

Figure 2.1: The De'Longhi Dedica Maestro Plus EC950.M espresso machine in a kitchen setting.
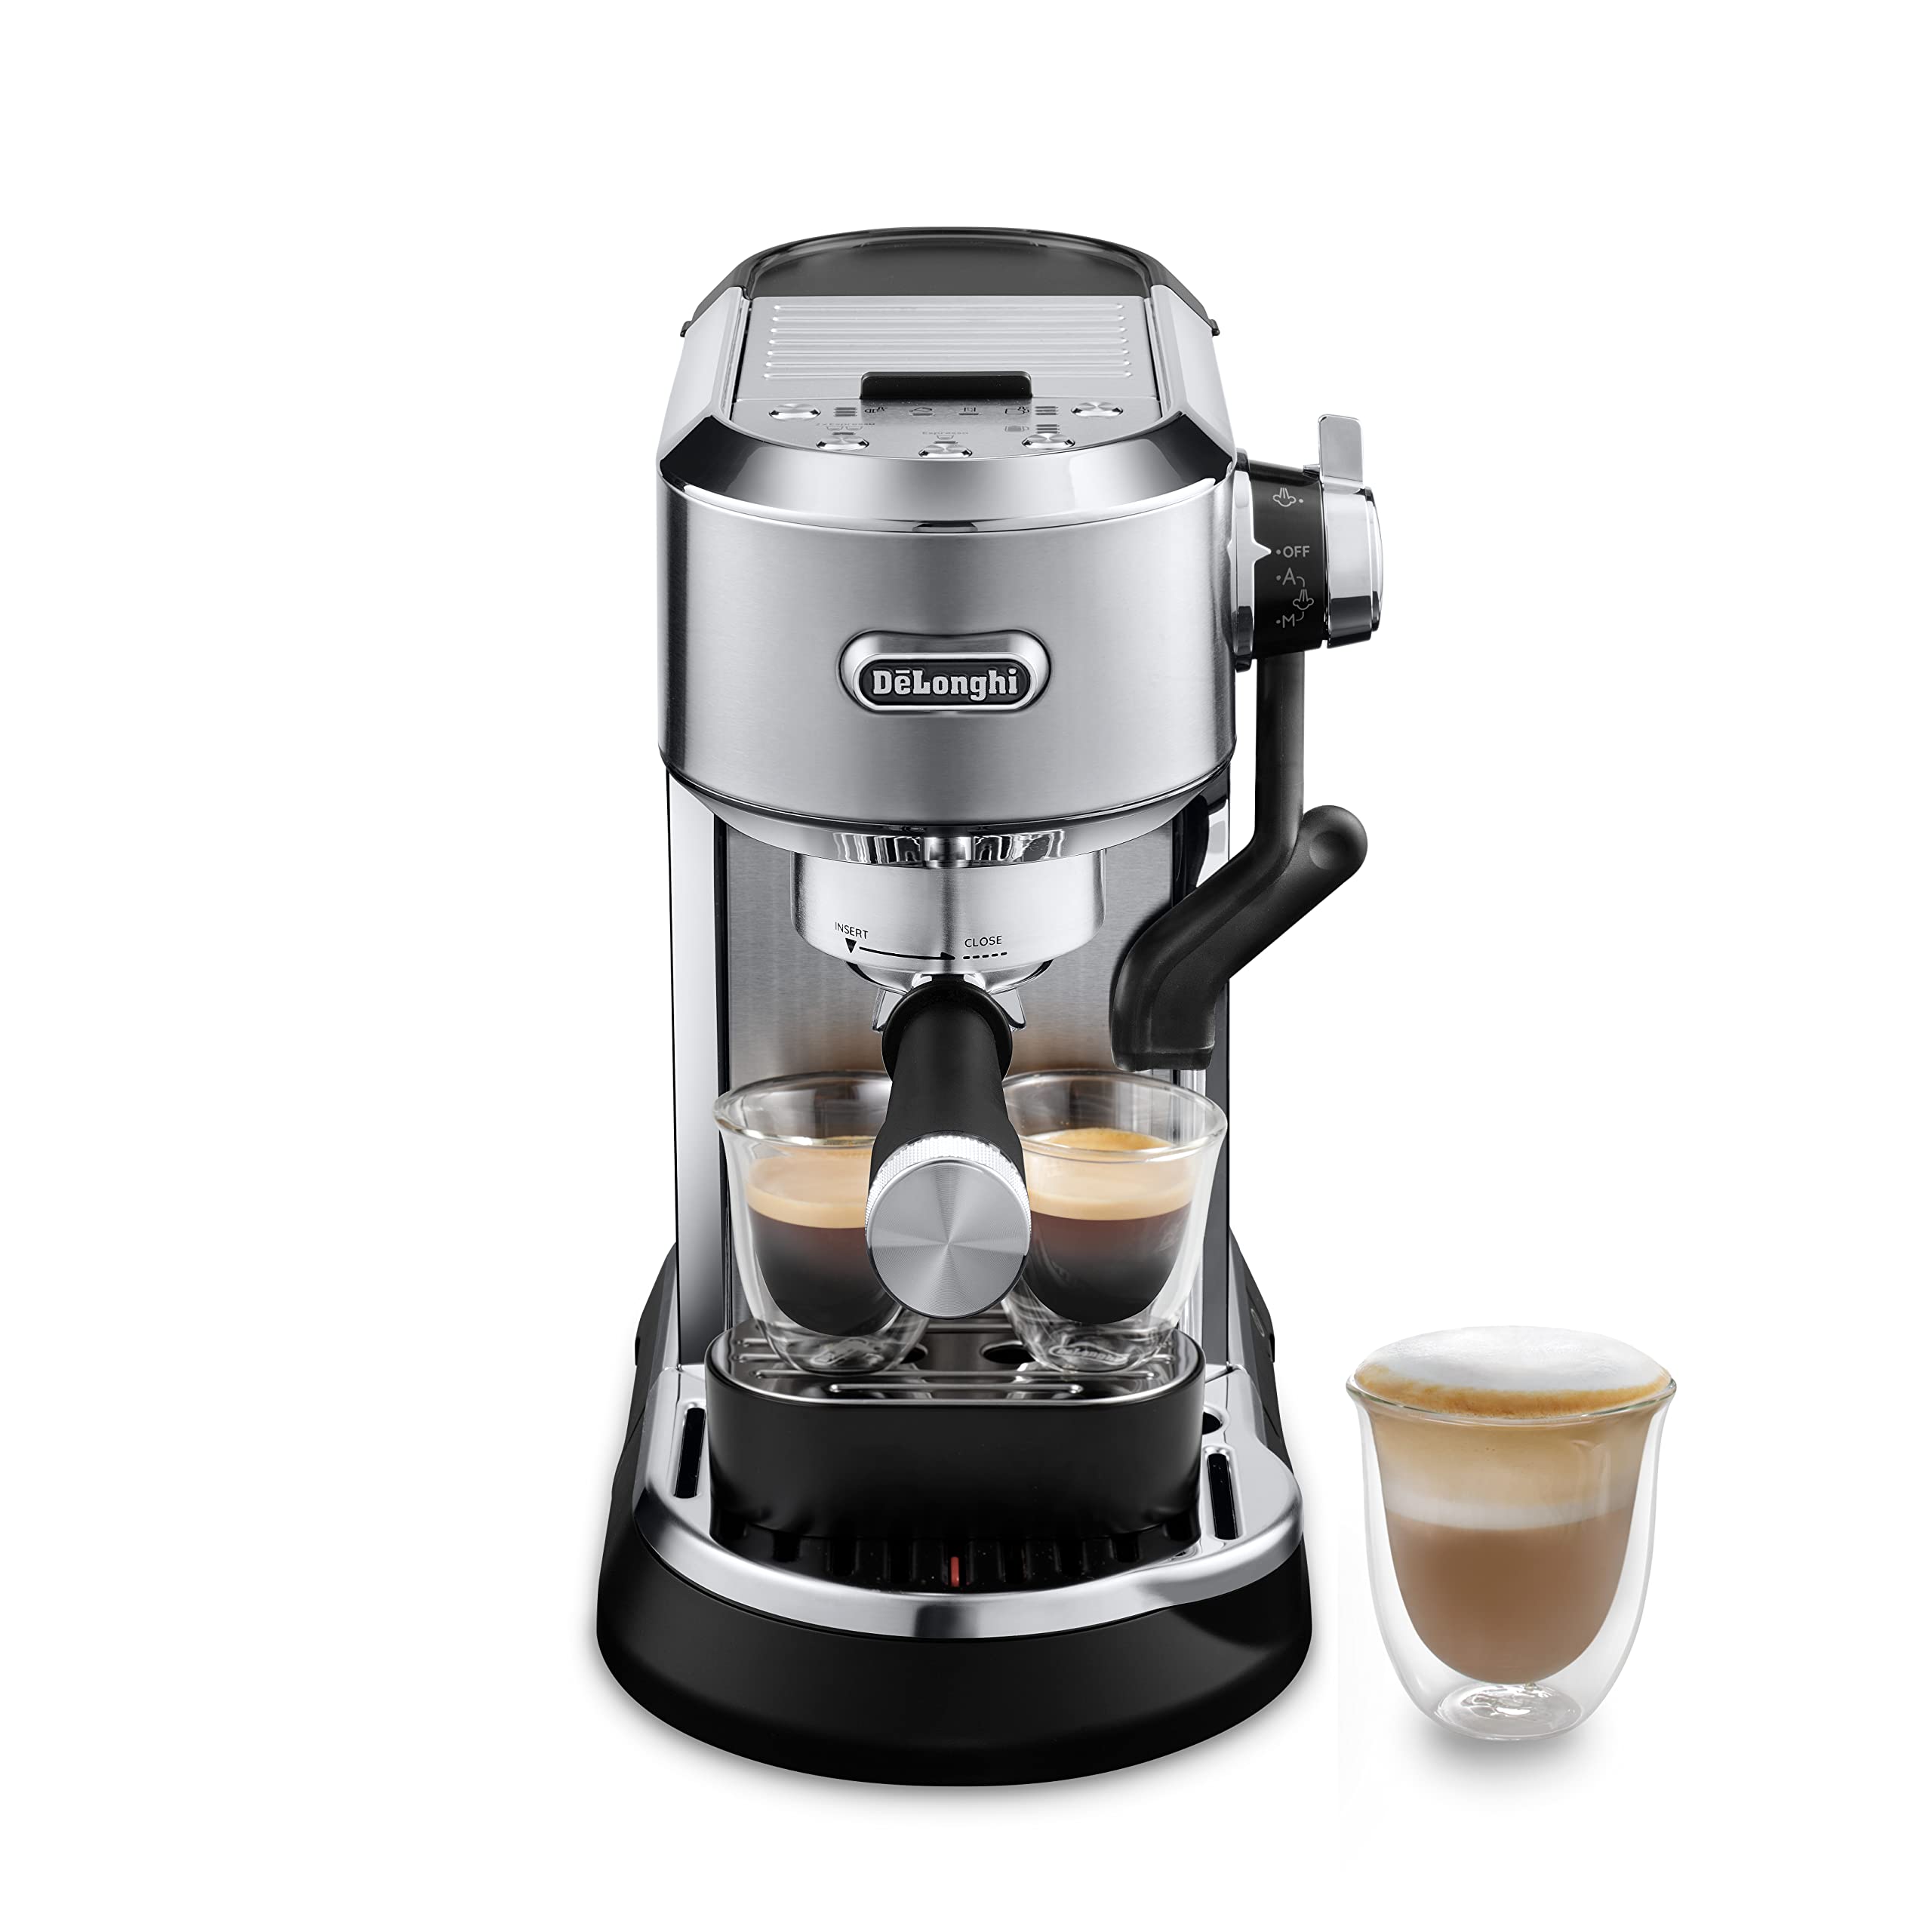
Figure 2.2: The adjustable cup height feature, allowing for different cup sizes by removing the drip tray.
3. Initial Setup
3.1 Unpacking
- Remove the appliance from its packaging.
- Remove all packaging materials, labels, and accessories.
- Clean the water tank, portafilter, and milk jug with warm water and mild detergent. Rinse thoroughly.
3.2 Filling the Water Tank
- Remove the water tank from the back of the machine.
- Fill the tank with fresh, cold drinking water up to the MAX level indicator.
- Replace the water tank securely into the machine.
3.3 First Use / Priming the Machine
- Plug the machine into a suitable power outlet.
- Place a container under the coffee spouts and the steam wand.
- Turn on the machine. The indicator lights will flash as the machine heats up.
- Once the lights are steady, press the espresso button to dispense water through the coffee spouts until water flows continuously.
- Turn the steam knob to the steam position to dispense water through the steam wand until water flows continuously. Close the steam knob.
- The machine is now primed and ready for use.
4. Operating the Espresso Machine
4.1 Making Espresso
The machine can use either ground coffee or E.S.E. (Easy Serving Espresso) pods.
Using Ground Coffee:
- Insert the appropriate filter (single or double shot) into the portafilter.
- Add ground coffee using the measuring spoon (one level spoon for a single shot, two for a double).
- Tamp the coffee firmly with the tamper.
- Attach the portafilter to the brewing group and lock it into place.
- Place one or two cups under the portafilter spouts.
- Press the single or double espresso button to start brewing. The machine will stop automatically.
Using E.S.E. Pods:
- Insert the E.S.E. pod filter into the portafilter.
- Place an E.S.E. pod into the filter, ensuring it is centered.
- Attach the portafilter to the brewing group and lock it into place.
- Place a cup under the portafilter spout.
- Press the single espresso button to start brewing. The machine will stop automatically.

Figure 4.1: Espresso being dispensed from the machine into two cups.
4.2 Preparing Milk with Auto LatteArt
The Auto LatteArt system allows for automatic milk frothing with customizable temperature and texture.
- Fill the milk jug with cold milk (dairy or non-dairy) to the recommended level.
- Position the steam wand into the milk jug.
- Select your desired temperature (60°C, 65°C, or 70°C) and texture (LatteArt/Microfoam, Fine, or Dense) using the control panel.
- Press the milk frothing button to start the process. The machine will automatically froth the milk and stop when complete.
- Carefully remove the milk jug.

Figure 4.2: Milk being frothed using the Auto LatteArt steam wand.
5. Cleaning and Maintenance
Regular cleaning and maintenance ensure the longevity and optimal performance of your espresso machine.
5.1 Daily Cleaning
- Drip Tray: Empty and clean the drip tray and grid daily.
- Water Tank: Rinse the water tank daily and refill with fresh water.
- Portafilter and Filters: After each use, remove spent coffee grounds and rinse the portafilter and filters under running water.
- Exterior: Wipe the exterior of the machine with a soft, damp cloth. Do not use abrasive cleaners.
5.2 Steam Wand Self-Cleaning
The machine features an automatic self-cleaning system for the steam wand. After each milk preparation, ensure the steam wand is clean by wiping it with a damp cloth. The machine will prompt for a self-cleaning cycle as needed.
5.3 Descaling
Descaling is essential to remove mineral buildup and maintain machine performance. The frequency depends on water hardness and usage. Refer to the machine's indicator for descaling alerts. Use a suitable descaling solution recommended by De'Longhi and follow the instructions provided with the descaler.
6. Troubleshooting
If you encounter issues with your machine, consult the following table for common problems and solutions.
| Problem | Possible Cause | Solution |
|---|---|---|
| No coffee dispensed | Water tank empty; machine not primed; coffee too finely ground or over-tamped. | Fill water tank; prime the machine; use coarser grind or less pressure when tamping. |
| Coffee is cold | Cups not pre-heated; machine not fully heated. | Pre-heat cups with hot water; wait for machine to reach operating temperature (indicator lights steady). |
| Milk not frothing correctly | Steam wand blocked; milk not cold enough; incorrect milk type. | Clean steam wand; use cold milk; try different milk types (e.g., barista edition). |
| Machine leaks water | Water tank not correctly inserted; drip tray full. | Ensure water tank is securely in place; empty and clean drip tray. |
If the problem persists, please contact customer support.
7. Technical Specifications
| Specification | Value |
|---|---|
| Brand | De'Longhi |
| Model Number | EC950.M |
| Color | Grey |
| Dimensions (L x W x H) | 45 x 19 x 32.5 cm |
| Weight | 5.5 Kilograms |
| Water Tank Capacity | 1.6 Liters |
| Power | 1450 Watts |
| Voltage | 240 Volts |
| Material | Plastic |
| Special Features | Auto LatteArt, Thermoblock, Eco-friendly |
| Coffee Maker Type | Espresso Machine |
| Specific Uses | Cappuccino, Espresso |
| Recommended Uses | Espresso and milk-based beverages |
8. Warranty and Support
For warranty information and customer support, please refer to the warranty card included with your product or visit the official De'Longhi website. Keep your proof of purchase for any warranty claims.
Online Support: Visit www.delonghi.com for FAQs, troubleshooting guides, and contact information.