
1. Introduction
The Phomemo M260 is a versatile Bluetooth thermal label printer designed for efficient and convenient label creation. Utilizing advanced thermal printing technology, it eliminates the need for ink or toner, offering a clean and cost-effective printing solution. This printer is compatible with various operating systems, including Android 4.0 and iOS 8.0 or above, and supports a wide range of label sizes up to 3.14 inches (80mm).
This manual provides detailed instructions for setting up, operating, and maintaining your Phomemo M260 label printer to ensure optimal performance and longevity.

Figure 1: Phomemo M260 Label Printer with included thermal label paper.
2. Product Specifications
| Feature | Description |
|---|---|
| Brand | Phomemo |
| Model Name | M260 |
| Printing Technology | Thermal |
| Connectivity Technology | Bluetooth |
| Printer Output | Monochrome |
| Maximum Media Size | 2 3/4" X 3 1/8" (70mm X 80mm) |
| Maximum Print Resolution | 203 dpi |
| Dual-sided printing | No (Simplex) |
| Included Components | Labels, Label Paper Rolls |
| Power Source | Rechargeable Lithium Battery |
3. Setup Guide
3.1. Unboxing and Initial Inspection
Upon receiving your Phomemo M260 printer, carefully unbox all components. Ensure the package contains the printer unit, a USB charging cable, and a roll of thermal label paper. Inspect the printer for any visible damage.
3.2. Charging the Printer
Before first use, fully charge the printer using the provided USB cable. Connect the cable to the printer's charging port and a compatible USB power adapter (not included) or computer USB port. The charging indicator will show the charging status.
3.3. Installing the Paper Roll
Proper installation of the label paper is crucial for correct printing. Follow these steps:
- Press the power button for 2-3 seconds to turn on the printer.
- Open the printer cover by pressing the release button on the side.
- Insert the label roll into the paper compartment, ensuring the print side of the label faces upwards and the roll is aligned between the guides.
- Pull a small section of the label paper out past the print head.
- Close the printer cover securely. The printer should automatically feed the paper to the correct starting position.
Video: How to install paper roll properly.
3.4. App Installation and Bluetooth Connection
To use the Phomemo M260 with your mobile device, download the 'Print Master' app from your device's app store.
- Ensure your printer is turned on and fully charged.
- Open the 'Print Master' app on your smartphone or tablet.
- Follow the in-app instructions to search for and connect to your M260 printer via Bluetooth.
Video: Bluetooth Connection Guide for M260 label printer.
3.5. PC Driver and Software Installation
For PC connectivity, you will need to install the appropriate drivers and software. Visit the official Phomemo website to download the 'Labelife' software and printer drivers for your operating system (Windows, macOS, Linux).
- Connect the printer to your computer using the USB cable.
- Download and install the printer driver for your specific operating system.
- Download and install the 'Labelife' software.
- Once installed, launch 'Labelife' and ensure the printer is recognized as 'Connected'.
Video: How to download PC driver for M260 label maker.
Video: How to download PC software for M260 label printer.
4. Operating Instructions
4.1. Creating and Printing Labels with the Mobile App
- Open the 'Print Master' app and ensure your M260 printer is connected.
- Select a label template or create a new custom label. The app offers a variety of fonts, filter effects, and themes.
- Customize your label with text, images, barcodes, or QR codes.
- Preview the label to ensure it meets your requirements.
- Tap the print button. The printer supports one-click printing for convenience.
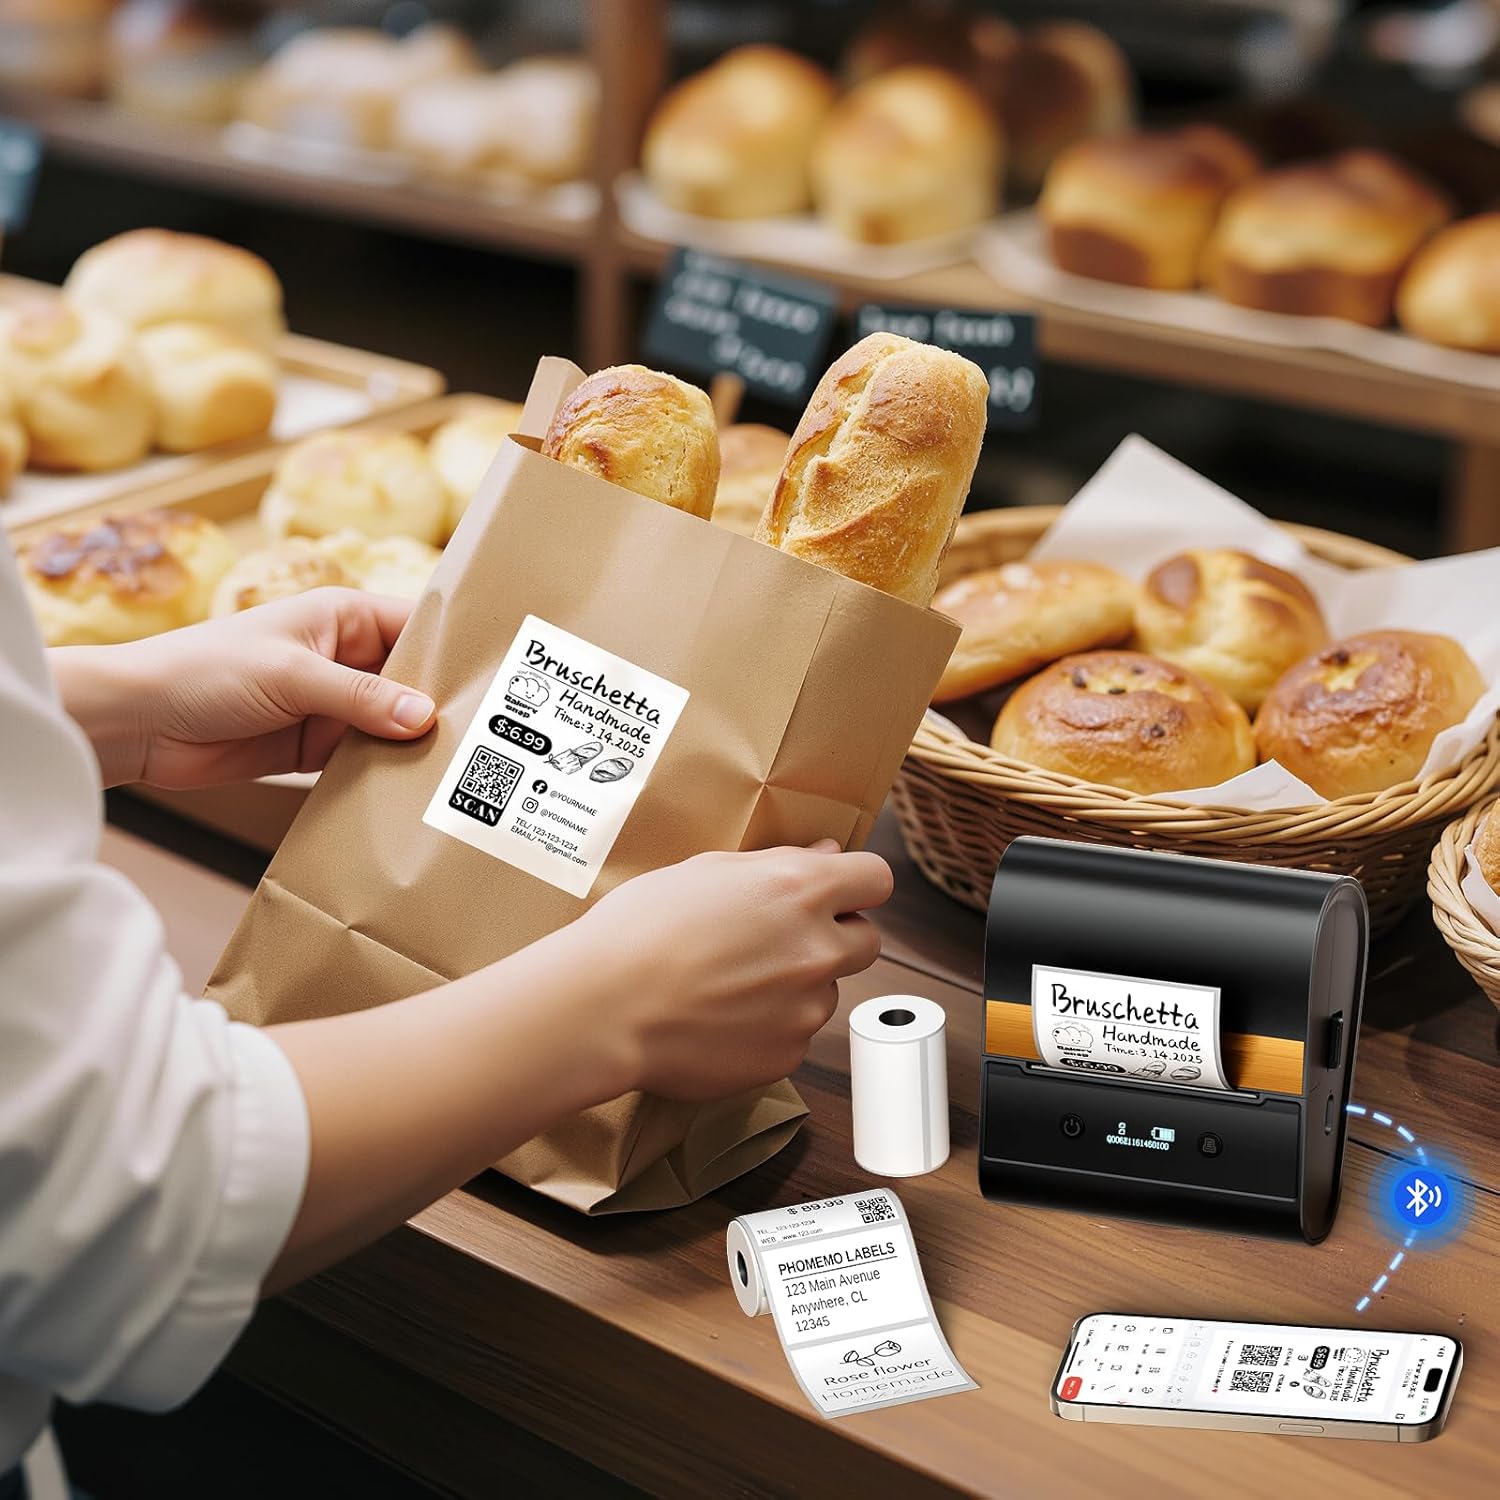
Figure 2: Applying a custom label printed with the Phomemo M260 to a bread bag.
4.2. Printing from PC Software
- Launch the 'Labelife' software on your computer.
- Create a new label or open an existing design.
- Adjust label dimensions and content as needed.
- Select your M260 printer from the print dialogue.
- Initiate the print job.
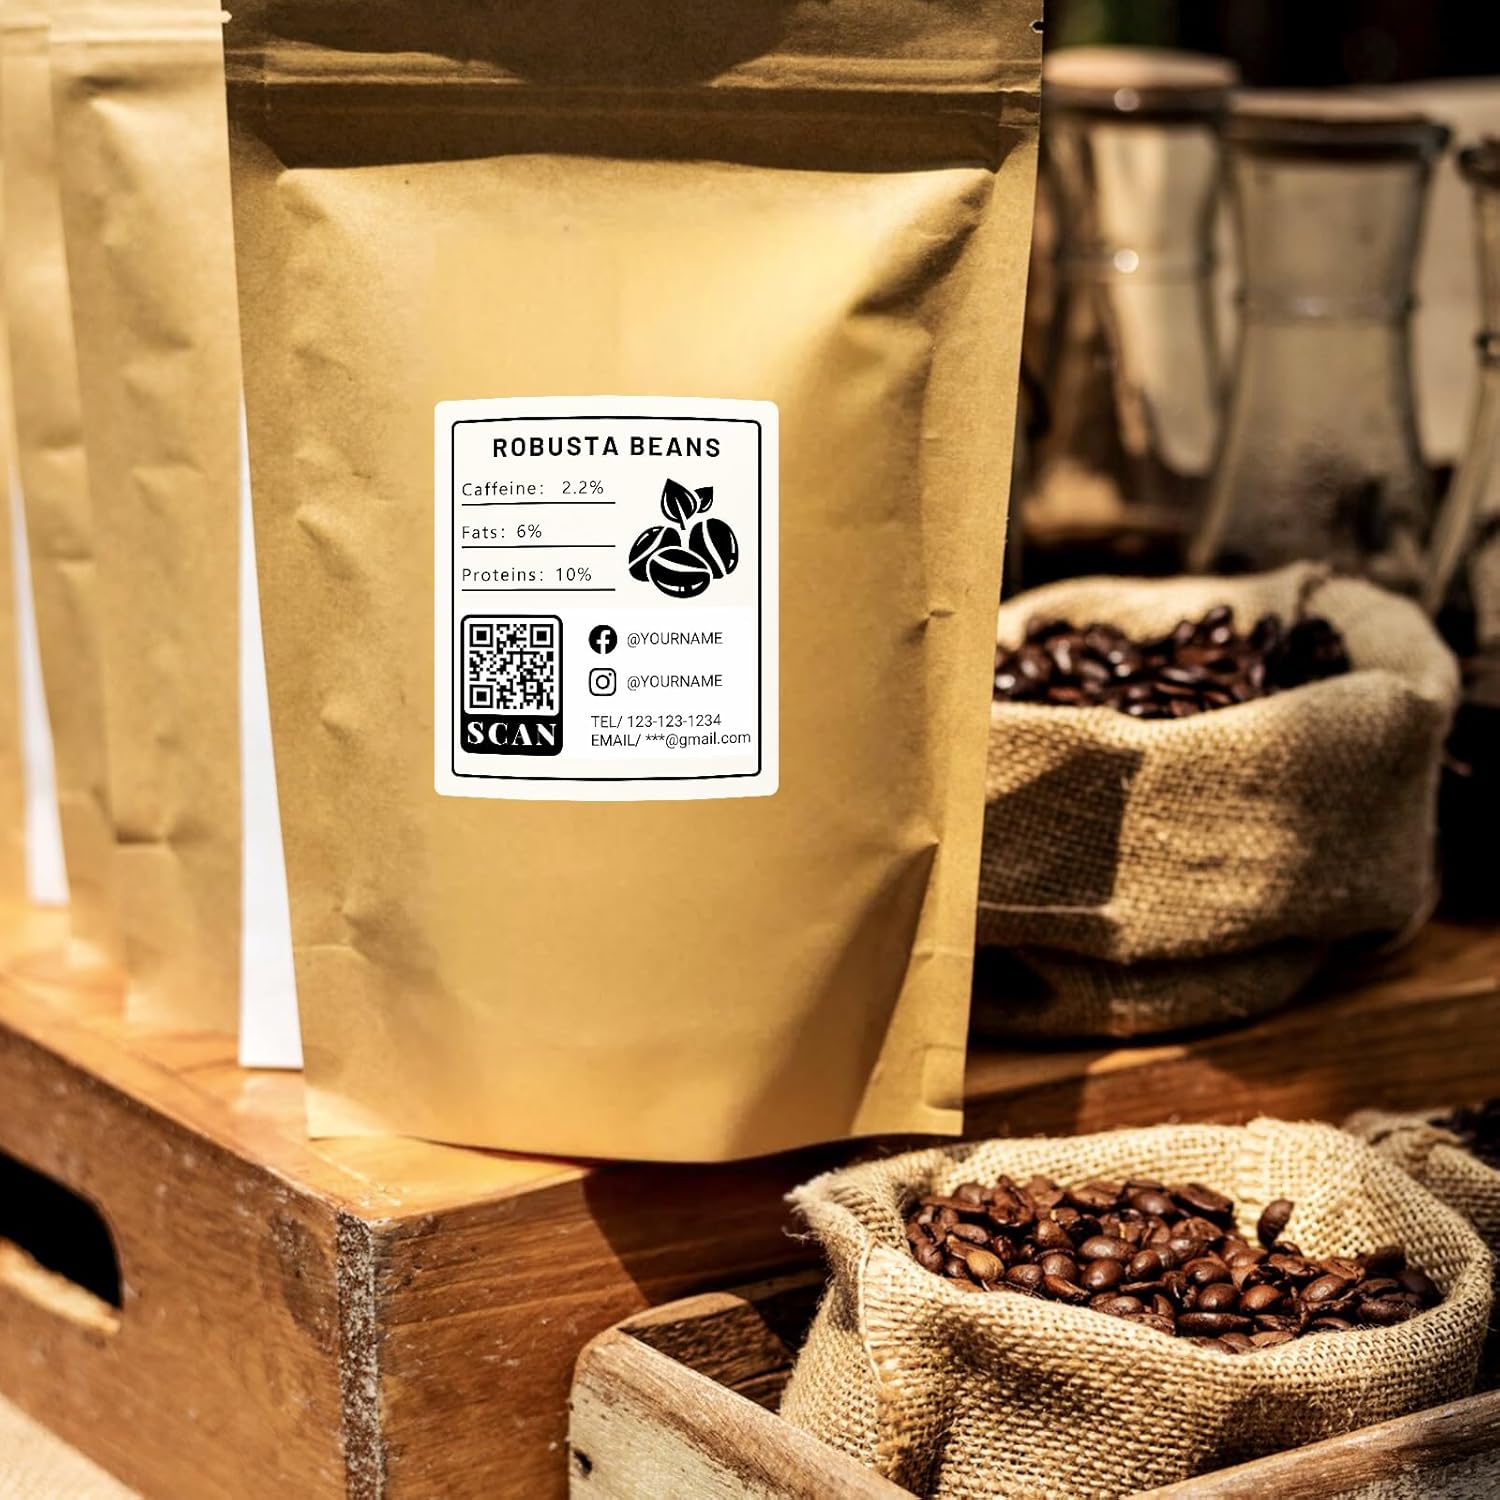
Figure 3: Custom label with product information and QR code printed by Phomemo M260.
4.3. Label Applications
The Phomemo M260 is suitable for various labeling needs, including:
- Mailing address labels
- Price tags
- Shipping labels
- Organization labels for home or office
- Product labels for small businesses
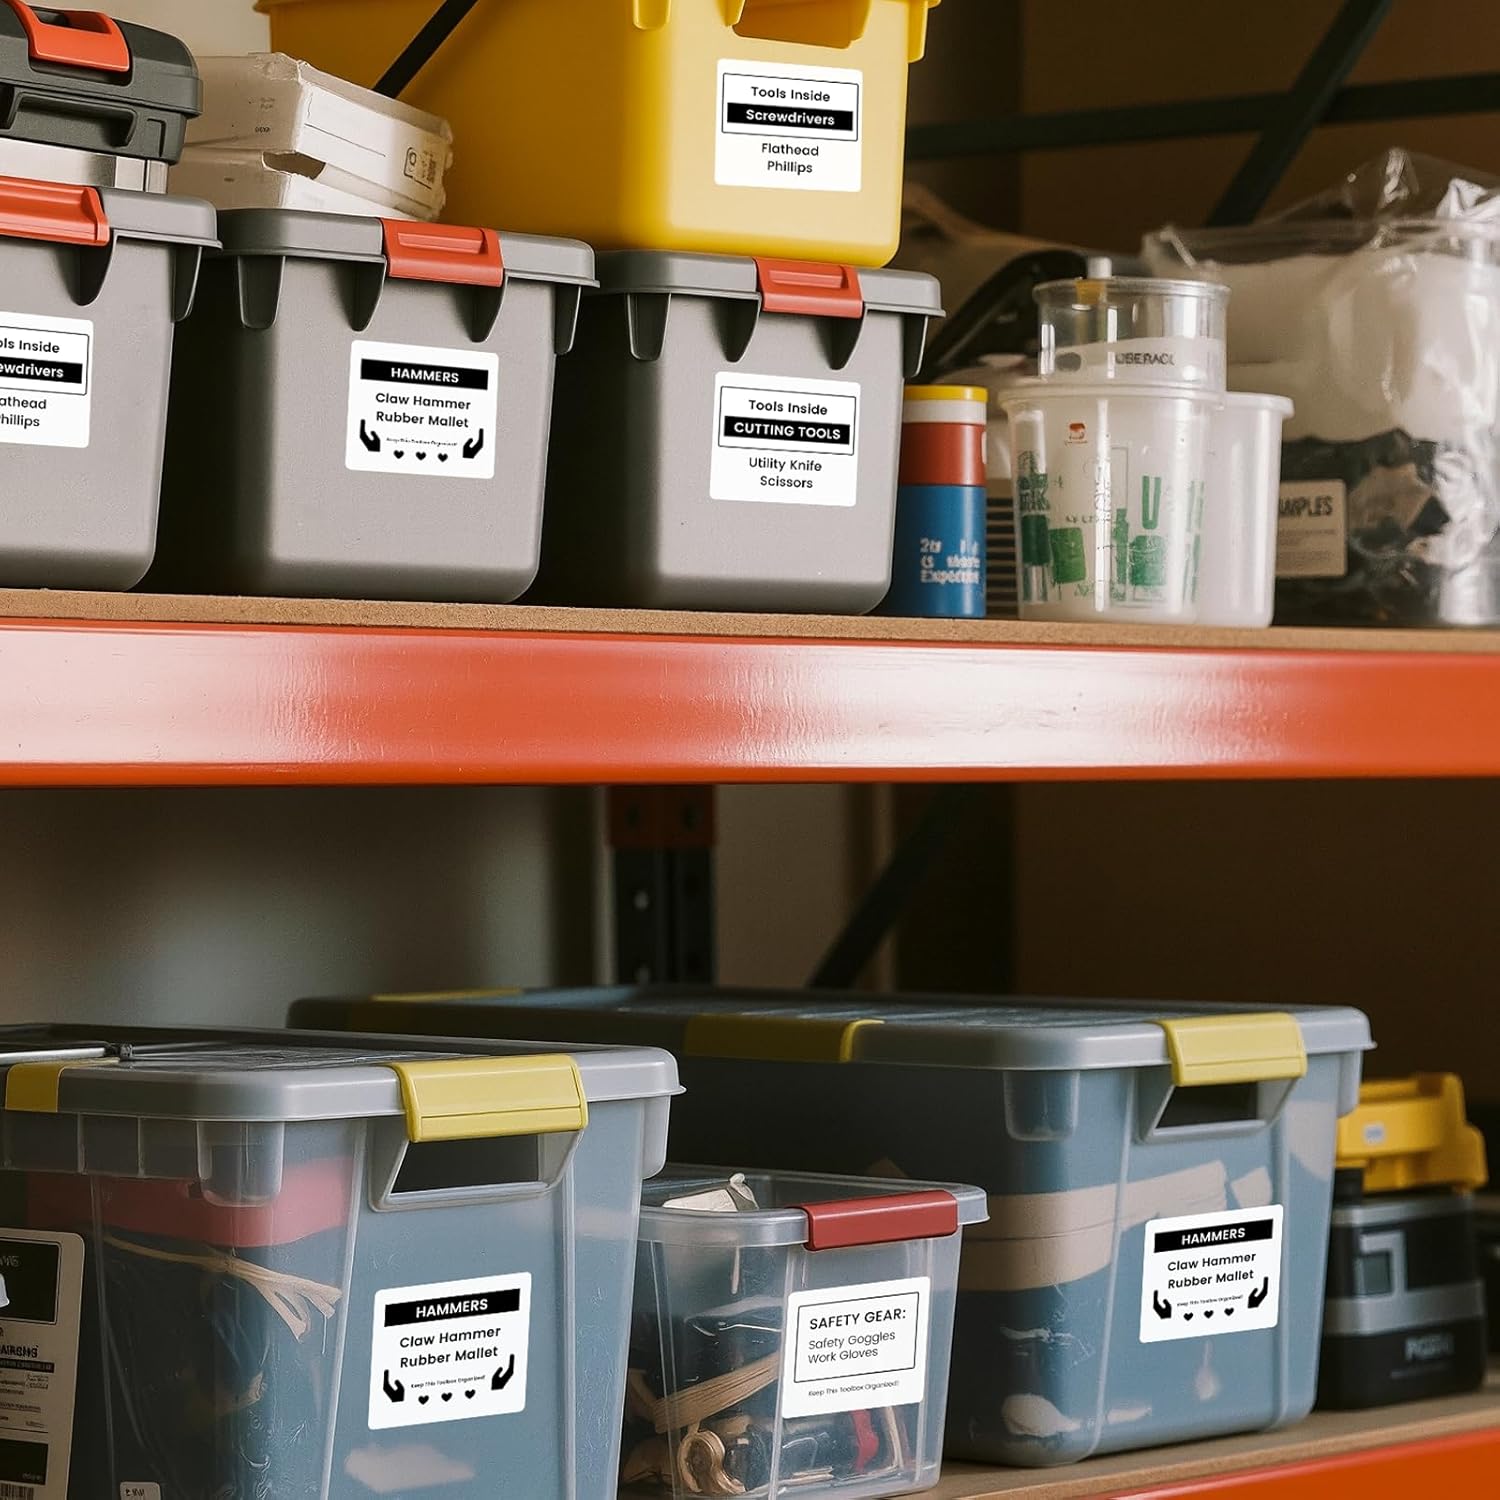
Figure 4: Organizing storage with labels created using the M260 printer.
5. Maintenance
5.1. Cleaning the Print Head
To maintain print quality, regularly clean the print head. Use a soft, lint-free cloth lightly dampened with isopropyl alcohol. Gently wipe the print head surface. Ensure the printer is turned off and disconnected from power before cleaning.
5.2. Storing Label Paper
Store thermal label paper in a cool, dry place away from direct sunlight and heat to prevent premature fading or damage to the thermal coating.
6. Troubleshooting
6.1. Printer Not Connecting via Bluetooth
- Ensure the printer is turned on and within range of your mobile device.
- Verify Bluetooth is enabled on your device.
- Restart both the printer and your mobile device.
- Check if the 'Print Master' app has Bluetooth permissions enabled.
6.2. Poor Print Quality
- Check the label paper for proper installation and ensure it is thermal paper.
- Clean the print head as described in the Maintenance section.
- Adjust print density settings in the 'Print Master' app or 'Labelife' software.
- Ensure the label paper is not expired or damaged.
6.3. Paper Jams or Incorrect Feeding
- Turn off the printer and carefully open the cover.
- Remove any jammed paper or debris.
- Reinstall the paper roll, ensuring it is correctly aligned and the leading edge is straight.
- Close the cover firmly.
7. Warranty and Support
For warranty information and technical support, please refer to the official Phomemo website or contact their customer service directly. Keep your purchase receipt as proof of purchase for warranty claims.


