1. Introduction
The REVASRI R50 Laser Distance Meter is a precision measuring tool designed for accurate distance, area, and volume calculations. It offers a range of up to 165 feet (50 meters) with an accuracy of ±1/16 inch. This manual provides essential information for the safe and effective use of your device.

Image 1.1: The REVASRI R50 Laser Distance Meter displaying its 165 feet range and 1/16 inch accuracy capabilities.
2. Safety Information
Please read and understand all safety instructions before operating the device. Failure to follow these instructions may result in laser radiation exposure, electric shock, or injury.
2.1 Laser Safety
- This device uses a Class II laser with an output of less than 1mW.
- Do not stare directly into the laser beam.
- Do not aim the laser beam at people or animals.
- Avoid direct eye exposure to the laser beam.
- Do not disassemble the device; laser radiation can be harmful.
2.2 General Safety
- Keep the device out of reach of children.
- Do not operate the device in explosive environments or near flammable materials.
- Use only specified batteries (2 x AAA Alkaline).
- Protect the device from moisture and direct sunlight.
3. Setup
3.1 Battery Installation
- Locate the battery compartment cover on the back of the device.
- Slide the cover downwards to open the compartment.
- Insert two (2) AAA 1.5V Alkaline batteries, ensuring correct polarity (+/-).
- Close the battery compartment cover by sliding it upwards until it clicks into place.
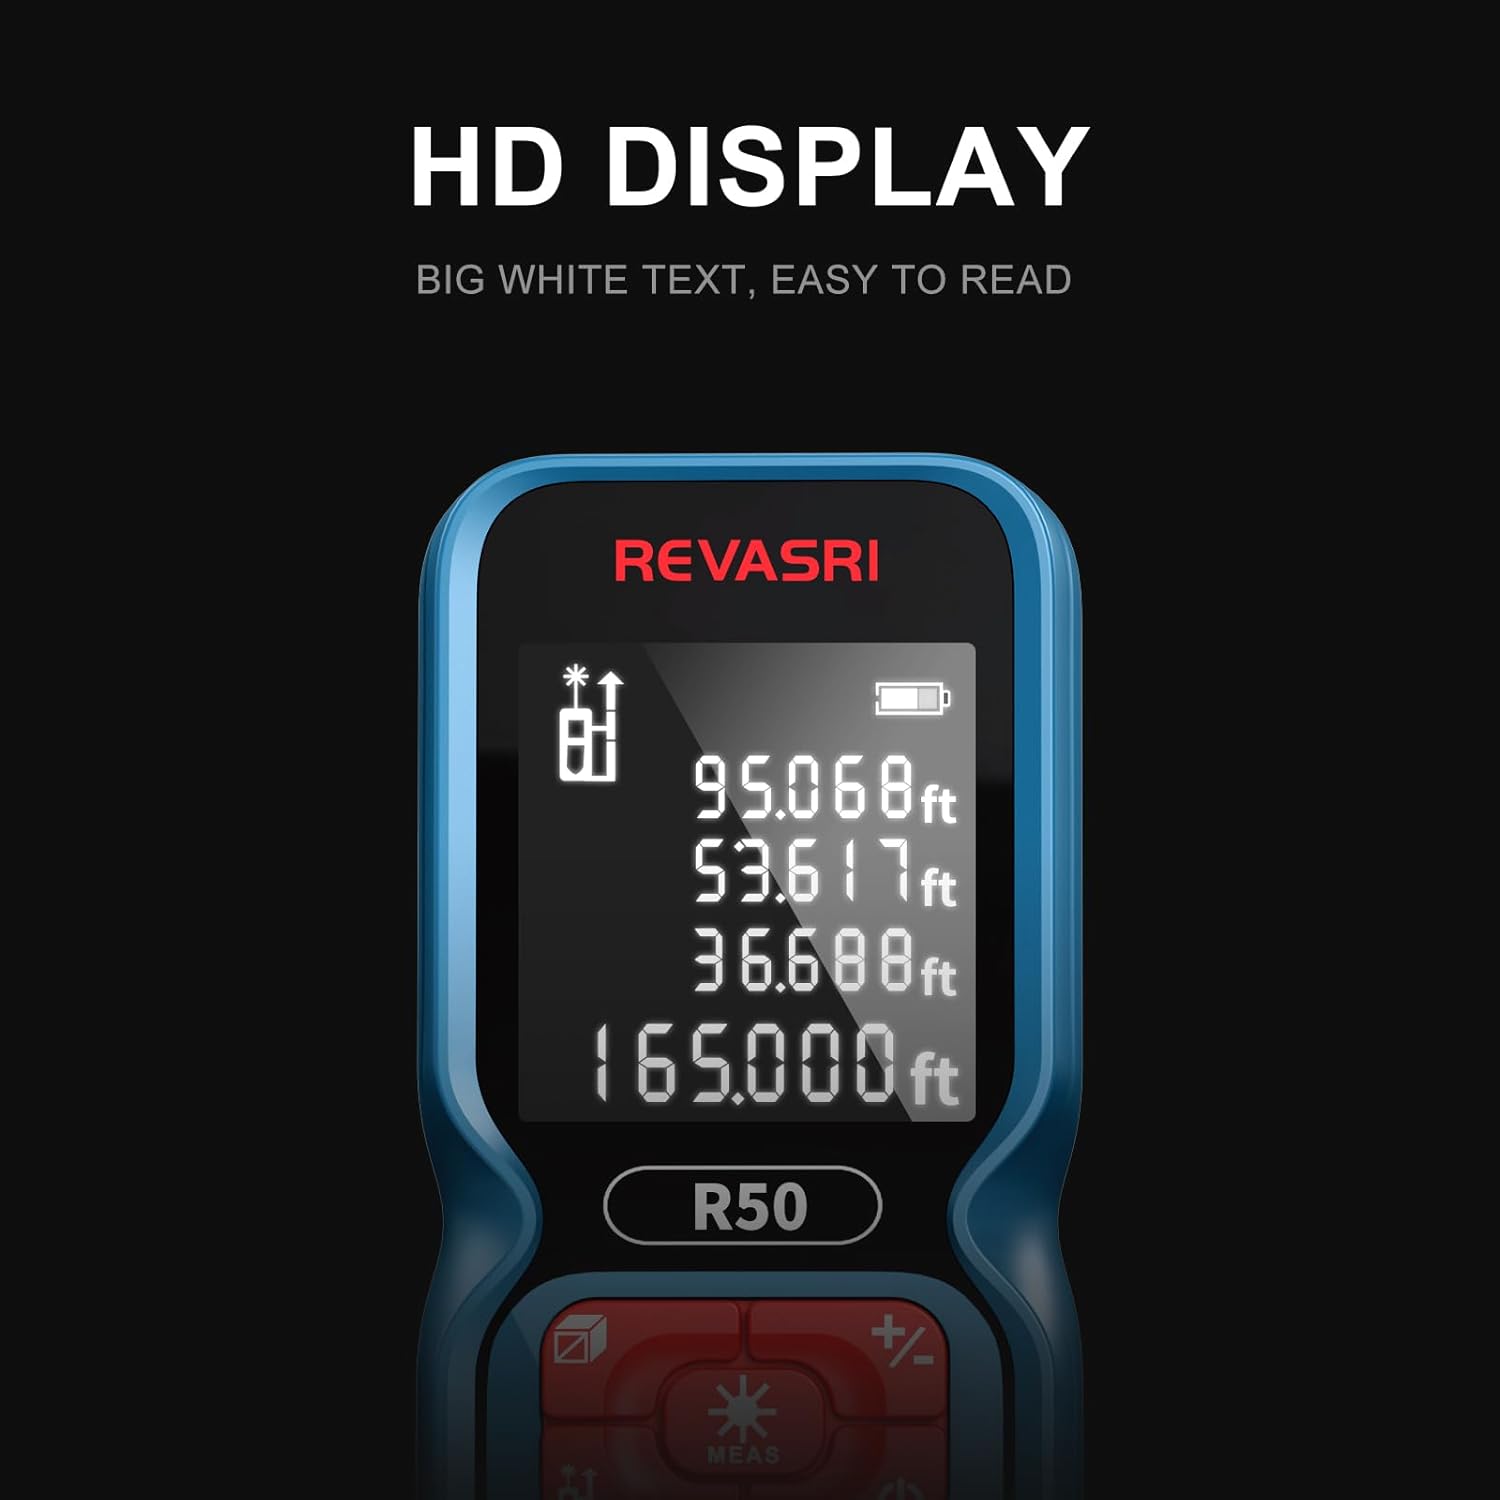
Image 3.1: Illustration of inserting two AAA batteries into the REVASRI R50 Laser Distance Meter's battery compartment.
4. Operating Instructions
4.1 Power On/Off
- Power On: Press the MEAS button once to turn on the device. The laser will activate.
- Power Off: Press and hold the Power button () for approximately 3 seconds to turn off the device. The device will also automatically power off after 45 seconds of inactivity.
4.2 Unit Switching
To change the measurement unit (Meters, Feet, Inches, Feet+Inches), press the Unit button () repeatedly until the desired unit is displayed on the screen.
4.3 Measurement Modes
The REVASRI R50 offers various measurement functions. Press the Mode button () to cycle through the available modes.

Image 4.1: Overview of the different measurement modes available on the REVASRI R50 Laser Distance Meter.
- Single Measurement: Press MEAS once to activate the laser, then press MEAS again to take a single distance measurement.
- Continuous Measurement: In this mode, the device continuously measures the distance as you move it, displaying the current, maximum, and minimum values. Press MEAS to start and again to stop.
- Area Measurement: Follow the on-screen prompts to measure two sides (length and width). The device will automatically calculate and display the area.
- Volume Measurement: Follow the on-screen prompts to measure three sides (length, width, and height). The device will automatically calculate and display the volume.
- Pythagorean Measurement (I, II, III): Used to calculate indirect distances based on two or three other measurements, useful for inaccessible points. Follow the on-screen prompts for each specific Pythagorean mode.
- Addition/Subtraction: Use the +/- button to add or subtract measurements.
4.4 Data Storage
The device can store up to 99 groups of measurement data. To recall stored data, press the History button () and use the arrow keys to navigate through the records.

Image 4.2: The REVASRI R50 Laser Distance Meter's data storage capability, showing up to 99 groups of measurements.
4.5 Display Readability
The REVASRI R50 features an HD display with white text on a dark background, enhancing visibility in various lighting conditions.

Image 4.3: The clear HD display of the REVASRI R50, designed for easy readability.
5. Maintenance
5.1 Cleaning
- Wipe the device with a soft, damp cloth. Do not use abrasive cleaners or solvents.
- Clean the laser lens carefully with a soft cloth, similar to cleaning camera lenses.
5.2 Battery Replacement
When the battery indicator on the display shows low power, replace both AAA batteries as described in Section 3.1. The device is designed for approximately 8000 measurements on a new set of batteries.
5.3 Storage
- Store the device in a cool, dry place, away from direct sunlight and extreme temperatures.
- If storing for an extended period, remove the batteries to prevent leakage.
6. Troubleshooting
| Problem | Possible Cause | Solution |
|---|---|---|
| Device does not power on | Low or dead batteries; incorrect battery polarity | Replace batteries with new AAA alkaline batteries, ensuring correct polarity. |
| Inaccurate measurements | Obstruction in laser path; unstable measuring surface; extreme environmental conditions | Ensure clear laser path. Measure from a stable surface. Avoid measuring in strong sunlight or highly reflective surfaces. |
| Display is dim or unreadable | Low battery; display issue | Replace batteries. If problem persists, contact support. |
| Laser does not activate | Device not powered on; malfunction | Press the MEAS button to activate. If still no laser, contact support. |
7. Specifications
| Feature | Specification |
|---|---|
| Measuring Range | 0.05m - 50m (0.2ft - 165ft) |
| Measurement Accuracy | ±1/16 inch |
| Distance Units | m, ft, in, ft+in |
| Laser Wavelength | 620~690nm |
| Laser Safety Class | Class II, <1mW |
| Single Measurement Time | 0.25s |
| Battery Type | 2 x AAA 1.5V Alkaline |
| Battery Life | Approx. 8000 measurements |
| Weight (excluding battery) | 80g (2.9 oz) |
| Dimensions | 10.8 x 5.25 x 2.5 cm (4.25 x 2.1 x 1 inch) |
| Material | Plastic |
| IP Rating | IP54 |
| Water Resistance | Waterproof |
8. Warranty and Support
8.1 Warranty Information
For specific warranty terms and conditions, please refer to the documentation provided at the time of purchase or contact your seller directly. Warranty coverage typically includes defects in materials and workmanship under normal use.
8.2 Customer Support
If you encounter any issues not covered in this manual or require further assistance, please contact the seller or manufacturer through their official support channels. Have your product model (R50) and purchase details ready when contacting support.


