1. Introduction
The Thermalright Royal Knight 120 is a high-performance dual-tower, dual-fan CPU air cooler designed for efficient heat dissipation. It features six pure copper heat pipes and an optimized airflow design to maintain stable CPU temperatures under various workloads. This cooler offers broad compatibility with both Intel and AMD mainstream platforms, including specific design considerations for RAM clearance.

Image 1.1: Overview of the Thermalright Royal Knight 120 CPU cooler.
2. Safety Information
- Always disconnect power from your computer before installation or maintenance.
- Handle components with care to avoid damage.
- Keep thermal paste away from children and pets. Avoid contact with skin and eyes.
- Ensure all screws are tightened securely but do not overtighten to prevent damage to the motherboard or cooler.
- Refer to your motherboard manual for specific fan header locations and CPU socket information.
3. Package Contents
Verify that all components are present before beginning installation:
- Thermalright Royal Knight 120 Heatsink (Dual Tower)
- TL-H12-X28 120mm Fan (Standard thickness)
- TL-H12015B 120mm Fan (Slim thickness)
- Intel Mounting Brackets (x2)
- AMD Mounting Brackets (x2)
- Thermal Compound (x1 tube)
- LGA115X/1200 Plastic Standoffs (x4)
- LGA1851/1700 Plastic Standoffs (x4)
- Intel Screws (x4)
- AM4/AM5 Screws (x4)
- Fan Y-Cable (x1)
- AMD Plastic Standoffs (x4)
- Intel 115X/1200 Backplate (x1)
- Slim Fan Clips (x2)
- Standard Fan Clips (x2)
4. Installation Guide
This section provides detailed instructions for installing your Thermalright Royal Knight 120 CPU cooler. Please follow the steps carefully for your specific CPU socket type.
4.1. General Preparation
- Ensure your CPU is properly seated in its socket.
- Clean the CPU's Integrated Heat Spreader (IHS) surface thoroughly to remove any dust or old thermal paste.
- Apply a small amount of thermal compound to the center of the CPU IHS. A pea-sized dot is generally sufficient.
- Remove the protective sticker from the coldplate of the heatsink.
4.2. AMD Installation (AM4/AM5)
- Remove the motherboard's original plastic brackets around the CPU socket. Keep the original backplate as it will be reused.
- Install the four red AMD plastic standoffs onto the motherboard's CPU mounting holes.
- Place the two metal AMD brackets on top of the standoffs, aligning the holes. Secure them with the provided AM4/AM5 screws using a screwdriver.

Image 4.2.1: AMD installation showing the cooler mounted on a motherboard.
4.3. Intel Installation (LGA1700/1851/115X/1200/2011/2066)
- For LGA1700, adjust the mounting hole position on the Intel backplate to '1700'. Install the backplate from the back side of the motherboard.
- Install the four blue Intel 1700 plastic standoffs (or appropriate standoffs for your socket) onto the motherboard's CPU mounting holes.
- Place the two metal Intel brackets on top of the standoffs. Secure them with the provided Intel screws, ensuring the screws pass through the correct LGA1700 holes on the brackets.

Image 4.3.1: Top view of the heatsink, ready for fan installation.
4.4. Heatsink Mounting (Common for AMD/Intel)
- Carefully place the heatsink onto the CPU, aligning the heatsink bracket nuts with the screws on the installed mounting brackets.
- Using a screwdriver, tighten both nuts on the bracket alternately and gradually to apply even mounting pressure. Do not fully tighten one side before the other.
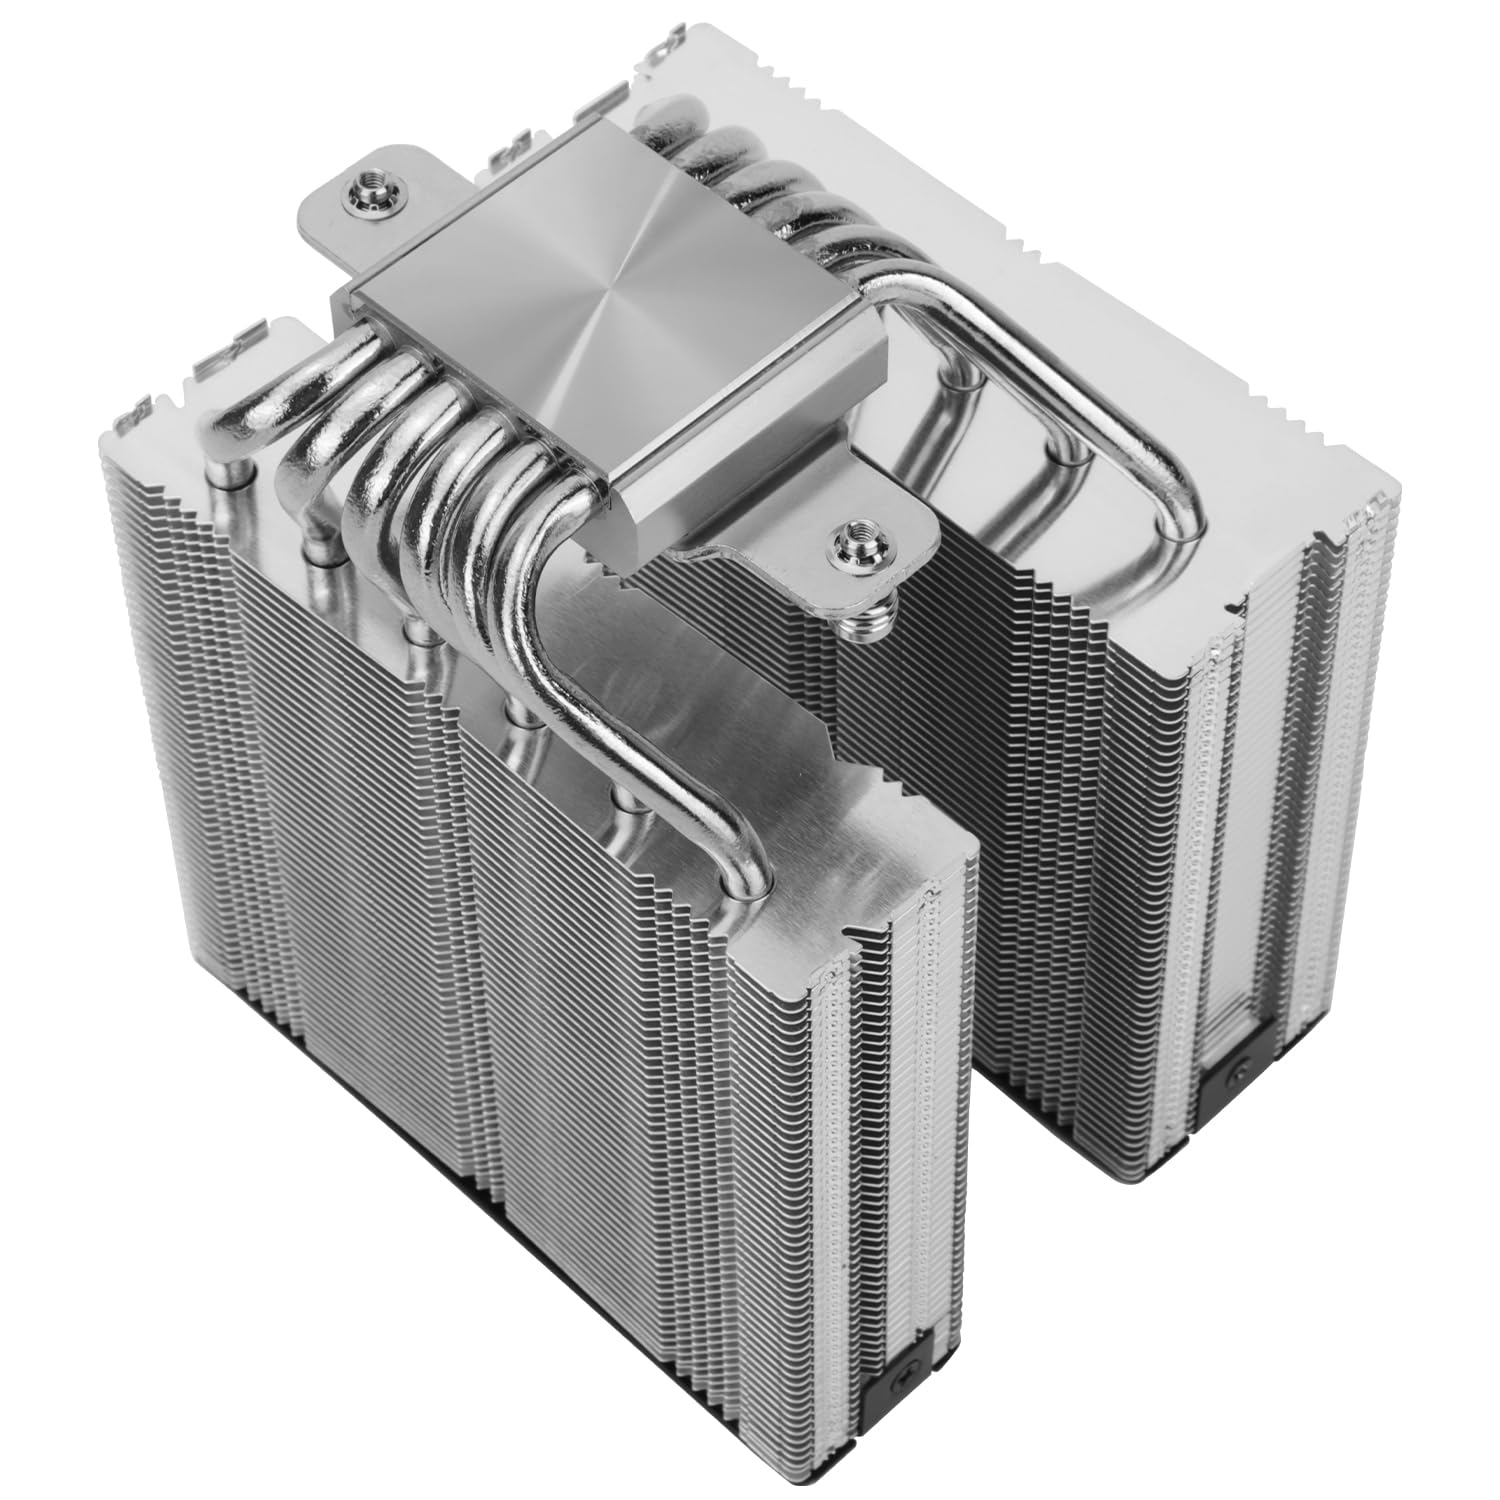
Image 4.4.1: Bottom view of the heatsink showing the six pure copper heat pipes.
4.5. Fan Installation
- Attach the short fan clips to the slim 120mm fan (TL-H12015B). This fan is typically placed on the RAM side for clearance.
- Attach the standard fan clips to the standard 120mm fan (TL-H12-X28). This fan is typically placed in the middle of the dual towers.
- Carefully clip both fans onto the heatsink using the installed fan clips. Ensure the fans are oriented correctly for optimal airflow (typically blowing air towards the rear of the case).

Image 4.5.1: The dual thickness fans (TL-H12-X28 and TL-H12015B) for optimal compatibility and airflow.

Image 4.5.2: The slim fan design ensures full RAM compatibility without interference.
4.6. Cable Connection
- Connect the 4-pin PWM connectors from both fans to the included Fan Y-Cable.
- Connect the single 4-pin connector from the Y-Cable to your motherboard's CPU_FAN header. This allows the motherboard to control both fan speeds simultaneously.
4.7. Installation Video Guide
For a visual step-by-step installation guide, please refer to the official video below. The video covers both AMD and Intel platform installations.
Video 4.7.1: Official Thermalright Royal Knight 120 SE CPU Cooler Series Installation Guide. This video demonstrates the installation process for both AMD (AM5/AM4) and Intel (LGA1700) platforms. AMD installation steps begin at 0:06, and Intel LGA1700 installation steps begin at 1:26. Common procedures like thermal paste application and heatsink mounting are shown around 2:31 and 2:43 respectively, followed by fan installation and cable connections.
5. Operation
The Thermalright Royal Knight 120 CPU cooler utilizes PWM (Pulse Width Modulation) fans, allowing your motherboard to dynamically control fan speeds based on CPU temperature. This ensures optimal cooling performance while minimizing noise levels when the system is under light load.
- Ensure the fan Y-cable is connected to the CPU_FAN header on your motherboard.
- Configure fan curves in your motherboard's BIOS/UEFI settings or through compatible software to customize fan behavior.
6. Maintenance
Regular maintenance helps ensure optimal performance and longevity of your CPU cooler.
- Dust Removal: Periodically clean dust from the heatsink fins and fan blades using compressed air or a soft brush. Ensure the fans are not spinning during cleaning to prevent damage.
- Thermal Paste: Reapply thermal paste if you remove the heatsink for any reason.
- Fan Inspection: Check fan blades for any obstructions or signs of wear.
7. Troubleshooting
If you encounter issues with your CPU cooler, consider the following common troubleshooting steps:
- High CPU Temperatures:
- Verify that the heatsink is securely mounted and making proper contact with the CPU.
- Check if thermal paste was applied correctly and evenly.
- Ensure fans are spinning and oriented correctly for airflow.
- Clean any dust buildup on the heatsink fins.
- Fans Not Spinning:
- Confirm that the fan Y-cable is securely connected to both fans and the motherboard's CPU_FAN header.
- Check BIOS/UEFI settings to ensure fan control is enabled and not set to a very low RPM that might prevent initial spin.
- Excessive Fan Noise:
- Adjust fan curves in BIOS/UEFI to reduce maximum fan speeds if temperatures allow.
- Ensure no cables are obstructing fan blades.
8. Specifications
| Feature | Detail |
|---|---|
| Model | Royal Knight 120 |
| Brand | Thermalright |
| Cooler Type | Dual-Tower Air Cooler |
| Heat Pipes | 6 (fully electroplated copper) |
| Dimensions (L x W x H) | 122 x 114 x 156mm (4.8 x 4.49 x 6.14 inches) |
| Heat Dissipation Material | Aluminum + Copper (All Aluminum Fins) |
| Fan Models | TL-H12-X28 (Standard), TL-H12015B (Slim) |
| Fan Dimensions | 120 x 120 x 28mm (TL-H12-X28), 120 x 120 x 15mm (TL-H12015B) |
| Fan Speed | 2150RPM±10% (TL-H12-X28), 1900RPM±10% (TL-H12015B) |
| Air Pressure | 2.65 mmH2O (TL-H12-X28), 1.58 mmH2O (TL-H12015B) |
| Air Volume | 80.45 CFM (TL-H12-X28), 56.36 CFM (TL-H12015B) |
| Operating Noise | <29.4 dB(A) (TL-H12-X28), <28.4 dB(A) (TL-H12015B) |
| Fan Interface | 4-Pin PWM |
| Voltage | DC 12V |
| Bearing Type | S-FDB Bearings |
| Compatible Devices | Desktop |
| CPU Socket Compatibility | AMD: AM4/AM5; Intel: LGA1851/1700/1150/1151/1155/1156/1200/2011/2066 |
9. Warranty and Support
Thermalright products are manufactured to high-quality standards. For warranty information, technical support, or service inquiries, please refer to the official Thermalright website or contact your local retailer. Please retain your proof of purchase for warranty claims.


