
1. Introduction
This manual provides detailed instructions for the installation, operation, and maintenance of your WOLILIWO WiFi Wired Video Doorbell System. This system includes a 7-inch monitor, a 1080p HD camera with IR night vision, two-way intercom, and remote access via the Tuya APP. Please read this manual thoroughly before installation and use to ensure proper functionality and safety.
2. Package Contents
Verify that all components are present in your package:
- Outdoor unit (Doorbell Camera)
- Indoor unit (7-inch Display Monitor) - 2 units
- Power supply (for indoor units) - 2 units
- 32GB memory card
- Installation accessories (screws, wall anchors, wiring)
- Terminal wires
- CCTV adapters
- Mounting brackets
- Test cable
- User Manual

Figure 1: Complete package contents of the WOLILIWO Video Doorbell System.
3. Specifications
| Feature | Description |
|---|---|
| Brand | WOLILIWO |
| Model Number | MSA-2-V7024AG-AHD-1V2 |
| Power Source | Wired |
| Video Capture Resolution | 1080p HD |
| Indoor Unit Display | 7-inch IPS Touch Screen, 1024×600 HD resolution |
| Outdoor Unit Camera | 2.0MP, 120° Wide-Angle Lens, Infrared Full-Color Night Vision |
| Intercom | Two-Way Intercom with Voice Conversion |
| Connectivity | WiFi (2.4G), Wired |
| App Control | Tuya APP (Remote unlock, monitoring, recording) |
| Storage | Supports up to 128GB TF card (32GB included) |
| Motion Detection | Yes, with anti-intrusion alarm |
| Outdoor Unit Durability | Aluminum alloy and ABS plastic, waterproof, rainproof, -30°C to 60°C operating temperature |
| Expandability | Supports up to 4 indoor units, 2 outdoor units, 2 CCTV cameras |
| Languages | English, Chinese, Russian, French, German, Arabic, Portuguese, Spanish, Italian, Polish |

Figure 2: Technical specifications for the indoor and outdoor units.
4. Installation Guide
4.1 Indoor Unit Installation
- Prepare Cables: Ensure all necessary wiring is available at the desired indoor unit location.
- Mount Bracket: Secure the indoor unit's hanging board (bracket) to the wall using the provided screws and wall anchors. Ensure it is level and firmly attached.
- Connect Wiring: Connect the power and signal cables to the appropriate ports on the back of the indoor unit. Refer to the wiring diagram in the included paper manual for specific connections.
- Attach Indoor Unit: Carefully attach the indoor unit to the mounted hanging board, ensuring it clicks securely into place.
Video 1: Step-by-step guide on how to install the wired video doorbell system, including indoor unit mounting.
4.2 Outdoor Unit Installation
- Prepare Wall Groove (if recessed): If opting for embedded installation, use construction tools to cut a groove in the wall with dimensions: Width 80mm * Height 170mm * Depth 30mm.
- Thread Cables: Thread the necessary cables through the wall-mounted box and embed the box into the wall. Secure it with expansion bolts.
- Connect Outdoor Unit: Connect the cables to the outdoor unit port.
- Secure Outdoor Unit: Secure the outdoor unit to the wall-mounted box using screws.
- Apply Sealant: Apply waterproof sealant around the edges of the outdoor unit to ensure weather resistance.

Figure 3: Wiring diagram for connecting the outdoor unit to indoor monitors.

Figure 4: Embedded installation steps for the outdoor unit.
5. Operating Instructions
5.1 Connecting to Wi-Fi
- Access Settings: On the indoor monitor, tap the 'Settings' icon.
- Select Wi-Fi: Navigate to the 'Wi-Fi' option in the configuration menu.
- Enable Wi-Fi: Toggle the Wi-Fi switch to 'ON'.
- Connect to Network: Select your desired Wi-Fi network from the list and enter the password.
- Confirm Connection: Wait for the Wi-Fi icon on the main interface to turn blue, indicating a successful connection.
Video 2: Instructions on how to connect the wired video doorbell system to Wi-Fi.
5.2 Tuya App Integration
- Download App: Download and install the Tuya Smart app from your device's app store (App Store for iOS, Google Play for Android).
- Login/Register: Open the app and log in or create a new account.
- Add Device: Click "Add Device" in the app. The app will search for nearby devices.
- Connect: Select the detected "Security Camera" (or similar name) and follow the on-screen prompts to complete the connection.
- Remote Functions: Once connected, you can use the app for remote two-way intercom, remote unlocking, taking photos, recording videos, and triggering the outdoor unit alarm.

Figure 5: Tuya Smart app interface for remote control and monitoring.
5.3 Two-Way Intercom and Unlocking
- When a visitor presses the doorbell, the indoor monitor(s) will ring and display the live video feed.
- Answer the call by tapping the green phone icon on the monitor or via the Tuya app.
- Engage in two-way communication with the visitor. The system supports voice conversion for privacy.
- To unlock the door remotely, tap the unlock icon on the monitor or in the Tuya app.
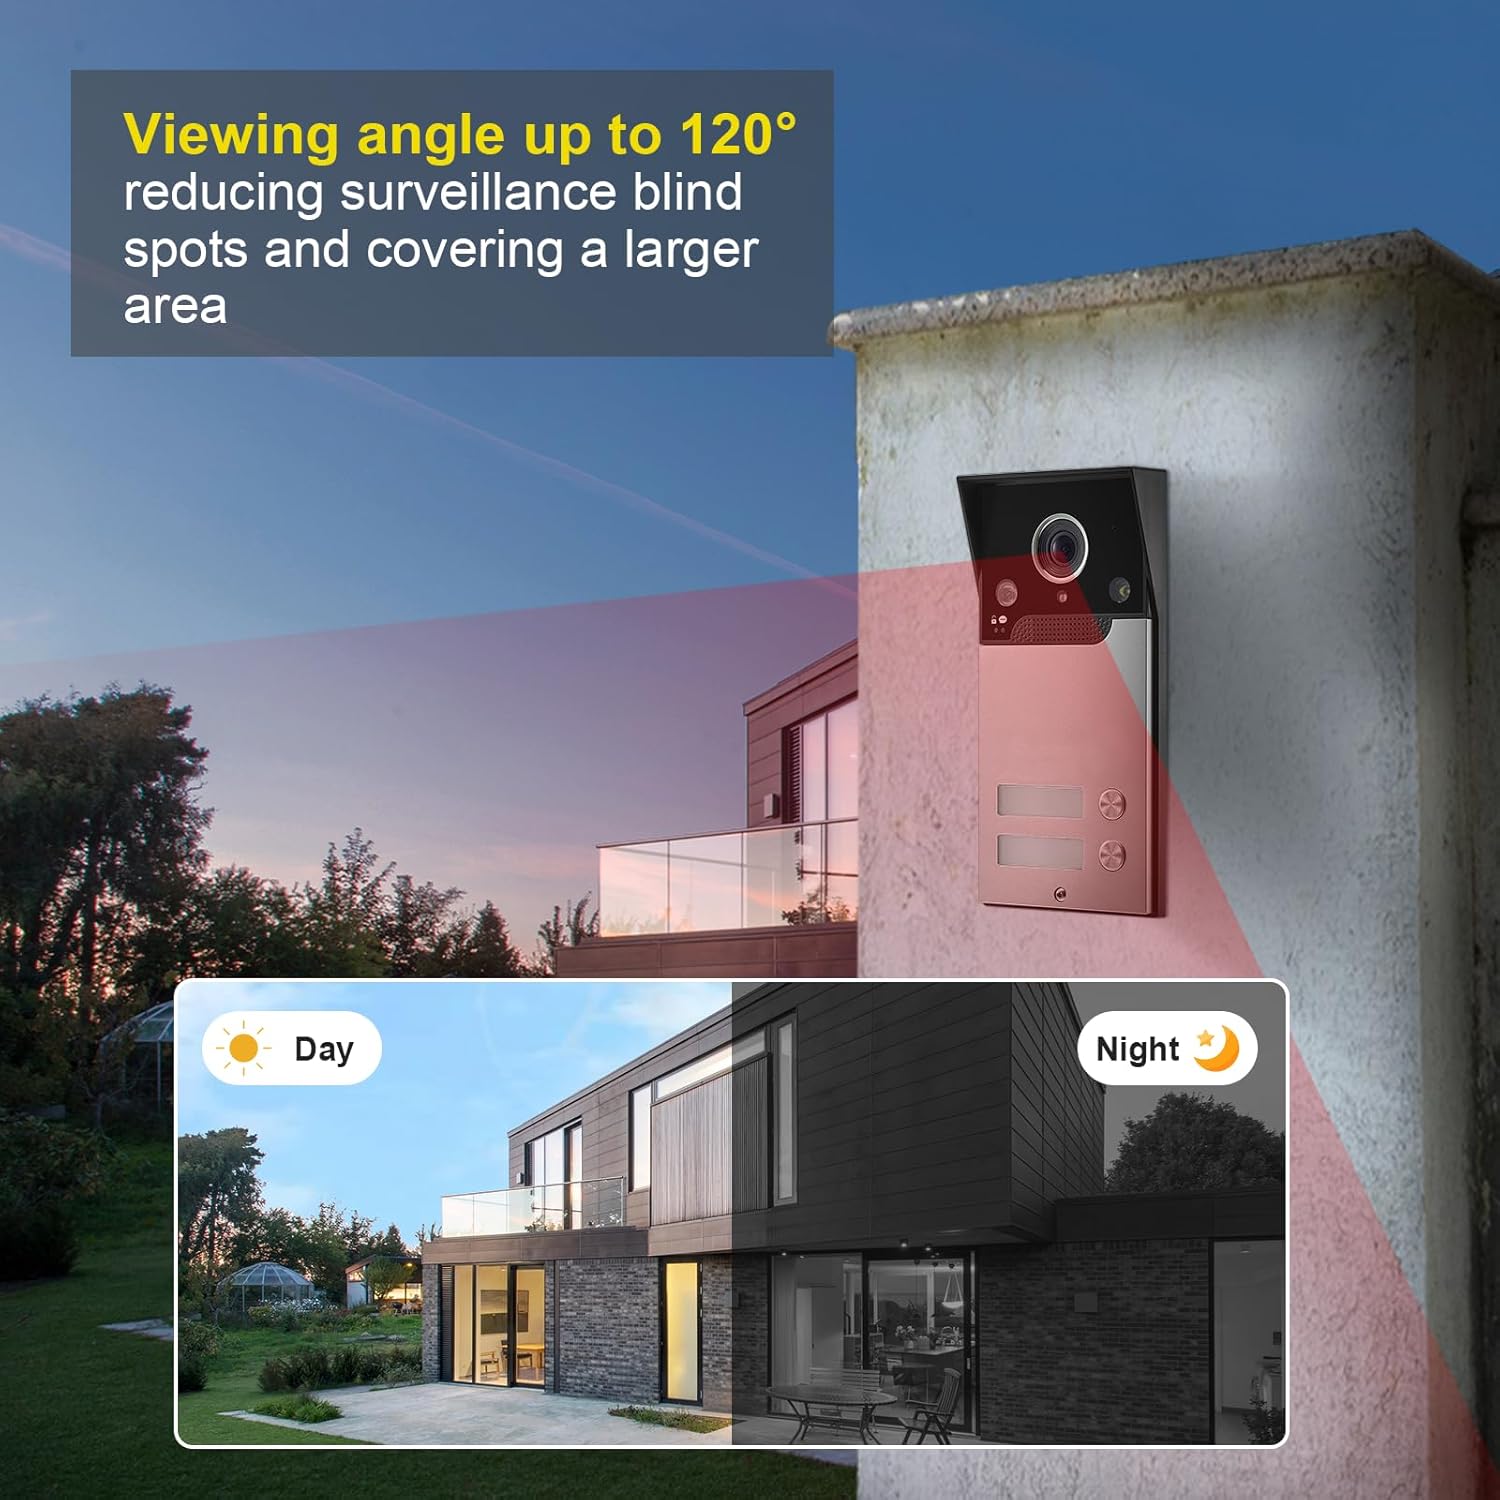
Figure 6: Two-way intercom and remote unlock functionality via the indoor monitor.
5.4 Motion Detection and Night Vision
- The outdoor unit features motion detection. When motion is detected, the indoor unit will start recording, and a push notification will be sent to your connected mobile phone.
- The 1080p HD camera includes infrared full-color night vision, providing clear images even in low-light conditions.
- The 120° wide-angle lens minimizes blind spots for comprehensive monitoring.

Figure 7: Day and night vision capabilities with a 120° wide-angle view.
6. Maintenance
- Cleaning: Use a soft, dry cloth to clean the indoor and outdoor units. Avoid abrasive cleaners or solvents.
- Firmware Updates: Periodically check for firmware updates via the Tuya app or the manufacturer's website to ensure optimal performance and security.
- SD Card Management: Regularly back up important recordings from the SD card. Replace the SD card if it shows signs of degradation.
- Wiring Inspection: Periodically inspect all wired connections for any signs of wear or damage.
7. Troubleshooting
| Problem | Possible Cause | Solution |
|---|---|---|
| No image on indoor monitor | Power issue, loose connection, faulty cable. | Check power supply, ensure all cables are securely connected, test with a different cable if possible. |
| No Wi-Fi connection | Incorrect password, out of range, router issue. | Verify Wi-Fi password, move monitor closer to router, restart router, ensure 2.4Ghz network is used. |
| Intercom audio feedback | Indoor units too close to each other or outdoor unit. | Increase distance between units, reduce volume if necessary. |
| Motion detection not working | Feature disabled, incorrect sensitivity settings. | Enable motion detection in settings, adjust sensitivity levels. |
| Remote unlock not functioning | App not connected, lock wiring issue. | Ensure Tuya app is connected and online, check wiring to the electronic lock. |
8. Warranty and Support
For warranty information and technical support, please refer to the official WOLILIWO website or contact customer service directly. Keep your purchase receipt for warranty claims.
Manufacturer: WOLILIWO
Contact: Refer to the contact information provided in your product packaging or on the official WOLILIWO website.