
Introduction
This manual provides comprehensive instructions for the installation, setup, and operation of your YOSIMIKA YB5L-BK Smart Keyless Entry Door Lock. This advanced lock system offers multiple access methods and smart features designed to enhance your home security and convenience.
Package Contents
Before beginning installation, please verify that all components are present:
- Deadbolt Lock Assembly
- Door Handle Set
- 3 IC Cards (Key Fobs)
- 2 Backup Keys
- Door Latch
- Strike Plate
- Mounting Accessories (screws, etc.)
- User Manual (this document)

Image: All components included in the YOSIMIKA YB5L-BK Smart Lock package, including the deadbolt, handle, key fobs, and keys.
Specifications
| Brand | YOSIMIKA |
| Model Name | YB5L-BK |
| Material | Zinc Alloy |
| Color | Matte Black |
| Lock Type | Biometric, Combination Lock, Deadbolt, Keypad |
| Special Features | Anti-Peeping Password, Auto-Lock, Fingerprint, One-Touch Lock, Passcode Unlock |
| Connectivity | Bluetooth (Gateway required for Wi-Fi/Voice Control) |
| Controller Type | App, Remote, Touch, Voice (with Gateway) |
| Door Thickness Compatibility | 1-3/8" to 2" (35mm-50mm) |
| Door Hole Compatibility | 2-1/8" (54mm) |
| Power Source | Batteries (not included) |
Installation Guide
This smart lock is designed for easy installation on standard US doors. A screwdriver is typically the only tool required. Ensure your door meets the compatibility requirements before proceeding.
1. Check Door Dimensions
Verify your door's thickness is between 1-3/8" to 2" (35mm-50mm) and the existing door hole is 2-1/8" (54mm). The backset should be 2-3/8" or 2-3/4" (60mm or 70mm).

Image: Diagram illustrating how to measure door thickness, backset, and bore hole diameter for compatibility.
2. Install the Latch and Strike Plate
- Insert the latch into the door edge. Ensure the latch bolt faces the correct direction (slanted side towards the door frame).
- Secure the latch with screws.
- Install the strike plate on the door frame, aligning it with the latch bolt.
3. Install the Exterior Assembly
- Feed the cable from the exterior keypad assembly through the door hole.
- Position the exterior assembly flush against the door.
4. Install the Interior Mounting Plate
- Attach the interior mounting plate to the door, securing it with screws through the exterior assembly.
5. Connect Cables and Install Interior Assembly
- Connect the cable from the exterior assembly to the interior assembly.
- Mount the interior assembly onto the mounting plate, ensuring the thumb turn spindle engages correctly with the latch mechanism.
- Secure the interior assembly with screws.
6. Install Batteries
- Open the battery cover on the interior assembly.
- Insert the required batteries (typically 4 AA, not included), observing polarity.
- Close the battery cover.
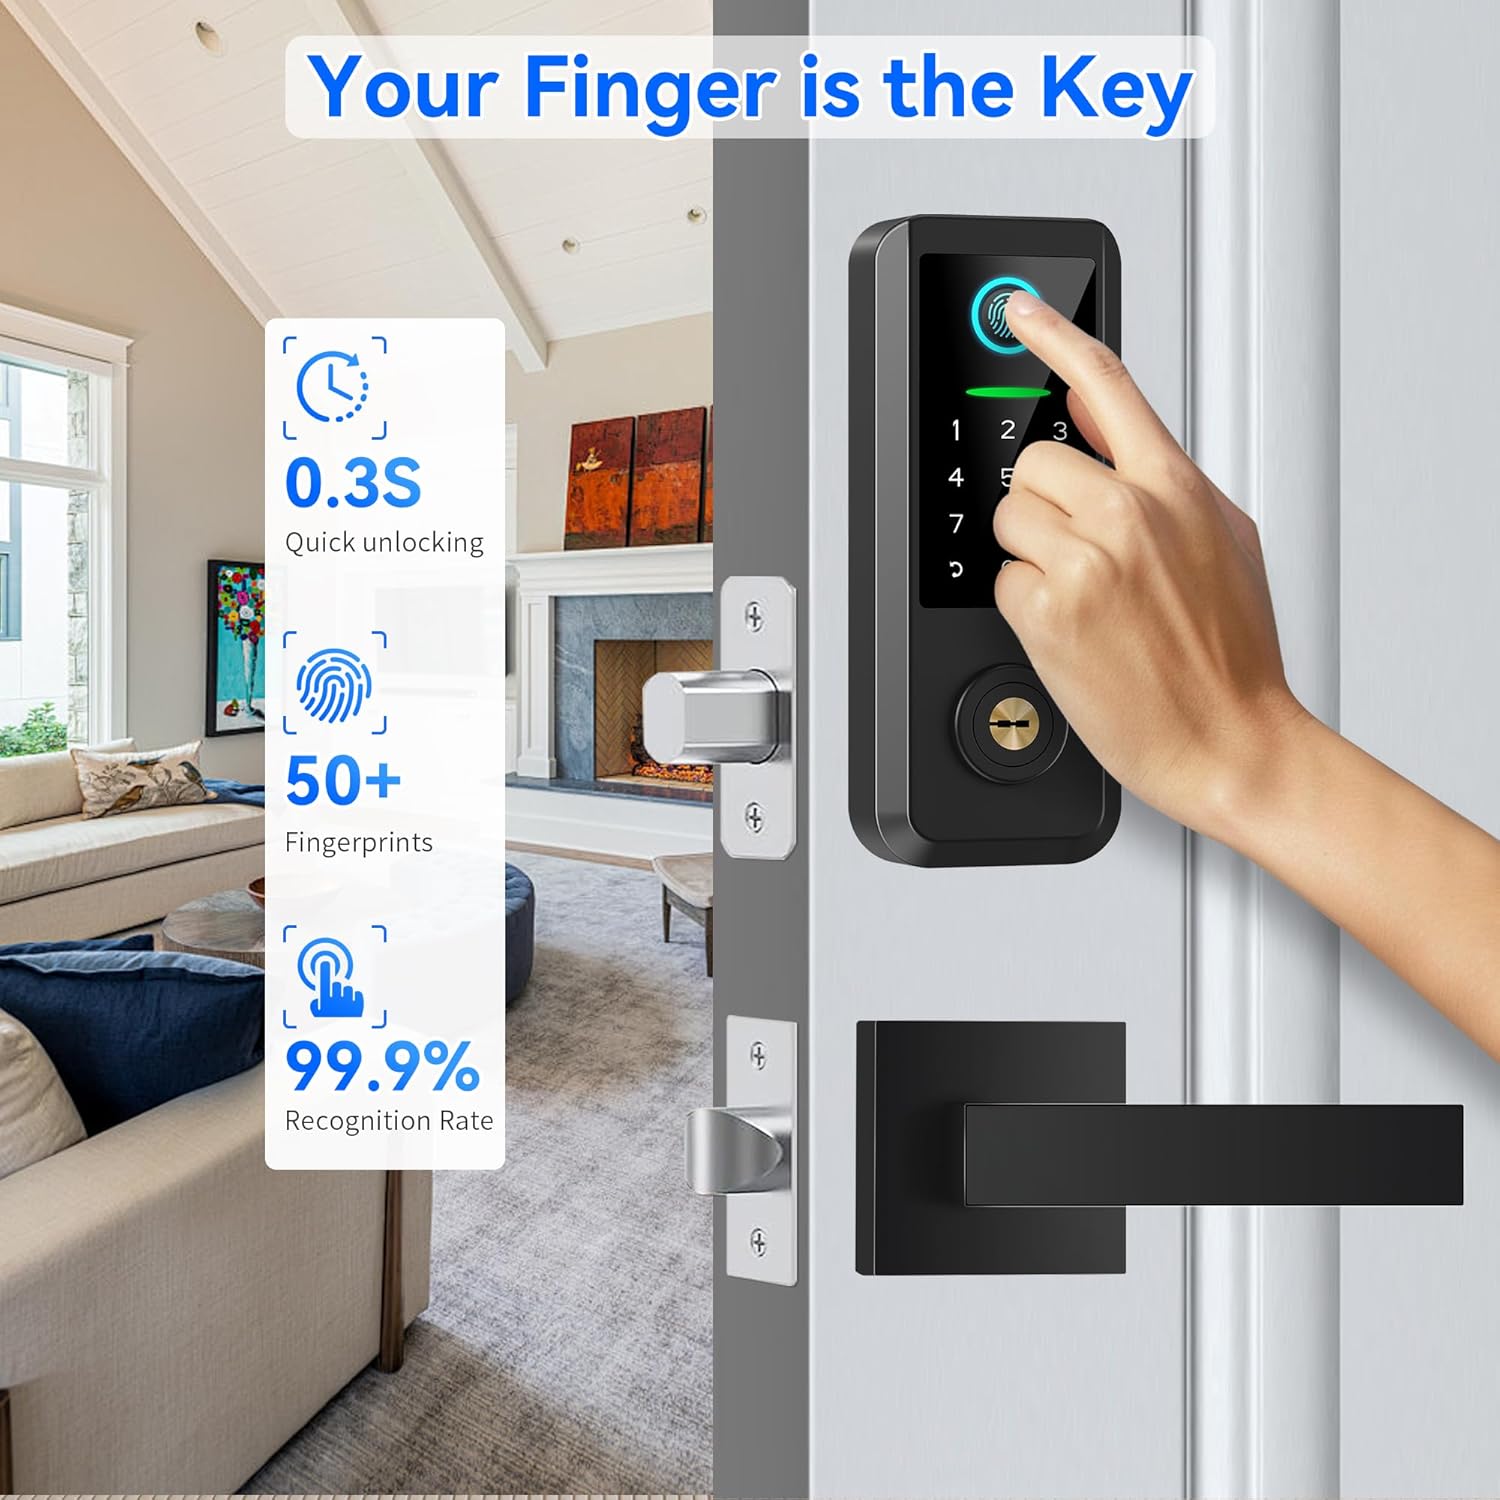
Image: Visual representation of the smart lock components and their placement during installation.
Initial Setup and App Control
The YOSIMIKA smart lock operates via Bluetooth and can be managed through a dedicated mobile application. For remote access and smart home integration, a gateway (sold separately) is required.
1. Download the App
Search for the "TTLock" app in your smartphone's app store (iOS or Android) and install it.
2. Pair the Lock with the App
- Enable Bluetooth on your smartphone.
- Open the TTLock app and create an account or log in.
- Tap "Add Lock" and select "Door Lock".
- Follow the on-screen instructions to find and pair your YOSIMIKA lock. You may need to touch the keypad or press a button on the interior unit to activate pairing mode.
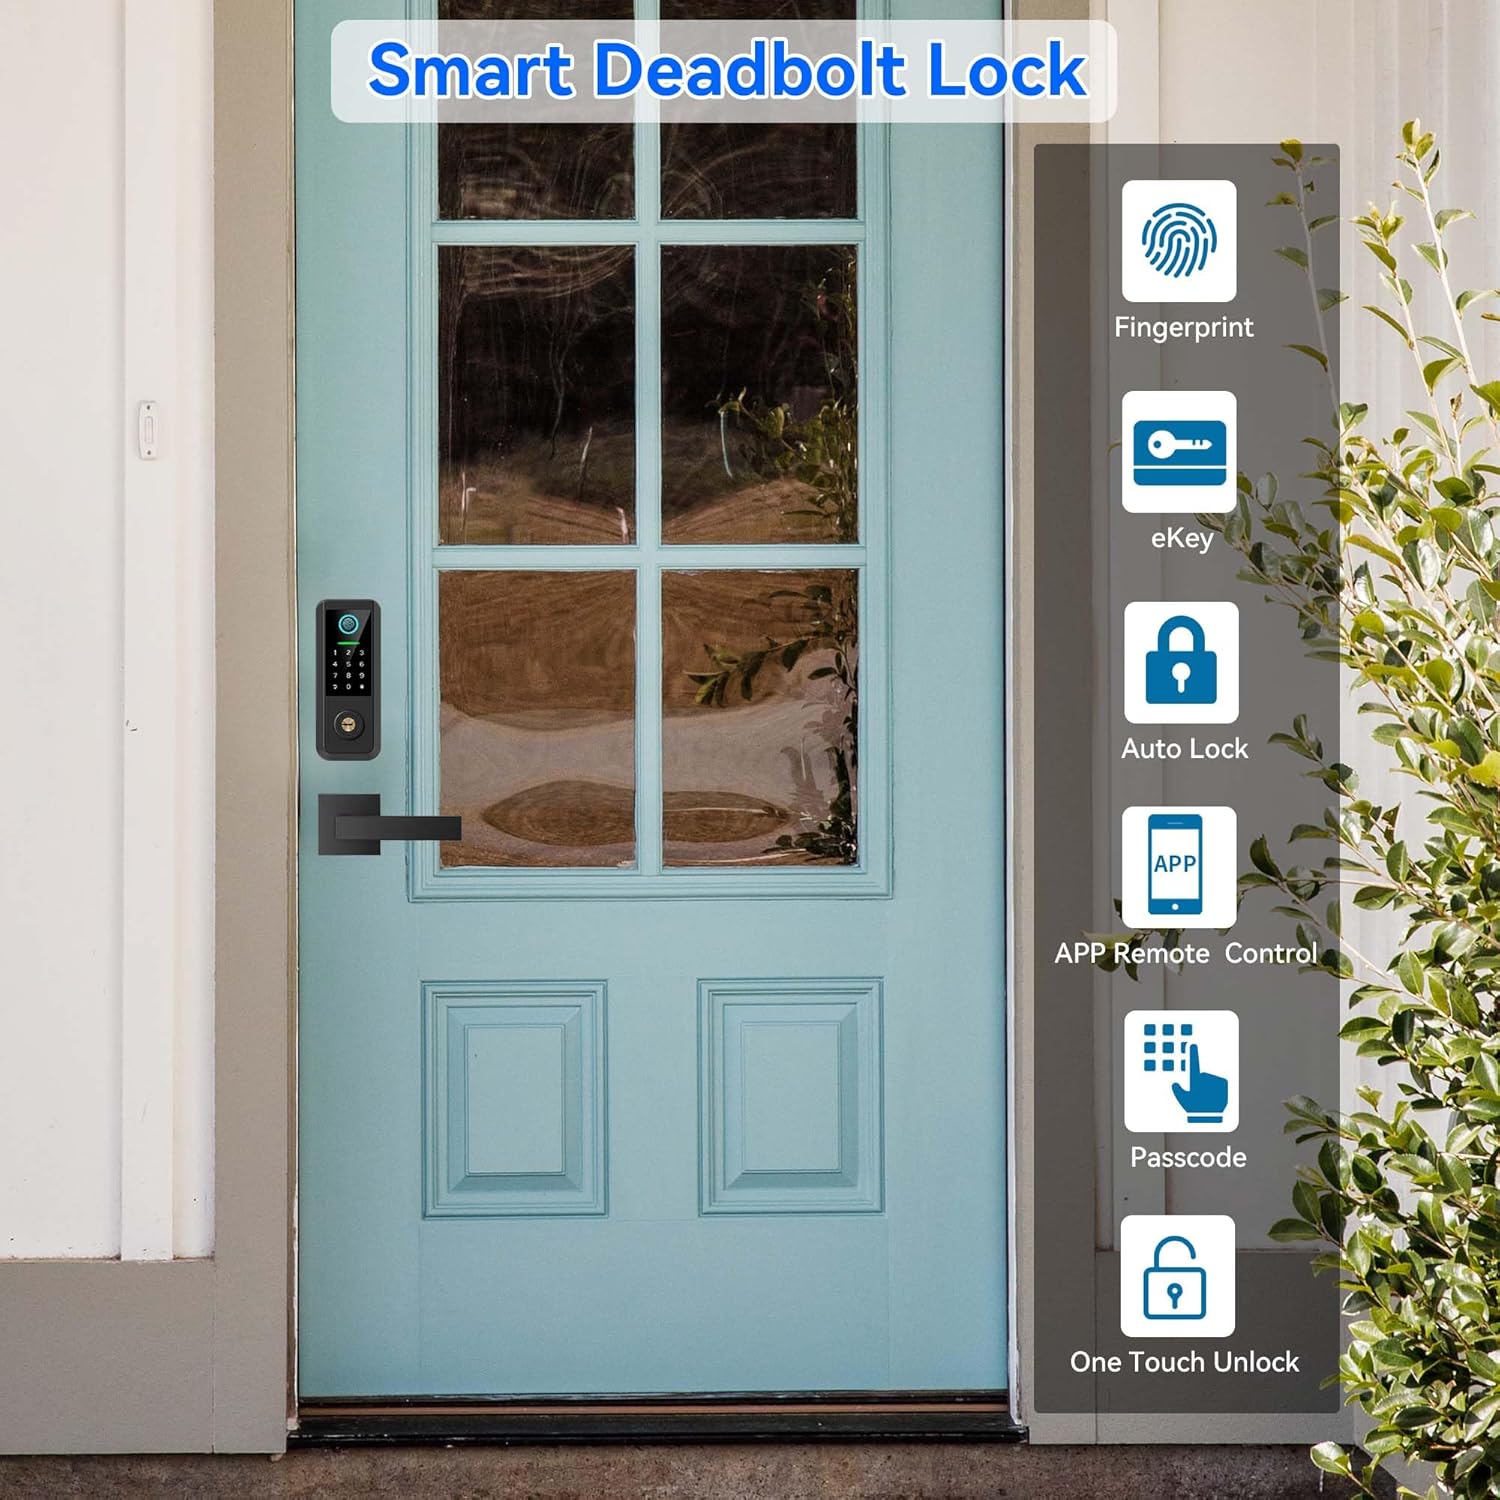
Image: Screenshot of the TTLock app interface showing connected locks and their status.
3. User Management (Fingerprints, Passcodes, Key Fobs)
Within the TTLock app, you can manage various access methods:
- Fingerprints: Add up to 50 unique fingerprints. Follow the app's prompts to register fingerprints by placing your finger on the sensor multiple times.
- Passcodes: Generate permanent, timed, one-time, or recurring passcodes. The anti-peep feature allows you to enter random digits before or after your actual code to prevent others from guessing it.
- IC Cards (Key Fobs): Register the included key fobs by presenting them to the lock's sensor when prompted by the app.
- eKeys: Grant temporary or permanent eKeys to other users, allowing them to unlock the door via their own TTLock app.

Image: Visual guide to the five access methods: fingerprint, eKey, auto-lock, app remote control, passcode, and one-touch unlock.

Image: A hand using the fingerprint sensor on the smart lock, highlighting quick unlocking and high recognition rate.
Operating Instructions
Unlocking Methods:
- Fingerprint: Place your registered finger on the fingerprint sensor. The lock will unlock in approximately 0.3 seconds upon successful recognition.
- Passcode: Enter your 6-8 digit passcode on the keypad, followed by the '#' key. Utilize the anti-peep function by entering random digits before or after your actual code to prevent others from guessing it.
- IC Card (Key Fob): Present a registered IC card to the card reader area on the lock.
- Physical Key: Insert the backup key into the keyhole and turn to unlock manually.
- App Control: Open the TTLock app, ensure Bluetooth is enabled, and tap the unlock icon for your lock.
- Voice Control (with Gateway): Use voice commands with Alexa or Google Assistant (e.g., "Alexa, unlock the front door").

Image: A collage demonstrating various ways to unlock the YOSIMIKA smart lock: fingerprint, key fob, passcode, and physical key.
Locking Methods:
- Auto-Lock: The lock will automatically engage after a set period (configurable from 5 to 900 seconds via the app) once the door is closed.
- One-Touch Locking: Press and hold the '#' key on the keypad for 2 seconds to manually lock the door from the outside.
- App Control: Open the TTLock app and tap the lock icon for your lock.
- Manual Thumb Turn: From the inside, turn the thumb turn on the interior assembly to lock the door.

Image: Illustration of the auto-lock feature with adjustable delay and the one-touch locking method using the '#' key.
Smart Home Integration
To enable remote access and voice control features with Amazon Alexa or Google Assistant, a compatible gateway (sold separately) is required. The gateway connects your lock to your home Wi-Fi network.
- Gateway Setup: Follow the instructions provided with your gateway to connect it to your home Wi-Fi network and pair it with your YOSIMIKA smart lock via the TTLock app.
- Alexa/Google Assistant Integration: Once the gateway is set up, enable the TTLock skill/action in your Alexa or Google Home app. Link your TTLock account and discover your smart lock.
- Voice Commands: You can then use voice commands such as "Alexa, lock the front door" or "Hey Google, unlock the front door" (a PIN may be required for unlocking via voice for security).

Image: A family interacting with smart home devices, demonstrating voice control functionality with Alexa and Google Assistant for the smart lock.
Maintenance
- Battery Replacement: When the battery level is low, the lock will provide an alert. Replace all batteries with new ones of the same type (AA alkaline recommended) promptly to ensure continuous operation.
- Cleaning: Wipe the lock's exterior with a soft, dry cloth. Avoid using abrasive cleaners or solvents, which can damage the finish or electronic components.
- Regular Checks: Periodically check that all screws are tight and the lock operates smoothly.
Troubleshooting
| Problem | Possible Cause / Solution |
|---|---|
| Lock does not respond. |
|
| Fingerprint not recognized. |
|
| Passcode not working. |
|
| Auto-lock not engaging. |
|
| Cannot connect to app via Bluetooth. |
|
| Remote access/voice control not working. |
|
Warranty and Support
For warranty information and technical support, please refer to the contact details provided with your purchase or visit the official YOSIMIKA website. Keep your proof of purchase for warranty claims.