
1. Product Overview
The XFOX Tuya Zigbee Door and Window Sensor is a compact, wireless contact sensor designed to enhance your home's security and smart automation capabilities. It operates by detecting the opening and closing status of doors and windows, providing real-time alerts and enabling integration with your smart home ecosystem.
This sensor requires a Tuya Zigbee hub for operation and is compatible with popular voice assistants such as Amazon Alexa and Google Assistant, allowing for convenient control and status inquiries.

Figure 1.1: XFOX Tuya Zigbee Door and Window Sensor components.
2. Key Features
- Wireless Intelligent Connection: Utilizes Tuya Zigbee 3.0 technology for easy integration with a Tuya smart home system via a compatible Zigbee gateway. No complex wiring is required.
- Real-time Alarm Push: Monitors the opening and closing status of doors and windows, sending instant push notifications to your mobile application upon detecting abnormal movement.
- Voice Control Compatibility: Supports voice commands through Amazon Alexa and Google Assistant for status inquiries and linking with other smart devices to create automated security scenes.
- Low Maintenance: Designed for low power consumption, offering extended battery life with 2x AAA batteries (not included), reducing the frequency of battery replacement.
- Invisible and Slim Design: Features a mini, compact design with dual mounting options (3M adhesive sticker or screws) for discreet installation on doors and windows, preserving home aesthetics.
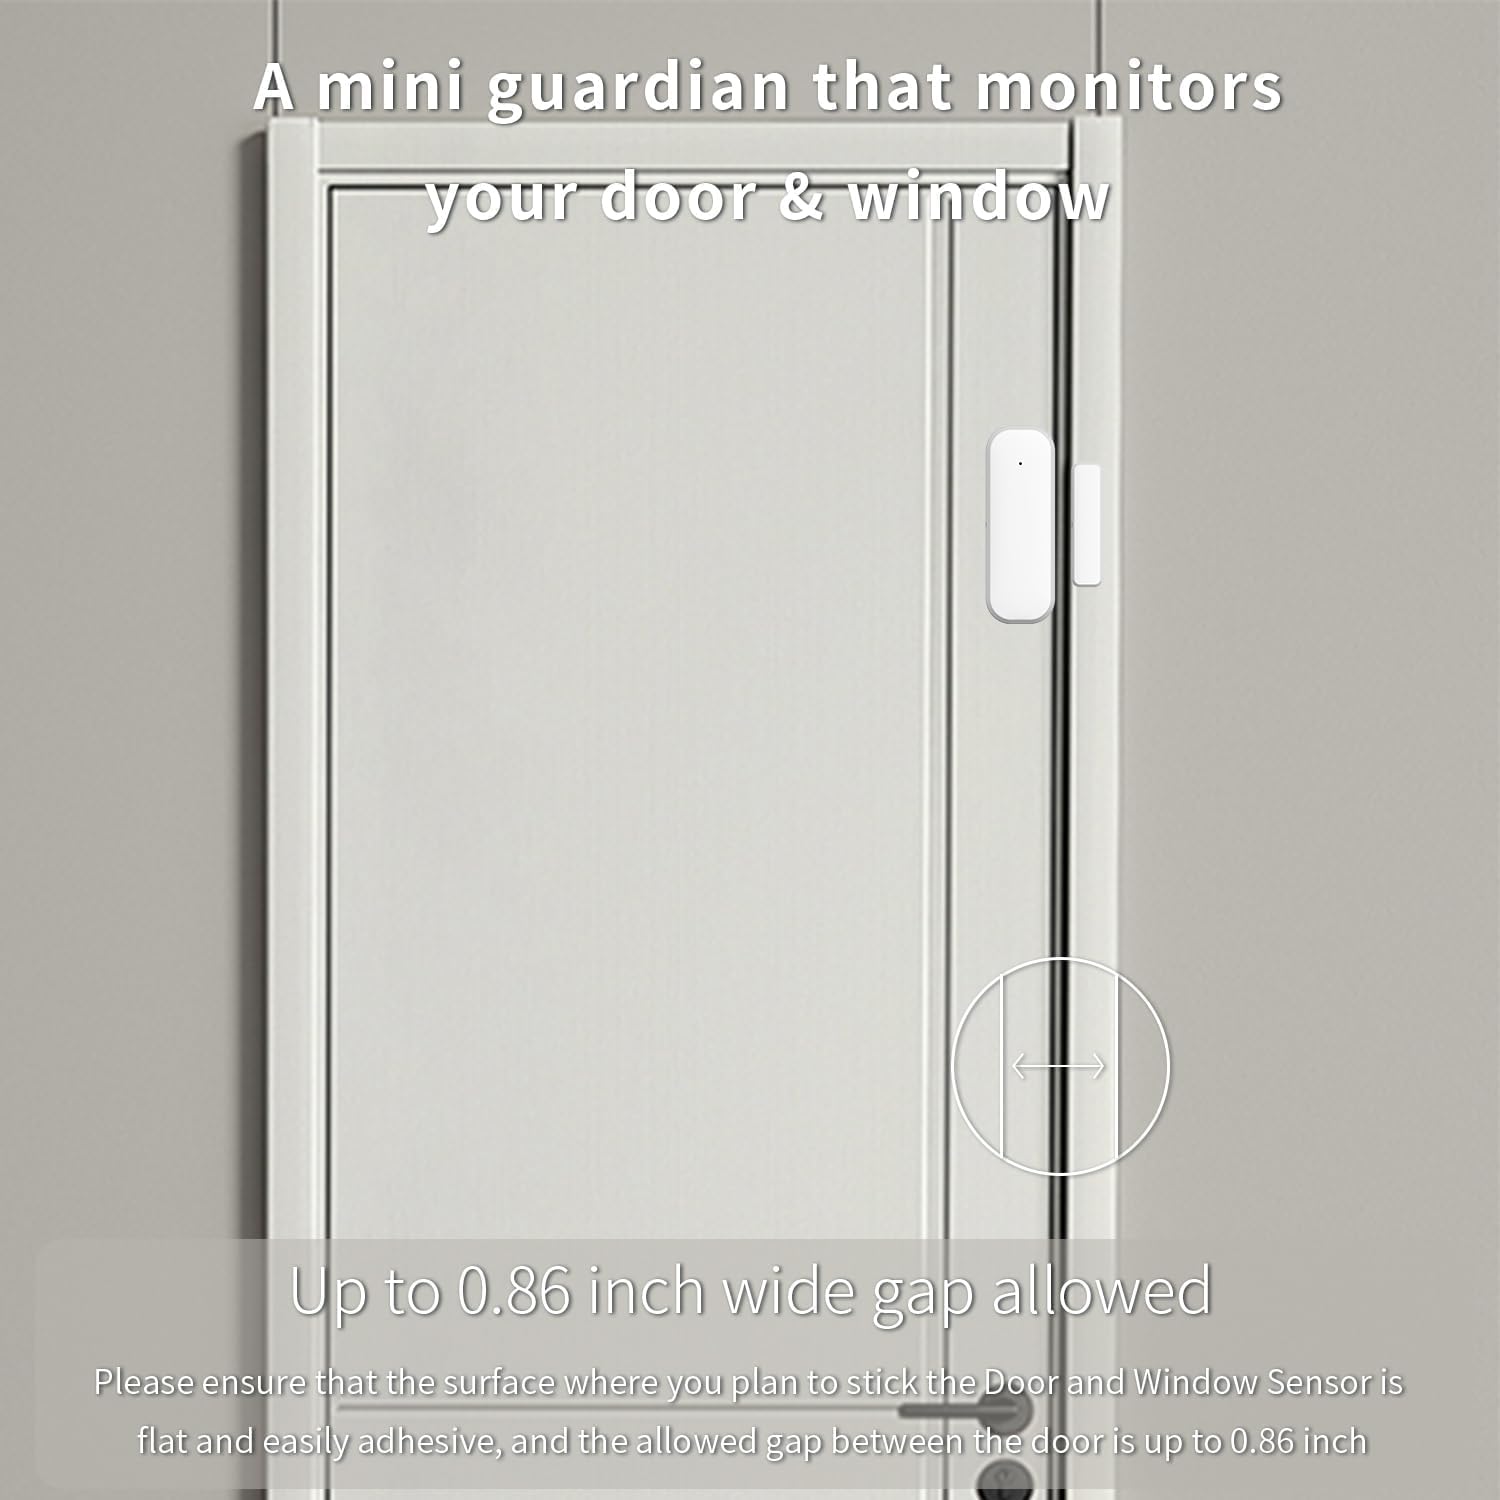
Figure 2.1: The sensor acts as a mini guardian for doors and windows.

Figure 2.2: Examples of sensor placement on drawers, doors, and windows.
3. Package Contents
- 1 x XFOX Tuya Zigbee Door/Window Sensor (Main Unit and Magnet)
- 1 x User Manual (this document)
- Mounting Accessories (3M adhesive sticker/screws)
Note: 2x AAA batteries are required for operation and are not included in the package. A Tuya Zigbee Hub is also required and sold separately.
4. Setup and Installation
4.1. Battery Installation
- Gently slide open the back cover of the main sensor unit.
- Insert two (2) AAA batteries, ensuring correct polarity (+/-).
- Close the back cover securely.
4.2. Pairing with Tuya Zigbee Hub
Before installation, ensure you have a Tuya Zigbee Hub connected to your network and the Tuya Smart Life application installed on your smartphone.

Figure 4.1: A Tuya Hub is required for sensor operation.
- Open the Tuya Smart Life app on your smartphone.
- Navigate to the "Add Device" section.
- Select "Sensor" and then "Contact Sensor" or similar option.
- Follow the on-screen instructions in the app to put the sensor into pairing mode (usually involves pressing a reset button on the sensor for a few seconds).
- Once detected, confirm the addition of the device in the app.
If pairing fails, ensure the sensor is within range of the Zigbee hub and that the hub is properly configured. Refer to your Tuya Zigbee Hub's manual for specific pairing instructions if needed.
4.3. Physical Installation
The sensor consists of two parts: the main sensor unit and a smaller magnet. These two parts must be installed on the door/window frame and the door/window itself, respectively, with a maximum gap of 0.86 inches (2.2 cm) when closed.
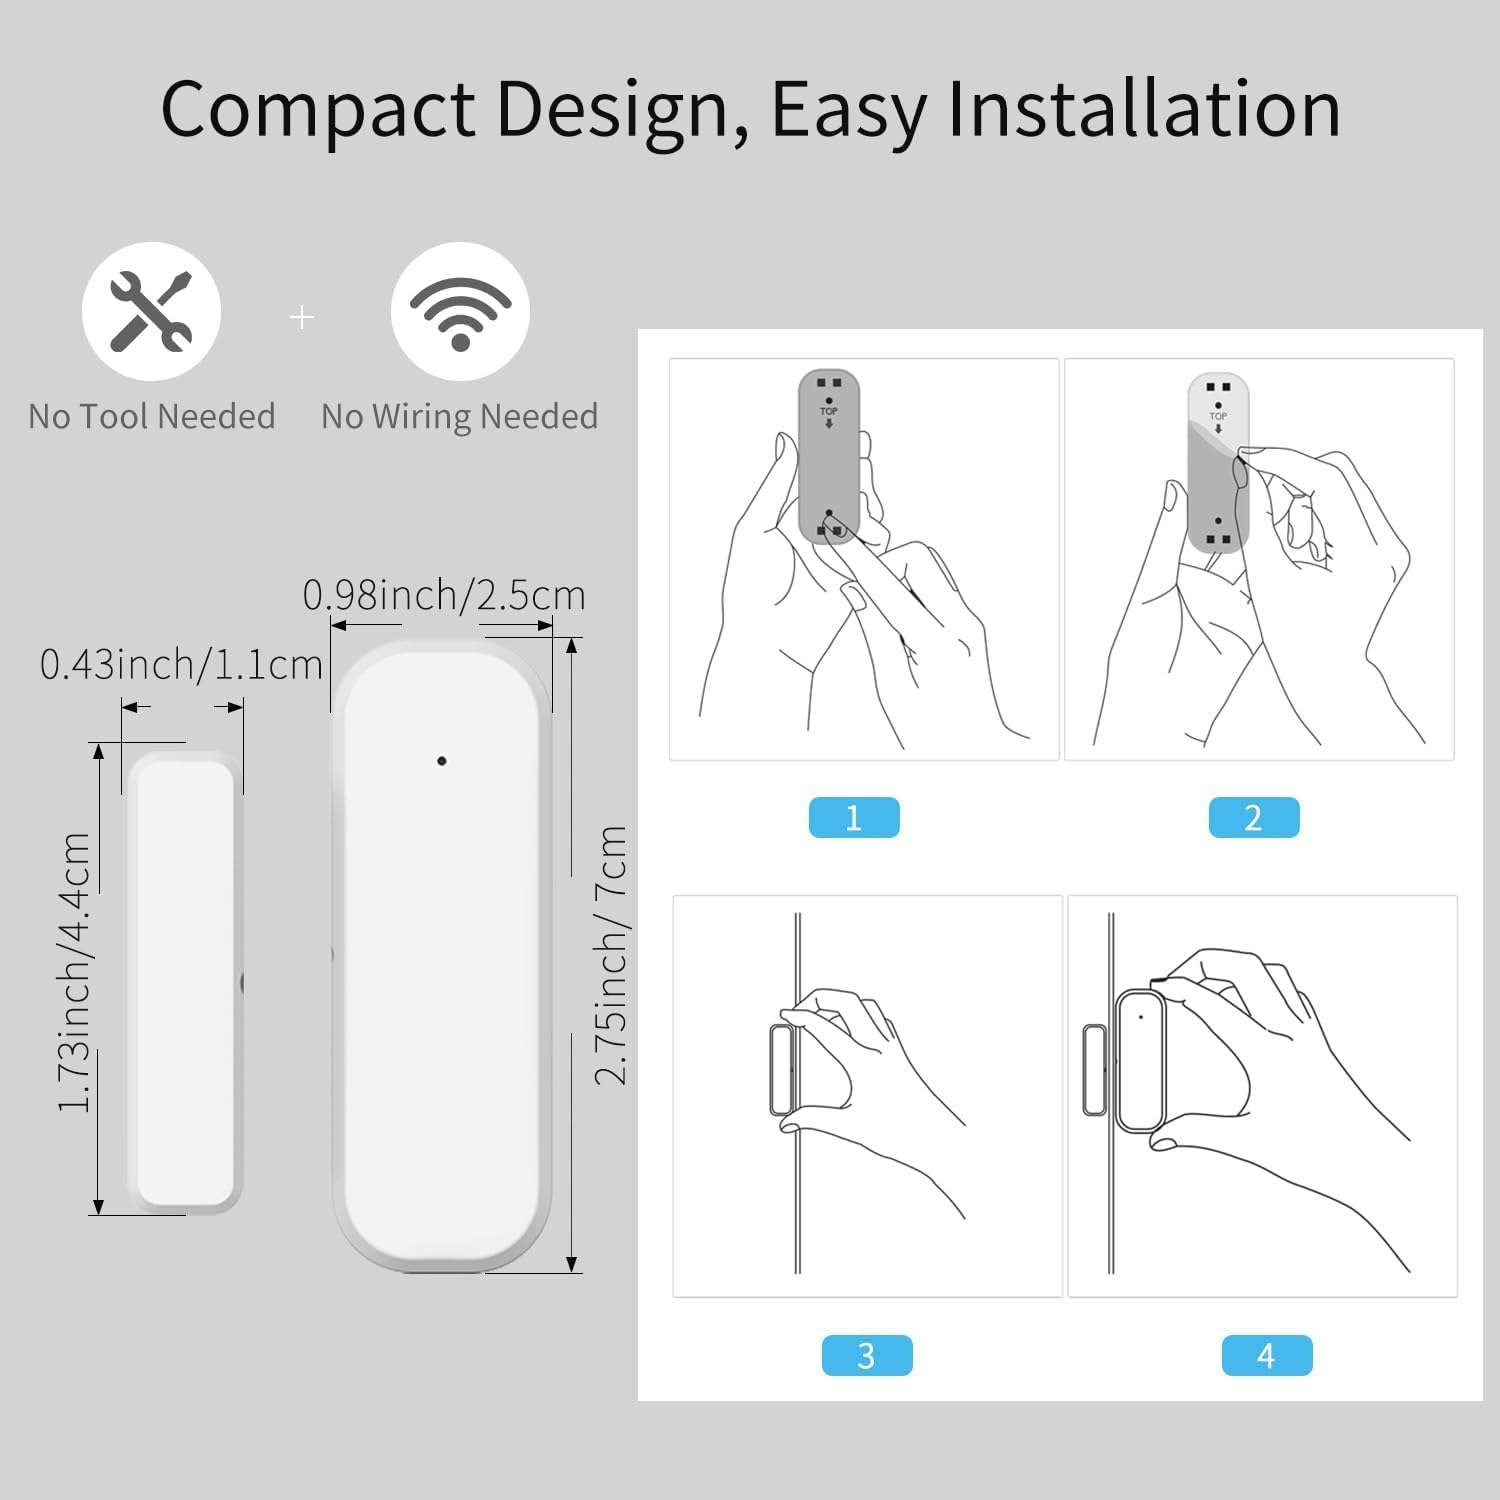
Figure 4.2: Dimensions and installation steps for the sensor.
- Choose Location: Identify a clean, flat surface on your door/window frame and the corresponding moving part where the sensor and magnet can be aligned.
- Clean Surface: Ensure the installation surface is clean, dry, and free of dust or grease.
- Attach Main Unit: Peel the backing from the 3M adhesive sticker on the main sensor unit and firmly press it onto the chosen spot on the door/window frame. Alternatively, use screws for a more permanent installation.
- Attach Magnet: Peel the backing from the 3M adhesive sticker on the smaller magnet and firmly press it onto the door/window itself, aligning it with the main sensor unit. Ensure the alignment marks on both parts face each other and the gap is within 0.86 inches when the door/window is closed.
- Test: Open and close the door/window to verify that the sensor registers the change in status in the Tuya Smart Life app.
Figure 4.3: Proper alignment of the sensor and magnet on a door.
5. Operating Instructions
5.1. Monitoring Status via App
Once installed and paired, the sensor will continuously monitor the open/closed status of your door or window. You can view the current status and historical records directly within the Tuya Smart Life application.
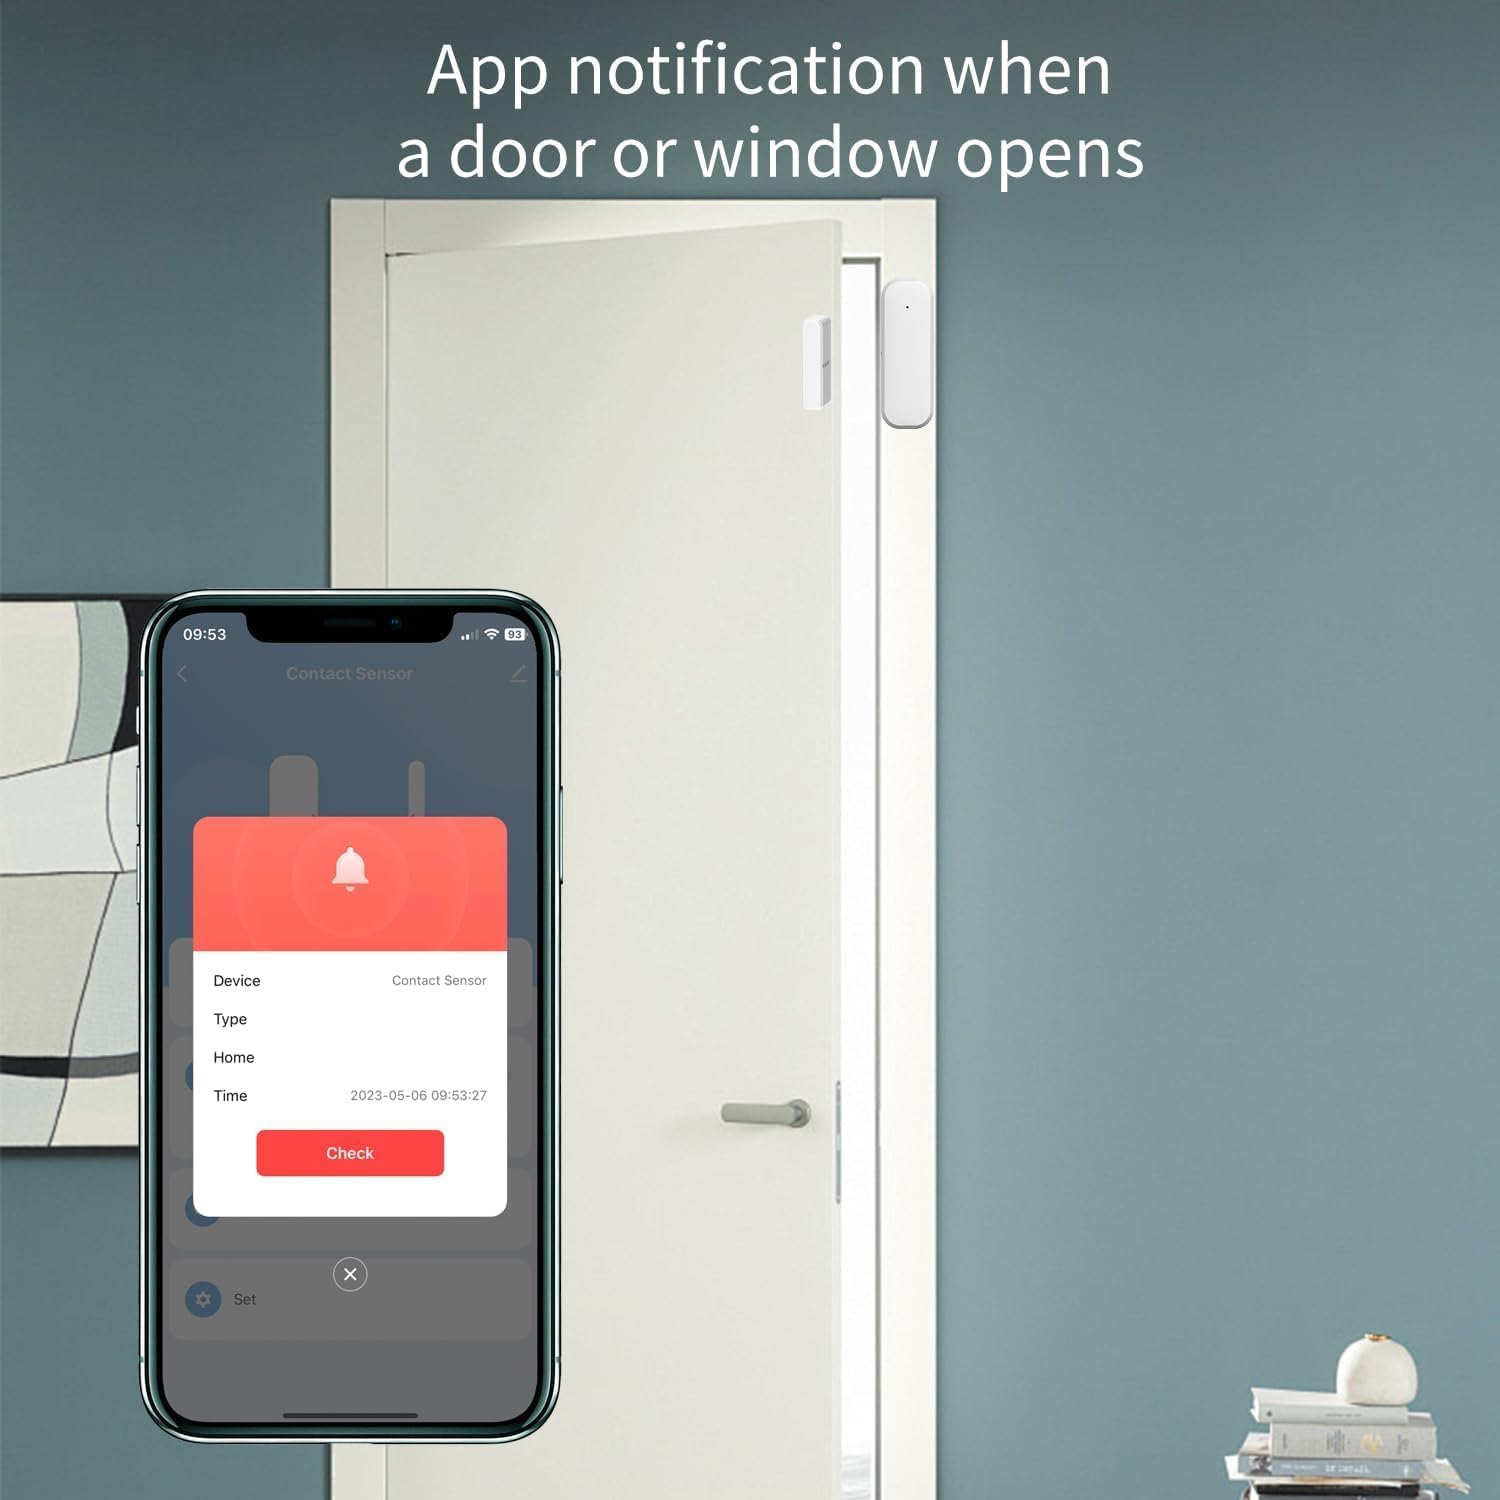
Figure 5.1: App notification when a door or window opens.
- Open the Tuya Smart Life app.
- Select the specific Door/Window Sensor from your device list.
- The app will display the current status (e.g., "Open" or "Closed") and a log of recent activities.
5.2. Receiving Notifications
Configure push notifications in the Tuya Smart Life app to receive instant alerts on your smartphone whenever the door or window opens or closes unexpectedly.
- In the sensor's settings within the app, enable "Alarm Push" or "Notification Settings".
- Customize notification preferences as desired.
5.3. Voice Control Integration
Integrate the sensor with Amazon Alexa or Google Assistant for hands-free monitoring and automation.
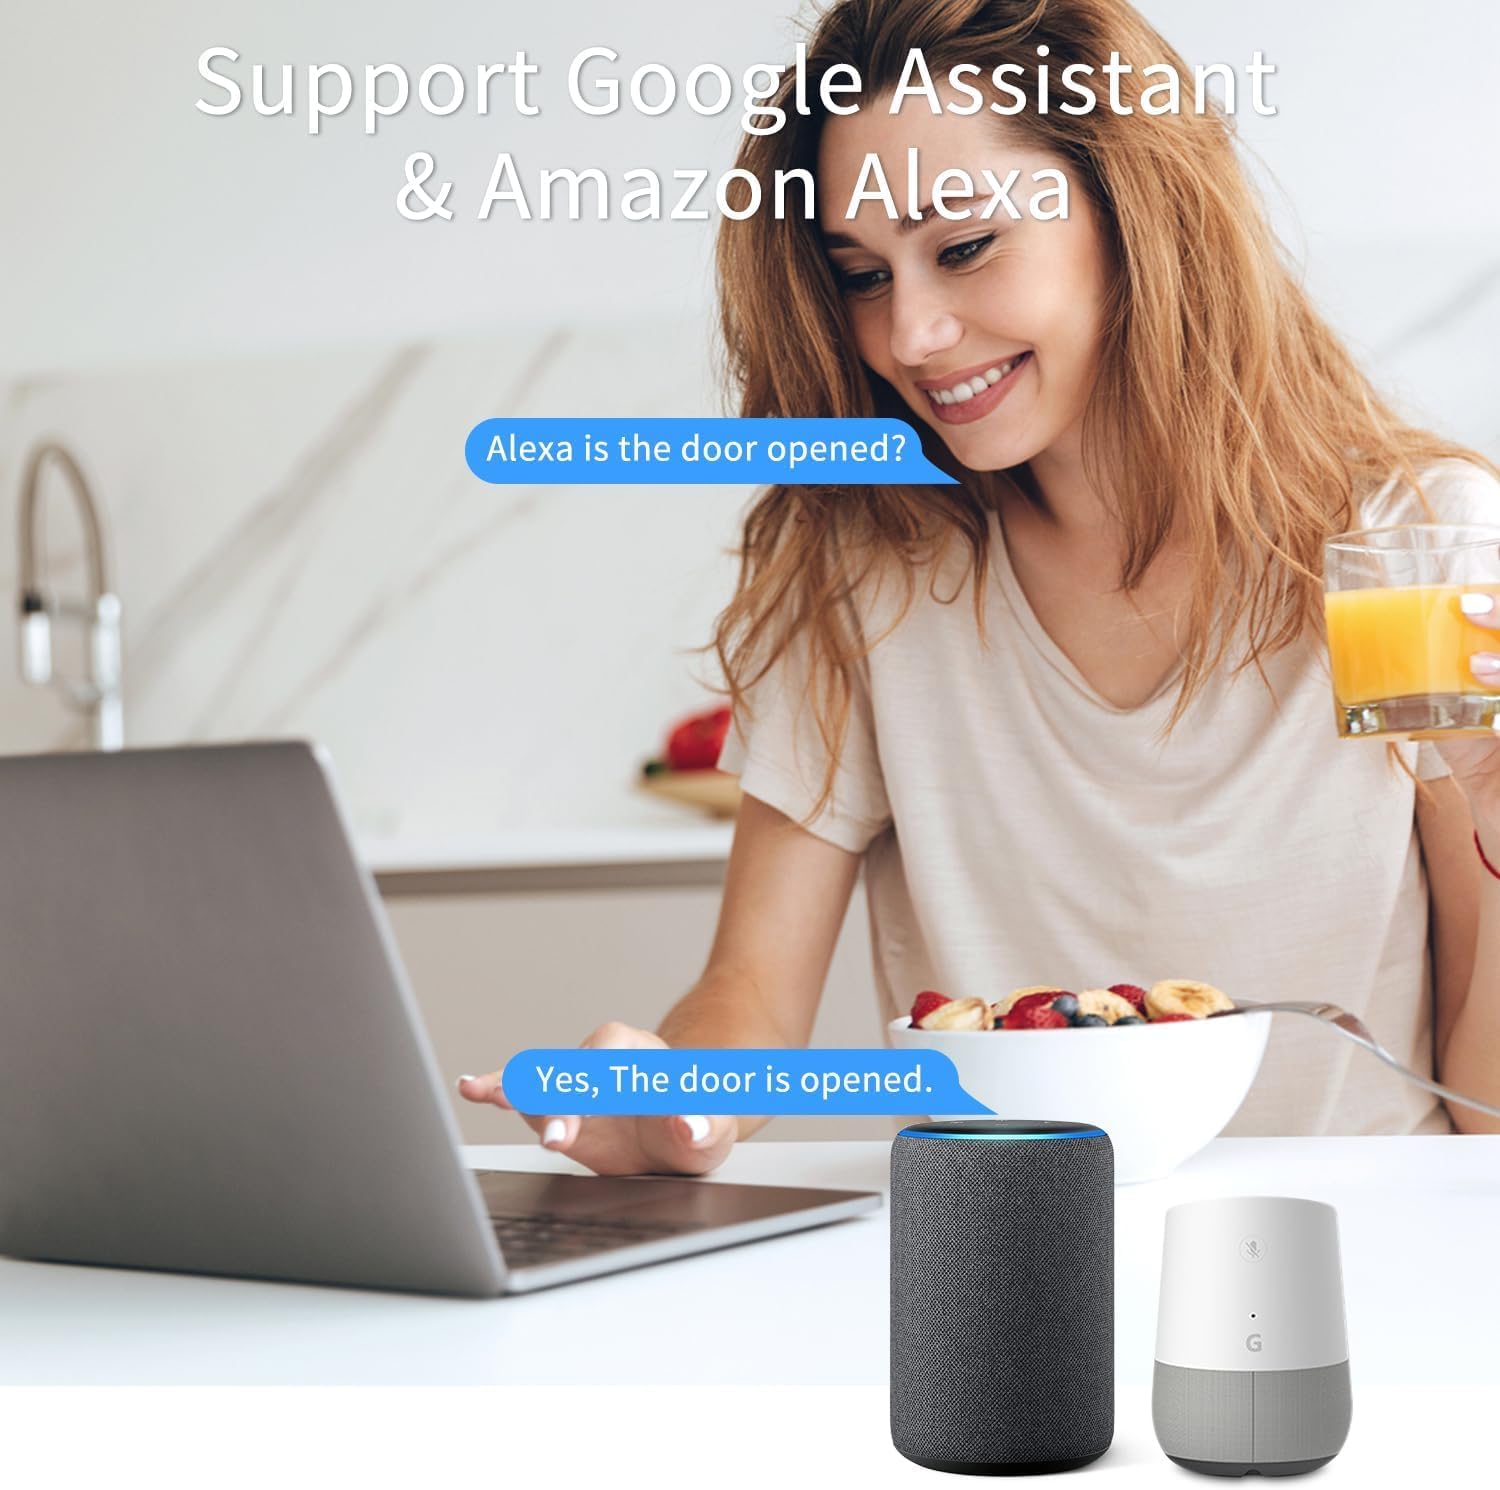
Figure 5.2: Voice control with Google Assistant and Amazon Alexa.
- Ensure your Tuya Smart Life account is linked to your Alexa or Google Home app.
- Discover new devices in your voice assistant app.
- Once discovered, you can ask questions like:
- "Alexa, is the front door open?"
- "Hey Google, what's the status of the living room window?"
- You can also set up routines or automations (e.g., turn on a light when the door opens).
6. Maintenance
6.1. Battery Replacement
The sensor is designed for low power consumption, providing long battery life. When the battery level is low, the Tuya Smart Life app may notify you. Replace the batteries promptly to ensure continuous operation.
- Open the back cover of the main sensor unit.
- Remove the old AAA batteries.
- Insert two new AAA alkaline batteries, observing correct polarity.
- Close the back cover.
Dispose of used batteries according to local regulations.
6.2. Cleaning
Wipe the sensor's exterior with a soft, dry cloth. Do not use abrasive cleaners or solvents, as these can damage the device.
7. Troubleshooting
| Problem | Possible Cause | Solution |
|---|---|---|
| Sensor not pairing with Tuya Zigbee Hub. |
|
|
| Sensor status not updating in app / Unreliable signal. |
|
|
| No notifications received. |
|
|
8. Specifications
| Attribute | Value |
|---|---|
| Model Number | F-SD01Z |
| Brand | XFOX |
| Connectivity Technology | Zigbee 3.0 |
| Power Source | Battery Powered (2x AAA, not included) |
| Voltage | 2 Volts (DC) |
| Control Method | App, Remote, Voice |
| Mounting Type | Door Mount |
| Sensor Technology | Contact |
| Dimensions (Main Unit) | 2.76 x 0.98 x 0.73 inches (7 x 2.5 x 1.85 cm) |
| Dimensions (Magnet) | 1.73 x 0.43 x 0.73 inches (4.4 x 1.1 x 1.85 cm) |
| Item Weight | 1.13 ounces (approx. 32g) |
| Color | White |
| Compatible Devices | Tuya Zigbee Hub, Alexa, Google Assistant, Smartphone |
| Maximum Installation Gap | 0.86 inches (2.2 cm) |
9. Safety Information
- This device operates on 2 Volts DC. Use only specified battery types.
- Do not expose the device to extreme temperatures, direct sunlight, or moisture.
- Do not attempt to disassemble or repair the device yourself. Refer to qualified personnel for service.
- Keep out of reach of children and pets.
- Ensure proper battery polarity when inserting batteries. Incorrect insertion can cause damage.
10. Warranty and Support
For warranty information and technical support, please contact the manufacturer or your point of purchase. Keep your purchase receipt as proof of purchase.
Manufacturer: FARYLINK
For further assistance, please visit the official XFOX website or contact their customer support.


