
1. Introduction
Thank you for choosing the Salter Digital One-Cup Filter Coffee Machine. This manual provides essential information for the safe and efficient use of your appliance. Please read it thoroughly before first use and keep it for future reference.
Important Safety Information
- Always ensure the appliance is placed on a stable, level, heat-resistant surface.
- Do not immerse the appliance, power cord, or plug in water or any other liquid.
- Keep out of reach of children.
- Unplug from the mains supply when not in use and before cleaning.
- Do not operate the appliance if it has been damaged in any way.
2. Product Overview
Familiarize yourself with the components of your Salter Digital One-Cup Filter Coffee Machine.

Figure 2.1: The Salter Digital One-Cup Filter Coffee Machine and its accompanying stainless steel travel mug.
Components:
- Main Coffee Machine Unit
- Water Reservoir (integrated)
- Reusable Filter Basket
- Lid
- Control Panel with Digital Display
- Stainless Steel Travel Mug (420 ml capacity)
3. Setup and First Use
Unpacking
- Carefully remove the coffee machine and all accessories from the packaging.
- Remove any protective films or stickers.
Initial Cleaning
Before using your coffee machine for the first time, it is important to clean all removable parts and run a cycle with water only.
- Wash the reusable filter basket and the travel mug with warm, soapy water. Rinse thoroughly and dry.
- Wipe the exterior of the coffee machine with a damp cloth.
- Fill the water reservoir with clean water up to the MAX level.
- Place the empty reusable filter basket into its position.
- Place the travel mug on the drip tray.
- Close the lid and press the ON/OFF button to run a brewing cycle with water only.
- Discard the water from the travel mug. Your machine is now ready for use.

Figure 3.1: The reusable filter basket in position, ready for coffee grounds or for a cleaning cycle.
Placement
Place the coffee machine on a flat, stable, and heat-resistant surface, away from any water sources or heat-sensitive materials.
4. Operating Instructions
Follow these steps to brew your perfect cup of coffee.
4.1 Preparing for Brewing
- Fill Water Reservoir: Open the lid and fill the water reservoir with fresh, cold water. Do not exceed the MAX fill line.
- Add Coffee Grounds: Place the reusable filter basket into its designated slot. Add your desired amount of ground coffee or a coffee pod into the filter.

Figure 4.1: Adding ground coffee to the reusable filter basket.
- Position Travel Mug: Place the stainless steel travel mug onto the drip tray, ensuring it is correctly aligned under the coffee dispenser.
- Close Lid: Close the top lid securely.
4.2 Brewing Coffee
- Start Brewing: Press the ON/OFF button on the control panel. The indicator light will illuminate, and the brewing process will begin.
- Brewing Time: The machine will brew a single cup of coffee in approximately 3 to 4 minutes.
- Completion: Once brewing is complete, the machine will automatically switch off. Carefully remove the travel mug.

Figure 4.2: Initiating the brewing process or setting the timer using the control panel.
4.3 Using the 24-Hour Timer Function
You can program your coffee machine to start brewing at a specific time.
- Set Current Time: With the machine plugged in, press the HOUR and MIN buttons to set the current time on the digital display.
- Set Program Time: Press the PROG button. The display will flash. Use the HOUR and MIN buttons to set your desired brewing start time.
- Activate Timer: Press the PROG button again to confirm the program time. The timer indicator will light up.
- Prepare Machine: Ensure the water reservoir is filled and coffee grounds are in the filter, and the travel mug is in place.
- The machine will automatically start brewing at the set program time.
4.4 Using the Travel Mug
The included 420 ml stainless steel travel mug is designed for convenience on the go.
- After brewing, carefully remove the travel mug from the machine.
- Securely attach the lid to the travel mug to prevent spills and maintain temperature.
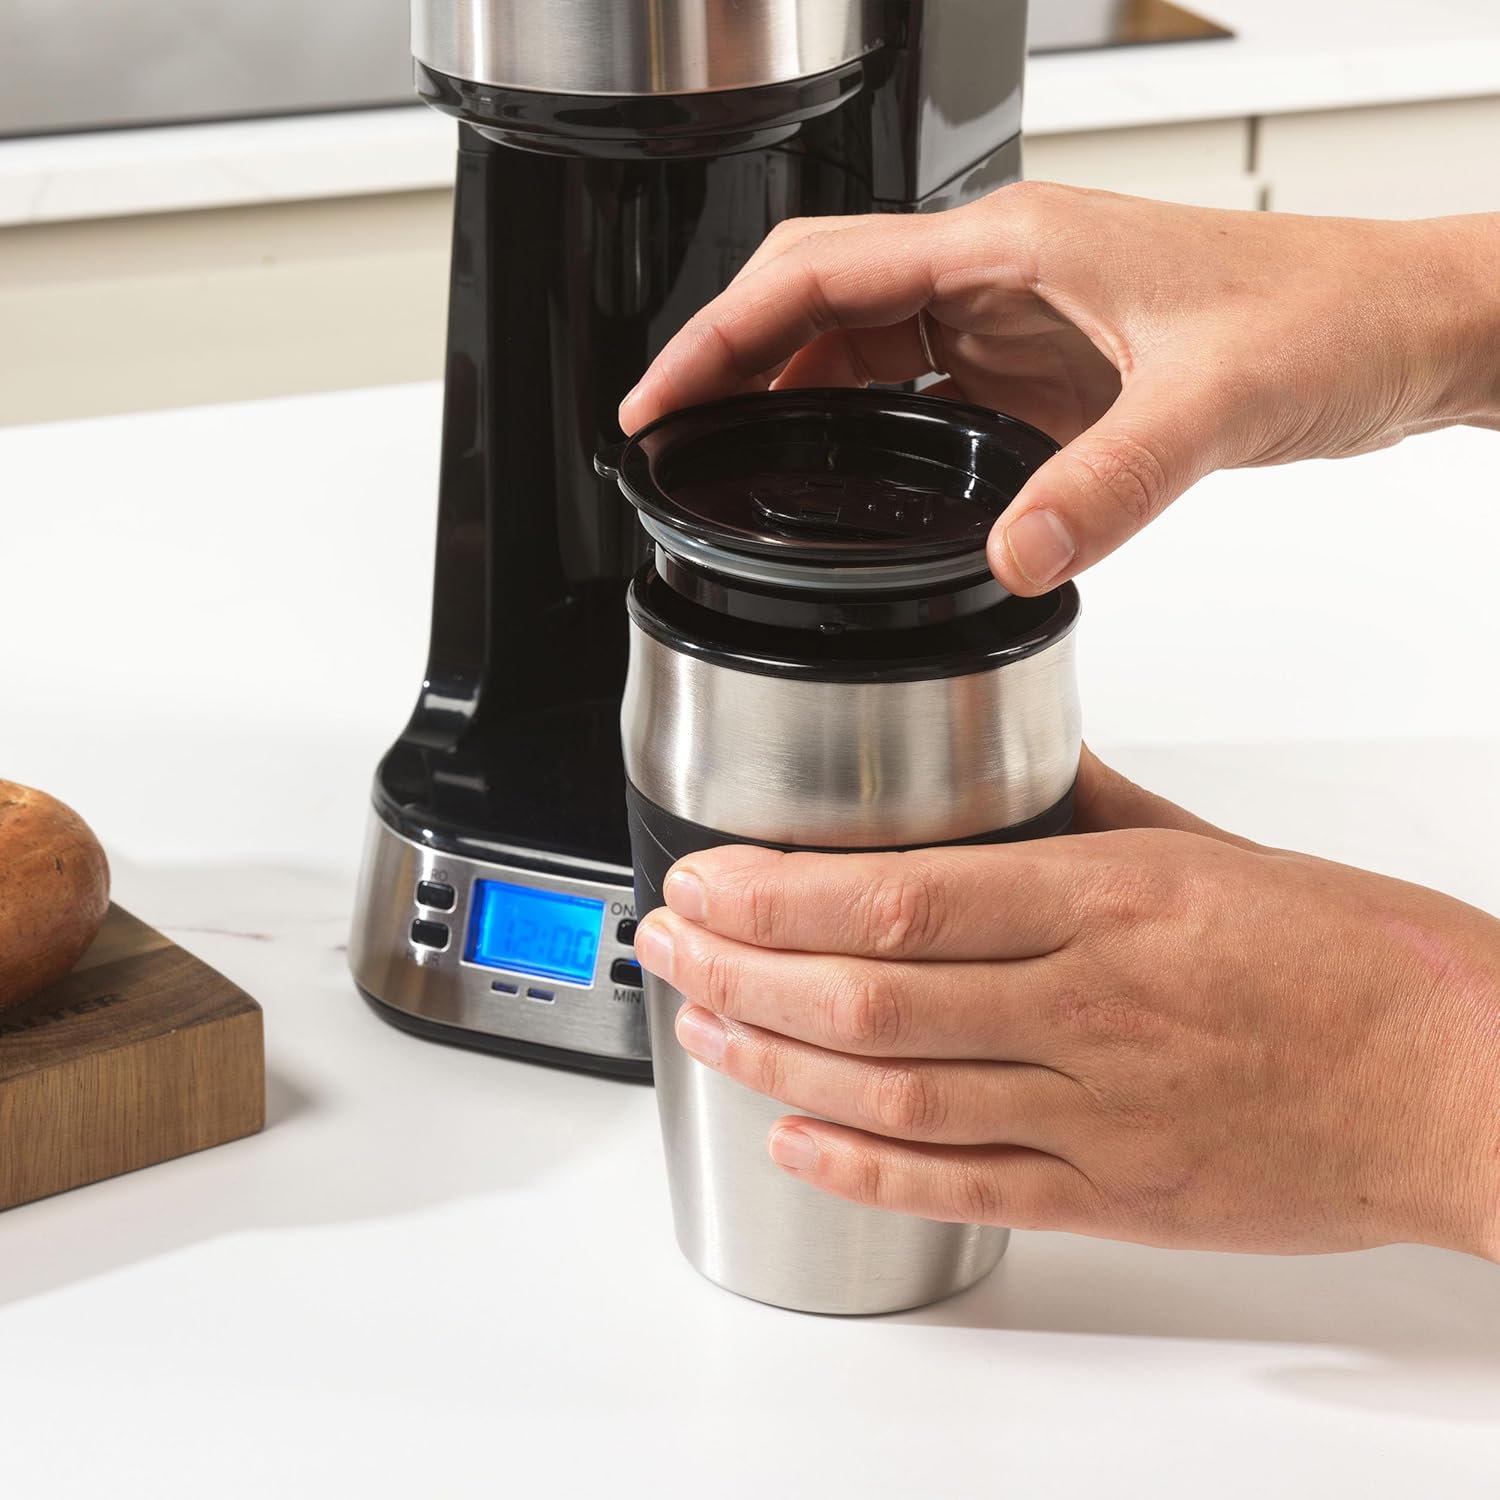
Figure 4.3: Securing the lid on the travel mug for portability.

Figure 4.4: The coffee machine with a freshly brewed cup of coffee in the travel mug.
5. Maintenance and Cleaning
Regular cleaning ensures optimal performance and extends the lifespan of your coffee machine.
5.1 Cleaning the Reusable Filter
- After each use, remove the reusable filter basket.
- Discard used coffee grounds.
- Rinse the filter thoroughly under running water. It can also be washed with warm, soapy water.
- Ensure no coffee residue remains to prevent clogging and maintain coffee flavor.

Figure 5.1: The reusable filter with used coffee grounds, ready for cleaning.
5.2 Cleaning the Machine Exterior
- Always unplug the machine before cleaning.
- Wipe the exterior surfaces with a soft, damp cloth.
- Do not use abrasive cleaners or scouring pads, as they may damage the finish.
- Clean the drip tray regularly.
5.3 Descaling
Over time, mineral deposits (limescale) can build up in your coffee machine, affecting performance and taste. Descaling is recommended every 2-3 months, or more frequently in areas with hard water.
- Use a commercially available descaling solution suitable for coffee machines, following the manufacturer's instructions.
- Alternatively, you can use a solution of white vinegar and water (1 part vinegar to 2 parts water).
- Fill the water reservoir with the descaling solution.
- Run a brewing cycle without coffee grounds.
- After the descaling cycle, run 2-3 cycles with clean water only to rinse out any remaining descaling solution.
6. Troubleshooting
If you encounter any issues with your coffee machine, refer to the following common problems and solutions:
| Problem | Possible Cause | Solution |
|---|---|---|
| Machine does not turn on. | No power supply. | Check if the plug is securely inserted into the power outlet. Check the circuit breaker. |
| Coffee is not brewing. | Insufficient water in reservoir. | Fill the water reservoir with water. |
| Coffee tastes weak. | Too little coffee grounds or coarse grind. | Add more coffee grounds or use a finer grind. |
| Coffee overflows from filter. | Too much coffee grounds or filter clogged. | Reduce coffee grounds. Clean the reusable filter thoroughly. |
| Brewing is slow. | Limescale buildup. | Descale the coffee machine as per Section 5.3. |
7. Specifications
| Brand | Salter |
| Model Number | EK2732 |
| Power | 750 W |
| Voltage | 230 Volts (AC) |
| Material | Stainless Steel |
| Dimensions (L x W x H) | 18.3 x 13.5 x 28.8 cm |
| Weight | 1.28 Kilograms |
| Special Feature | Portable |
| Coffee Maker Type | Electric Filter Coffee Maker |
| Operating Mode | Fully Automatic |
| Travel Mug Capacity | 420 ml |
8. Warranty and Support
For information regarding the product warranty, please refer to the warranty card included with your purchase or visit the official Salter website. If you require technical support or have questions not covered in this manual, please contact Salter customer service through their official channels.
Website: www.salter.com
