
Greteefor NS-BS-02
Greteefor 3Amp 9 Inch Benchtop Band Saw Instruction Manual
Model: NS-BS-02
Introduction
This manual provides essential information for the safe and effective operation, maintenance, and troubleshooting of your Greteefor 3Amp 9 Inch Benchtop Band Saw. Please read this manual thoroughly before operating the saw to ensure proper usage and to maximize the lifespan of your tool.
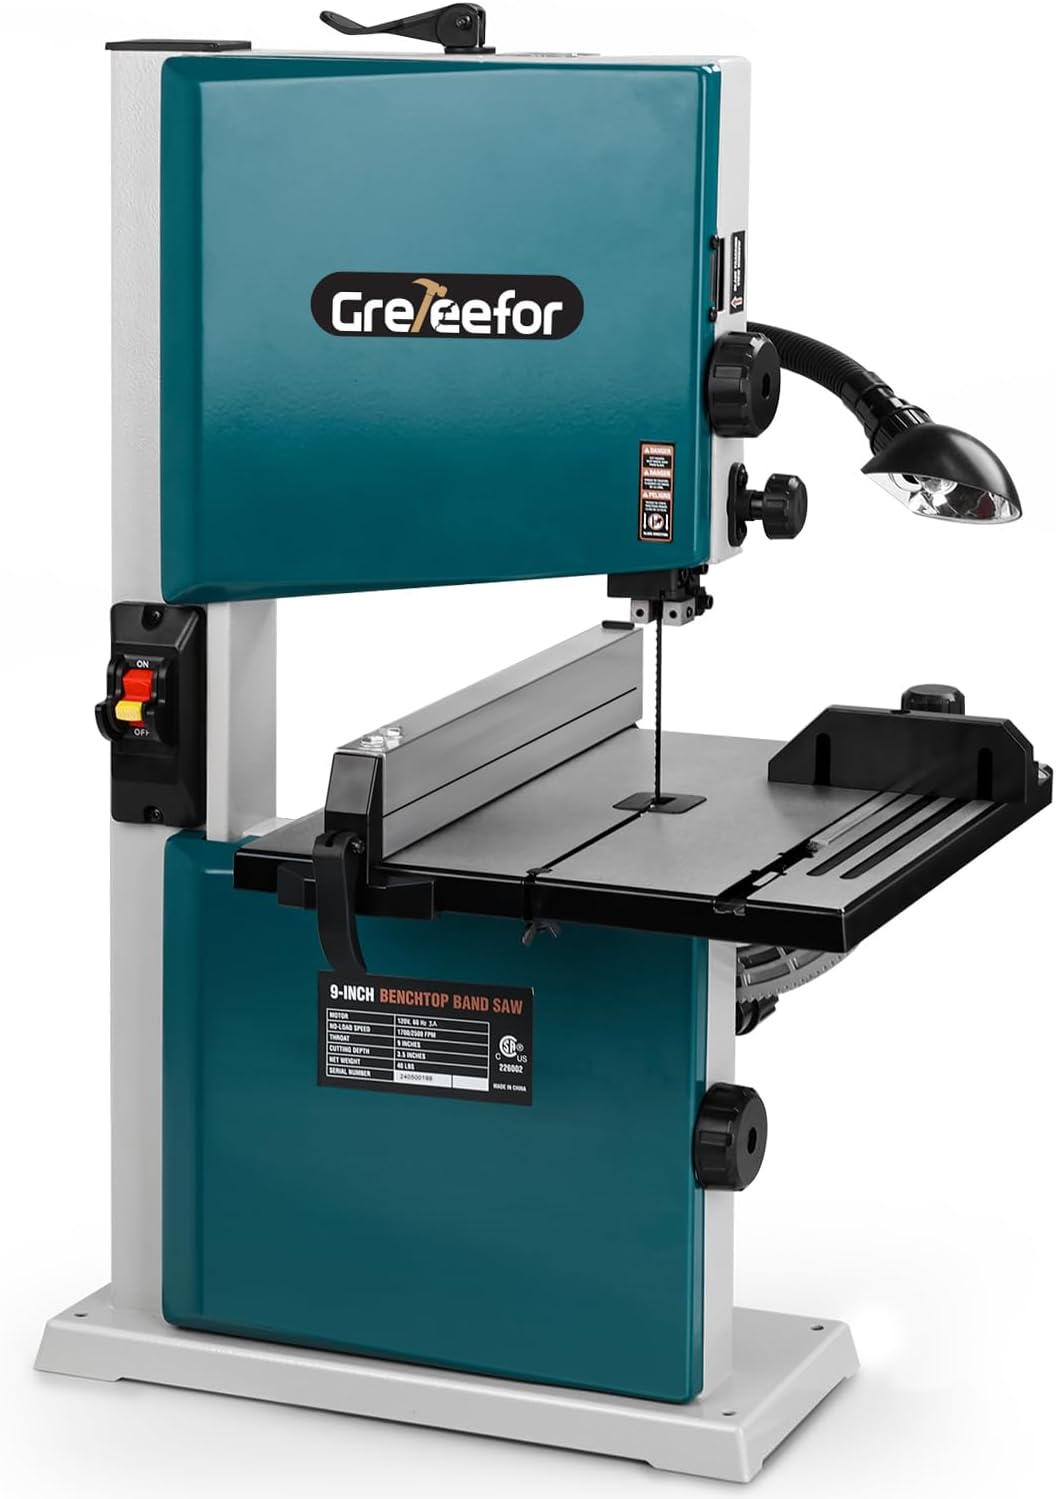
Figure 1: Greteefor 9 Inch Benchtop Band Saw Overview
This image displays the complete Greteefor 9 Inch Benchtop Band Saw, highlighting its compact design suitable for various woodworking tasks. Key features visible include the main body, work table, blade, and adjustable work light.
Safety Information
Always prioritize safety when operating power tools. Failure to follow these instructions may result in serious injury or property damage.
- Read and understand all instructions before operation.
- Wear appropriate personal protective equipment (PPE), including safety glasses, hearing protection, and dust mask.
- Ensure the work area is clean, well-lit, and free from obstructions.
- Keep hands and fingers away from the blade during operation.
- Disconnect power before performing any adjustments, maintenance, or when changing blades.
- Securely fasten the workpiece before cutting.
- Do not operate the saw in damp or wet conditions.
- Use the correct blade for the material being cut.
- Never leave the saw unattended while it is running.
Components Overview
Familiarize yourself with the main components of your band saw:
- Main Body: Houses the motor and internal mechanisms.
- Work Table: The surface where the workpiece rests, adjustable for angle cuts.
- Band Saw Blade: The continuous loop blade for cutting.
- Blade Guides: Upper and lower guides to keep the blade stable during cutting.
- Miter Gauge: Used for precise angle cuts.
- Rip Fence: Provides a guide for straight cuts.
- 360° Adjustable Work Light: Illuminates the cutting area for improved visibility.
- Dual Speed Control: Allows selection between 1700 FPM and 2500 FPM.
- Dust Port: Connects to a dust collection system to keep the workspace clean.
- Safety Switch: Enhances protection and prevents accidental starts.

Figure 2: 360° Adjustable Work Light
This image shows the flexible 360° adjustable work light, designed to provide shadow-free illumination directly onto the cutting area for enhanced precision and safety.
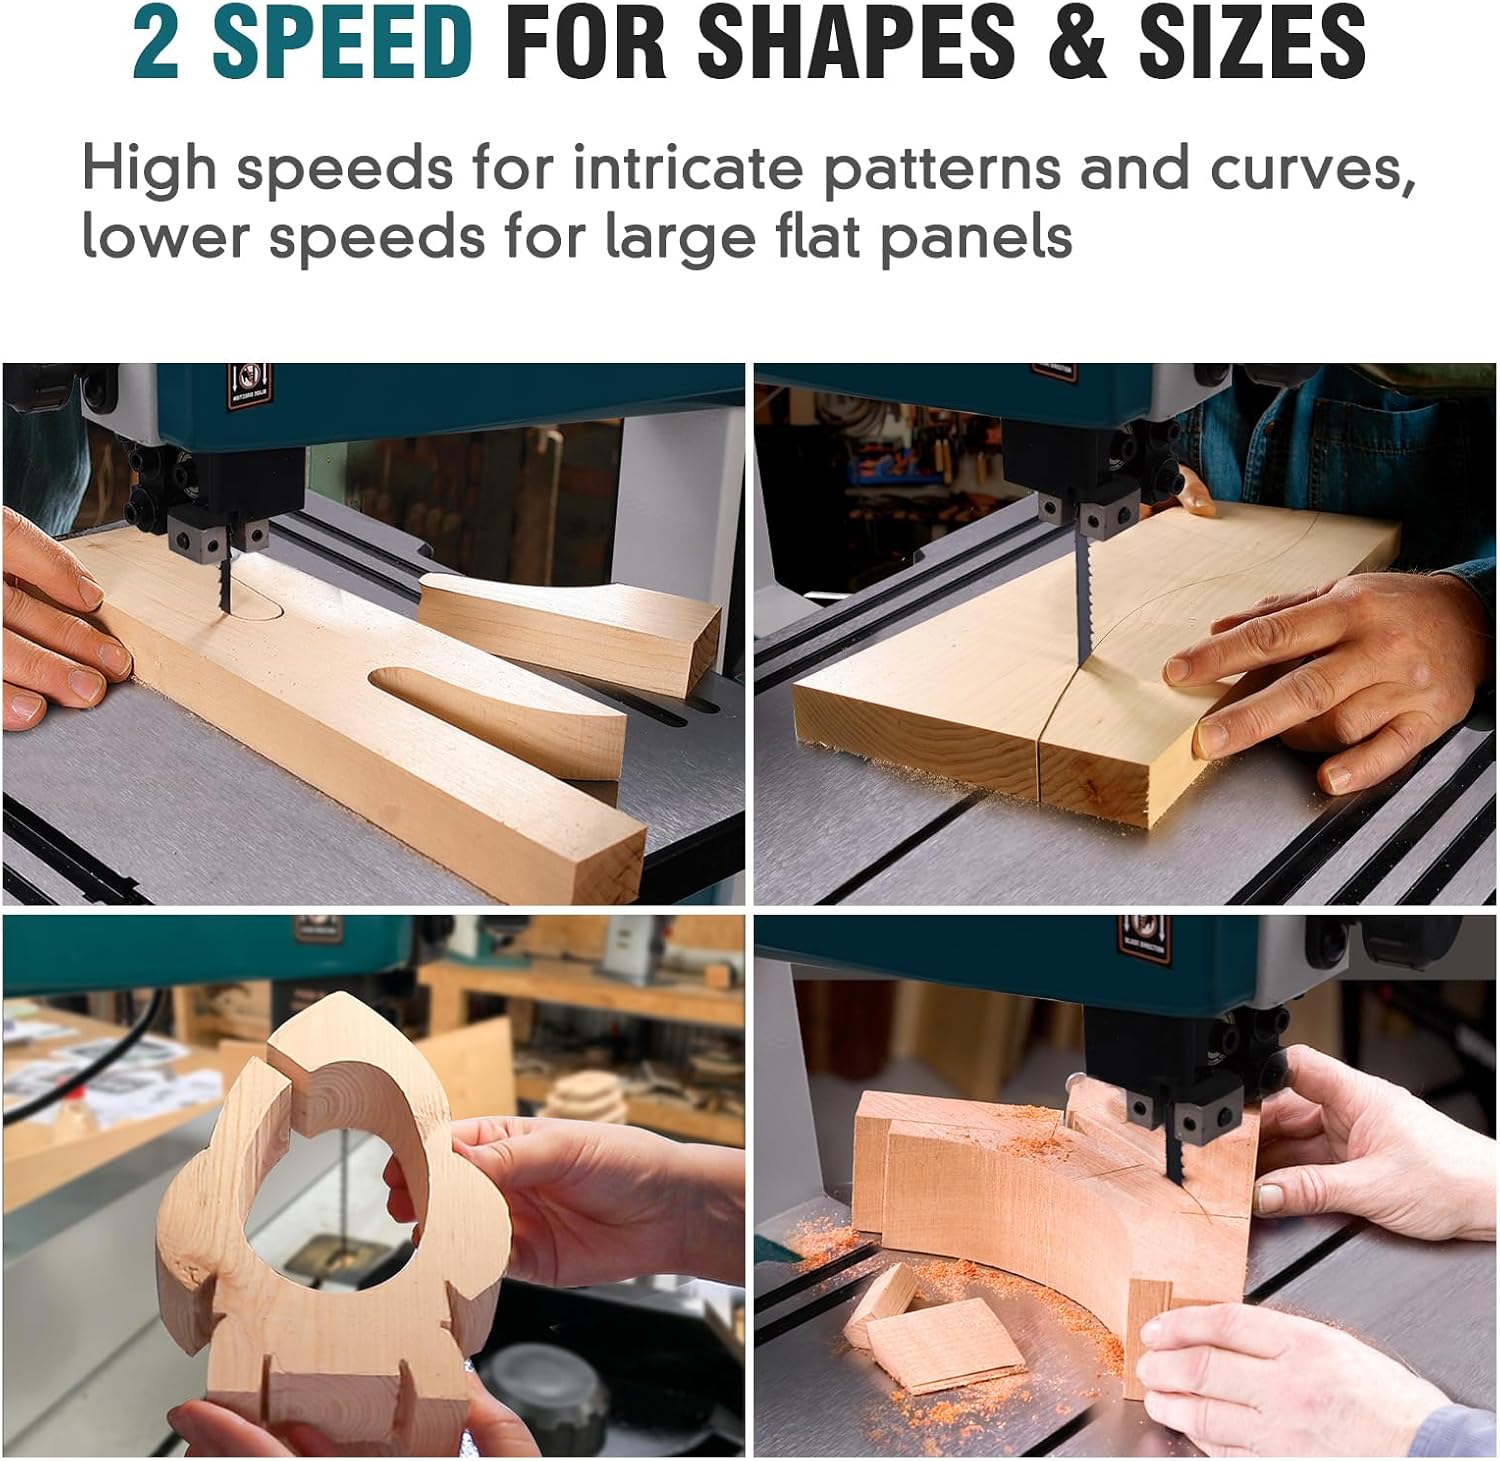
Figure 3: Tilting Work Table
The image illustrates the band saw's work table, which can tilt from 0° to 45°, enabling precise bevel cuts. The miter gauge and rip fence are also visible, used for guiding the workpiece during various cutting operations.
Setup
Follow these steps to set up your band saw for first use:
- Unpacking: Carefully remove all components from the packaging. Inspect for any shipping damage.
- Secure Placement: Place the band saw on a stable, level workbench. The robust steel base includes mounting holes for secure placement if desired.
- Table Assembly: Attach the work table to the main body. Ensure it is securely fastened and can tilt smoothly.
- Blade Tensioning: The saw blade is typically pre-loaded. Adjust the quick blade tension setting as needed to ensure proper tension for cutting. Refer to Figure 4 for visual guidance.
- Work Light Adjustment: Position the 360° adjustable work light to illuminate your primary cutting area.
- Dust Port Connection: Connect a 2-1/2" dust collection hose to the dust port to maintain a cleaner workspace.
- Power Connection: Ensure the safety switch is in the 'OFF' position. Connect the power cord to a suitable 110V DC power outlet.

Figure 4: Quick Blade Tension Setting
This image demonstrates the quick blade tension setting mechanism, allowing for tool-free adjustments to the blade tension for optimal cutting performance.

Figure 5: Dust Port and Safety Switch
The image highlights the 2-1/2" dust port for efficient dust collection and the dual safety switch, which includes a removable safety lock to prevent accidental operation.
Operating Instructions
Understand how to effectively use your band saw for various cutting tasks.
Dual Speed Operation
Your band saw offers two speed settings for optimal cutting performance across different materials:
- 1700 FPM (Feet Per Minute): Ideal for high-hardness materials like hardwood, acrylic, and plastic. Lower speeds prevent burning and excessive vibration.
- 2500 FPM (Feet Per Minute): Suitable for softer materials such as softwood. Higher speeds are also beneficial for intricate patterns and curves.
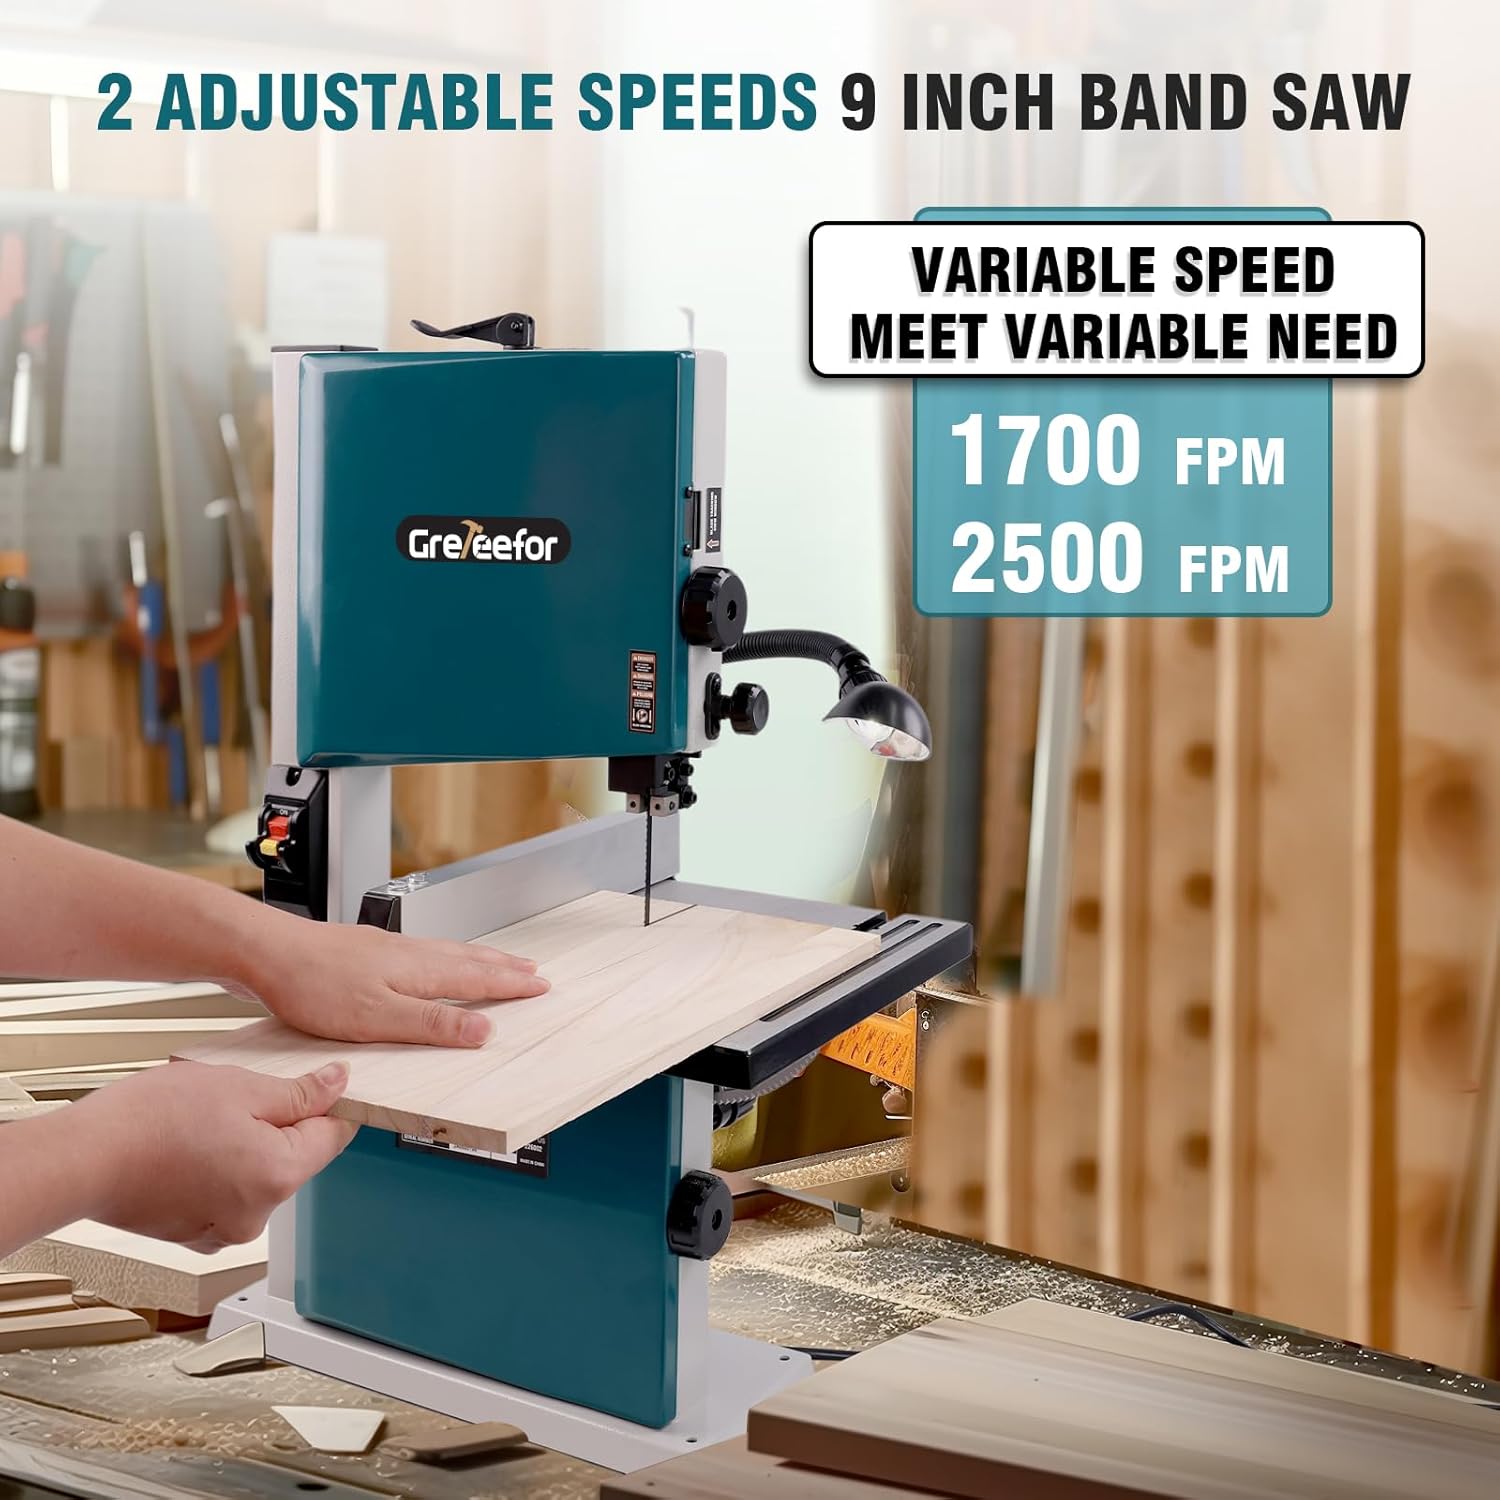
Figure 6: Dual Speed Options
This image illustrates the two adjustable speed settings (1700 FPM and 2500 FPM) available on the band saw, allowing users to select the appropriate speed for different materials and cutting needs.
Angle and Bevel Cutting
The band saw is equipped for precise angle and bevel cuts:
- Miter Gauge: Use the miter gauge for accurate cross-cuts and angled cuts. It can be adjusted up to 120°.
- Rip Fence: For straight, consistent cuts along the length of the material, utilize the rip fence.
- Tilting Table: The worktable can tilt from 0° to 45° for bevel cutting. Adjust the table to the desired angle using the clear scale indicator.
Video 1: Provide Accurate & Multi Angle Cutting
This video demonstrates how to achieve accurate and multi-angle cuts using the band saw's adjustable table, miter gauge, and rip fence. It shows the process of setting up for angled cuts and performing them on wood.
Types of Cuts
The band saw is versatile for various cutting applications:
- Straight Cuts: Use the rip fence for long, straight cuts.
- Curved Cuts: The narrow blade allows for intricate curved cuts and shapes.
- Multi-Angle Cuts: Combine the miter gauge and tilting table for complex angled and bevel cuts.

Figure 7: Straight, Curve, and Multi-Angle Cutting
This image collage illustrates the band saw's capability to perform straight line cuts, intricate curved cuts, and complex multi-angle cuts, showcasing its versatility for various woodworking projects.

Figure 8: Scope of Application
This image visually represents the range of materials that can be cut with the band saw, including hardwood, copper, wood-based panels, aluminum, and cork, demonstrating its broad applicability.
Maintenance
Regular maintenance ensures optimal performance and extends the life of your band saw.
- Cleaning: Regularly clear sawdust and debris from the work table, blade guides, and dust port. A 2-1/2" dust port helps keep your workspace cleaner.
- Blade Inspection: Periodically inspect the blade for sharpness, damage, or wear. Replace dull or damaged blades promptly.
- Blade Guides: Check and adjust blade guides to ensure proper alignment and support for the blade.
- Motor Cooling: The induction motor features a cooling system. Ensure air vents are clear of obstructions to prevent overheating.
- Lubrication: Refer to the product diagram for any specific lubrication points, if applicable.
Troubleshooting
This section addresses common issues you might encounter with your band saw.
| Problem | Possible Cause | Solution |
|---|---|---|
| Saw does not start | No power, safety switch engaged, faulty power cord. | Check power connection, ensure safety switch is disengaged, inspect power cord for damage. |
| Blade jams during cutting | Dull blade, incorrect blade tension, improper feed rate, material too thick. | Replace blade, adjust blade tension, reduce feed rate, ensure material is within cutting capacity. |
| Inaccurate cuts | Loose miter gauge/fence, worn blade, misaligned blade guides, table not square. | Secure miter gauge/fence, replace blade, adjust blade guides, square the table. |
| Excessive vibration or noise | Loose components, worn bearings, improper blade tension, unstable mounting. | Check all fasteners, inspect bearings, adjust blade tension, ensure saw is securely mounted. |
Specifications
| Feature | Specification |
|---|---|
| Brand | Greteefor |
| Model Number | NS-BS-02 |
| Motor Power | 3 Amp (330 Watts) |
| Voltage | 110 Volts DC |
| Blade Length | 59.5 Inches |
| Speed Settings | 1700 FPM / 2500 FPM |
| Cutting Angle | 0° to 45° (Tilting Table) |
| Product Dimensions (L x W x H) | 31" x 17.7" x 11.8" |
| Item Weight | 42.3 pounds |
| Special Features | 360° Adjustable Work Light, Bevel Capability, Dust Port |
| Blade Material | High Carbon Steel |
| Surface Recommendation | Wood |
Warranty and Support
Greteefor is committed to providing quality products and customer satisfaction. For any questions, technical support, or warranty claims, please contact Greteefor customer service through the retailer where you purchased the product or visit the official Greteefor store page on Amazon.
Please retain your proof of purchase for warranty purposes.
Ask a question about this manual
Ask about setup, troubleshooting, compatibility, parts, safety, or missing instructions. Manuals+ will review the question and use this page’s manual context to help answer it.