
Introduction
This manual provides detailed instructions for the assembly, operation, and maintenance of your LUXOAK 70-inch Farmhouse Wardrobe Closet. Please read all instructions carefully before beginning assembly and retain this manual for future reference. Proper assembly and care will ensure the longevity and safe use of your product.
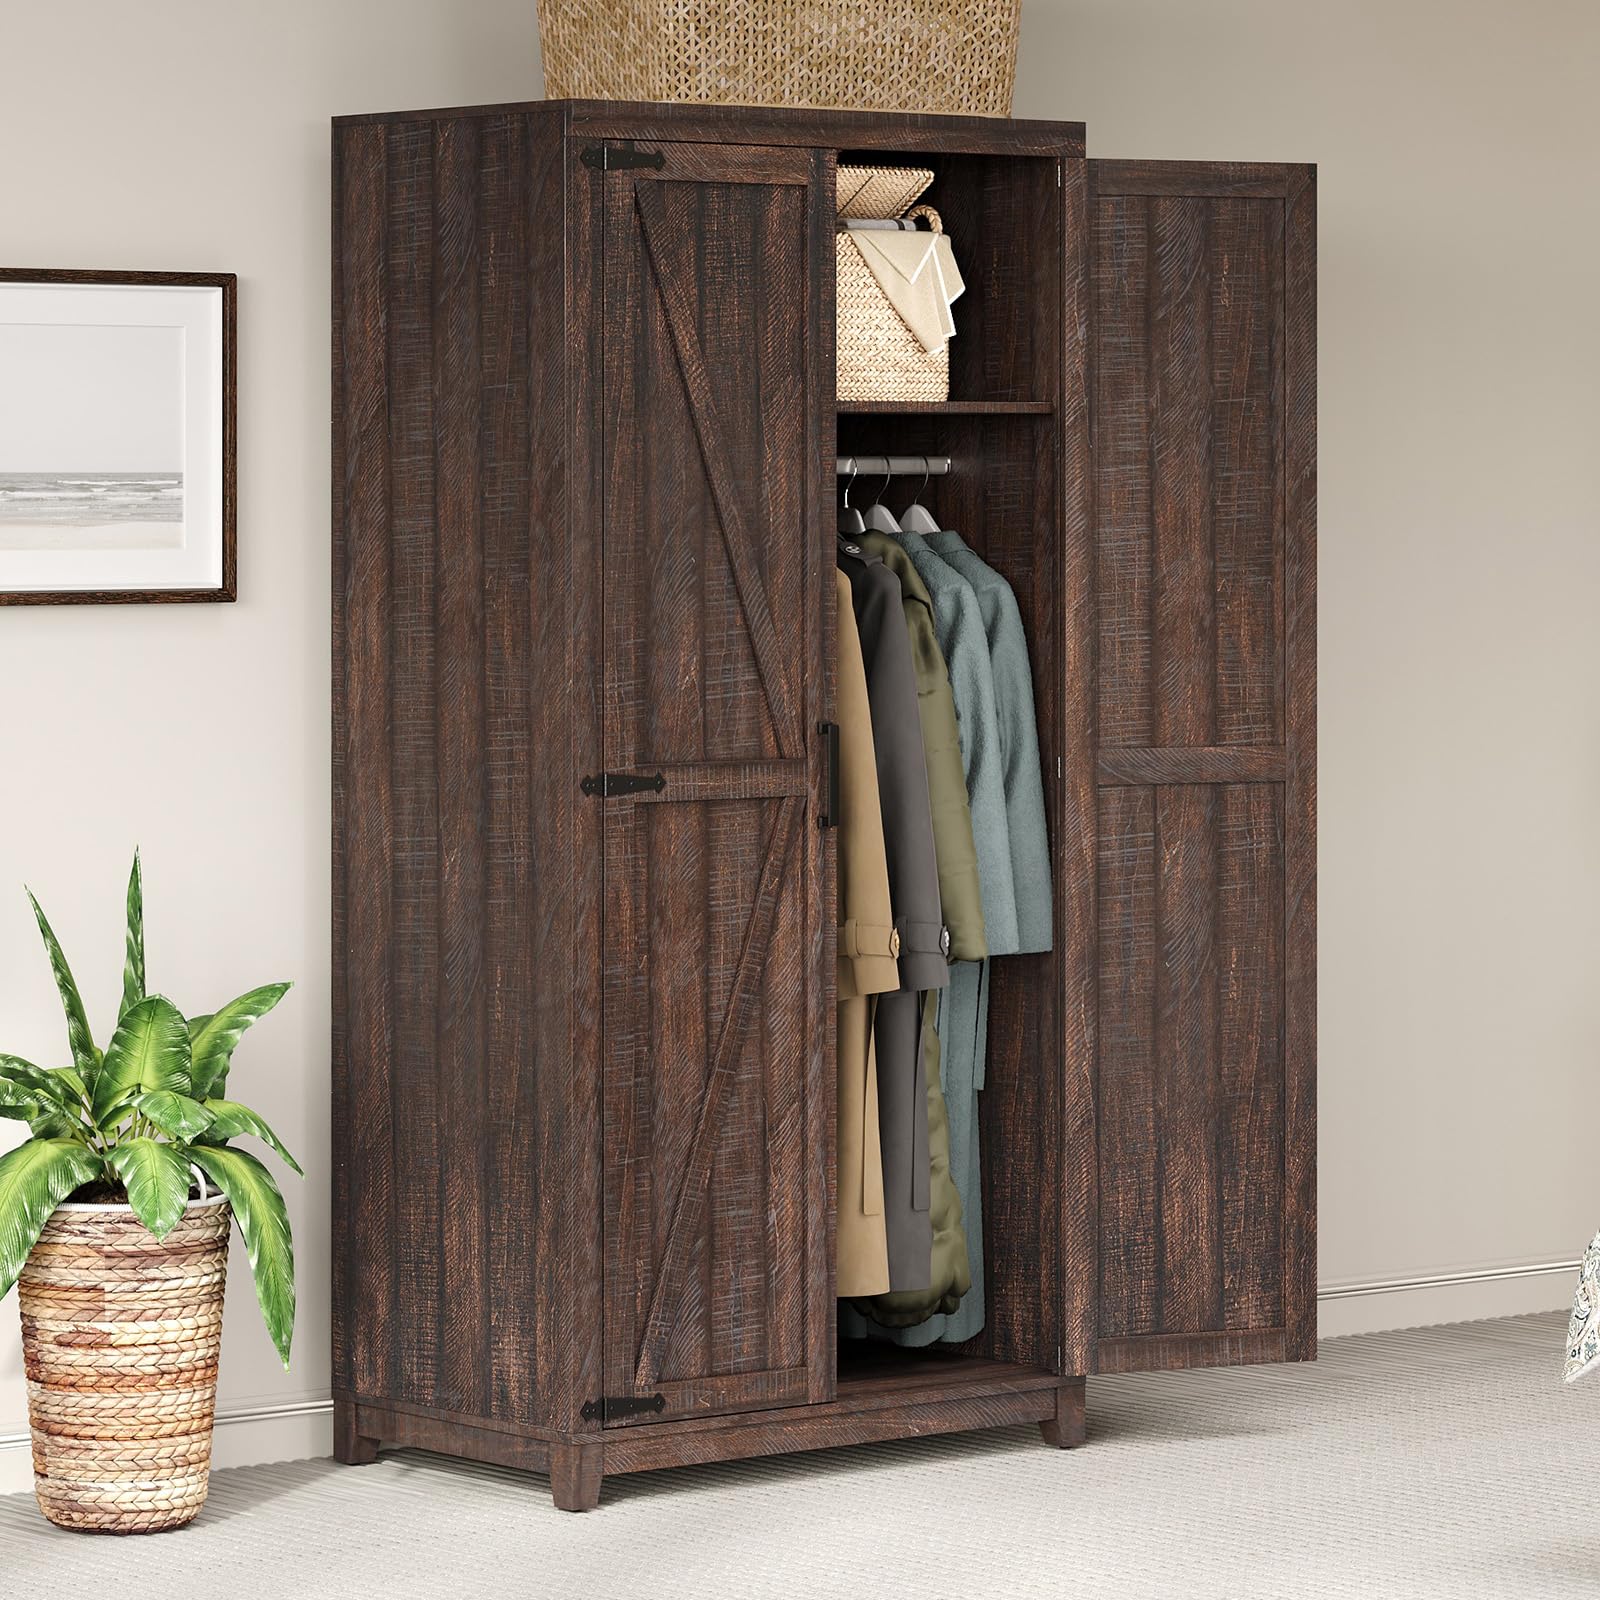
Image: The LUXOAK 70-inch Farmhouse Wardrobe Closet, showcasing its espresso finish and barn-style doors.
Important Safety Information
WARNING: Tip-over Hazard.
Furniture can tip over, causing serious or fatal injuries. Always install the anti-tip device provided with this product to prevent accidental tipping.- Ensure all parts are securely fastened before and during use.
- Do not allow children to climb on or play with the wardrobe.
- Place the wardrobe on a flat, stable, and level surface.
- Do not exceed the specified weight capacity for the hanging rod (50 lbs) or upper shelf (30 lbs).

Image: This diagram illustrates the importance of installing the anti-tipping device to secure the wardrobe to the wall, preventing accidental tip-overs, especially in households with children or pets.
Package Contents
Before assembly, verify that all components listed below are present and undamaged. If any parts are missing or damaged, please contact customer support for assistance.
- Wooden Panels (various sizes for sides, top, bottom, back, doors, shelf)
- Hanging Rod
- Barn Door Hardware (hinges, handles, magnetic catches)
- Assembly Hardware (screws, dowels, cam locks, etc.)
- Anti-Tip Kit
- Assembly Instructions
Assembly Instructions
Assembly typically requires two adults. A Phillips head screwdriver (not included) is required. Follow the steps carefully to ensure correct and safe assembly.
Step 1: Prepare the Base.
Attach the support legs to the bottom panel using the provided screws. Ensure they are firmly secured.Step 2: Assemble Side Panels.
Connect the side panels to the bottom panel using dowels and cam locks.Step 3: Install Back Panel.
Slide the back panel into the grooves of the side and bottom panels. Secure with small nails or screws.Step 4: Attach Top Panel.
Secure the top panel to the side and back panels using dowels and cam locks.Step 5: Install Interior Shelf and Hanging Rod.
Insert the shelf into the designated slots. Attach the hanging rod supports and then the rod itself.Step 6: Assemble Doors.
Attach the barn door style hinges to the doors and then to the main cabinet frame. Install the black metal handles and magnetic door catches.Step 7: Install Anti-Tip Kit.
Secure the anti-tip bracket to the top rear of the wardrobe and to a wall stud using the provided hardware. This step is critical for safety.Step 8: Final Check.
Ensure all connections are tight and the wardrobe is stable.
Video: This video provides a visual guide to the assembly of the wardrobe, showcasing key steps and highlighting features such as the barn doors, hanging rod, and storage capacity.
Operating Instructions
Opening and Closing Doors
The wardrobe features two barn-style doors. Gently pull the black metal handles to open the doors. Magnetic catches ensure the doors remain closed when not in use.
Utilizing Storage Space
The interior includes a top shelf and a hanging rod, offering versatile storage solutions.
Hanging Rod:
Use for hanging clothes such as shirts, dresses, coats, and jackets. The rod supports up to 50 lbs.Top Shelf:
Ideal for folded items, storage boxes, hats, or other personal items. The shelf supports up to 30 lbs.Bottom Space:
The area below the hanging rod can be used for shoes, bags, or additional storage bins.

Image: This image demonstrates the versatile storage options within the wardrobe, illustrating how to hang various types of clothing and utilize the shelf and bottom space for different items.

Image: This image highlights the practical and spacious design of the wardrobe, showing examples of items like clothes, bags, and linens that can be neatly stored inside.
Care and Maintenance
Cleaning:
Wipe surfaces with a soft, damp cloth. Avoid harsh chemicals or abrasive cleaners, which can damage the finish.Dusting:
Regularly dust with a dry, soft cloth to prevent buildup.Hardware Check:
Periodically check all screws and fasteners to ensure they remain tight. Retighten as necessary to maintain stability.Avoid Moisture:
Protect the wardrobe from excessive moisture and direct sunlight to prevent warping or fading of the material.
Troubleshooting
| Problem | Possible Cause | Solution |
|---|---|---|
| Doors do not close properly | Hinges are loose or misaligned; magnetic catch is not engaging | Check and tighten hinge screws. Adjust hinges if necessary. Ensure magnetic catches are properly aligned and installed. |
| Wardrobe feels unstable/wobbly | Fasteners are loose; anti-tip kit not installed or improperly installed | Retighten all assembly screws. Verify the anti-tip kit is securely anchored to a wall stud. Ensure the wardrobe is on a level surface. |
| Hanging rod sags | Exceeded weight capacity | Reduce the weight of items on the hanging rod. Ensure the rod supports are securely fastened. |
| Surface damage (scratches, dents) | Impact during assembly or use | Use furniture repair markers or touch-up paint for minor blemishes. For significant damage, contact customer support. |
Product Specifications
Model Number:
CNS060Brand:
LUXOAKMaterial:
Engineered WoodColor:
EspressoOverall Dimensions (D x W x H):
19.5" x 32" x 70"Item Weight:
110 poundsNumber of Doors:
2Number of Shelves:
1Hanging Rod Weight Capacity:
50 lbsUpper Shelf Weight Capacity:
30 lbsStyle:
FarmhouseMounting Type:
Floor Mount

Image: This diagram provides a clear visual representation of the wardrobe's external dimensions (70" H x 32" W x 19.5" D) and internal measurements, along with weight capacities for the upper level (30 lbs) and clothes pole (50 lbs).
Warranty and Customer Support
For any questions, missing parts, or assistance with assembly, please contact LUXOAK customer support. Refer to your purchase documentation for specific warranty details.
Visit the LUXOAK Store for more information and to explore other products.