1. Introduction
Welcome to the user manual for your Smart Silky Smooth Hair Eraser. This manual provides essential information for the safe and effective operation, maintenance, and care of your device. Please read it thoroughly before first use and keep it for future reference.

2. Product Overview
2.1 Package Contents
- Smart Silky Smooth Hair Eraser Device
- Replacement Blade Head(s)
- USB Charging Cable
- Cleaning Brush

2.2 Key Features
- Safe and Comfortable: Designed for quick and painless hair removal without skin damage.
- Whole Body Application: Suitable for knuckles, arms, legs, chest, back, and bikini area. (Note: For sensitive skin, test on a small area first.)
- Quiet Operation: Features a three-dimensional mesh floating cutter head design for low noise and safe use.
- Simple Cleaning: Removable blade head can be cleaned with soap and tap water.
- USB Powered: Convenient charging via USB.
- Automatic Shut-off: Device turns off automatically after 10 minutes of inactivity.
3. Safety Information
- Do not immerse the main device body in water for extended periods.
- If you have sensitive skin, test the device on a small, less sensitive area (e.g., arms or legs) before using it on more delicate parts of the body.
- Keep out of reach of children.
- Do not use on irritated, broken, or sunburned skin.
- Ensure the device is dry before charging.
4. Setup
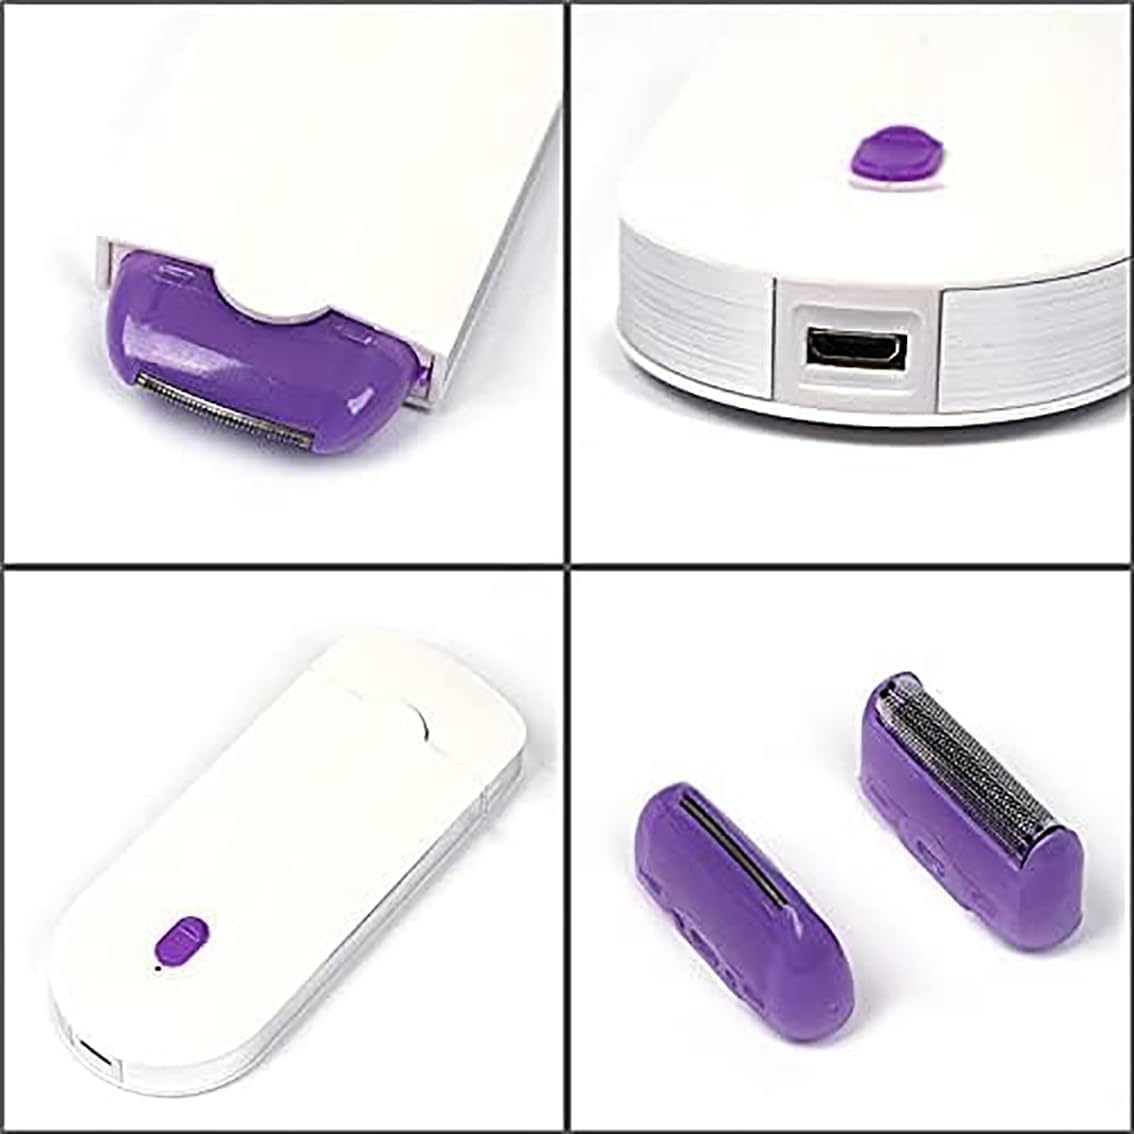
4.1 Charging the Device
Before first use, fully charge your Smart Silky Smooth Hair Eraser. Locate the USB charging port on the device, typically found at the bottom or side. Connect the provided USB cable to the device and a suitable USB power source (e.g., computer, wall adapter). The charging indicator light will typically show the charging status.
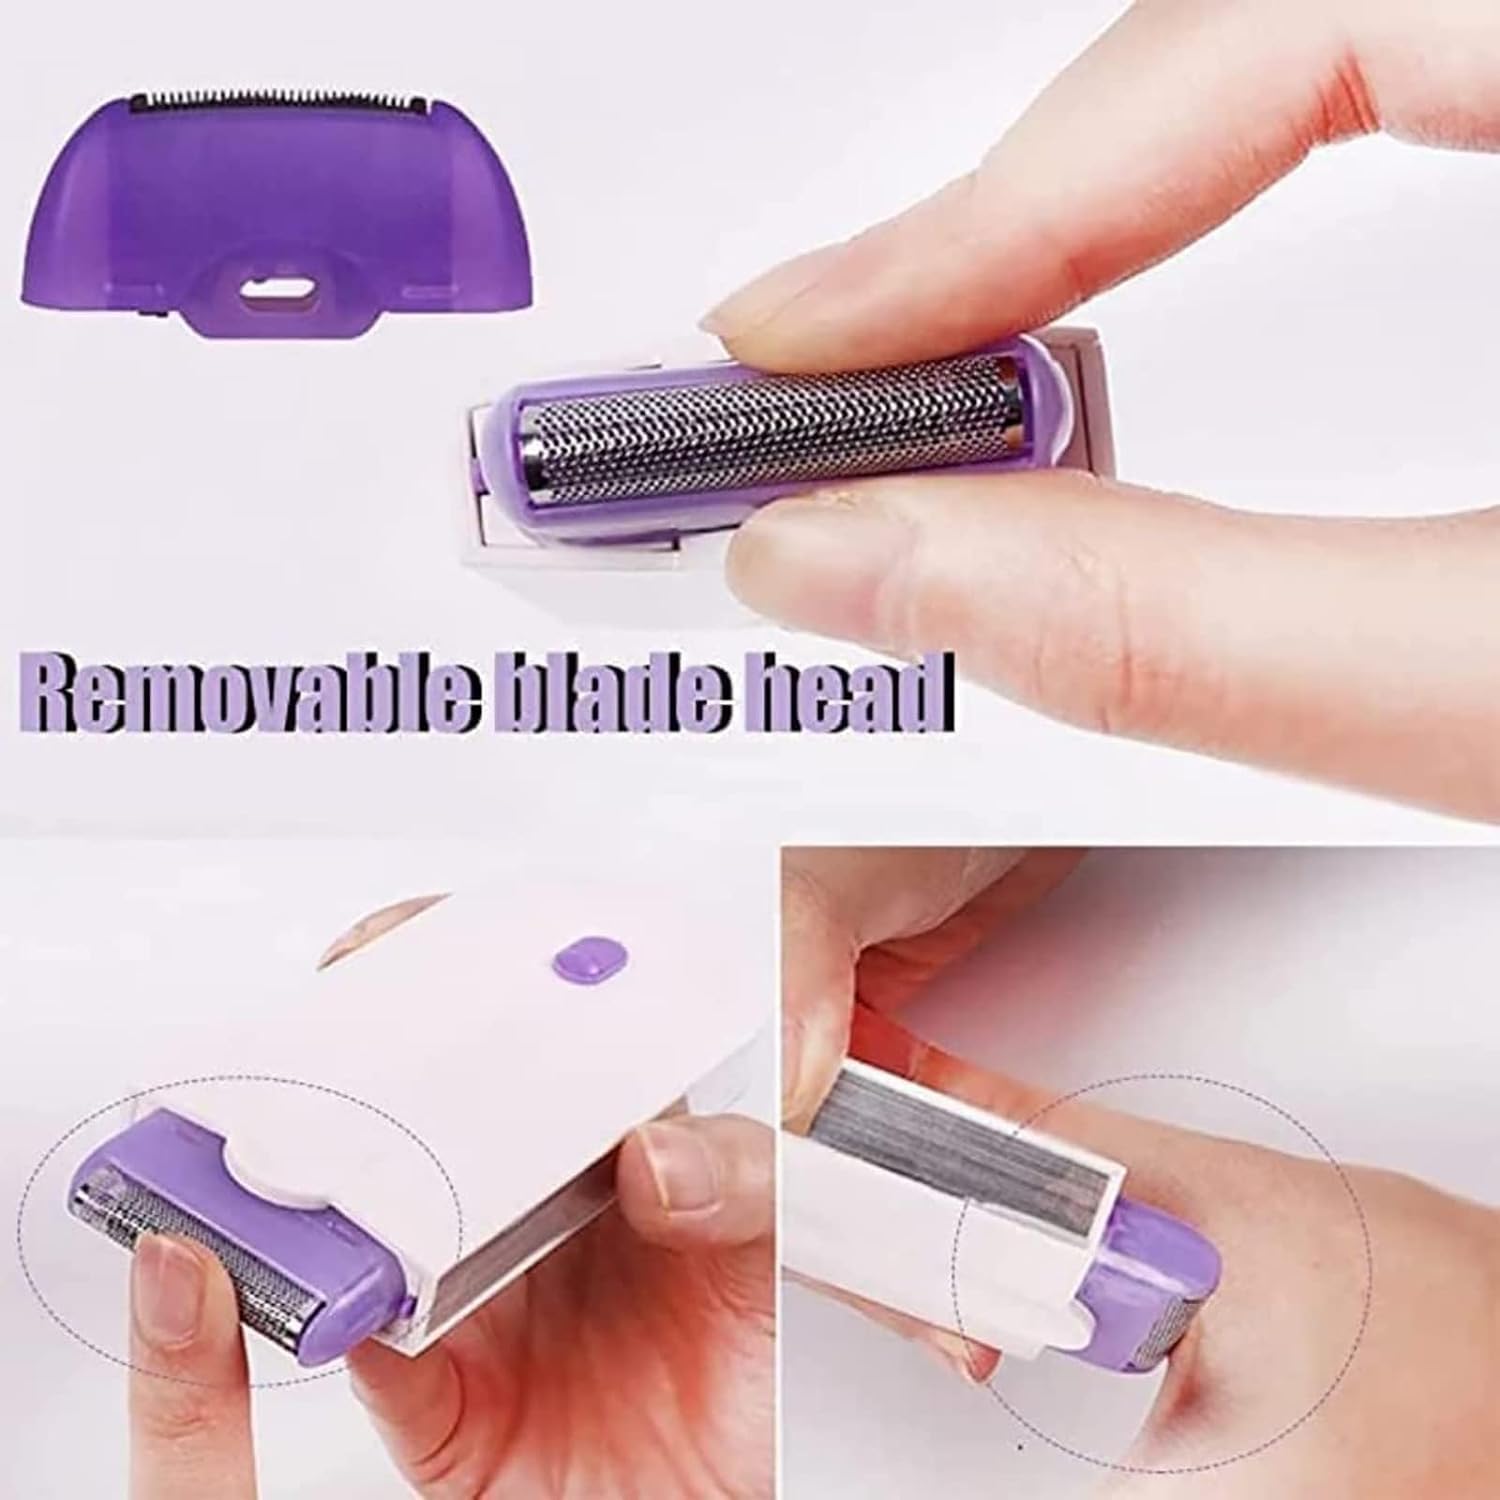
4.2 Attaching/Replacing Blade Head
The device features a removable blade head for easy cleaning and replacement.
- To remove the cutting head, hold the product with both hands, push the edge of the knife, and push it forward.
- Take off the cutting head.
- To attach a new blade head, align the foil head with the device and press firmly until it clicks securely into place.

5. Operating Instructions
5.1 General Use
Ensure the device is fully charged before use. Turn on the power switch. Gently glide the device over the skin area where hair removal is desired. The device is designed for dry use.
5.2 Step-by-Step Hair Removal
- Step 1: Hold the product in both hands, push the edge of the knife, and push it forward to remove the cutting head.
- Step 2: Take off the cutting head.
- Step 3: Pressure the foil head, which should be aligned to the place complete the installation.
- Step 4: Turn on the power switch. (Note: The device will turn off automatically after 10 minutes without touching the hair part to conserve battery.)
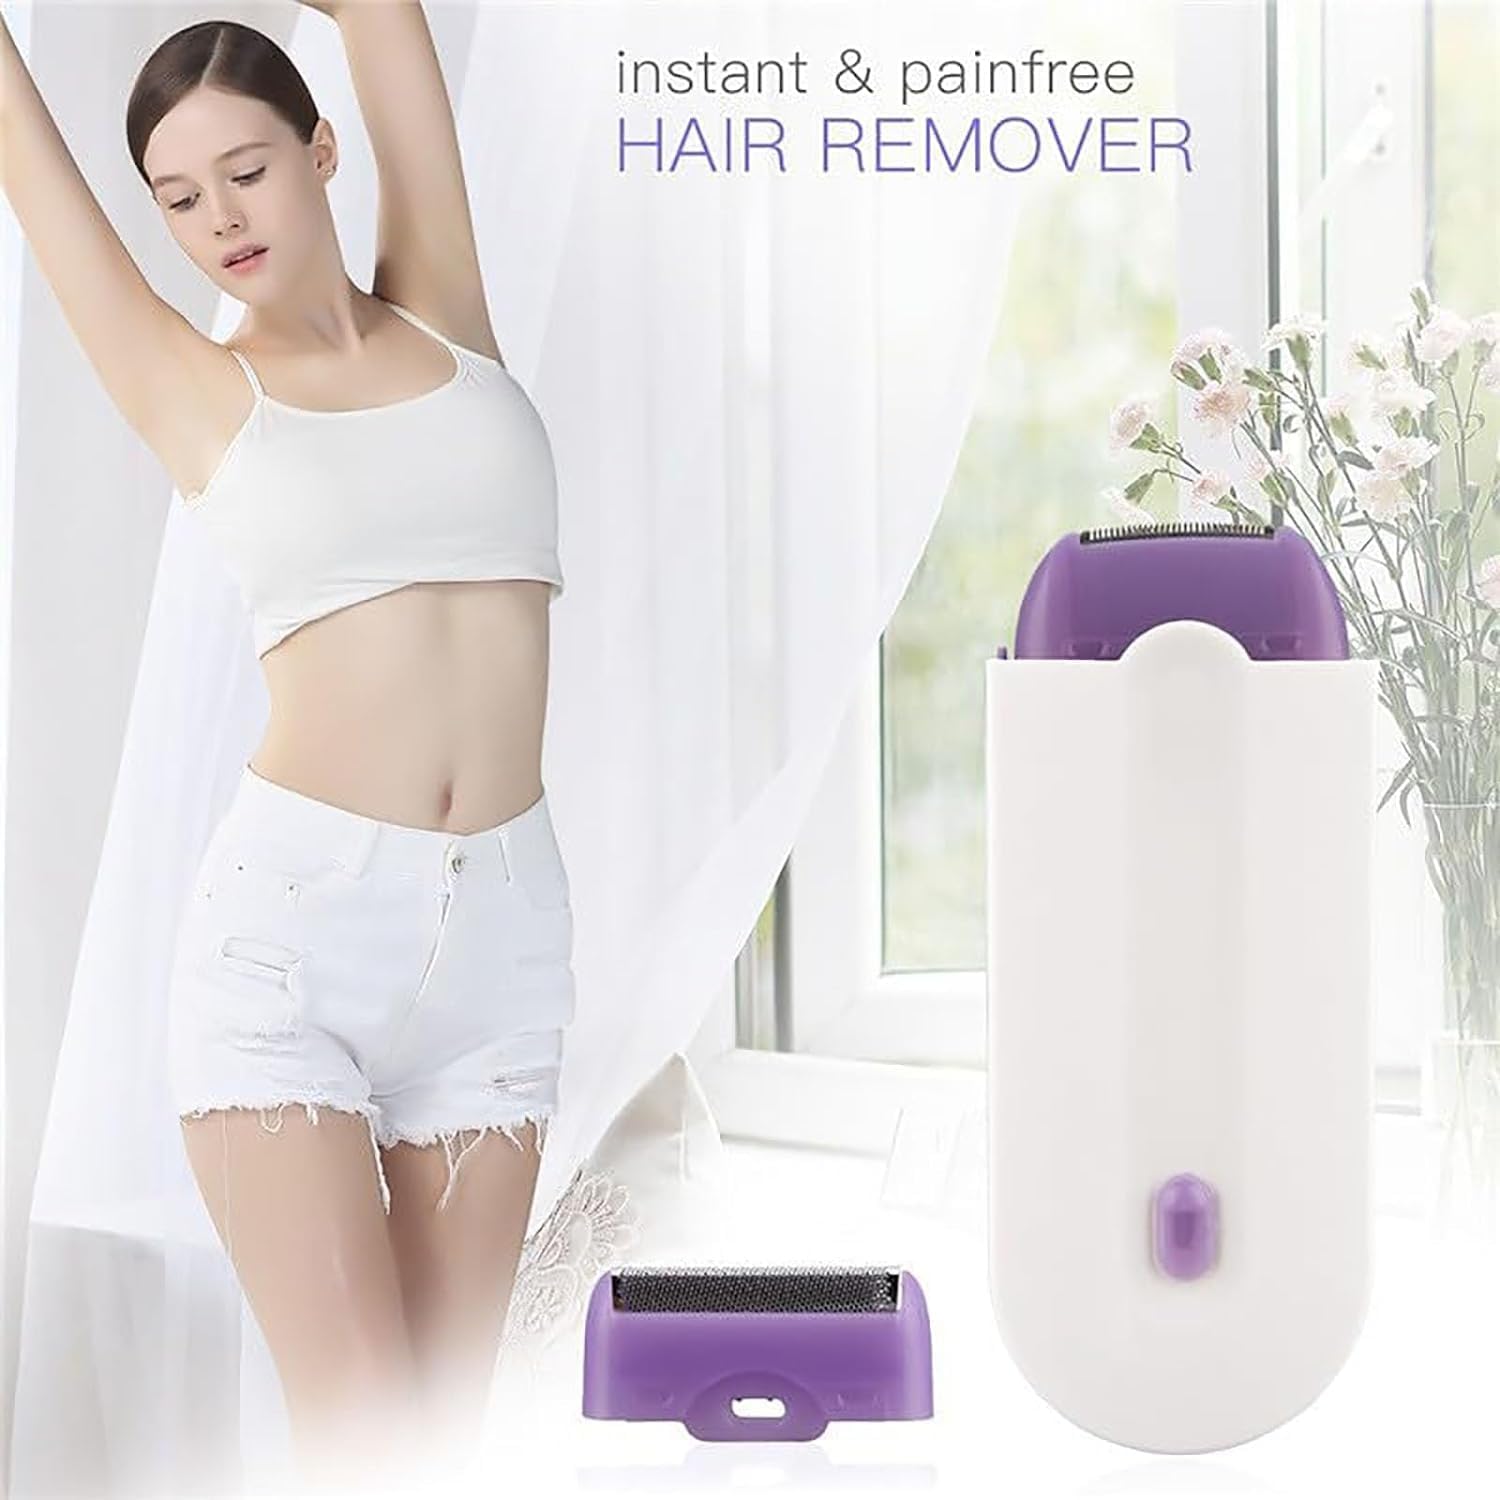
5.3 Applicable Body Parts
The Smart Silky Smooth Hair Eraser is versatile and can be used on various body areas, including armpits, back, legs, arms, bikini line, and chest. Always ensure your skin is clean and dry before use.
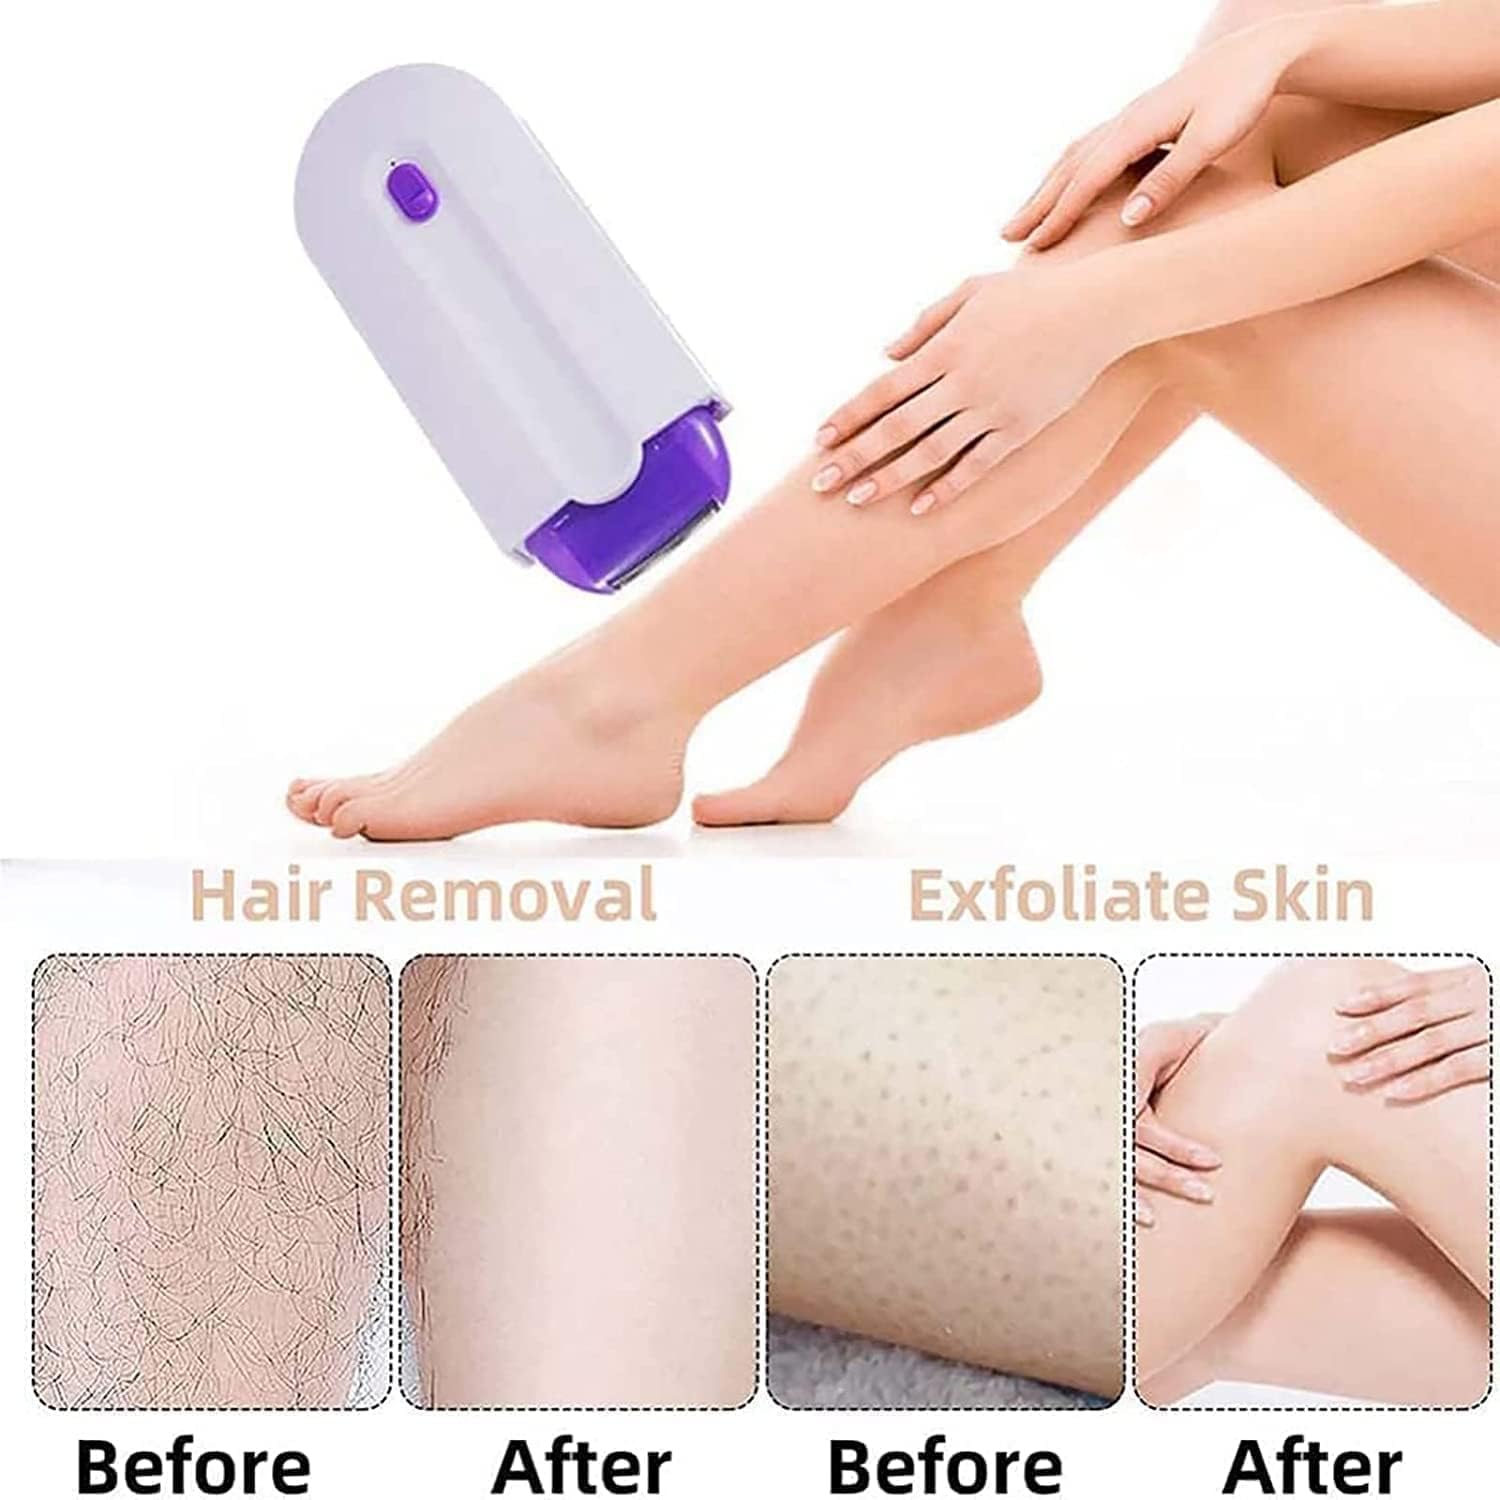
5.4 Before and After Results
The device is designed to effectively remove hair, leaving your skin feeling smooth and exfoliated. Consistent use according to instructions will yield optimal results.
6. Maintenance and Cleaning
Proper maintenance ensures the longevity and performance of your hair eraser.
- After each use, turn off the device.
- Remove the blade head as described in Section 4.2.
- Use the provided cleaning brush to remove any trapped hairs from the blade and the device body.
- The removable blade head can be rinsed with mild soap and tap water. Ensure it is completely dry before reattaching it to the device.
- Do not soak the main device body in water. Wipe it clean with a damp cloth if necessary.
- Store the device in a cool, dry place away from direct sunlight.
7. Troubleshooting
If you encounter any issues with your Smart Silky Smooth Hair Eraser, please refer to the following common problems and solutions:
- Device not turning on: Ensure the device is fully charged. Check the USB cable and power source for proper connection.
- Reduced hair removal performance: Clean the blade head thoroughly to remove any accumulated hair or debris. If the blade head appears dull or damaged, replace it with a new one.
- Skin irritation: Ensure your skin is clean and completely dry before use. Apply gentle pressure and avoid going over the same area too many times. If irritation persists, discontinue use.
- Unusual noise: Check if the blade head is properly attached and free from obstructions. Clean the device thoroughly.
If the problem persists after trying these steps, please contact customer support.
8. Specifications
| Specification | Value |
|---|---|
| Reference Product | 12346 |
| ASIN | B0DJFVCKYS |
| Manufacturer | GRLWPYZKQ |
| Item Model Number | 12346 |
| Service | Adult Unisex |
| Power Mode | USB |
| Material | ABS |
| Hair Removal Area | Whole Body |
9. Warranty and Support
For warranty information, technical support, or any questions not covered in this manual, please refer to the product packaging or contact the manufacturer directly using the contact information provided with your purchase. Keep your proof of purchase for warranty claims.
