
Introduction
This manual provides essential information for the safe and efficient installation, operation, and maintenance of your GIGABYTE AORUS Elite P1000W Ice Power Supply. Please read this manual thoroughly before using the product and retain it for future reference.

Figure 1: Angled view of the GIGABYTE AORUS Elite P1000W Ice Power Supply, highlighting the 1000W rating.
Safety Information
Always observe the following safety precautions to prevent injury and damage to your equipment:
- Ensure the power supply is disconnected from the AC outlet before installation or handling.
- Do not open the power supply unit. High voltages are present inside, and there are no user-serviceable parts.
- Install the power supply in a well-ventilated area, away from heat sources and direct sunlight.
- Use only the modular cables provided with this power supply. Using incompatible cables may cause damage.
- Avoid exposing the power supply to moisture or extreme temperatures.
Package Contents
Verify that all items are present in the package:
- GIGABYTE AORUS Elite P1000W Ice Power Supply Unit
- Modular Cable Set (including ATX 24-pin, EPS/CPU 8-pin, PCIe 6+2-pin, 12VHPWR, SATA, Peripheral)
- AC Power Cord (EU Plug)
- Mounting Screws
- User Manual (this document)
Product Features
- ATX 3.0 and PCIe Gen 5.0 ready (ATX 3.1 compatible)
- Certified 80 PLUS Platinum efficiency
- 100% Japanese Capacitors for enhanced reliability
- 120mm Dynamic Fluid Ball Bearing (FDB) Fan for quiet and efficient cooling
- Compact design for easier installation
- Fully modular design for improved cable management
- Powerful single rail +12V output
- Comprehensive protection features: OVP (Over Voltage Protection), OPP (Over Power Protection), SCP (Short Circuit Protection), UVP (Under Voltage Protection), OCP (Over Current Protection), OTP (Over Temperature Protection)
Setup and Installation
Follow these steps to install your power supply:
- Prepare Your System: Ensure your computer case is open and all existing power supply cables are disconnected.
- Mount the Power Supply: Carefully place the GIGABYTE AORUS Elite P1000W into the power supply bay of your computer case. Secure it with the provided mounting screws.

Figure 2: Overall view of the GIGABYTE AORUS Elite P1000W Ice Power Supply. This image shows the main unit with its fan grill and modular cable ports.
- Connect Modular Cables: Identify the necessary cables for your motherboard and components (CPU, GPU, storage drives). Connect the appropriate modular cables to the power supply's output ports.

Figure 3: Detailed view of the modular cable connectors on the GIGABYTE AORUS Elite P1000W Ice Power Supply. This image illustrates the clearly labeled ports for M/B, CPU/PCI-E, Peripheral, and 12VHPWR connections.
- 24-pin ATX Cable: Connect to the motherboard's main power connector.
- 8-pin EPS/CPU Cable: Connect to the motherboard's CPU power connector.
- PCIe 6+2-pin Cables: Connect to your graphics card(s) if they require additional power.
- 12VHPWR Cable: Connect to PCIe Gen 5.0 graphics cards that utilize this connector.
- SATA Cables: Connect to SSDs, HDDs, and optical drives.
- Peripheral (Molex) Cables: Connect to other components requiring Molex power.
- Connect to Components: Route the connected modular cables neatly to their respective components and plug them in securely.
- Connect AC Power: Ensure the power supply's main switch is in the OFF (0) position. Connect the AC power cord to the power supply and then to a wall outlet.
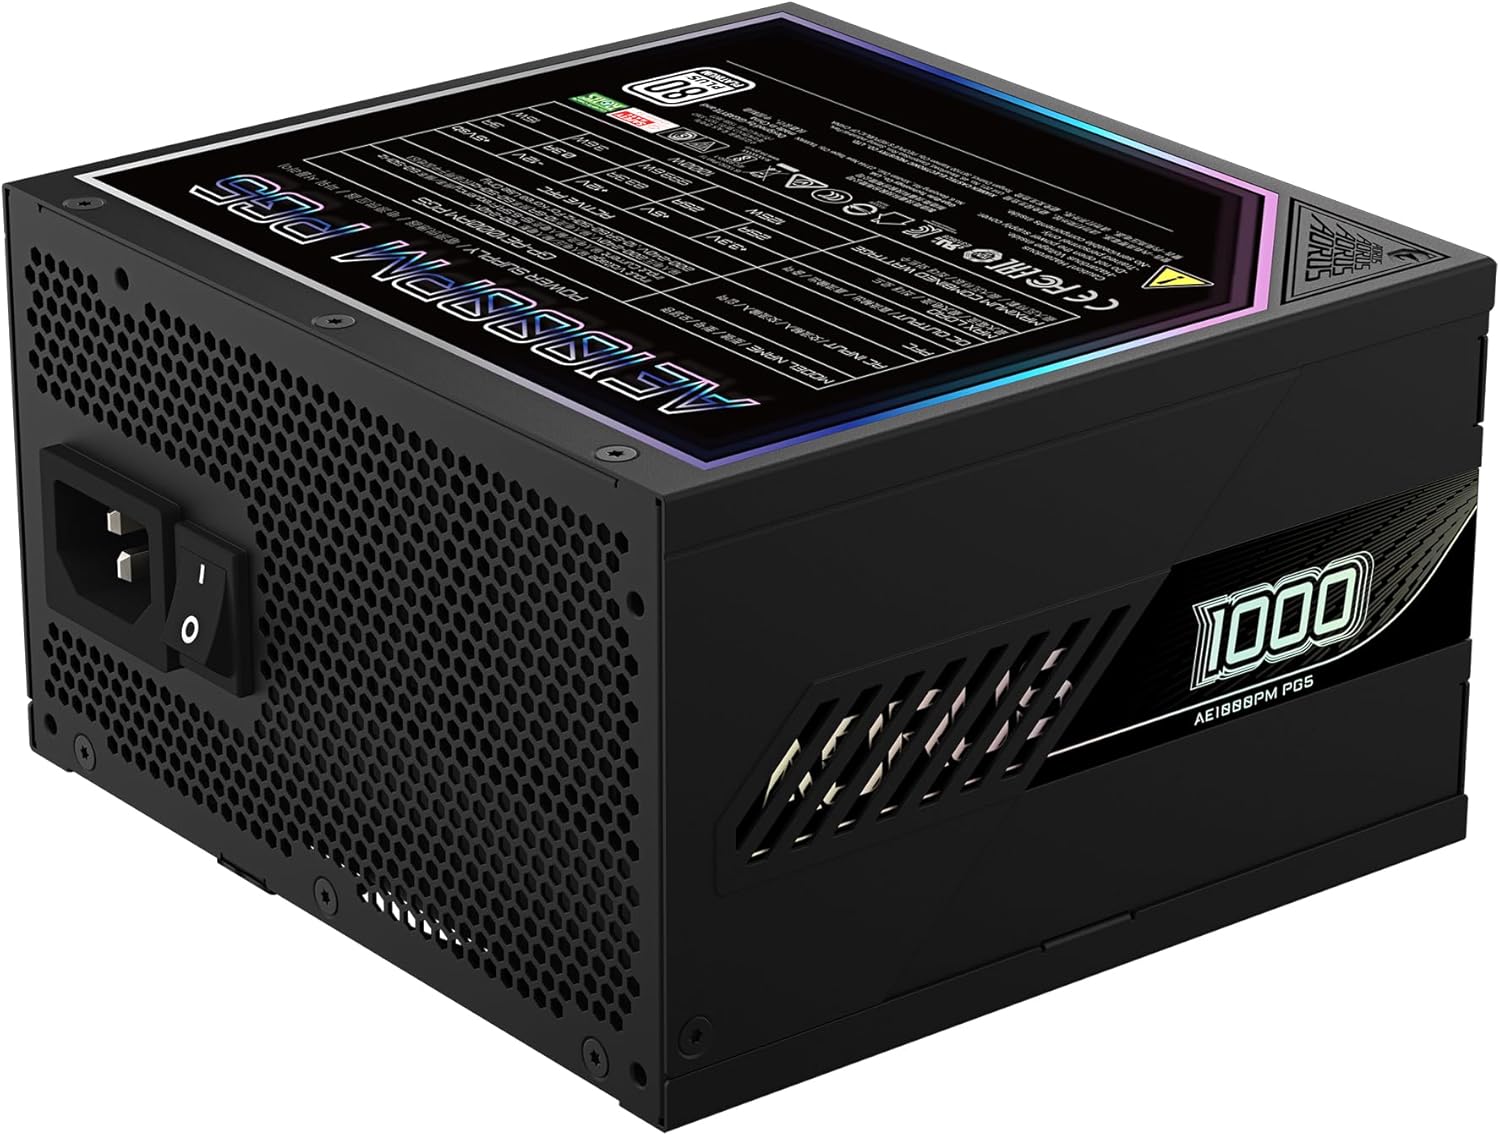
Figure 4: Rear panel of the GIGABYTE AORUS Elite P1000W Ice Power Supply, showing the AC power input and power switch. Ensure the switch is set to '0' before connecting the AC cord.
Operating Instructions
After installation, follow these steps to power on your system:
- Power On: Flip the main power switch on the rear of the power supply to the ON (I) position.
- System Boot: Press the power button on your computer case to start the system.
- Power Off: To shut down your system, perform a proper shutdown through your operating system. Once the system is off, you may flip the power supply's main switch to the OFF (0) position for complete power disconnection.

Figure 5: Top-down view of the 120mm fan with the AORUS logo on the GIGABYTE AORUS Elite P1000W Ice Power Supply. The fan provides active cooling during operation.
Maintenance
Regular maintenance helps ensure the longevity and optimal performance of your power supply:
- Dust Cleaning: Periodically clean dust from the power supply's fan grill and vents using compressed air. Ensure the power supply is turned off and unplugged before cleaning.
- Cable Management: Ensure cables are neatly routed and do not obstruct airflow within the computer case.
- Environmental Conditions: Maintain a cool, dry, and well-ventilated environment for your computer system.
Troubleshooting
If you encounter issues, refer to the following common troubleshooting steps:
- No Power:
- Check if the AC power cord is securely connected to both the power supply and the wall outlet.
- Ensure the power supply's main switch is in the ON (I) position.
- Verify that all modular cables are correctly seated in both the power supply and the components.
- Test the wall outlet with another device to confirm it has power.
- System Shuts Down Unexpectedly:
- This could indicate an overload or overheating. Ensure your system's power requirements do not exceed the PSU's 1000W capacity.
- Check for proper ventilation and clear any dust buildup.
- Verify that all power connections are secure.
- Unusual Noises:
- A clicking sound might indicate a protective mechanism engaging. Disconnect power and recheck all connections.
- If the fan is making excessive noise, ensure it is free from obstructions.
If issues persist after following these steps, contact GIGABYTE customer support.
Specifications

Figure 6: Product label on the GIGABYTE AORUS Elite P1000W Ice Power Supply, displaying electrical specifications and certifications. Refer to this label for detailed electrical ratings.
| Feature | Detail |
|---|---|
| Model Name | AORUS ELITE P1000W |
| Item Model Number | GP-AE1000PM PG5 EU |
| Output Wattage | 1000 Watts |
| 80 PLUS Certification | Platinum |
| Form Factor | ATX |
| ATX Version Compatibility | ATX 3.0 (ATX 3.1 compatible) |
| PCIe Version Compatibility | PCIe Gen 5.0 |
| Fan Size | 120mm |
| Fan Type | Dynamic Fluid Ball Bearing (FDB) |
| Capacitors | 100% Japanese Capacitors |
| Modular Design | Fully Modular |
| Protections | OVP, OPP, SCP, UVP, OCP, OTP |
| Product Dimensions (L x W x H) | 5.51 x 5.91 x 3.39 inches |
| Item Weight | 6.79 pounds (3080 Grams) |
Warranty Information
The GIGABYTE AORUS Elite P1000W Ice Power Supply comes with a 10-year warranty from the date of purchase. This warranty covers defects in materials and workmanship under normal use. Please retain your proof of purchase for warranty claims. For full warranty terms and conditions, refer to the official GIGABYTE website or contact customer support.
Support
For technical assistance, troubleshooting beyond this manual, or warranty inquiries, please visit the official GIGABYTE support website or contact their customer service department. You can typically find contact information on the GIGABYTE website or on the product packaging.
GIGABYTE Official Website: www.gigabyte.com


