
1. Safety Information
Please read all instructions carefully before beginning installation. Failure to follow these instructions may result in injury or damage to the product. Keep these instructions for future reference.
- Always wear appropriate safety gear, including safety glasses, during installation.
- Ensure the work area is clear and well-lit.
- Handle glass panels with extreme care to prevent breakage and injury.
- If you are unsure about any step, consult a qualified professional.
- Do not use power tools unless you are familiar with their safe operation.
2. Package Contents
Verify that all components are present before starting assembly. If any parts are missing or damaged, please contact WIN STELLAR customer service.

Image: Detailed view of all hardware components included in the package.
Hardware Kit Includes:
- 2x Door Panels
- 1x Magnet Bracket
- 2x Top Pivot
- 1x Wrench
- 3x 5/8" Pan Head Screw
- 2x Magnet Plate
- 2x Mount Plate
- 10x 1-1/2" Flat Head Screw
- 2x Bottom Pivot
- 2x Jamb Pivot
- 12x 1-1/4" Pan Head Screw
- 2x Pull
- 2x Bumper
- 1x Track
- 1x Fascia
3. Tools Required
The following tools are recommended for installation:
- Tape Measure
- Phillips Screwdriver
- Pencil
- Cordless Drill
- 3/16" Drill Bit
- Level
4. Installation Instructions
Follow these steps carefully to install your French Pivot Door. For a visual guide, please refer to the official installation video below.
Video: Official WIN STELLAR Pivot Doors Installation Instructions. This video provides a step-by-step visual guide for the entire installation process.
Step 1: Install Top Location and Track
- Insert the top pivots into both ends of the track.
- Align the center of each pivot at the 2-1/4 inch mark (from the end of the track) on both ends.
- Tighten the securing screws with a Phillips screwdriver. Ensure the securing screws face outward.
- Measure 1/4 inch from the front of the opening to correctly position the track.
- Secure the track in place using the 2-1/4 inch pan head Phillips screws.
Step 2: Prepare Door Panel Hardware
- At the top of the door panel, position the mounting plate's outer edge 1/2 inch from the door edge. The pivot should be 2 inches from the door edge.
- Secure the mounting plate with 1-1/4 inch pan head screws.
- At the bottom of the door panel, position the bottom pivot's outer edge 5/8 inch from the door edge. The pivot should be 2 inches from the door edge overall.
- Secure the bottom pivot with 1-1/2 inch flat head screws.
- Repeat this process for the second door panel.
Step 3: Install Jamb Pivot Bracket
- Place the bottom jamb pivot bracket 13/16 inch from the front of the opening.
- Secure all three holes of the bracket with 1-1/2 inch flat head screws.
- Extend the bracket to 2-1/4 inches and tighten the screw to fix its position.
Step 4: Install Floor Bumper & Adjust Door Panel
- Start the door panel installation from the bottom, engaging the bottom pivot into the jamb pivot bracket.
- Secure the top mounting plate with the locking latch into the top track.
- Position the floor bumper approximately 3-1/2 inches from the door edge and 11/16 inch from the opening front. Secure it in place.
Step 5: Install Door Pull
- With both door panels installed, measure up 36 inches from the bottom of the door.
- Measure 1-1/2 inches inward from the opening edge to determine the knob locations.
- Drill pilot holes and install the door pulls.
Step 6: Install Magnetic Catch and Fascia
- Secure each magnet plate holder to the back of the door panels, aligning with the magnetic catch on the track.
- Peel the double-sided tape off the back of the fascia.
- Apply the fascia directly onto the front surface of the track to conceal the hardware.
5. Operation
To open the pivot door, gently pull the door pulls towards you. The panels will pivot smoothly inward, allowing access to the opening. To close, push the panels back until they meet and the magnetic catch engages, holding them securely in place.
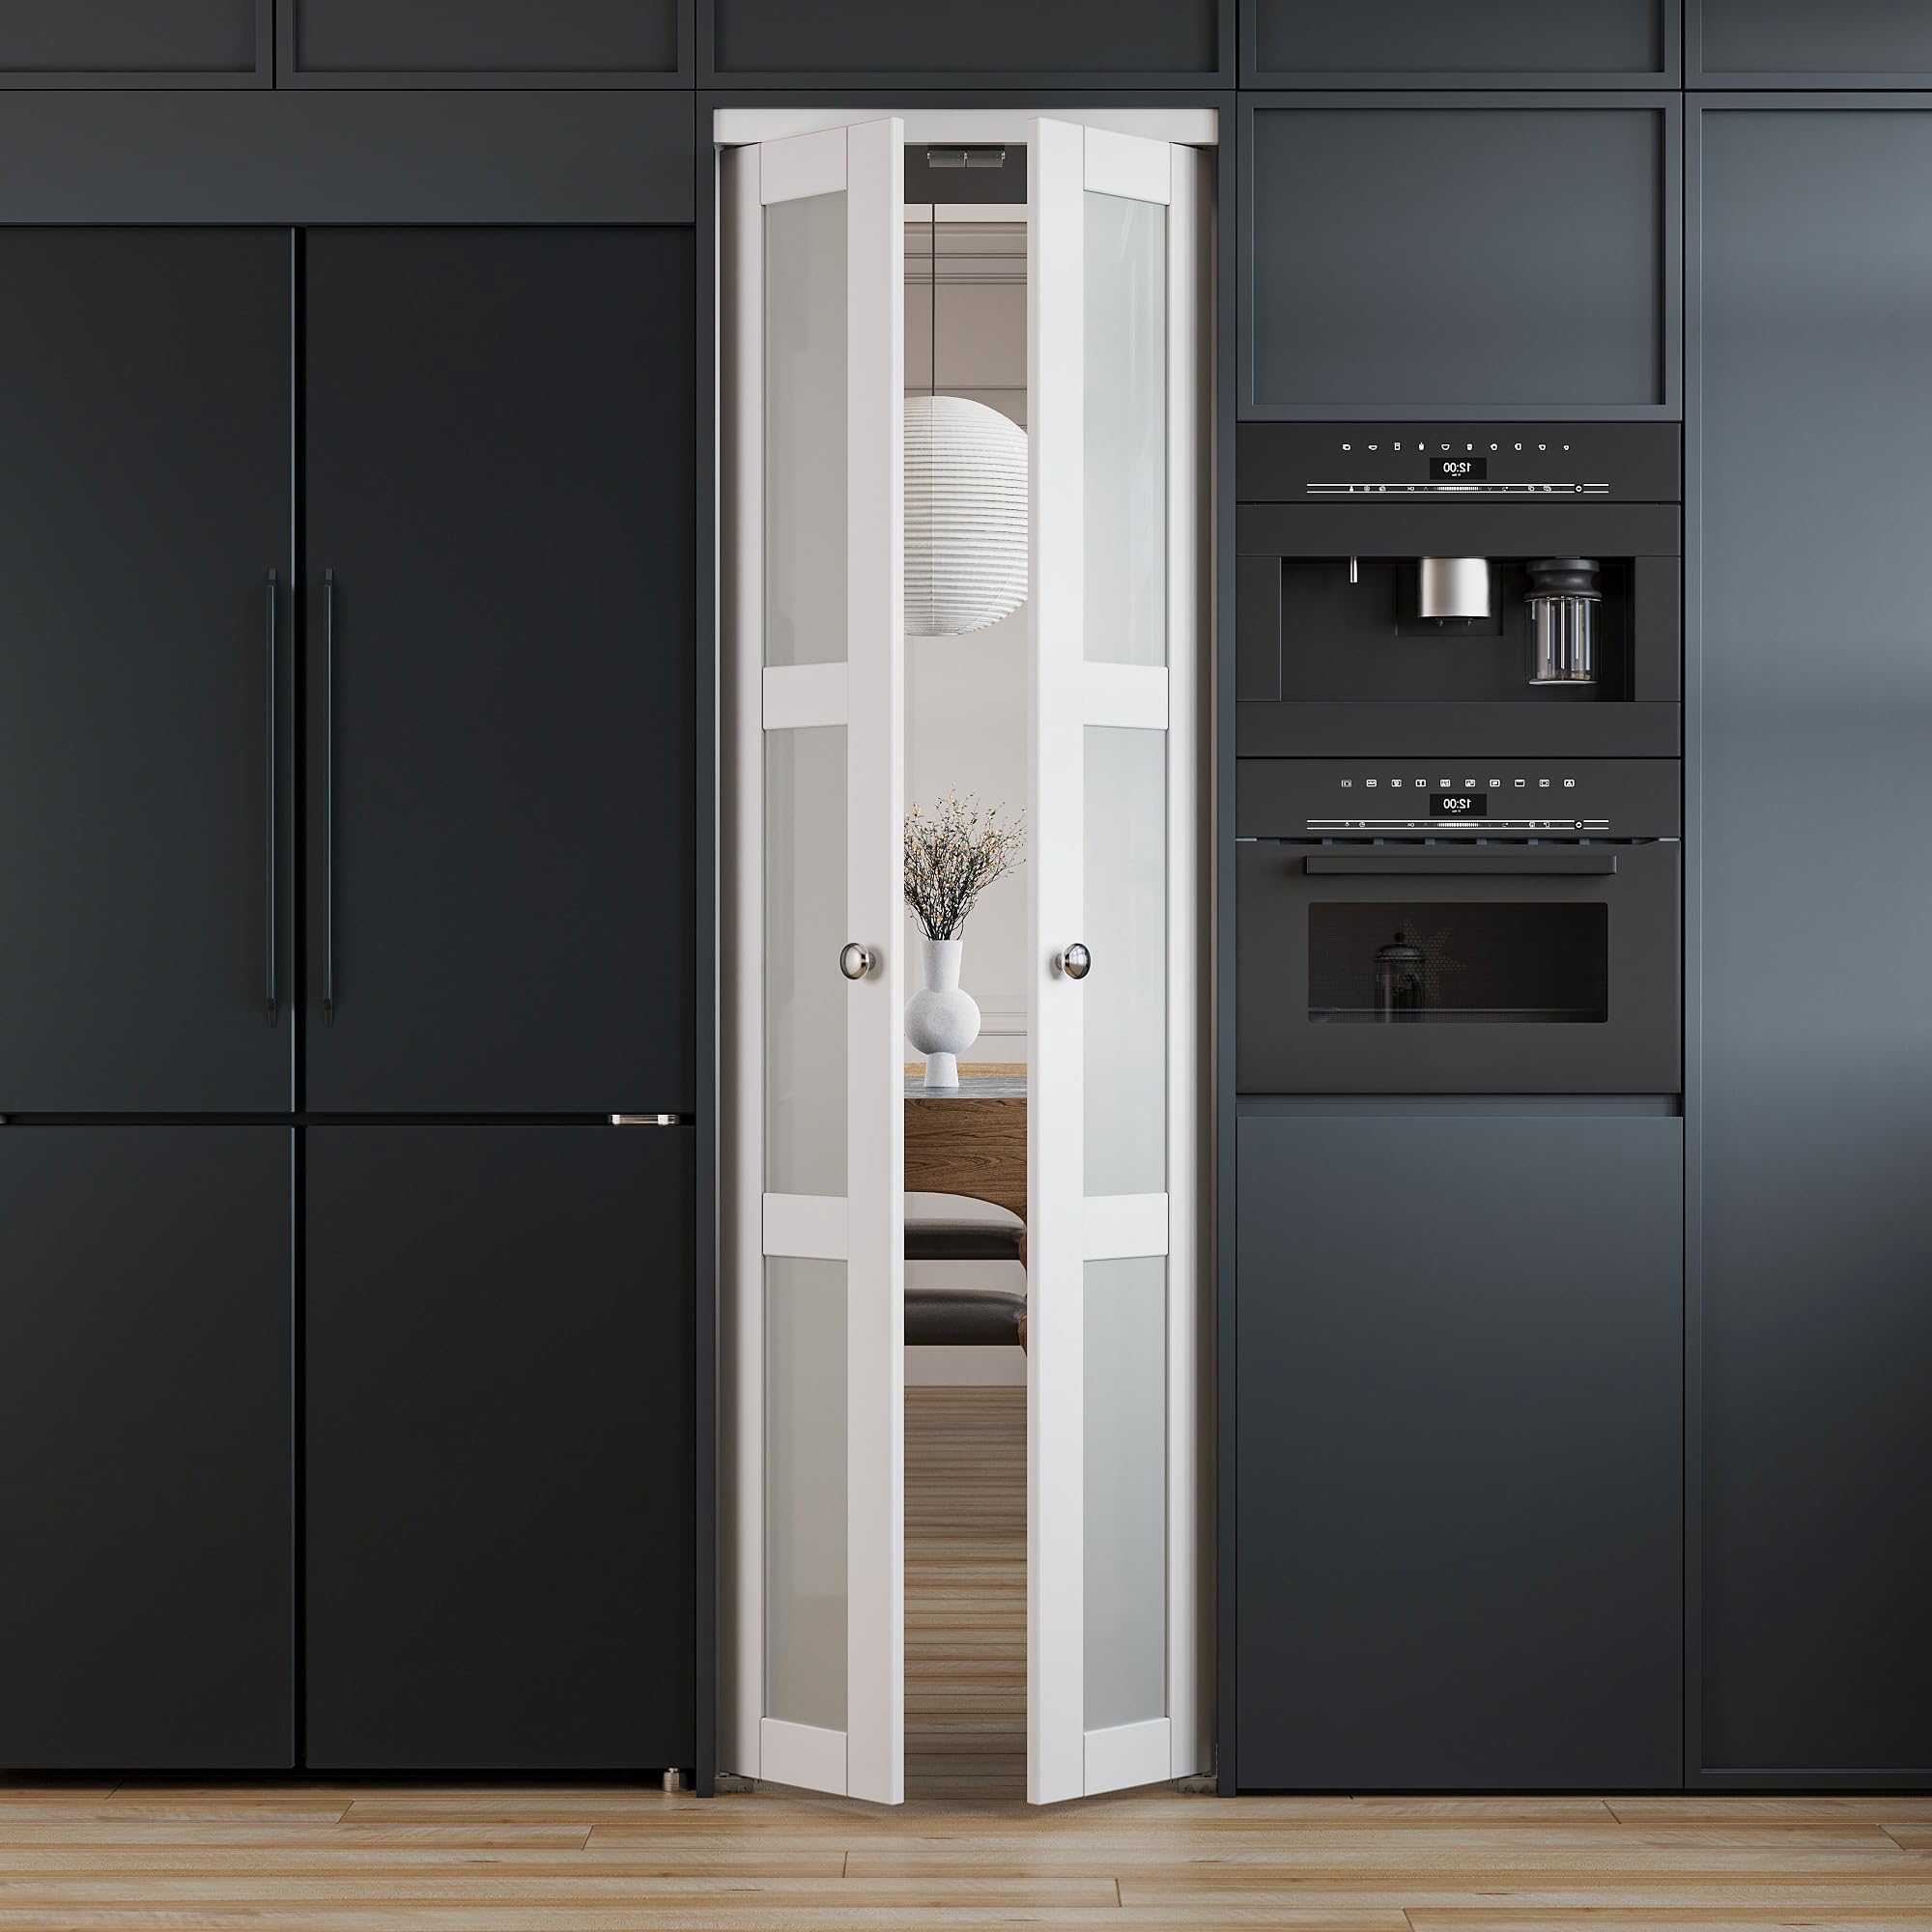
Image: The WIN STELLAR French Pivot Door installed in a kitchen, demonstrating its aesthetic and functional integration.
6. Maintenance
Cleaning:
- For the door panels, use a soft, damp cloth and a mild, non-abrasive cleaner. Wipe dry immediately to prevent water spots.
- For the frosted glass, use a glass cleaner and a lint-free cloth. Avoid harsh chemicals that could damage the frosted finish.
- Regularly clean the track to ensure smooth operation. Remove any dust or debris that may accumulate.
General Care:
- Periodically check all screws and hardware for tightness. Tighten as needed to maintain stability and smooth operation.
- Avoid hanging heavy objects on the door panels.
- Do not use abrasive materials or sharp objects on the door surface or glass.

Image: Illustration highlighting the durable MDF surface, pre-finished, sturdy raw material, scratch-resistant, and water-resistant properties of the door.

Image: Explanation of the frosted and tempered glass, noting it is 8x stronger than regular glass and adds brightness while protecting privacy.
7. Troubleshooting
Common Issues and Solutions:
- Door panels do not close properly: Check if the magnetic catch is aligned correctly. Ensure the track is level and free of obstructions. Verify that all pivot points are securely fastened.
- Door panels are stiff or difficult to move: Inspect the track for any debris or damage. Lubricate the pivot points and rollers with a silicone-based lubricant. Ensure the door panels are properly aligned in the track.
- Door panels appear uneven: Check the adjustment of the top and bottom pivots. The roller on the top pivot can be adjusted to increase or decrease height for openings between 80.25-80.75 inches. Ensure the jamb pivot bracket is correctly installed and tightened.
- Glass panels are loose: While the glass is tempered and frosted for durability and privacy, if any glass panels feel loose, contact customer support immediately. Do not attempt to repair glass components yourself.
8. Specifications
| Brand | WIN STELLAR |
| Model (Color/Style) | 3-Lite Glass |
| Material | Glass, Stainless Steel |
| Style | Modern |
| Assembly Required | Yes |
| Door Panel Thickness | 0.83 inches |
| Recommended Opening Height | 80.25 - 80.75 inches (adjustable) |
Note: Please check the size chart on the product page before ordering to ensure compatibility with your opening dimensions.

Image: Examples of the door's versatile application in various home settings such as closets, pantries, laundry rooms, and kitchens.
9. Warranty and Support
WIN STELLAR is committed to providing quality products and customer satisfaction. If you encounter any issues, damage, or missing parts, please contact our customer service team promptly for assistance. We will be happy to provide replacements or support as needed.
For further inquiries or technical support, please refer to the contact information provided with your purchase or visit the official WIN STELLAR website.

