Introduction
The Husky Liners Aeroskin Hood Protector is engineered to provide a low-profile, skin-tight fit to the contours of your vehicle's hood. It offers robust protection against chips, rocks, bugs, and other road debris. This product is designed for easy installation without the need for drilling, utilizing 3M automotive-grade adhesive for a secure and lasting attachment.
What's in the Box
- Aeroskin Hood Shield
- Prep Kit
- Install Guide
Features
- Custom Fitment: Designed to fit 2021-2025 Hyundai Santa Fe models precisely.
- Low Profile Design: Offers the lowest profile hood protection available, crafted from rugged, impact-modified acrylic.
- Skin-Tight Protection: Shields the vehicle from road hazards with a protective, hood-hugging fit.
- Easy Installation: Mounts in minutes using the included 3M automotive-grade adhesive, requiring no drilling or special hardware.
Setup and Installation
Follow these steps for proper installation of your Husky Liners Aeroskin Hood Protector. Ensure the installation area is clean and dry, and the ambient temperature is at least 68°F (20°C) for optimal adhesive performance.
- Dry Fit: Carefully place the hood protector on the hood to ensure proper alignment and fit. Use painter's tape to mark the exact position along the top edge where the protector will sit. This helps in precise placement during adhesive application.
- Clean Surface: Remove the hood protector. Thoroughly clean the marked area on the hood with rubbing alcohol to remove any wax, grease, or debris. Ensure the surface is completely dry before proceeding. If your vehicle has a ceramic coating, follow the ceramic coat manufacturer's instructions to remove the coating from the installation area, as ceramic coatings are designed to prevent adhesion.
- Apply Adhesive Promoter: Using the supplied adhesive promoter from the prep kit, apply a thin, even coat to the cleaned areas on the hood where the 3M adhesive tape will make contact. Allow the promoter to flash (dry) for a moment as per instructions. Avoid getting the promoter on other painted surfaces.
- Prepare Adhesive: On the back of the hood protector, partially peel back a few inches of the red protective liner from the 3M adhesive tape, starting from the center and working outwards. Fold the peeled sections outwards to allow for easy removal once the protector is in place.
- Position and Attach: Carefully align the hood protector with the painter's tape marks on your hood. Once aligned, gently press the center portion of the protector onto the hood, ensuring initial contact.
- Secure Adhesive: Slowly pull the remaining red protective liners from under the hood protector, working from the center outwards. As you pull each section of the liner, firmly press down on the hood protector to ensure a strong bond between the 3M adhesive and the vehicle's surface. Use a clean microfiber cloth to apply consistent pressure along the entire length of the adhesive strips.
- Final Pressure: After all liners are removed and the protector is in place, apply firm, even pressure across the entire surface of the hood protector, especially along the adhesive lines, to maximize adhesion.
Video: How to Install Husky Liners Aeroskin Hood Protector. This video demonstrates the step-by-step process of installing the Aeroskin Hood Protector, including surface preparation, adhesive application, and final placement.

Image: Easy to Install. This image shows a person carefully aligning the hood protector on a vehicle's hood during the installation process, highlighting the ease of attachment.
Usage Guidelines
Once installed, the Husky Liners Aeroskin Hood Protector functions passively to deflect road debris and insects away from your vehicle's hood and windshield. No specific operational steps are required after installation. The low-profile design ensures minimal impact on vehicle aerodynamics and aesthetics.
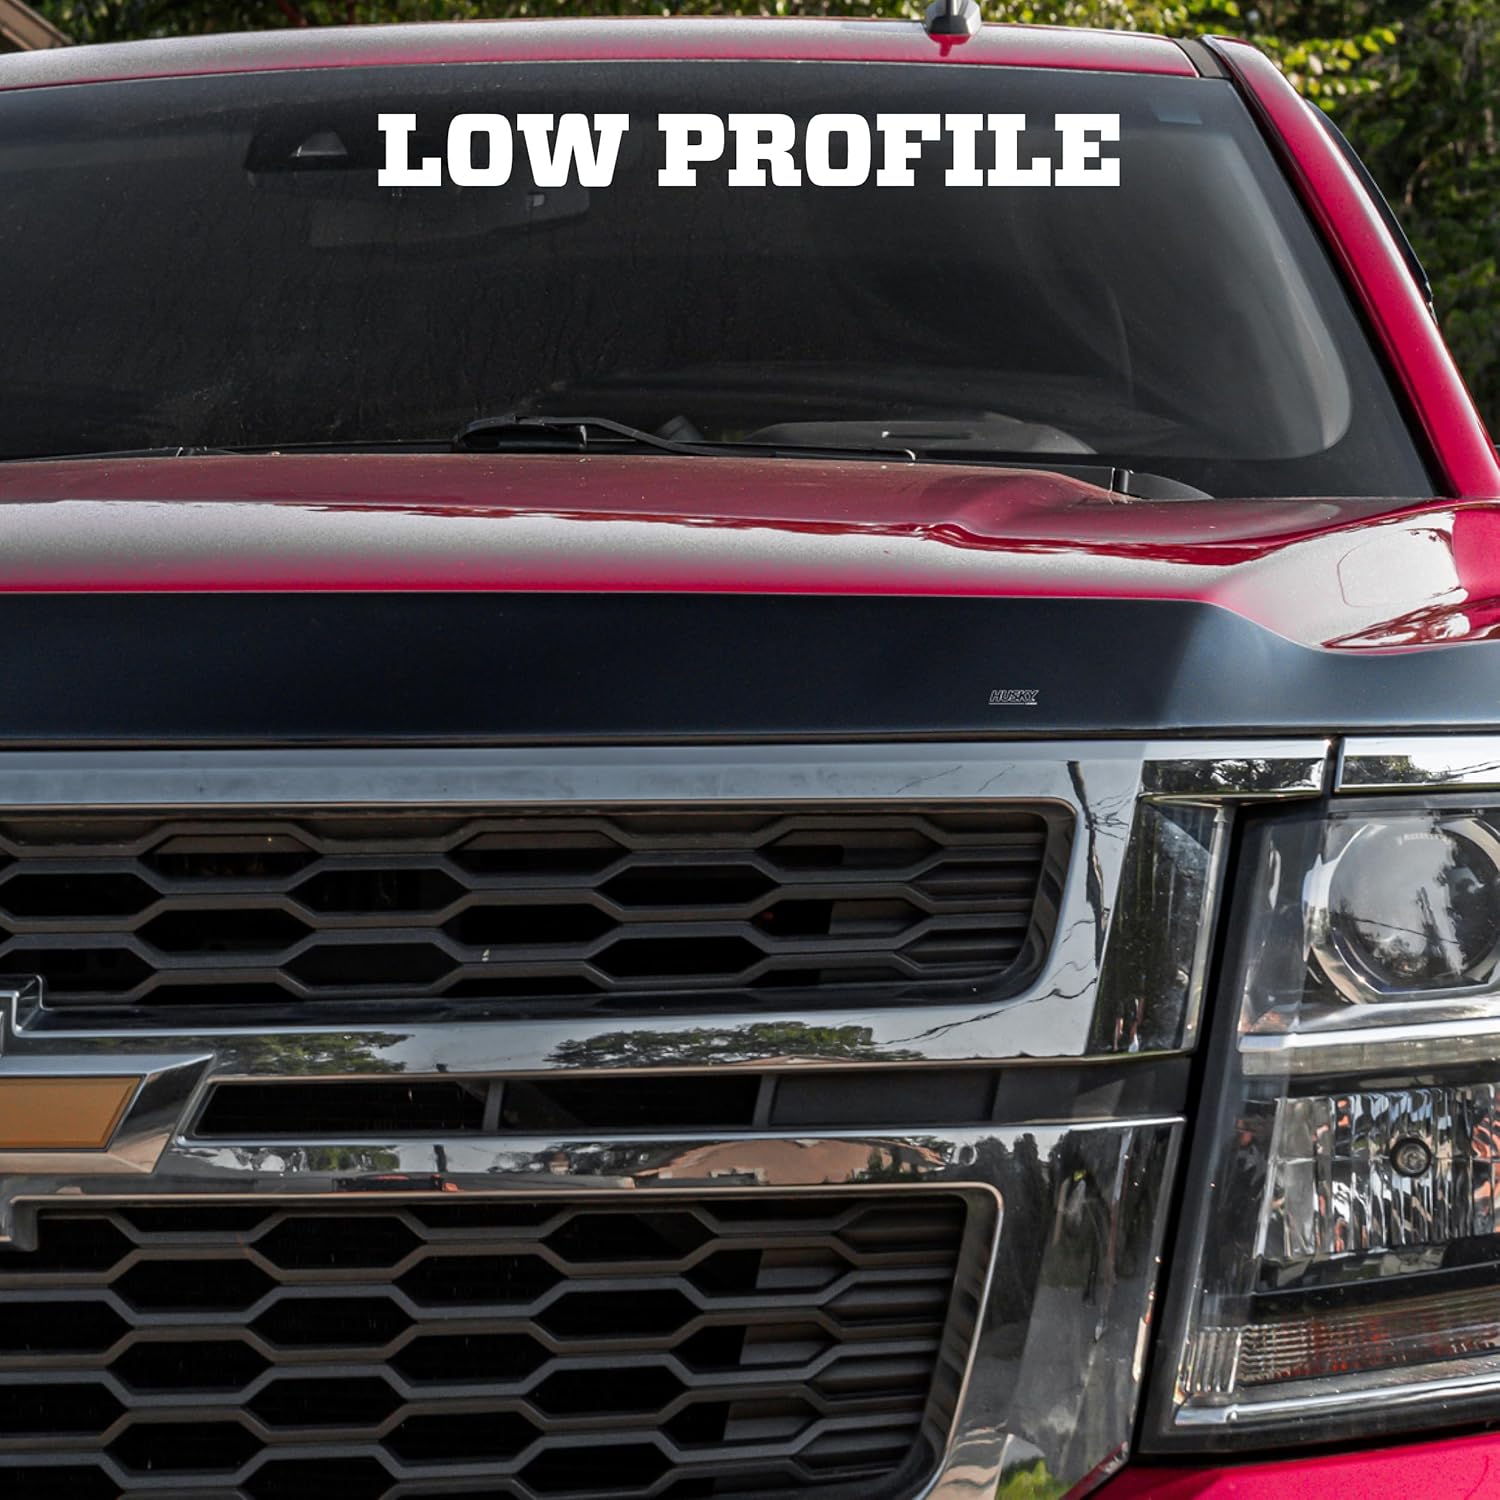
Image: Low Profile. This image illustrates the sleek, low-profile design of the hood protector as it sits on the vehicle's hood, blending seamlessly with the vehicle's lines.

Image: Skin Tight. A close-up view of the hood protector demonstrating its precise, skin-tight fit to the contours of the vehicle's hood, offering comprehensive protection.
Maintenance
To maintain the appearance and effectiveness of your hood protector, regularly clean it with mild soap and water. Avoid using abrasive cleaners or harsh chemicals that could damage the acrylic material or the vehicle's paint finish. Periodically inspect the adhesive for any signs of loosening, especially after extreme weather conditions or car washes.
Troubleshooting
If you experience any issues with your Husky Liners Aeroskin Hood Protector, consider the following:
- Adhesion Issues: Ensure the installation surface was thoroughly cleaned and free of wax, grease, or ceramic coatings. Re-application of adhesive promoter may be necessary if the surface was not adequately prepared.
- Misalignment: If the protector is misaligned, it may be possible to carefully remove it (if recently installed) and re-apply after thorough cleaning and new adhesive application.
- Damage: For significant damage to the protector, replacement may be the most effective solution.
Specifications
| Attribute | Value |
|---|---|
| Color | Chrome |
| Brand | Husky Liners |
| Fit Type | Vehicle Specific Fit |
| Surface Recommendation | Hood |
| Manufacturer | Husky Liners |
| UPC | 753933013684 |
| Model | Aeroskin Hood Protector / Bug Shield |
| Item Weight | 2.8 pounds |
| Product Dimensions | 70 x 12 x 3.25 inches |
| Item Model Number | 2892197 |
| Manufacturer Part Number | 2892197 |
Warranty and Support
For specific warranty information or technical support, please refer to the official Husky Liners website or contact their customer service directly. Details regarding product registration and warranty claims are typically available through these channels.
Video: Husky Liners - Protection From Life / Built For A Lifetime! This video provides an overview of Husky Liners' commitment to product quality and durability.


