
Olakids 10334
Contents
OLAKIDS Licensed Lamborghini Huracan 12V Kids Electric Ride-On Car User Manual
Model: 10334 | Brand: Olakids
Introduction
Thank you for choosing the OLAKIDS Licensed Lamborghini Huracan 12V Kids Electric Ride-On Car. This manual provides essential information for the safe assembly, operation, and maintenance of your new electric vehicle. Please read it thoroughly before use and retain it for future reference.

Image: Front view of the yellow OLAKIDS Licensed Lamborghini Huracan 12V Kids Electric Ride-On Car with headlights on.
Important Safety Information
WARNING: To reduce the risk of injury, adult supervision is required. Never use in roadways, near motor vehicles, on or near steep inclines or steps, swimming pools or other bodies of water. Always wear shoes, and never allow more than one rider.
- This product is recommended for children aged 3 to 8 years.
- Maximum weight capacity is 66 lbs (30 kg).
- Always ensure the child is securely fastened with the seat belt.
- Keep away from open fire and heat sources.
- Only use the provided charger for charging the battery.
- Do not modify the electrical system.
- Ensure all assembly steps are completed correctly by an adult before initial use.
- Compliant with US. CPSIA and ASTM Requirements.
Package Contents
Please check that all items are present before assembly:
- 1 x Kids Ride on Car (Main Body)
- 1 x Remote Control (Requires 2 x 1.5V AAA batteries, not included)
- 1 x Charger
- 1 x Instruction Manual (This document)
Assembly Instructions
Adult assembly is required. Please follow these general steps. Refer to the included instruction booklet for detailed diagrams.
- Unpack Components: Carefully remove all parts from the packaging.
- Install Wheels: Attach the wheels to the axles, ensuring they are securely fastened. The wear-resistant rear wheels are equipped with a suspension system.
- Connect Battery: Locate the battery compartment and connect the battery terminals. Ensure proper polarity.
- Install Steering Wheel: Secure the steering wheel to the steering column.
- Attach Seat: Place the seat into position and secure it with the provided fasteners. Ensure the seat belt is accessible and functional.
- Final Checks: Verify all connections are tight and all parts are correctly installed.

Image: Interior view showing the steering wheel, dashboard, and seat with seatbelt.
Operating Instructions
1. Manual Driving Mode (Child Operated)
- Start/Stop: Press the power button to turn the car on.
- Acceleration: Press the foot pedal to move forward. The car features a soft start function to prevent sudden acceleration.
- Steering: Use the steering wheel to control direction.
- Lights: Use the light button on the dashboard to activate LED headlights and taillights.
- Horn: Press the horn button on the steering wheel.
- Music/Multimedia: Utilize the built-in music, Bluetooth, USB, and FM functions on the multimedia panel for audio options.
2. Parental Remote Control Mode
The 2.4GHz remote control allows parents to supervise and control the vehicle. Ensure 2 x 1.5V AAA batteries are installed in the remote (not included).
- Pairing: Follow the remote control's specific instructions to pair it with the car.
- Forward/Reverse: Use the directional buttons to move the car.
- Left/Right: Use the directional buttons to steer.
- Speed Selection: The remote may offer multiple speed settings (up to 3.1 mph).
- Emergency Stop: The remote typically has an emergency stop button for immediate halting of the vehicle.

Image: Child operating the ride-on car in manual driving mode.
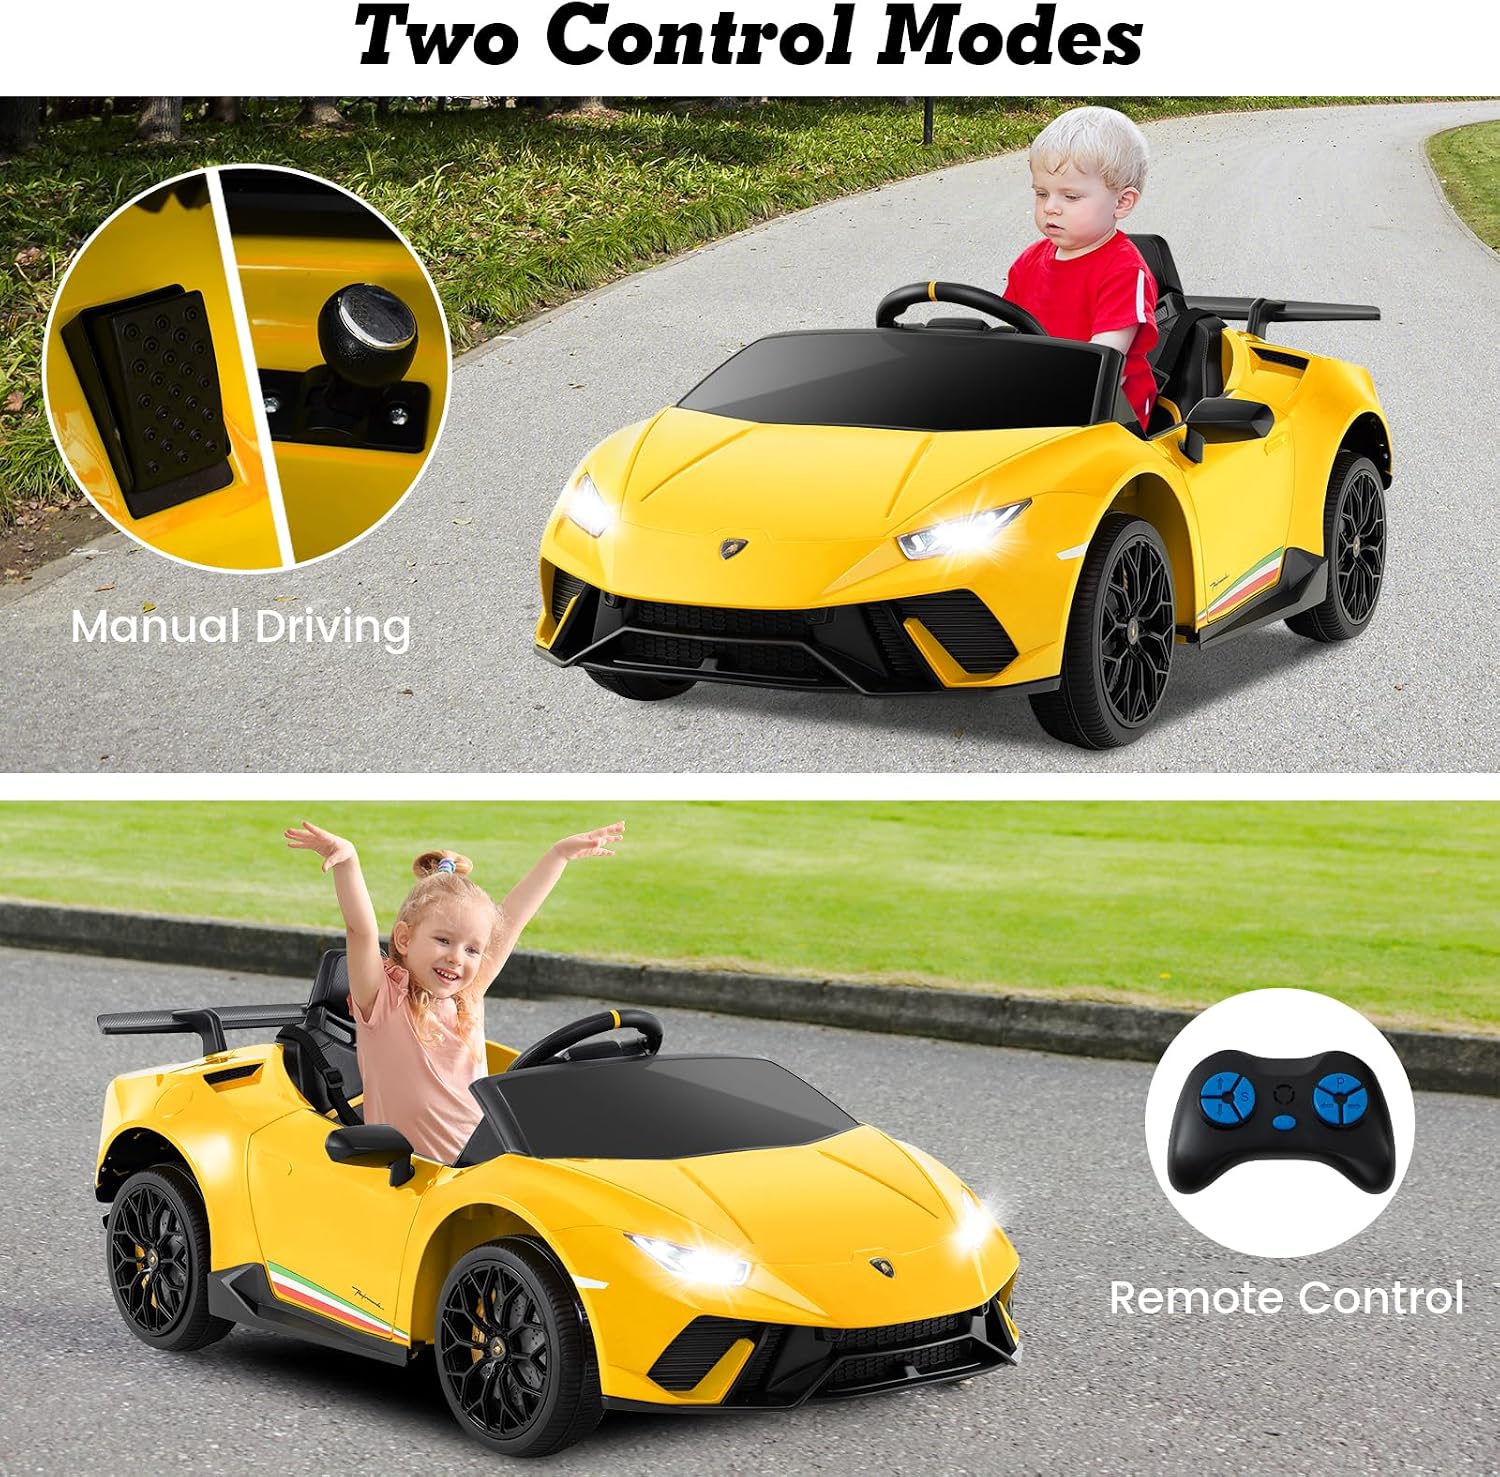
Image: Parental remote control in use.
Charging Instructions
- First Use: Charge the battery for 8-12 hours before the first use.
- Subsequent Charges: A full charge typically takes 8-12 hours. Do not charge for more than 18 hours.
- Battery Life: A fully charged battery provides approximately 40-50 minutes of playtime, depending on usage and terrain.
- Charger Connection: Plug the charger into the charging port on the vehicle, then into a standard wall outlet.
- Battery Indicator: Monitor the power display on the dashboard to check battery level.

Image: Battery charging and performance overview.
Maintenance
- Cleaning: Wipe the vehicle with a soft, damp cloth. Do not use abrasive cleaners or solvents.
- Storage: Store the car in a dry, cool place away from direct sunlight. If storing for extended periods, fully charge the battery every 30 days to prolong its lifespan.
- Battery Care: Do not allow the battery to fully discharge. Recharge promptly after each use.
- Inspection: Regularly check for loose screws, damaged wires, or worn parts. Contact customer support for replacement parts.
Troubleshooting
| Problem | Possible Cause | Solution |
|---|---|---|
| Car does not move | Battery is low or disconnected; Power switch is off; Motor issue. | Charge the battery; Check battery connections; Ensure power switch is ON; Contact customer support if motor is suspected. |
| Remote control not working | Remote batteries are dead; Remote not paired; Interference. | Replace AAA batteries in remote; Re-pair remote with car; Move to an area with less interference. |
| Car moves slowly | Low battery; Overload (exceeds weight capacity); Driving on rough terrain. | Recharge battery; Ensure rider weight is within limits; Drive on smoother surfaces. |
Specifications
- Model: 10334
- Battery: 12V 4.5AH
- Main Material: PP + Iron
- Net Weight: 27.3 lbs (12.38 kg)
- Max Weight Capacity: 66 lbs (30 kg)
- Recommended Age: 3 - 8 Years
- Overall Dimensions (L x W x H): 46.5'' x 25'' x 20'' (118 cm x 63.5 cm x 50.8 cm)
- Max Speed: 3.1 mph (5 km/h)
- Recharging Time: 8-12 hours
- Play Time: 40-50 minutes (approx.)
- Remote Control Batteries: 2 x 1.5V AAA (not included)

Image: Product dimensions and specifications.
Warranty and Support
For warranty information, technical support, or replacement parts, please contact Olakids customer service. Refer to your purchase documentation for specific warranty terms.
Olakids Customer Service: Please visit the Olakids Brand Store on Amazon for contact information or frequently asked questions.
Ask a question about this manual
Ask about setup, troubleshooting, compatibility, parts, safety, or missing instructions. Manuals+ will review the question and use this page’s manual context to help answer it.