1. Introduction
This manual provides detailed instructions for the installation, operation, and maintenance of your AES Spy Cameras 4K Ultra HD Wi-Fi Wall Outlet Camera. Please read this manual thoroughly before installation and use to ensure proper functionality and safety. This device is designed for video recording only; it does not record audio.
2. Product Overview
The AES Spy Cameras 4K Ultra HD Wi-Fi Wall Outlet Camera is a discreet surveillance device integrated into a standard electrical receptacle. It features 4K resolution video recording at 30 frames per second, Wi-Fi connectivity for remote viewing, and a functional top outlet. The camera lens is hidden within the non-functional bottom outlet. It operates on existing 120V AC power and includes a 16GB SD card for local storage.

Figure 2.1: AES Spy Cameras 4K Ultra HD Wi-Fi Wall Outlet Camera with live feed displayed on a smartphone. The top outlet is functional, while the bottom outlet houses the hidden camera lens.
3. Safety Information
- Electrical Installation: Installation of this device requires working with 120V AC electrical wiring. If you are not experienced or comfortable with electrical work, it is strongly recommended to consult a qualified electrician for installation.
- Power Disconnection: Always ensure the power to the circuit is turned off at the circuit breaker before attempting any installation or wiring. Failure to do so can result in electric shock or injury.
- Intended Use: This product is intended for video surveillance purposes only. Ensure its use complies with all local, state, and federal laws regarding privacy and surveillance.
- Indoor Use Only: This device is designed for indoor use in dry locations only. Do not expose it to moisture, water, or extreme temperatures.
4. Package Contents
Please verify that all items are present in your package:
- 1 x AES Spy Cameras 4K Ultra HD Wi-Fi Wall Outlet Camera
- 1 x 16GB SD Card (pre-installed or included separately)
- 1 x 120V Test Cable (for initial setup)
5. Setup Instructions
Follow these steps to set up your wall outlet camera:
- Initial Power-Up and App Download:
- Connect the provided 120V test cable to the camera and a standard electrical outlet. Wait approximately 60 seconds for the camera to power on and initialize.
- While the camera initializes, download the dedicated mobile application from your device's app store (Google Play Store for Android or iOS App Store for Apple devices). Search for the app name provided in the product packaging or quick start guide.
- Connect to Wi-Fi:
- Open the mobile application. Follow the on-screen instructions to add a new device. This typically involves scanning a QR code located on the camera or its packaging.
- Connect the camera to your local Wi-Fi network by entering your network's SSID and password when prompted by the app.
- Once connected, the camera's Wi-Fi SSID will become hidden for enhanced security.
- Physical Installation (Requires Electrical Work):
- IMPORTANT: Turn off the power to the electrical circuit at your main breaker panel before proceeding. Verify power is off using a voltage tester.
- Carefully remove the existing wall outlet and disconnect its wiring.
- Connect the wires from your wall box to the corresponding terminals on the AES Spy Cameras wall outlet camera. Typically, this involves connecting the hot (black), neutral (white), and ground (green/bare copper) wires. Refer to standard electrical wiring practices.
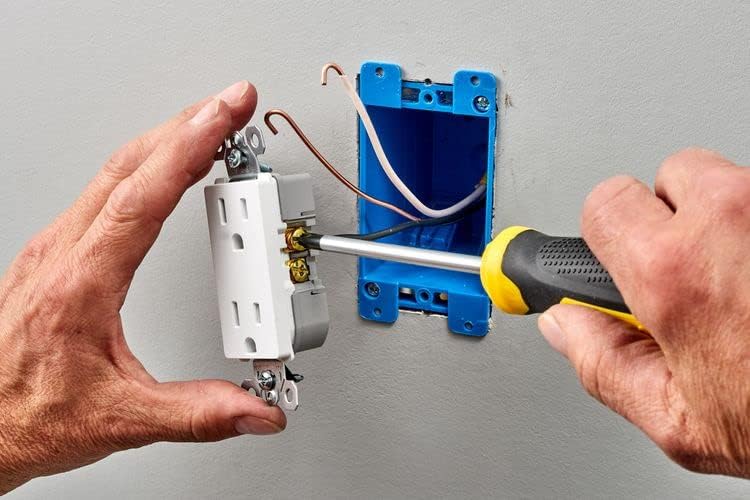
Figure 5.1: Wiring the wall outlet camera by connecting electrical wires to the side terminals of the receptacle.
- Gently push the wired camera into the wall box. Secure it with the provided screws.
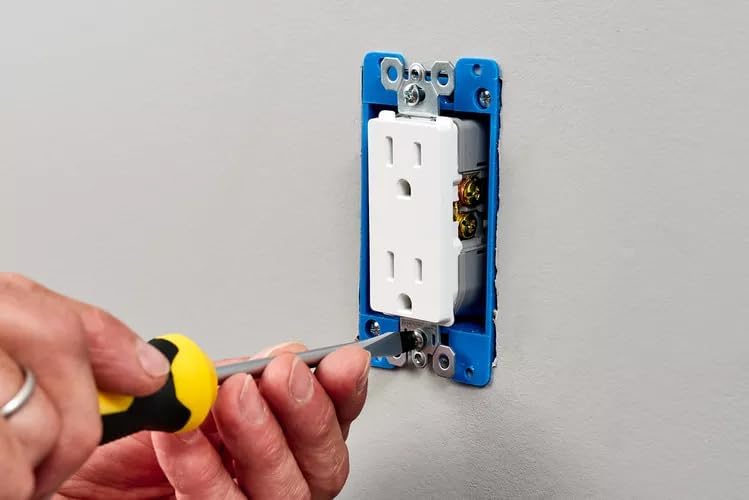
Figure 5.2: Securing the wall outlet camera into an electrical wall box using a screwdriver.
- Attach the faceplate to complete the installation.

Figure 5.3: Attaching the faceplate to the installed wall outlet camera.
- Restore power at the circuit breaker. The camera will power on automatically.
6. Operating Instructions
Once installed and connected to Wi-Fi, you can operate your camera using the mobile application:
- Live Video Feed: Open the mobile app to view a live video feed from the camera from anywhere in the world.
- Remote Playback: Access recorded video footage stored on the 16GB SD card directly through the app. You can view and download past recordings remotely.
- App Wake-Up: The camera supports an app wake-up feature, allowing you to activate the camera from a low-power state via your mobile device.
- Local Recording: Video is continuously recorded to the included 16GB SD card. The camera also supports recording directly to your phone via the app.
- Time/Date Stamp: All recorded video footage includes a time and date stamp for accurate record-keeping.
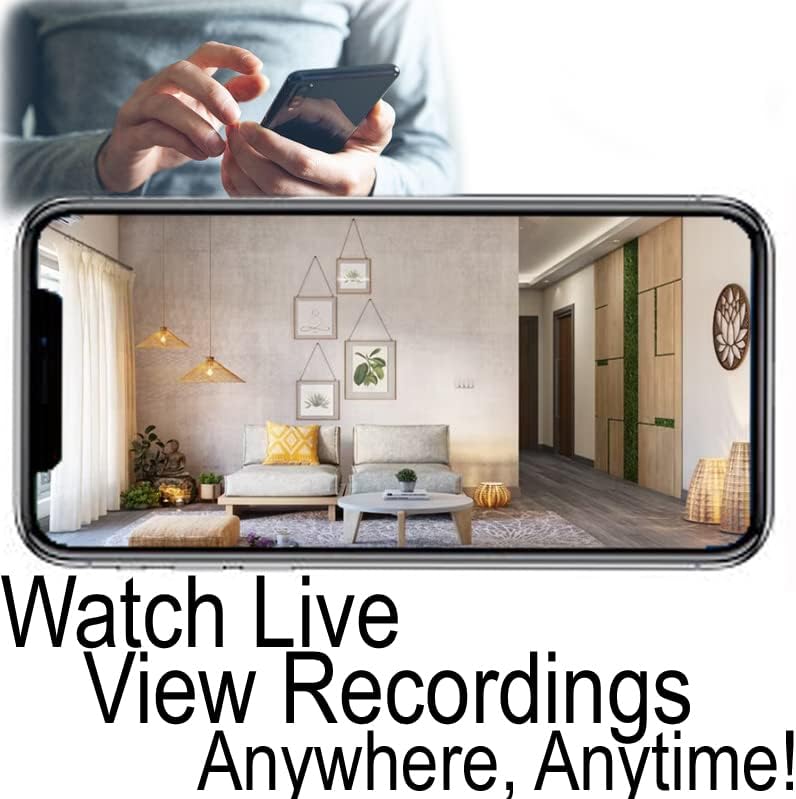
Figure 6.1: Remote viewing capability, showing a smartphone screen displaying a live video feed from the camera.

Figure 6.2: A still image demonstrating the 4K Ultra HD video quality of the camera, featuring a clear view of an indoor office setting with a timestamp.
7. Mobile Application
The AES Spy Cameras wall outlet camera is controlled and monitored via a free mobile application available for both Android and iOS devices. This application facilitates initial setup, Wi-Fi connection, live viewing, remote playback, and device settings management.
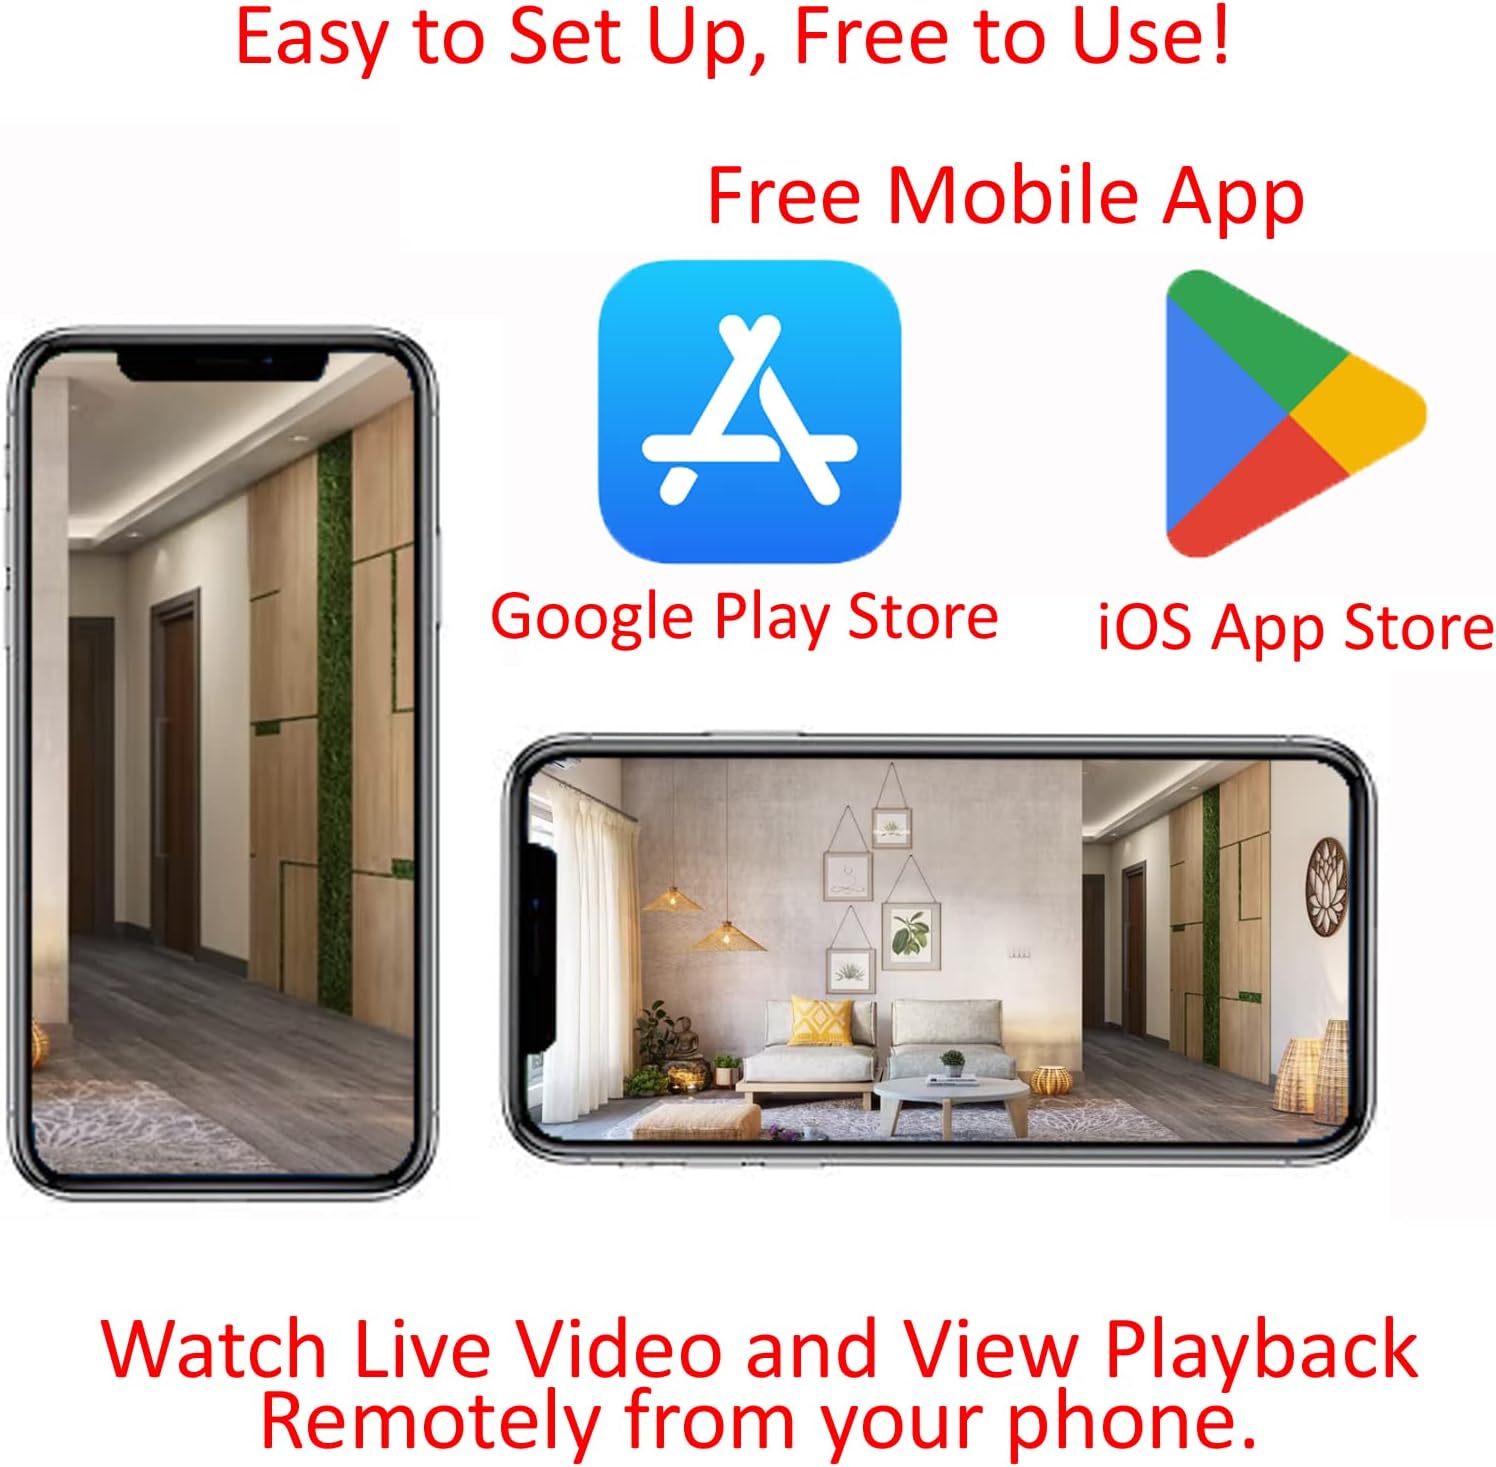
Figure 7.1: Availability of a free mobile application for both Android (Google Play Store) and iOS (App Store) devices, enabling easy setup and remote viewing.
8. Maintenance
- Cleaning: To maintain optimal video quality, periodically clean the camera lens with a soft, dry, lint-free cloth. Do not use harsh chemicals or abrasive materials.
- Firmware Updates: Check the mobile application regularly for any available firmware updates. Keeping your device's firmware updated ensures the best performance and security.
- SD Card Management: The included 16GB SD card will record continuously. When the card is full, older footage will be overwritten. If you need to preserve specific recordings, download them to your phone or computer.
9. Troubleshooting
If you encounter issues with your camera, refer to the following common solutions:
- No Power: Ensure the circuit breaker is on and the camera is correctly wired to a live 120V AC power source.
- Cannot Connect to Wi-Fi:
- Verify your Wi-Fi network name (SSID) and password are correct.
- Ensure the camera is within range of your Wi-Fi router.
- Restart your Wi-Fi router and the camera (by cycling power at the breaker).
- Poor Video Quality:
- Check for sufficient lighting in the surveillance area.
- Clean the camera lens as described in the Maintenance section.
- Ensure your internet connection is stable for live streaming.
- No Recording:
- Verify the 16GB SD card is properly inserted and not damaged.
- Check recording settings within the mobile application.
10. Specifications
| Image Sensor | 1/4" 1MP CMOS |
| Compression | H.264 |
| Image Resolution | 4K HD (3840 x 2160) |
| Frame Rate | 30fps (4K) |
| Power Source | 120 Volts (AC) |
| Storage | 16GB SD Card (included) |
| Connectivity | Wi-Fi (P2P) |
| Product Dimensions | Approximately 3840 x 2160 x 0.1 inches (as per manufacturer data, likely refers to video resolution and thinness) |
| Item Weight | 8 ounces |
11. Warranty and Support
This product is made, shipped, and supported in the USA. For warranty information, technical assistance, or customer service, please contact AES Spy Cameras directly. Refer to the product packaging or the official AES Spy Cameras website for contact details.