Introduction
The Reolink 12W Solar Panel 3 is designed to provide a non-stop power supply for compatible Reolink wireless battery cameras, ensuring continuous operation without frequent manual recharging. Its robust, weatherproof design makes it suitable for various outdoor environments, offering reliable performance year-round.
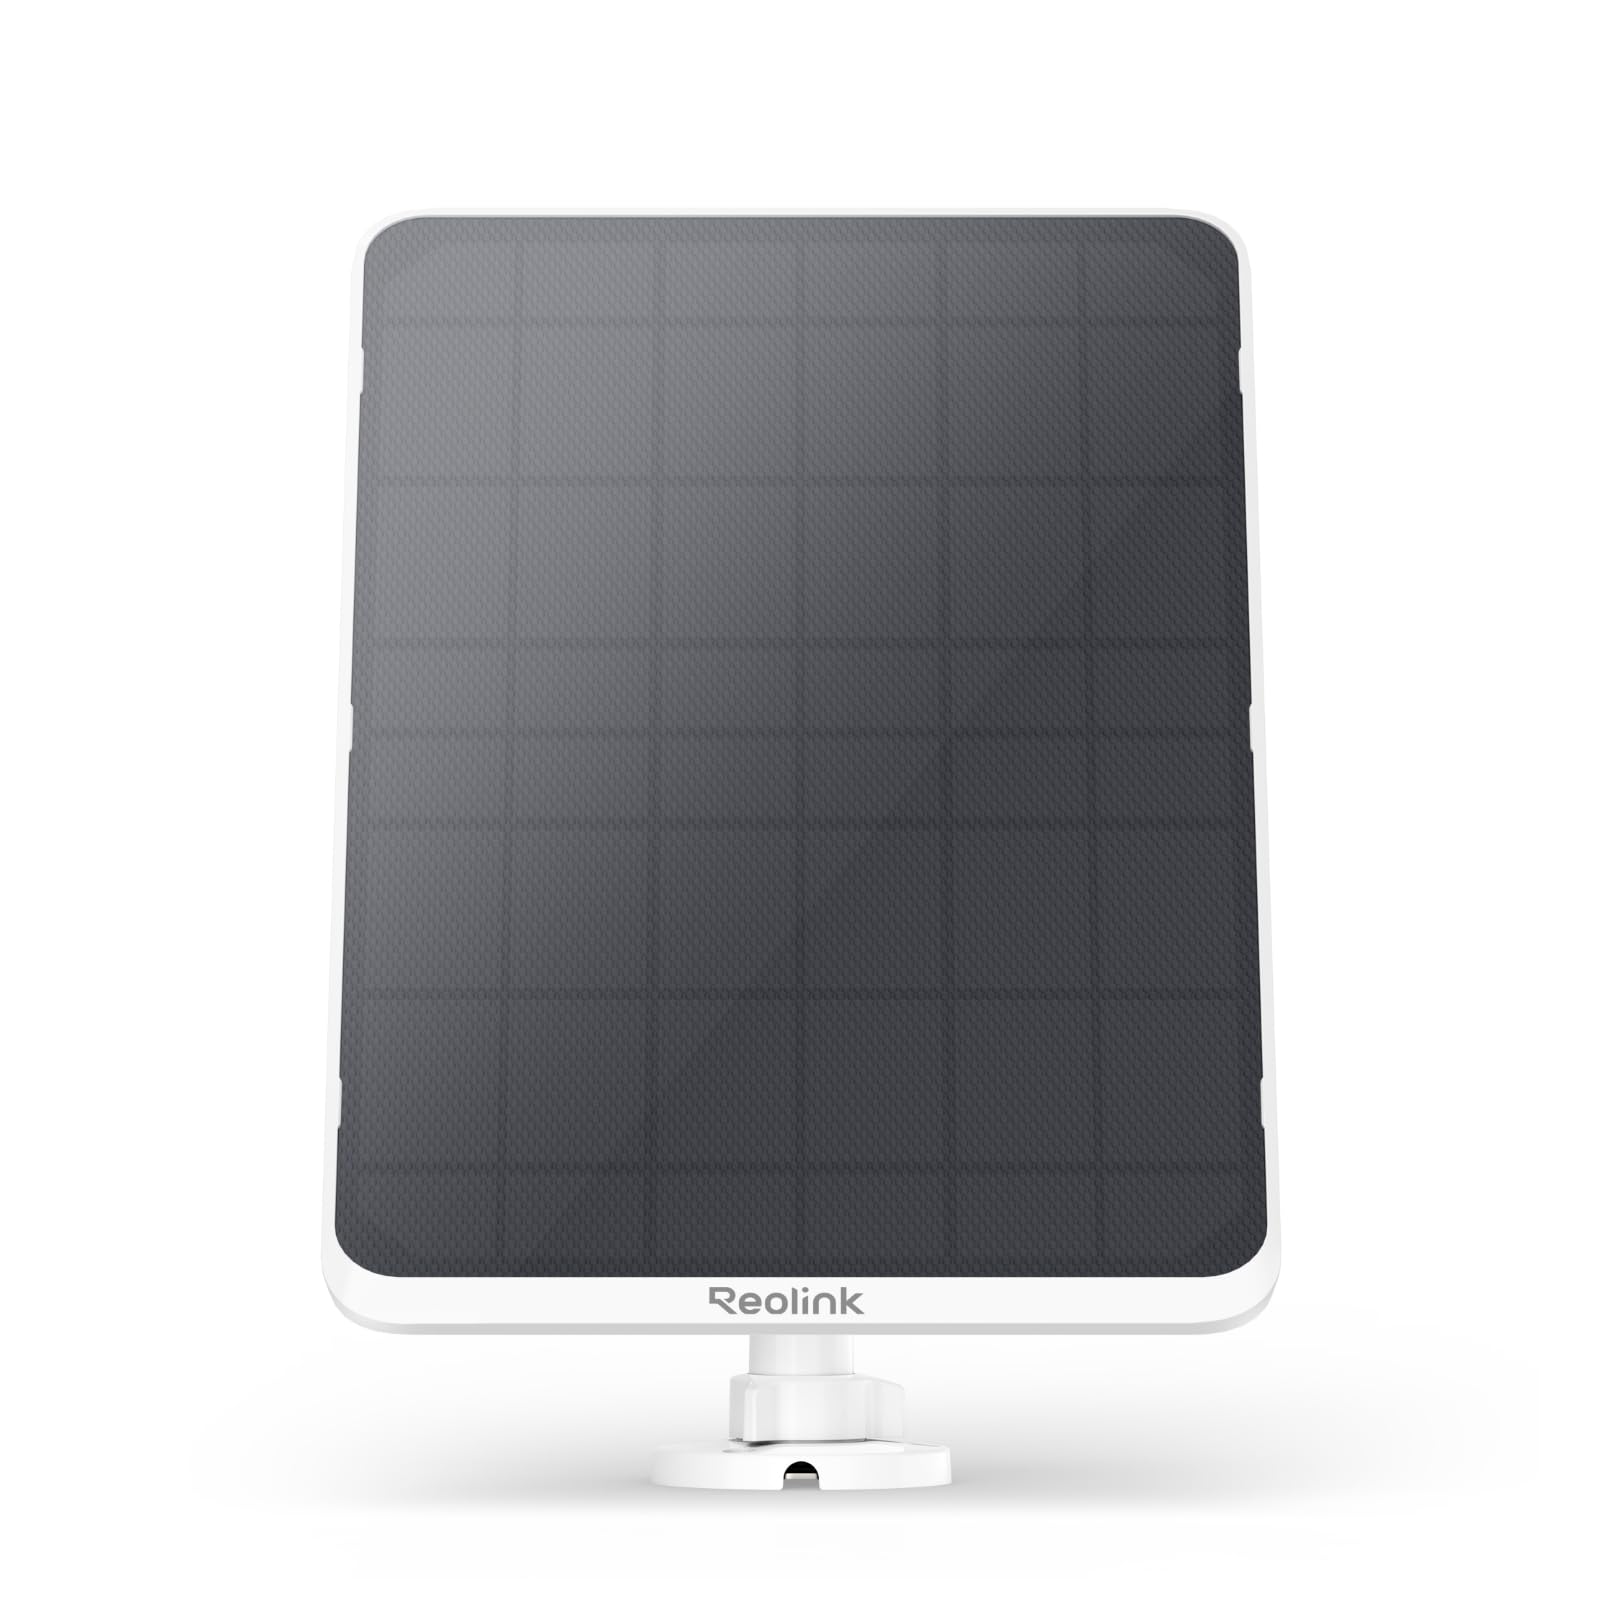
Image: The Reolink 12W Solar Panel 3, a white panel with dark solar cells, shown from an angled perspective.
What's in the Box

Image: A visual representation of all components included in the Reolink 12W Solar Panel 3 package.
- Reolink Solar Panel
- Outdoor Security Mount
- Type C to Micro USB Converter
- Strap
- Quick Start Guide
- Surveillance Sticker
- Mounting Hole Template
- Pack of Screws
Specifications

Image: The Reolink 12W Solar Panel 3 with its dimensions (310mm height, 204mm width) indicated.
| Feature | Detail |
|---|---|
| Brand | REOLINK |
| Material | Aluminum, Monocrystalline Silicon, Tempered Glass |
| Product Dimensions | 4.74"L x 6.89"W x 7.3"H |
| Item Weight | 1.41 Kilograms |
| Efficiency | High Efficiency |
| Maximum Power | 12 Watts |
| Connector Type | Type-C |
| Included Components | Reolink Solar Panel 3 |
| Model Number | Reolink Solar Panel 3 |
| Manufacturer | Reolink Digital |
Setup & Installation
Follow these steps to properly set up and install your Reolink 12W Solar Panel 3 for optimal performance.
1. Choose a Location
Select a location that receives maximum direct sunlight throughout the day. Ensure the panel is positioned to avoid shadows from trees, buildings, or other obstructions. An ideal location will allow the panel to receive 5-10 minutes of direct sunlight daily for continuous charging.
2. Assemble the Mount
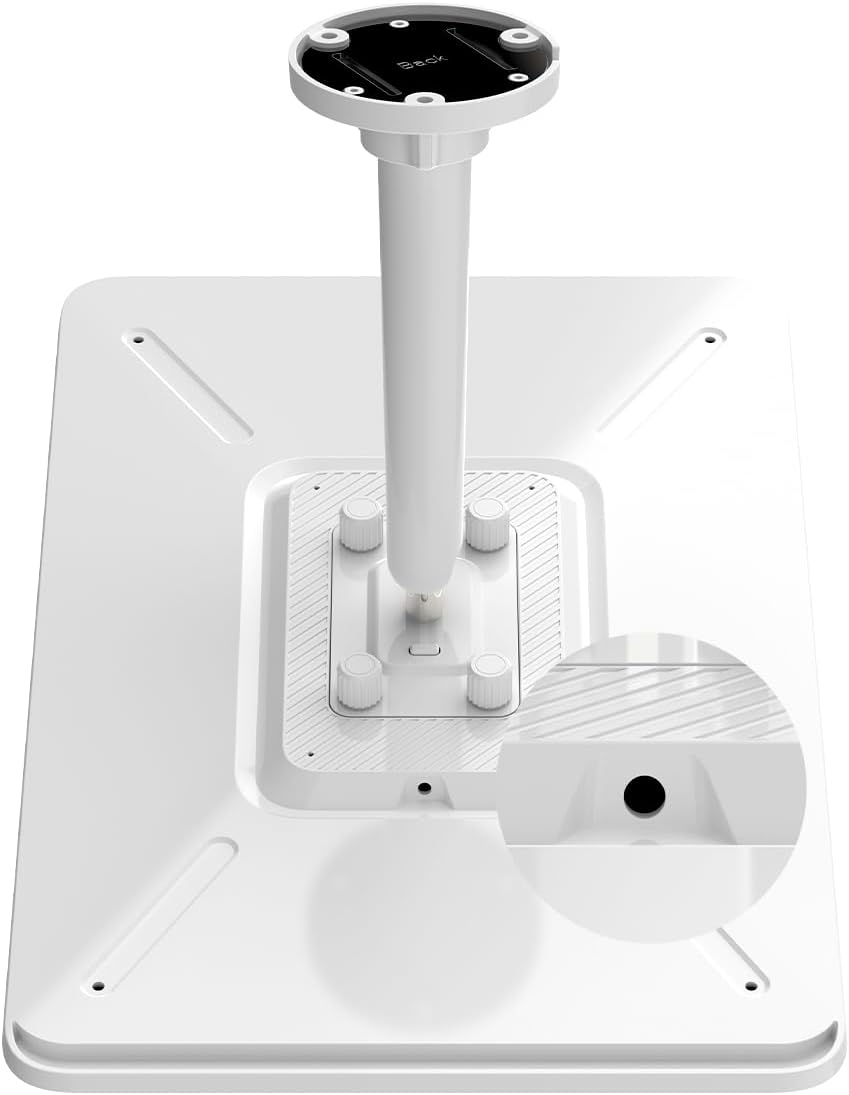
Image: The back of the solar panel showing the four screw mounting points for the bracket.
- Attach the metal plate to the mounting arm using the provided large head screw.
- Secure the mounting arm to the back of the solar panel using the four thumb screws.
3. Mount the Solar Panel

Image: A four-step visual guide demonstrating how to mount the bracket, attach the solar panel, adjust its angle, and connect it to the camera.
- Screw-in Installation: Use the mounting hole template to mark drill points. Drill pilot holes and secure the mounting base to the desired surface (wall, wooden post) using the provided screws. Attach the assembled solar panel to the mounted base.
- Strap Installation (for poles/gutters): Thread the strap through the strap adapter. Secure the strap adapter to the mounting base using the short machine screws. Wrap the strap around a pole or downspout and tighten it. Attach the assembled solar panel to the mounted base.
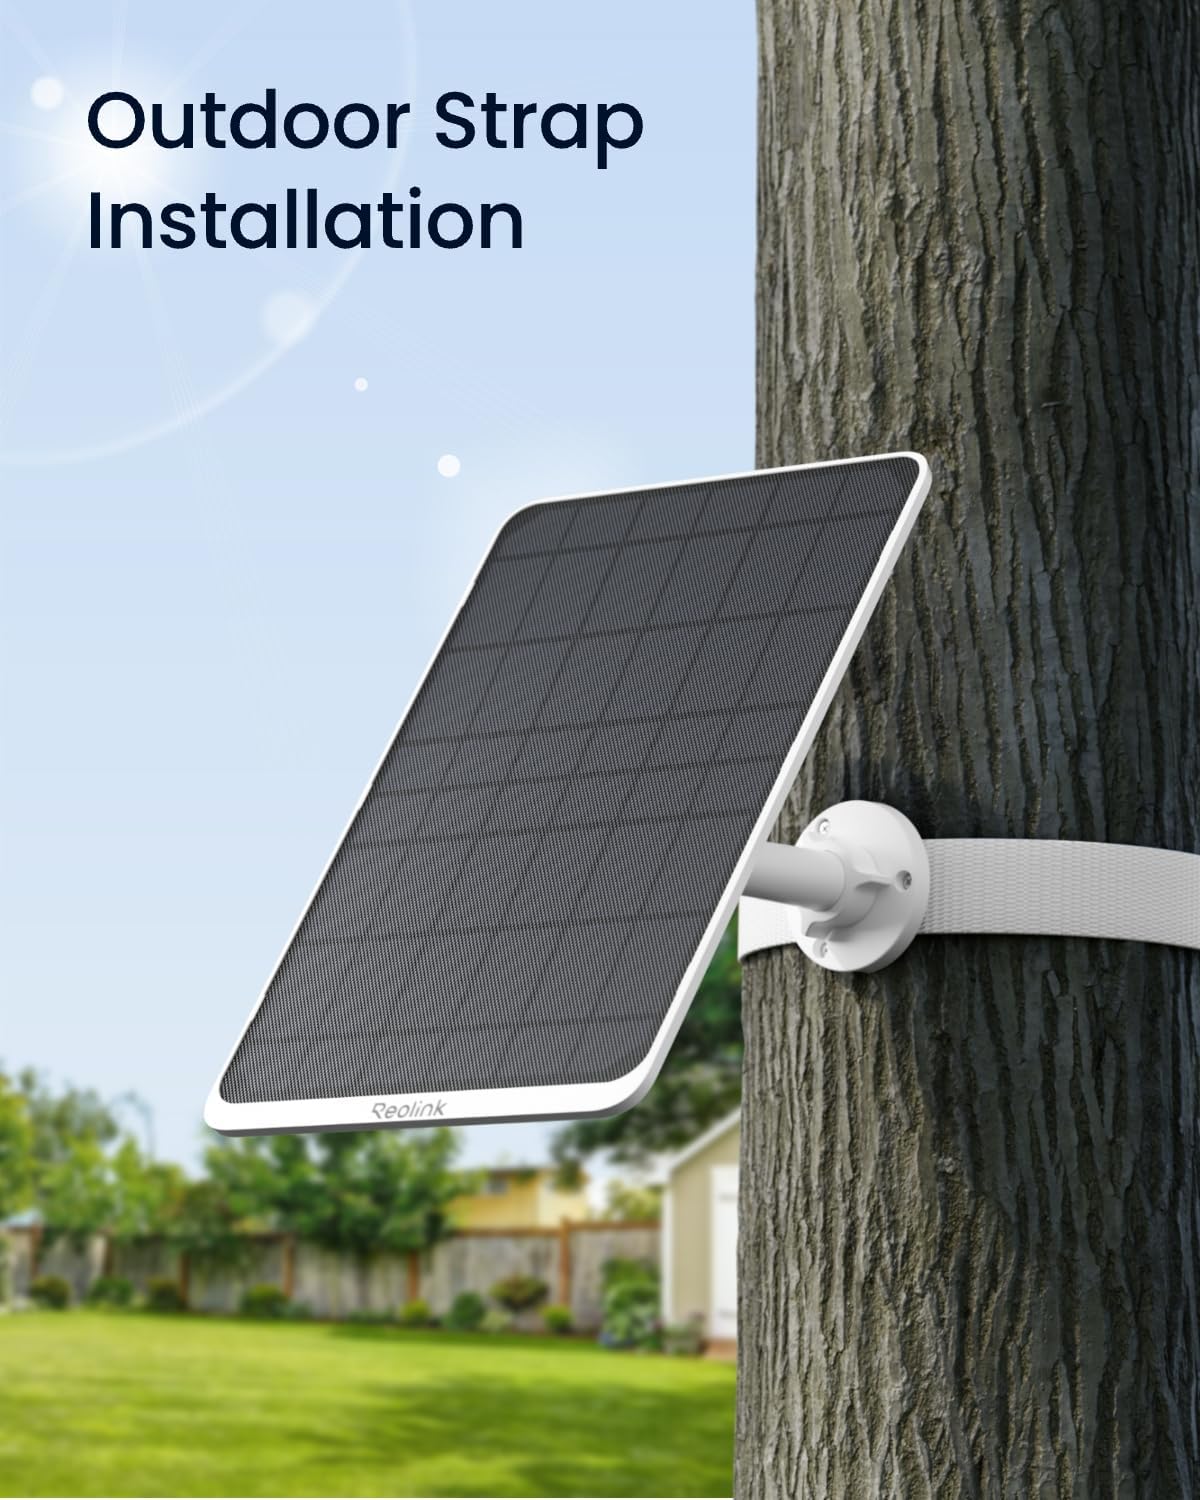
Image: The solar panel mounted on a tree trunk using a strap, demonstrating flexible installation options.
4. Adjust the Angle

Image: The solar panel mounted on a wall, illustrating its 360-degree rotation and 90-degree tilt for optimal sunlight capture.
Loosen the collar on the mounting arm and adjust the solar panel's angle to maximize sunlight exposure. Tighten the collar to secure the panel in place. The adjustable mount allows you to change the solar panel's angle to match the season or sunlight direction, enhancing charging efficiency.
5. Connect to Camera
Plug the Type-C connector from the solar panel into your compatible Reolink battery camera. If your camera uses a Micro USB port, use the provided Type C to Micro USB converter. Ensure the connection is secure and weatherproof.

Image: A close-up of the extendable charging cable, highlighting its length and Type-C connector.
Operating Instructions
Continuous Power Supply
The 12W solar panel is designed to provide a continuous power supply, enabling 24/7 recording for compatible Reolink battery cameras under optimal sunlight conditions. This ensures your camera remains operational without the need for frequent manual battery recharges.
Smart Battery Mode (Camera Feature)
To optimize battery life and recording performance, utilize the 'Smart Battery Mode' feature available in your Reolink camera's app settings:
- Access your camera's settings via the Reolink app.
- Navigate to 'Camera Recordings' and then 'Smart Battery Mode.'
- Configure recording behavior based on battery level:
- 70%-100% Smooth: Continuous recording at normal frame rates (e.g., 4K 15 FPS).
- 10%-70% Standard/Low Frame Rate: Recording continues but with a reduced frame rate (e.g., 5 FPS or lower) to conserve battery.
- 0%-10% Disable Scheduled Recording: Scheduled continuous recording is disabled, and the camera will only record upon motion detection to preserve remaining battery.
Pre-recording
Enable pre-recording in the camera settings to capture footage before a motion event is detected. You can set a battery level threshold (e.g., 20%) at which pre-recording will be disabled to conserve power, ensuring critical events are still captured while managing battery usage.
Maintenance
Proper maintenance ensures the longevity and efficiency of your solar panel.
Cleaning
Regularly wipe the solar panel surface with a soft, damp cloth to remove dust, dirt, and debris that may reduce charging efficiency. Avoid abrasive cleaners or harsh chemicals that could damage the panel surface.
Inspection
Periodically check the mounting hardware and cable connections for any signs of wear, looseness, or damage. Ensure the cable is securely plugged into the camera and the weatherproof seal is intact to prevent water ingress.
Angle Adjustment
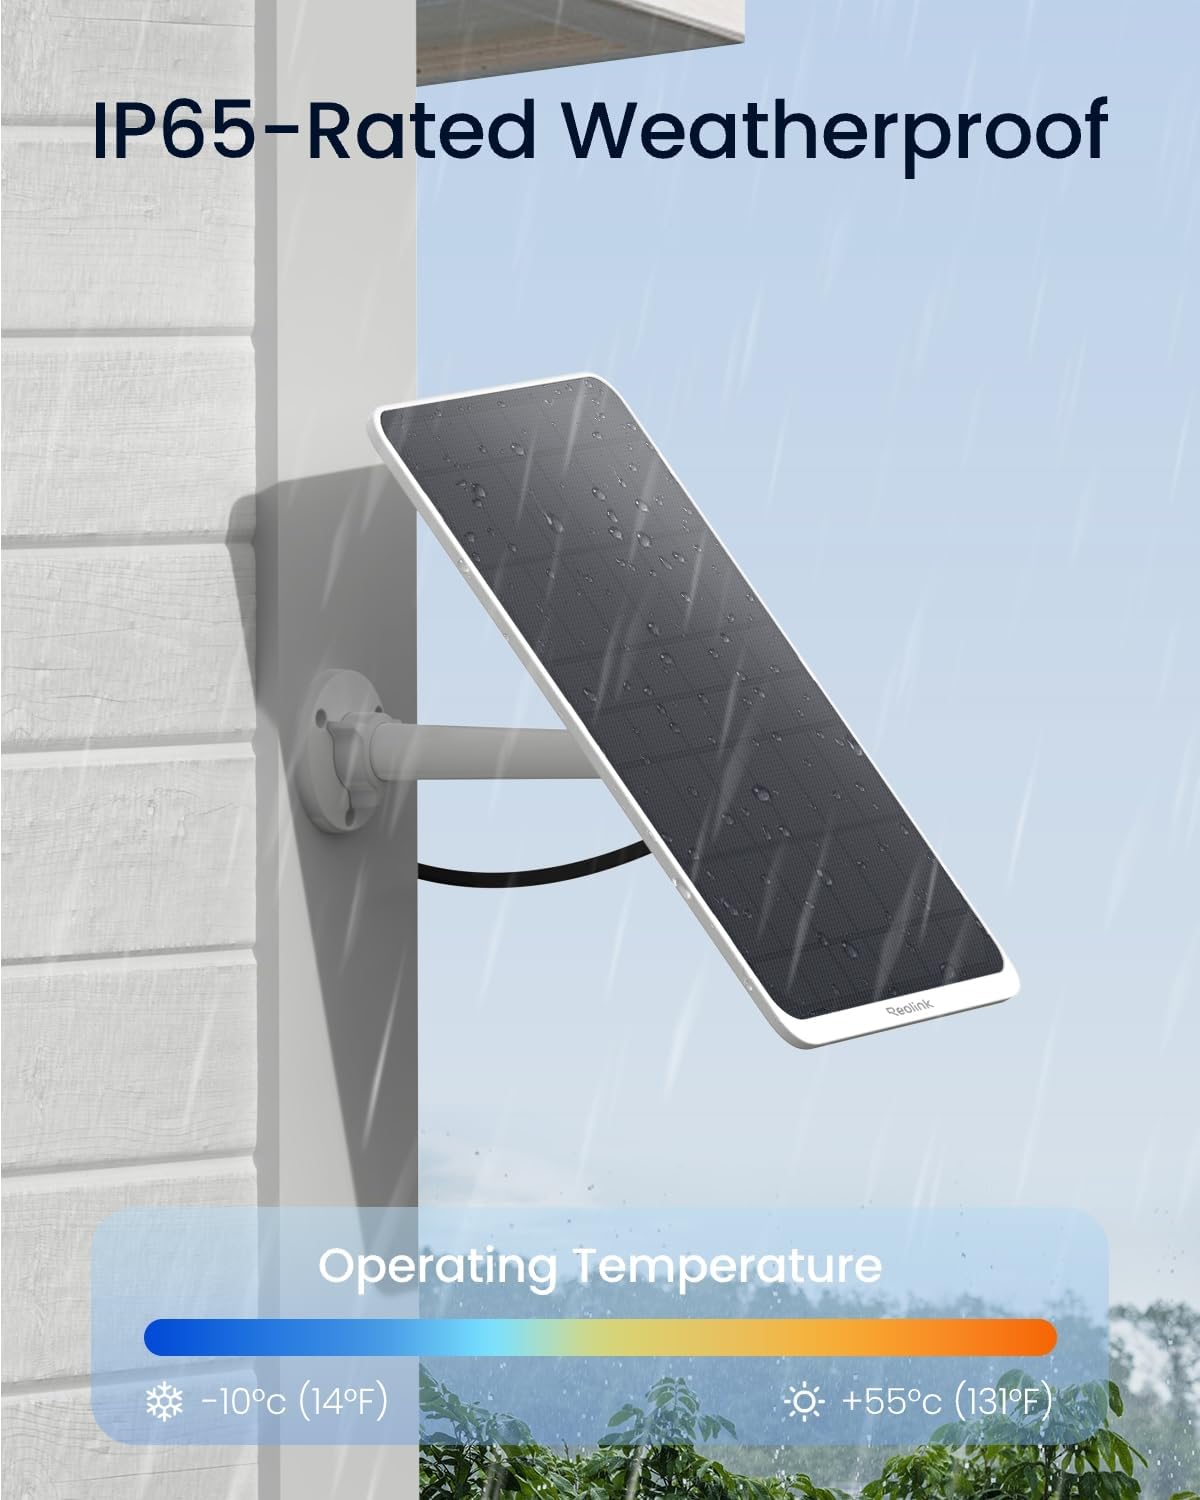
Image: The solar panel mounted outdoors, highlighting its IP65 weatherproof rating and operating temperature range of -10°C to +55°C.
Adjust the panel's angle seasonally to optimize sunlight exposure as the sun's position changes throughout the year. This will help maintain maximum charging efficiency.
Troubleshooting
If you encounter issues with your Reolink 12W Solar Panel 3, refer to the following common problems and solutions.
Camera Not Charging
- Ensure the solar panel is receiving direct sunlight.
- Check all cable connections for tightness and proper insertion.
- Verify the solar panel surface is clean and free of obstructions.
- Confirm the camera's battery is not completely depleted; a minimal charge might be required before solar charging can effectively begin.
Intermittent Charging
- Assess the amount of direct sunlight the panel receives daily. Cloudy weather or partial shading can significantly impact charging.
- Check for any loose connections or damaged cables.
Panel Appears Damaged
- If the panel is physically damaged, contact Reolink support for assistance. Do not attempt to repair it yourself.
Warranty & Support
Warranty
The Reolink 12W Solar Panel 3 comes with a 2-Year Limited Warranty, covering defects in materials and workmanship under normal use.
Money Back Guarantee
Enjoy a 30-Day Money Back Guarantee and Free Return if you are not completely satisfied with your purchase.
Customer Support
For any questions, technical assistance, or warranty claims, Reolink offers 24/7 Online Support. Please visit the official Reolink website (reolink.com) for contact information and further resources.


