
Weiser 9GED98000-003
Contents

Weiser Halo Select Smart Lock
Instruction Manual
Introduction
This manual provides detailed instructions for the installation, operation, and maintenance of your Weiser Halo Select Smart Lock. This keyless smart home deadbolt features Wi-Fi and Matter connectivity, a touchscreen keypad, and Bluetooth capabilities, supporting integration with Apple Home, Alexa, and Google ecosystems. Please read this manual thoroughly before beginning installation or operation to ensure proper functionality and security.

Figure 1: Weiser Halo Select Smart Lock (Exterior and Interior Units)
The image displays the Weiser Halo Select Smart Lock, showcasing both the sleek exterior touchscreen keypad with a keyhole and the interior unit with its turn piece and battery cover. The lock is presented in a satin nickel finish.
Setup and Installation
The Weiser Halo Select Smart Lock is designed for easy DIY installation with minimal tools required. Follow the steps below for a successful setup.
1. What's in the Box
Before you begin, ensure all components are present:
- Interior Assembly Unit
- Exterior Assembly Unit
- Adjustable Latch
- Strike Plate
- Mounting Plate
- 4 AA Batteries
- Door Sensor Magnet
- SmartKey Tool
- 2 Keys
- Mounting Hardware (Screws)

Figure 2: Included Components
This image displays all the components included in the Weiser Halo Select Smart Lock package, such as the interior and exterior lock units, keys, batteries, latch, strike plate, mounting hardware, and the SmartKey tool, laid out on a flat surface.
2. Installation Steps
Only a screwdriver is needed for installation. Refer to the interactive in-app installation guide for detailed visual instructions.
- Prepare the Door: Ensure your door is properly prepped with the correct bore hole and backset dimensions. The lock fits standard doors with a 2-1/8" diameter bore hole and a thickness of 1-3/4" to 2-1/4". The adjustable latch supports 2-3/8" or 2-3/4" backsets.
- Install the Latch: Insert the adjustable latch into the door edge. Ensure the latch is oriented correctly for your door's swing.
- Install the Exterior Assembly: Place the exterior keypad unit onto the door, aligning it with the latch.
- Install the Mounting Plate: Secure the mounting plate to the door using the provided screws, ensuring it is flush against the door surface.
- Install the Interior Assembly: Attach the interior unit to the mounting plate, connecting any necessary cables.
- Install Batteries: Insert the 4 AA batteries into the interior unit's battery compartment.
- Perform Door Handing Process: Follow the instructions in the Weiser app to calibrate the lock to your door's orientation. This is crucial for proper operation.

Figure 3: Easy DIY Installation
This image illustrates the simplicity of installing the Weiser Halo Select Smart Lock, showing a person using a screwdriver to install the lock while referencing an interactive installation guide on a smartphone, highlighting the DIY-friendly nature of the product.
3. App Setup and Connectivity
Download the Weiser App from your smartphone's app store. Follow the in-app instructions to pair your lock and connect it to your home Wi-Fi network. The app will guide you through creating user codes, setting up remote access, and configuring smart features.

Figure 4: Connectivity Options
This graphic presents the two primary connectivity options for the Weiser Halo Select Smart Lock: Wi-Fi with the Weiser App, offering remote lock/unlock, geofence auto-unlock, smart home voice control, guest access codes, door status sensor, and intrusion detection; and Matter with a Smart Home App, providing smart home integration, simple setup, remote lock/unlock, and improved battery life. It also shows compatibility logos for Alexa, Google Home, and Apple Home.
Operating Your Smart Lock
Your Weiser Halo Select Smart Lock offers multiple ways to control access and enhance your home security.
1. Keypad Operation
To lock or unlock using the touchscreen keypad:
- To Lock: Press the Lock icon on the keypad.
- To Unlock: Enter your 4-8 digit user code, then press the Checkmark icon.
2. Remote Access and User Management
Using the Weiser App, you can:
- Remotely lock and unlock your door from anywhere.
- Manage up to 250 unique user codes.
- Create temporary or scheduled guest access codes.
- View a detailed activity log of lock usage.
- Receive real-time notifications for lock status and activity.
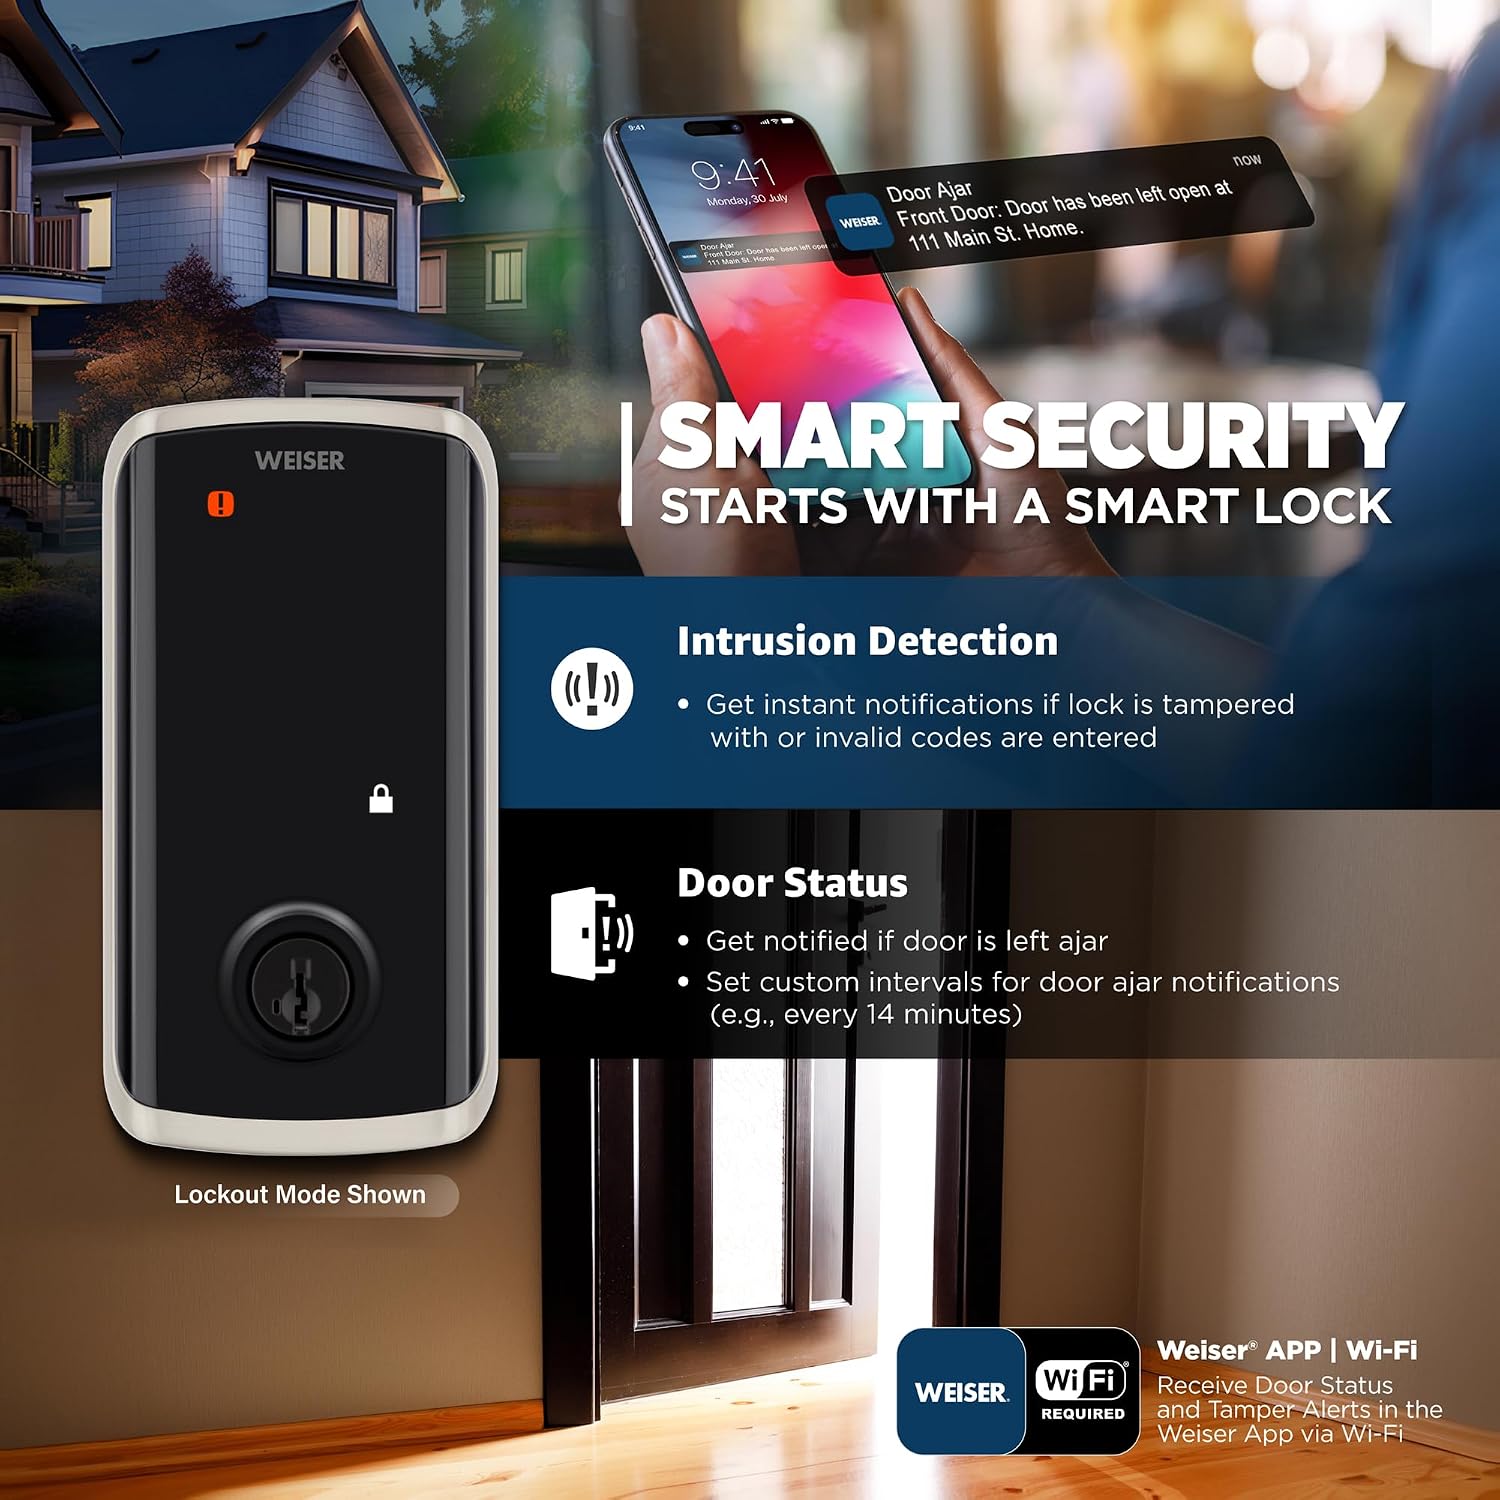
Figure 5: Remote Control and Monitoring
This image illustrates the remote control and monitoring capabilities of the Weiser Halo Select Smart Lock via the Weiser App. It shows a smartphone interface displaying lock status, activity logs, and options to remotely lock/unlock, manage users, and share guest access, emphasizing convenience and security from anywhere.
3. Smart Features
- Geofencing: Enable auto-unlock as you approach your home and auto-lock as you leave. This feature is optional and configurable in the app.
- Smart Home Integration: Control your lock with voice commands through Amazon Alexa, Google Assistant, or Apple Home. Create smart home automations linking your lock to lights, music, and other devices.
- Door Status Sensor: Receive notifications if your door is left ajar. Set custom intervals for these alerts.
- Intrusion Detection: Get instant notifications if the lock is tampered with or if invalid codes are entered.

Figure 6: Geofencing Feature
This image depicts the geofencing capability of the Weiser Halo Select Smart Lock, showing a person approaching their home with a green highlighted area indicating the geofence zone, signifying automatic unlocking upon arrival and automatic locking upon departure.

Figure 7: Smart Home Integration
This image illustrates the smart home integration of the Weiser Halo Select Smart Lock, showing a person interacting with a smart speaker to control the lock, with icons indicating compatibility with Alexa, Apple Home, and Google Home, demonstrating seamless voice control and ecosystem integration.
Maintenance
Proper maintenance ensures the longevity and optimal performance of your Weiser Halo Select Smart Lock.
1. Battery Replacement
The lock operates on 4 AA batteries. When battery levels are low, you will receive notifications via the Weiser App and potentially on the lock itself. To replace batteries:
- Remove the battery cover on the interior unit.
- Remove the old batteries.
- Insert new AA alkaline batteries, ensuring correct polarity.
- Replace the battery cover.
Note: While the lock comes with standard Duracell AA batteries, a rechargeable pack can be used (sold separately).
2. SmartKey Re-Keying
Weiser's SmartKey Security allows you to re-key your lock in seconds without a locksmith. This is useful if you want to match your lock to an existing key or if you lose a key.
- Insert the current working key fully into the cylinder.
- Rotate the key 90 degrees clockwise.
- Insert the SmartKey Tool fully into the SmartKey hole.
- Remove the SmartKey Tool and the current key.
- Insert the new key fully into the cylinder.
- Rotate the new key 180 degrees counter-clockwise to the starting position.
- Remove the new key. The lock is now re-keyed.

Figure 8: SmartKey Re-Keying Process
This image provides a step-by-step visual guide on how to re-key the Weiser SmartKey lock. It shows the process of inserting the current key, rotating it, using the SmartKey tool, and then inserting and rotating the new key to complete the re-keying, emphasizing the ease of this security feature.
3. Cleaning
Clean the lock's exterior with a soft, damp cloth. Avoid abrasive cleaners or solvents, as they may damage the finish or electronic components.
Troubleshooting
If you encounter issues with your Weiser Halo Select Smart Lock, refer to the common problems and solutions below.
- Lock not responding to keypad or app:
- Check battery levels and replace if necessary.
- Ensure the lock is within Wi-Fi range and connected to your network.
- Perform a battery pull (remove and reinsert batteries) to reset the lock.
- Door sensor incorrectly reports door status (e.g.,
Ask a question about this manual
Ask about setup, troubleshooting, compatibility, parts, safety, or missing instructions. Manuals+ will review the question and use this page’s manual context to help answer it.