
Introduction
This manual provides essential information for the safe and efficient installation, operation, and maintenance of your LiftMaster SP10W12V 10 Watts Solar Panel. Please read this manual thoroughly before installation and keep it for future reference.
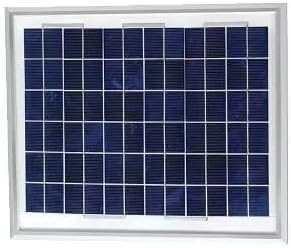
Figure 0: Overview of the LiftMaster SP10W12V Solar Panel. This image provides a clear view of the solar panel's surface, highlighting the arrangement of its solar cells.
The LiftMaster SP10W12V solar panel is designed to provide a reliable and eco-friendly power source for compatible gate operators and 12V systems. It converts sunlight into electrical energy, ensuring continuous operation of your equipment.
Safety Information
WARNING: Failure to follow these safety instructions may result in serious injury or property damage.
- Always disconnect power before installing or servicing the solar panel.
- Do not attempt to modify the solar panel or its components.
- Ensure all electrical connections are secure and properly insulated.
- Install the solar panel in a location free from obstructions and away from flammable materials.
- Wear appropriate personal protective equipment (PPE) during installation, including gloves and eye protection.
Package Contents
Verify that all components listed below are included in your package:
- 1 x LiftMaster SP10W12V Solar Panel
- 1 x Mounting Bracket
- Hardware (Lag Screws, Hex Bolts, Hex Nuts, Washers)
- 1 x 10 ft. Cable

Figure 1: Included Components and Hardware for SP10W12V Solar Panel. This diagram illustrates the solar panel, its mounting bracket, the connecting cable, and the specific hardware pieces (lag screws, hex bolts, hex nuts, and washers) required for installation.
Setup and Installation
Follow these steps to properly install your LiftMaster SP10W12V Solar Panel.
1. Site Selection
Choose a location that receives maximum direct sunlight throughout the day, free from shadows cast by trees, buildings, or other obstructions. The panel should be oriented to face south (in the Northern Hemisphere) for optimal performance.
2. Mounting the Solar Panel
- Secure the mounting bracket to a stable surface (e.g., a pole or wall) using the provided lag screws. Ensure the bracket is firmly attached and level.
- Attach the solar panel to the mounting bracket using the hex bolts, hex nuts, and washers. Do not overtighten, but ensure the panel is securely fastened and cannot shift.
- Adjust the angle of the solar panel to maximize sun exposure. A common practice is to set the angle equal to your geographical latitude for year-round efficiency, or adjust seasonally.
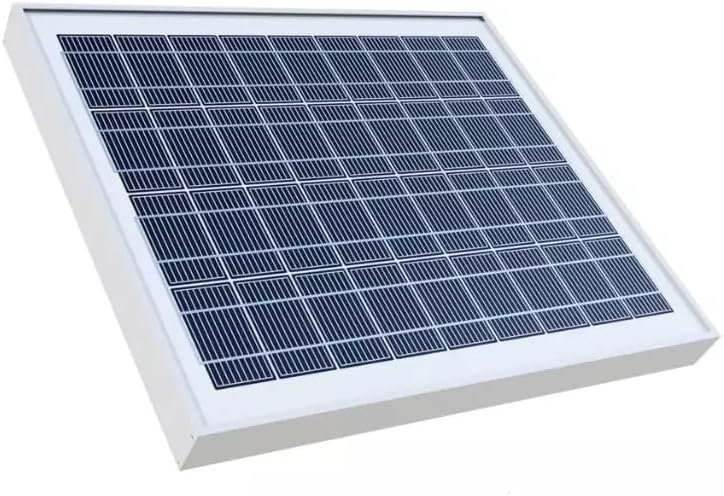
Figure 2: Front view of the LiftMaster SP10W12V Solar Panel. This image displays the solar panel's photovoltaic cells designed to capture sunlight, encased within a durable white frame.
3. Electrical Connection
- Connect the 10 ft. cable from the solar panel to the designated solar input terminals on your gate operator or 12V system. Refer to your gate operator's manual for specific wiring instructions.
- Ensure correct polarity: positive (+) to positive and negative (-) to negative. Incorrect wiring can damage the solar panel or the connected device.
- Secure all connections to prevent accidental disconnection and protect them from environmental elements.
Operating Instructions
The LiftMaster SP10W12V solar panel operates automatically by converting sunlight into electrical energy to charge the battery of your gate operator or 12V system. No manual operation is required for the solar panel itself.
- Ensure the solar panel is clean and free from obstructions to maximize energy generation.
- Monitor your gate operator's battery status to confirm proper charging.
Maintenance
Regular maintenance ensures optimal performance and longevity of your solar panel.
- Cleaning: Periodically clean the surface of the solar panel with a soft cloth and mild, non-abrasive cleaner to remove dirt, dust, leaves, or other debris that may accumulate and reduce efficiency. Do not use harsh chemicals or abrasive materials.
- Inspection: Annually inspect the solar panel, mounting hardware, and cables for any signs of damage, corrosion, or loose connections. Tighten any loose bolts or screws.
- Obstructions: Ensure no new obstructions (e.g., growing trees, new structures) are casting shadows on the panel. Trim vegetation if necessary.
Troubleshooting
| Problem | Possible Cause | Solution |
|---|---|---|
| Low or No Power Output | Panel is dirty or obstructed. | Clean the panel surface. Remove any shadows or obstructions. |
| Low or No Power Output | Loose or corroded electrical connections. | Check and tighten all wiring connections. Clean any corrosion. |
| Low or No Power Output | Incorrect panel angle or orientation. | Adjust the panel angle and orientation for optimal sun exposure. |
| Battery Not Charging | Faulty battery in the gate operator. | Test the battery and replace if necessary. |
| Battery Not Charging | Issue with the gate operator's charging circuit. | Consult the gate operator's manual or contact a qualified technician. |
Specifications
| Feature | Detail |
|---|---|
| Model Number | SP10W12V |
| Power Output | 10 Watts |
| Voltage | 12 Volts |
| Compatibility | Various gate operators and 12V systems |
| Included Components | Solar Panel, Mounting Bracket, Hardware, 10 ft. Cable |
| Material | Durable, weather-resistant construction |
| Dimensions | 15 x 15 x 2 inches (approximate) |
| Weight | 8 pounds (approximate) |
| UPC | 012381060658 |

Figure 3: Product Label for LiftMaster SP10W12V. This label provides key product information including features, country of origin (India), and a visible UPC barcode (012381179756).
Warranty and Support
LiftMaster products are designed for durability and reliability. For specific warranty details regarding your SP10W12V Solar Panel, please refer to the warranty documentation included with your purchase or visit the official LiftMaster website.
For technical support, troubleshooting assistance beyond this manual, or to inquire about replacement parts, please contact LiftMaster customer service. Contact information can typically be found on the LiftMaster website or on your product packaging.
Note: Keep your proof of purchase for warranty claims.

