1. Safety Instructions
Please read all instructions carefully before operating the appliance. Retain this manual for future reference.
- Ensure the power supply voltage matches the rating label on the appliance.
- Do not immerse the main unit in water or other liquids.
- Unplug the appliance from the power outlet before cleaning or maintenance.
- Keep hands and foreign objects away from moving parts during operation.
- Do not operate the appliance with a damaged cord or plug. Contact qualified service personnel for repairs.
- This appliance is not intended for use by persons with reduced physical, sensory, or mental capabilities, or lack of experience and knowledge, unless they have been given supervision or instruction concerning use of the appliance by a person responsible for their safety.
- Allow the unit to stand upright for at least 24 hours after transportation before plugging it in to allow the refrigerant to settle.
2. Product Overview
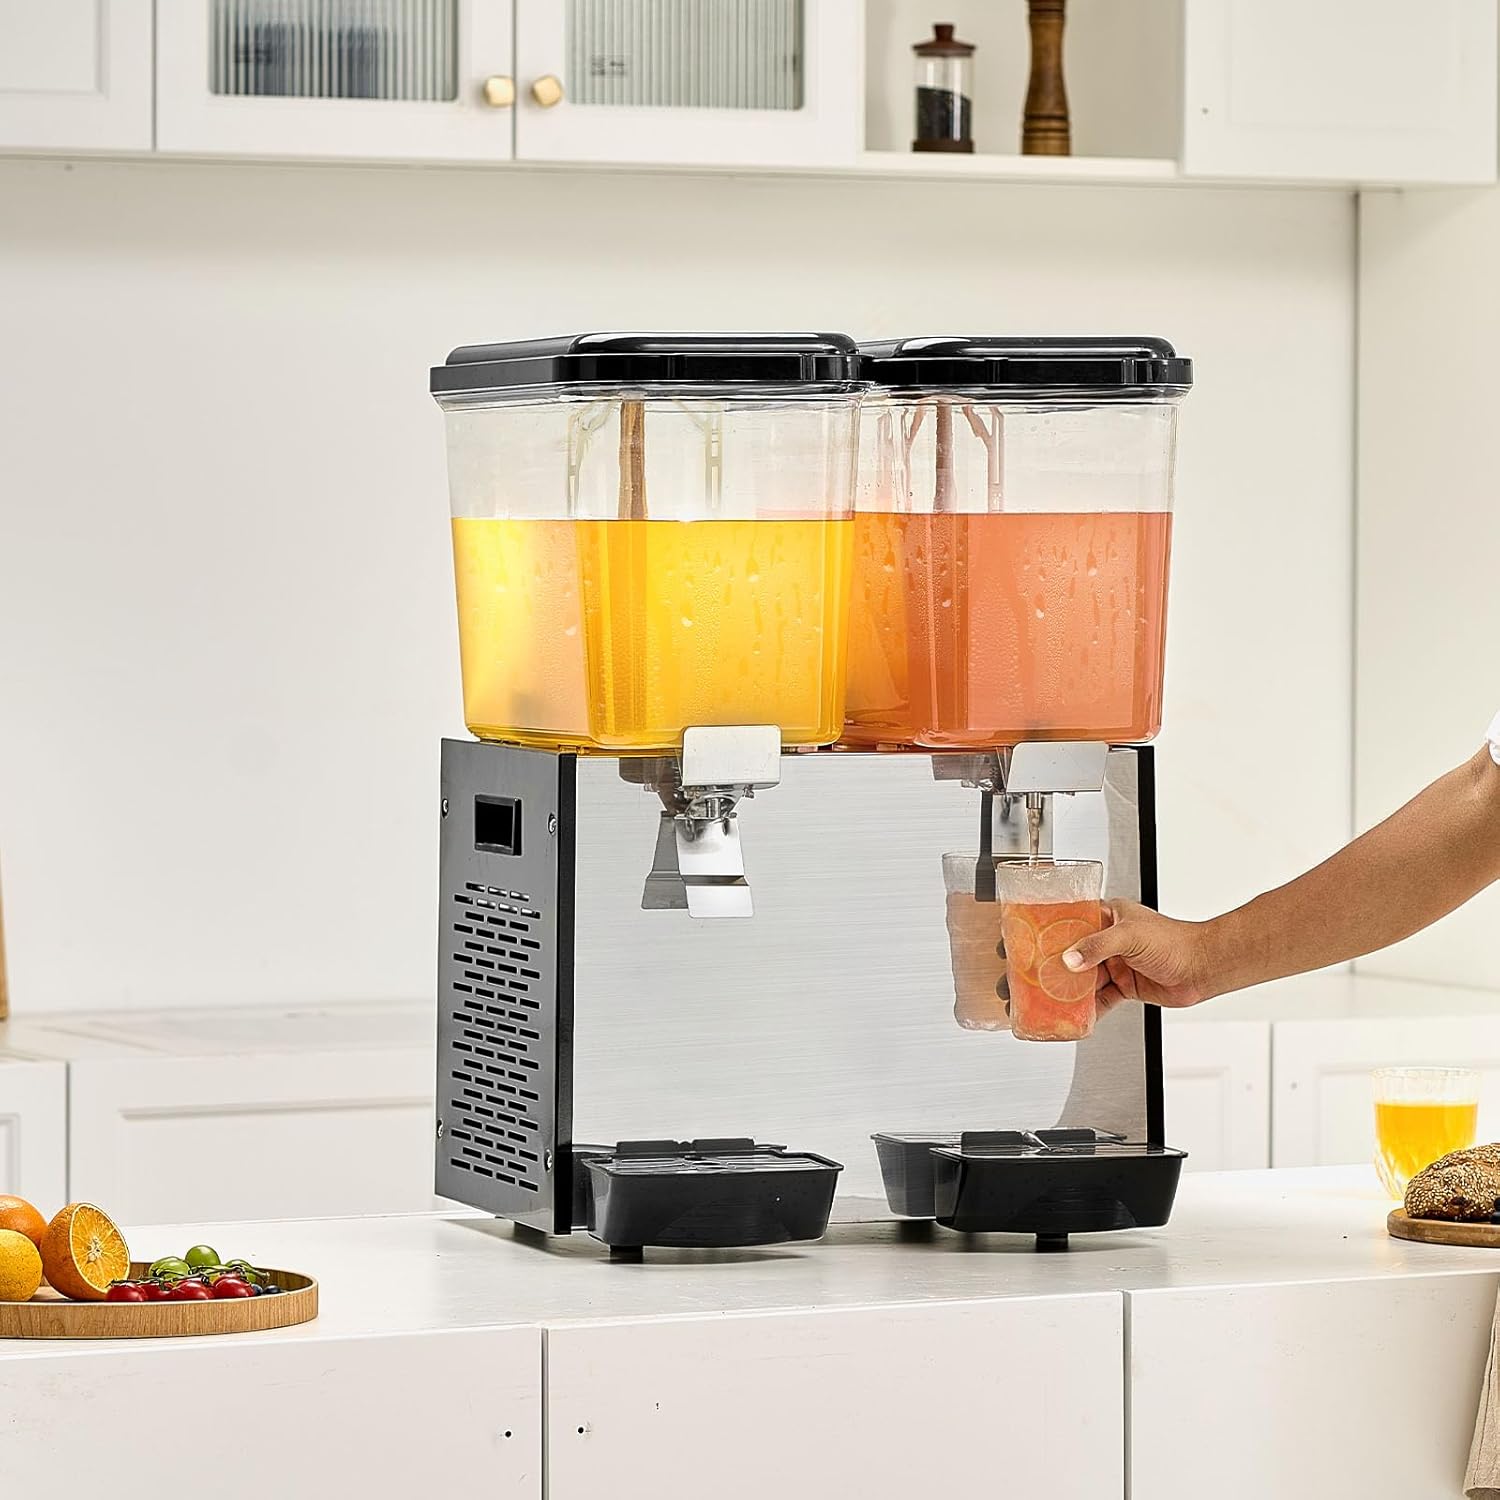
The VEVOR Commercial Beverage Dispenser Model LYJ18LX2 is designed for efficient cooling and dispensing of various cold beverages. It features two 18-liter tanks, a stainless steel body, and a powerful cooling system to maintain beverages at 45-54°F (7-12°C). The unit includes stirring rods to prevent sedimentation and ensure uniform temperature.


3. Specifications
| Feature | Specification |
|---|---|
| Model Number | LYJ18LX2 |
| Brand | VEVOR |
| Material | Polycarbonate (PC), Stainless Steel |
| Color | Black |
| Capacity | 2 x 18 Liters (19 QT per tank) |
| Power | 370W ± 10% |
| Cooling Temperature Range | 45-54°F (7-12°C) |
| Product Dimensions (L x W x H) | 18.3 x 17.9 x 26.4 inches (465 x 455 x 670 mm) |
| Item Weight | 60.8 lbs (27.6 kg) |
| Dishwasher Safe | Yes (for removable parts) |
| UPC | 197988417798 |
4. Package Contents
Upon unpacking, please verify that all items are present and undamaged:
- 1 x VEVOR Commercial Beverage Dispenser Main Unit
- 2 x 18L PC Beverage Tanks
- 2 x Stirring Rods
- 2 x Lids
- 2 x Drip Trays (Water Catchment Boxes)
- 2 x Tank Seal Rings
- 4 x O-Ring Seals
- 1 x Instruction Manual

5. Setup and Installation
Follow these steps to set up your beverage dispenser:
- Unpacking: Carefully remove all components from the packaging.
- Initial Placement: Place the main unit on a stable, level surface. Ensure there is adequate ventilation around the unit.
- Refrigerant Settling: After transportation, allow the unit to stand upright for at least 24 hours before plugging it into a power outlet. This allows the refrigerant to settle, preventing potential damage to the compressor.
- Install Stirring Rods: Insert the stirring rods into the center of each PC tank.
- Install Handles/Spouts: Attach the dispensing handles to the tanks. Ensure the pin of the handle is correctly aligned and secured.
- Place Drip Trays: Position the drip trays (water catchment boxes) directly below each dispensing spout on the main unit.
- Tank Placement: Carefully place the assembled PC tanks onto the main unit, ensuring they are securely seated.
- Power Connection: Once all components are assembled and the 24-hour settling period has passed, plug the power cord into a grounded electrical outlet.

6. Operating Instructions
- Filling the Tanks: Open the lid of each PC tank. Pour your desired cold beverage into the tanks. Do not overfill past the maximum fill line.
- Secure Lids: Close the lids securely on top of the tanks.
- Activate Cooling: Locate the power switches on the side or back of the unit. Turn on the cooling switch. The unit will begin to cool the beverages to the optimal temperature range of 45-54°F (7-12°C).
- Activate Stirring: If your beverage requires continuous mixing (e.g., juice with pulp), turn on the stirring switch. The stirring rods will rotate to ensure uniform temperature and prevent sedimentation.
- Dispensing Beverages: To dispense a beverage, place a cup under the dispensing spout. Press the stainless steel press switch to release the beverage. Release the switch to stop dispensing.
- Monitoring: Periodically check beverage levels and refill as needed.
7. Cleaning and Maintenance
Regular cleaning and maintenance are essential for hygiene and extending the lifespan of your dispenser.
- Power Off: Always unplug the unit from the power outlet before cleaning.
- Empty Tanks: Drain any remaining beverages from the tanks.
- Disassemble: Remove the lids, PC tanks, stirring rods, and drip trays.
- Wash Removable Parts: The PC tanks, lids, stirring rods, and drip trays are dishwasher safe. Alternatively, wash them by hand with warm, soapy water and a soft brush. Rinse thoroughly and allow to air dry completely.
- Clean Spouts: Clean the dispensing spouts thoroughly to prevent residue buildup. Use a small brush if necessary.
- Clean Main Unit: Wipe the exterior of the main unit with a damp cloth. Do not use abrasive cleaners or immerse the main unit in water.
- Lubricate Seals: Apply a small amount of food-grade Vaseline to the rubber sealing rings (tank seal rings and O-rings) periodically to maintain their flexibility and prevent leaks.
- Reassemble: Once all parts are clean and dry, reassemble the unit. Ensure all seals and components are correctly in place.
8. Troubleshooting
If you encounter issues with your beverage dispenser, refer to the following common problems and solutions:
- Unit Not Cooling:
- Ensure the power cord is securely plugged in.
- Check if the cooling switch is turned on.
- Verify that the unit has been allowed to settle for 24 hours after transportation before initial use.
- Ensure adequate ventilation around the unit. - Beverage Not Dispensing:
- Check if the tank contains enough beverage.
- Ensure the dispensing handle is fully pressed.
- Inspect the spout for any blockages. - Leaking from Tank/Spout:
- Ensure the tank is correctly seated on the main unit.
- Check if the rubber sealing rings are properly installed and not damaged. Replace if necessary.
- Ensure the dispensing handle is fully closed after use. - Stirring Rod Not Rotating:
- Check if the stirring switch is turned on.
- Ensure the stirring rod is correctly installed and not obstructed.
For issues not covered here, please contact VEVOR customer support.
9. Warranty and Support
VEVOR products are designed for durability and performance. For warranty information, product support, or to order replacement parts, please refer to the warranty card included with your purchase or visit the official VEVOR website. When contacting support, please have your model number (LYJ18LX2) and purchase date available.


