1. Introduction
This manual provides comprehensive instructions for the setup, operation, maintenance, and troubleshooting of your FODEXAZY DMX 1024 Channel Lighting Controller, Model ZQ12037H. This device is designed for professional lighting control, offering extensive capabilities for managing various stage and event lighting fixtures.
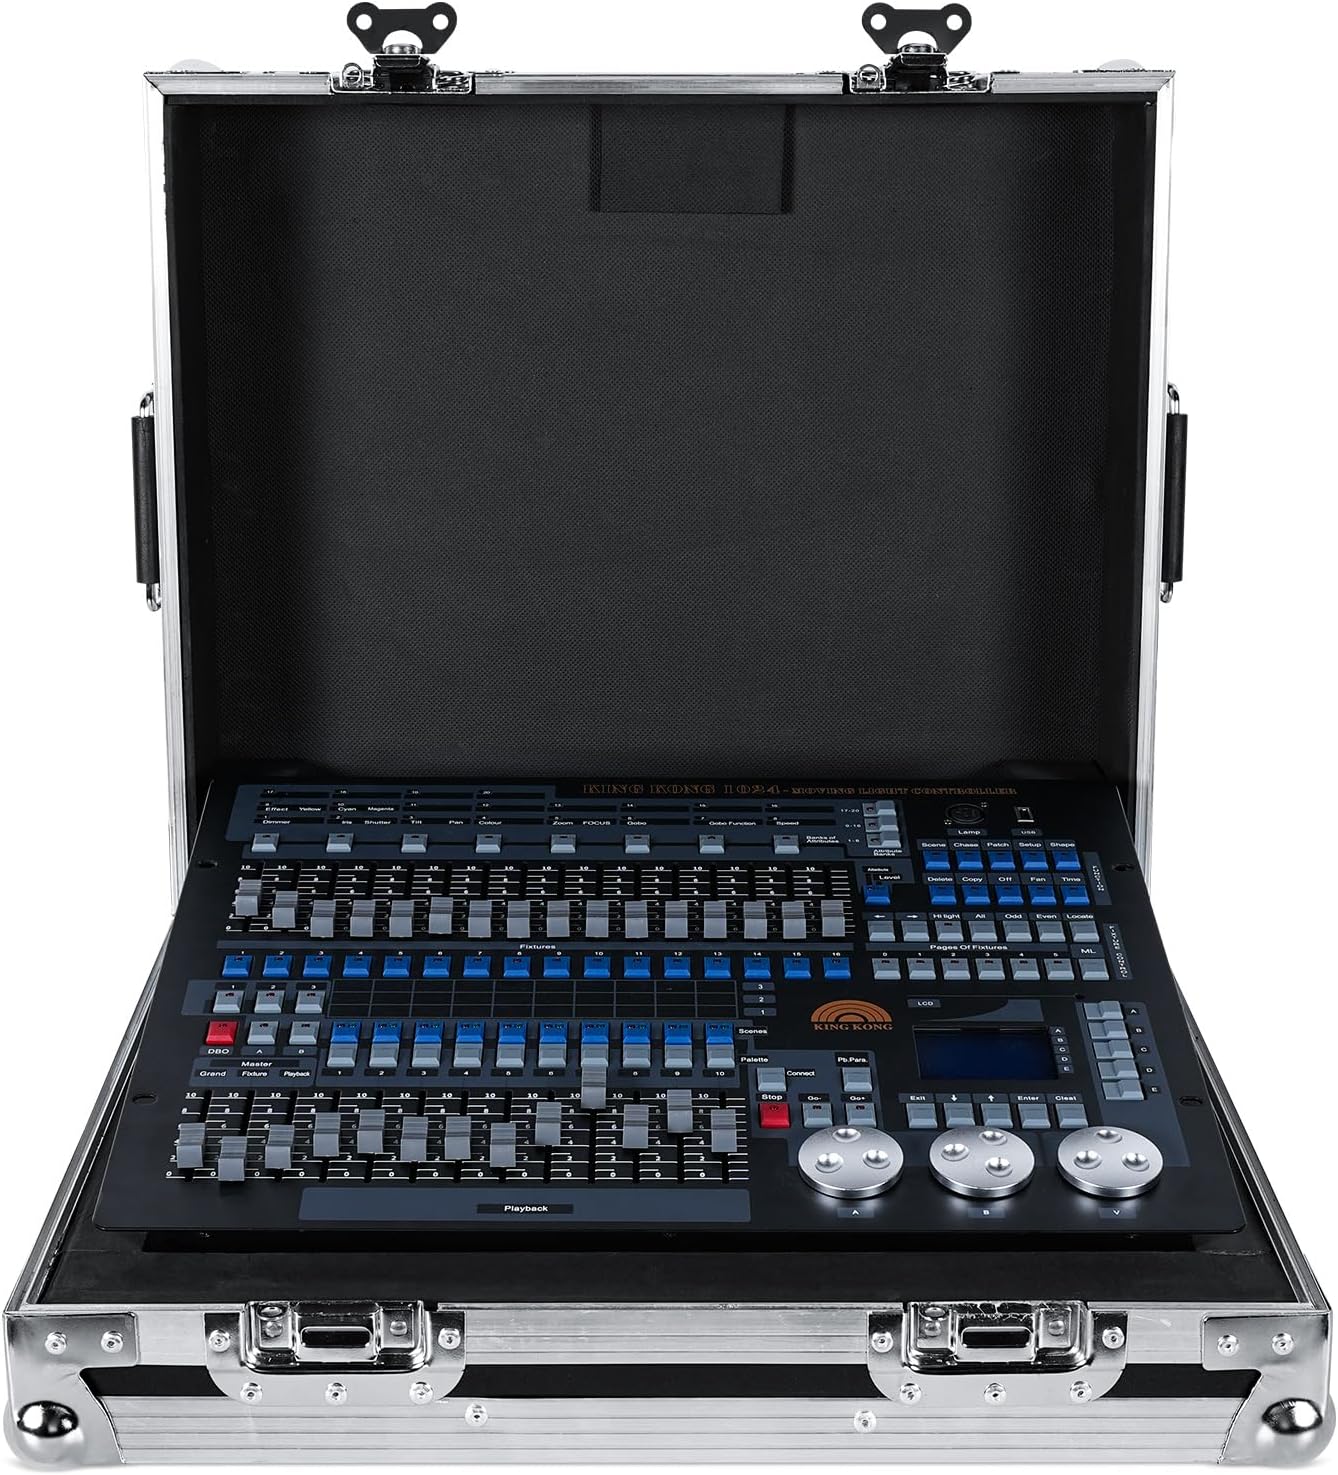
Figure 1: FODEXAZY DMX 1024 Channel Lighting Controller in Flight Case.
The image displays the FODEXAZY DMX 1024 Channel Lighting Controller securely housed within its protective flight case. The controller features a black panel with numerous faders, buttons, and a central display screen, indicating its comprehensive control capabilities. The flight case is silver with reinforced corners and latches, designed for durability and portability.
2. Setup
2.1 Unpacking and Inspection
Carefully unpack the DMX controller and all accessories from the packaging. Inspect all components for any signs of damage during transit. If any damage is found, contact customer support immediately.

Figure 2: Packing List.
This image illustrates the contents included with your DMX controller. The packing list typically includes: 1. Packing Box, 2. DMX Controller, 3. USB Light, 4. Manual, 5. 32G Disk (USB drive), and 6. Power Cable. Ensure all items are present upon unpacking.
2.2 Physical Connections
Before connecting the controller, ensure all power sources are off. Connect the DMX controller to your lighting fixtures and power supply as described below.
- Power Connection: Connect the provided power cable to the power port on the rear panel of the controller and then to a suitable AC power outlet (AC100-240V).
- DMX Signal Connection: Use standard 3-pin DMX cables to connect the DMX OUT ports on the controller to the DMX IN ports on your lighting fixtures. You can connect multiple fixtures in a daisy chain configuration.
- USB Light: Insert the USB light into the designated USB port on the controller for illumination in low-light environments.

Figure 3: Rear Panel Connections.
This image shows the rear panel of the DMX controller, highlighting the key connection points. From left to right, you can see the Power Button (red switch), the Power Port (for AC100-240V input), and multiple DMX Signal Ports (3-pin XLR connectors labeled DMX1/2 OUT A and DMX1/2 OUT B) for connecting to lighting fixtures.
2.3 Initial Power-On
After all connections are secure, switch on the power button located on the rear panel. The LED display on the front panel should illuminate, indicating the controller is operational.
3. Operating Instructions
3.1 Control Panel Overview
The DMX controller features an intuitive layout designed for efficient lighting program creation and execution. Familiarize yourself with the various sections of the control panel.

Figure 4: Control Panel Layout.
This detailed diagram labels the various components of the DMX controller's front panel. Key areas include: Pages of Attributes, Function Area, Fixture Control Area, Pages of Fixture, Playback Parameters, Softkey, Display, Clear Program, Enter, Menu Page, Exit, Forward Play Chase, Backward Play Chase, Chase Stop, Connect Chase, Playback Faders, Palette, Playback, Black Out, Page of Playback, Fixture, Preset Fader, and Attribute. Understanding these labels is crucial for effective operation.
3.2 Channel Control and Fixture Management
The controller supports 1024 DMX channels and can manage up to 96 intelligent lighting fixtures. Each DMX console can utilize up to 40 control channels, 40 main channels, and 40 fine-tuning channels for precise control over fixture attributes.
- Fixture Selection: Use the numeric buttons in the light selection area to select individual fixtures or groups of fixtures.
- Attribute Adjustment: Utilize the attribute faders and corresponding buttons to modify parameters such as pan, tilt, color, gobo, and intensity for selected fixtures.
- Fine-Tuning: The fine-tuning channels allow for subtle adjustments to attributes, ensuring smooth transitions and precise positioning.
3.3 Scene and Program Creation
The controller allows for the creation and storage of complex lighting scenes and programs.
- Scene Storage: Up to 60 scenes can be saved. Use the program storage area (numeric buttons) to store and recall scenes.
- Multi-Step Scenes: The controller supports multi-step scenes, allowing for up to 600 steps to be stored within a single scene, enabling intricate sequences.
- Light Library: The system supports the Pearl R20 light library, facilitating easy integration and control of a wide range of lighting fixtures.
3.4 Graphic Trajectory Generator
The built-in graphic trajectory generator offers 135 pre-programmed graphics for dynamic lighting effects. These include patterns such as painting, spiral, rainbow, and chase effects.
- Parameter Adjustment: Graphic parameters such as amplitude, velocity, interval, waveform, and direction can be independently set and adjusted to customize the effect.
- Playback: Use the playback faders and controls to trigger and manage the execution of graphic effects.
3.5 LCD Display and Navigation
The HD LCD display screen provides real-time feedback on channels, light tracking signals, editing steps, and operational data. Use the softkeys and navigation buttons adjacent to the display to navigate menus and confirm selections.

Figure 5: LCD Display.
This close-up image shows the LCD display screen of the DMX controller. The screen displays operational information such as "Live Mode=Attribute", "No Chase", and "Fader 16" with a value of "0". This display is essential for monitoring current settings and navigating programming options.
4. Maintenance
4.1 General Care and Cleaning
To ensure the longevity and optimal performance of your DMX controller, follow these maintenance guidelines:
- Cleaning: Regularly wipe the surface of the controller with a soft, dry cloth. Avoid using abrasive cleaners or solvents, which can damage the finish and electronic components.
- Dust Protection: Keep the controller free from dust and debris. When not in use, store it in its flight case or cover it with a dust cover.
- Environmental Conditions: Operate and store the controller in a dry environment, away from extreme temperatures, humidity, and direct sunlight.
4.2 Flight Case Usage
The included flight case is designed to protect your DMX controller during transport and storage. Always secure the controller properly within the case before moving it.

Figure 6: Flight Case Dimensions.
This image provides the external dimensions of the flight case: approximately 53.5 cm (21 inches) in length, 45 cm (17.71 inches) in width, and 20 cm (7.84 inches) in height. These dimensions are important for transport and storage planning.
5. Troubleshooting
This section addresses common issues you might encounter with your DMX controller. For more complex problems, please refer to the online guide or contact customer support.
| Problem | Possible Cause | Solution |
|---|---|---|
| Controller does not power on. | Power cable not connected or faulty; power switch off; power outlet issue. | Ensure power cable is securely connected. Check if the power switch on the rear panel is in the 'ON' position. Test the power outlet with another device. |
| Lights are not responding to the controller. | Incorrect DMX cable connection; incorrect DMX addressing on fixtures; DMX signal interference. | Verify DMX cables are correctly connected (OUT to IN). Check that DMX addresses on your fixtures match the controller's settings. Ensure DMX terminators are used if necessary. |
| LCD display is blank or unreadable. | Power issue; display settings. | Check power supply. If the controller is powered on, try adjusting display contrast or brightness settings if available. Restart the controller. |
6. Specifications
- Model: ZQ12037H
- DMX Channels: 1024
- Controllable Fixtures: Up to 96 smart lights
- Control Channels per DMX Console: 40 (control), 40 (main), 40 (fine-tuning)
- Scene Storage: 60 scenes
- Multi-Step Scene Steps: Up to 600 steps
- Light Library Support: Pearl R20
- Graphic Trajectory Generator: 135 built-in graphics (painting, spiral, rainbow, chase, etc.)
- Display: HD LCD screen
- Connectivity: 3-pin DMX output
- Power Input: AC100-240V
- Item Weight: 17 pounds (approx. 7.7 kg)
- Controller Dimensions: Approximately 48.5 cm (19.09 in) x 40.2 cm (15.82 in)
- Flight Case Dimensions: Approximately 53.5 cm (21 in) x 45 cm (17.71 in) x 20 cm (7.84 in)

Figure 7: Controller Dimensions and Key Features.
This image provides the approximate dimensions of the DMX controller itself: 48.5 cm (19.09 inches) in width and 40.2 cm (15.82 inches) in depth. It also highlights key features such as 512/1990 standard, 1024 control channels, console's ability to write a library of lights, LCD display with backlight, and storage for 600 steps in a multi-step scene.
7. Warranty and Support
7.1 Warranty Information
Your FODEXAZY DMX controller is covered by a 30-day return policy and a 90-day repair warranty from the date of purchase. This warranty covers manufacturing defects and malfunctions under normal use.
7.2 Customer Support
For any questions, technical assistance, or warranty claims, please refer to the online guide or contact our customer support team. We aim to respond to all inquiries within 24 hours to assist you with any issues.
Online Guide: [Link to Online Guide - Placeholder]
Contact Support: [Link to Contact Page - Placeholder]

