
1. Introduction
The xDuoo XD05 PLUS2 is a portable high-fidelity Digital-to-Analog Converter (DAC) and headphone amplifier designed to provide high-quality audio output from various devices. It features powerful decoding capabilities, a robust amplifier circuit, and multiple input options including USB, Coaxial, Optical, and Bluetooth 5.1. This manual provides detailed instructions for setting up, operating, and maintaining your device.

Image: The xDuoo XD05 PLUS2 device, showcasing its sleek design and front panel controls.
2. Package Contents
Please verify that all items are present in the package:
- xDuoo XD05 PLUS2 Unit
- Type-C USB Cable (1 pc)
- Type-C to Type-C USB OTG Cable (1 pc)
- 6.35mm to 3.5mm Converter (1 pc)
- Rubber Feet (10 pcs)
- User Manual (1 pc)
- Warranty Card (1 pc)
3. Product Overview
Familiarize yourself with the various components and controls of the XD05 PLUS2:

Image: Front and rear panel diagram of the xDuoo XD05 PLUS2 with numbered labels.
Front Panel Controls:
- 6.35mm Headphone Jack: Connects to headphones with impedance ranging from 16Ω to 300Ω.
- Power Button: Used to power the device on or off.
- DAMPING Switch: Adjusts output impedance. Left position for low impedance, right for high impedance.
- TURBO Switch: Adjusts output power. Settings include 500mW, 1000mW, and 1200mW.
- Multi-function Knob:
- Rotate clockwise to increase volume; counterclockwise to decrease volume.
- Short press to cycle through input channels: Bluetooth, AUX, Coaxial, Optical, and USB.
- Long press to lock all keys; long press again to unlock.
- Short press to return to the main window when in a setting menu.
- Screen: Displays device status, input, sampling rate, volume, and battery level.
Rear Panel Ports:
- AUX IN/OUT Port: Functions as AUX OUT when the device is used as a USB/SPDIF DAC. Otherwise, it serves as an AUX IN.
- USB Audio Input Port: Compatible with iOS, Android, Windows, Linux, and Mac systems.
- UAC Mode Switch (USB System): Selects between UAC 1.0 and UAC 2.0 modes.
- UAC 1.0: Compatible with older computer systems or game consoles (e.g., Nintendo Switch, PlayStation series).
- UAC 2.0: Supports high sampling rate audio formats (Windows, macOS, Android, Linux). A device restart is required after switching UAC modes.
- Charging Jack: Connect a PC or charger for battery charging.
- Optical/Coaxial Input Jack: Use a 3.5mm round head connector for coaxial or optical input.
4. Setup
4.1. Charging the Device
Connect the provided Type-C USB cable to the charging jack (10) on the rear panel and the other end to a power source (PC USB port or USB charger). The screen will indicate charging status. Fast charging takes approximately 3 hours, while slow charging takes about 5 hours.
4.2. Connecting Audio Sources
The XD05 PLUS2 supports multiple audio input methods:
- USB Input: Connect your computer, mobile phone, tablet, or HIFI player to the USB audio input port (8) using the appropriate Type-C USB cable. Ensure the correct UAC mode (9) is selected for your device. For Windows, a USB driver may be required, which can be downloaded from the xDuoo official website. Apple Mac systems do not require a driver. For iOS/Android, a professional playback app may be needed for high sampling rate decoding.
- Coaxial/Optical Input: Use a 3.5mm round head cable to connect to the Optical/Coaxial input jack (11) from devices like desktop CD players, digital turntables, or Hi-Fi players.
- Bluetooth Input: The device supports Bluetooth 5.1. For initial pairing, long press the Pairing & Delay button (14) for 3 seconds to enter pairing mode. Select the XD05 PLUS2 from your source device's Bluetooth settings. Supported formats include SBC, AAC, LDAC, aptX, aptX LL, and aptX HD.
- AUX Input: When not used as a DAC, the AUX IN/OUT port (7) can function as an analog audio input.

Image: USB input port and UAC 1.0/UAC 2.0 switch for connecting various devices.
4.3. Connecting Headphones
Plug your headphones into the 6.35mm headphone jack (1) on the front panel. If your headphones use a 3.5mm connector, use the provided 6.35mm to 3.5mm converter.
5. Operating Instructions
5.1. Power On/Off
Press the Power button (2) to turn the device on or off.
5.2. Volume Control
Rotate the Multi-function Knob (5) clockwise to increase the volume and counterclockwise to decrease it. The volume level (0-99) will be displayed on the screen (6).
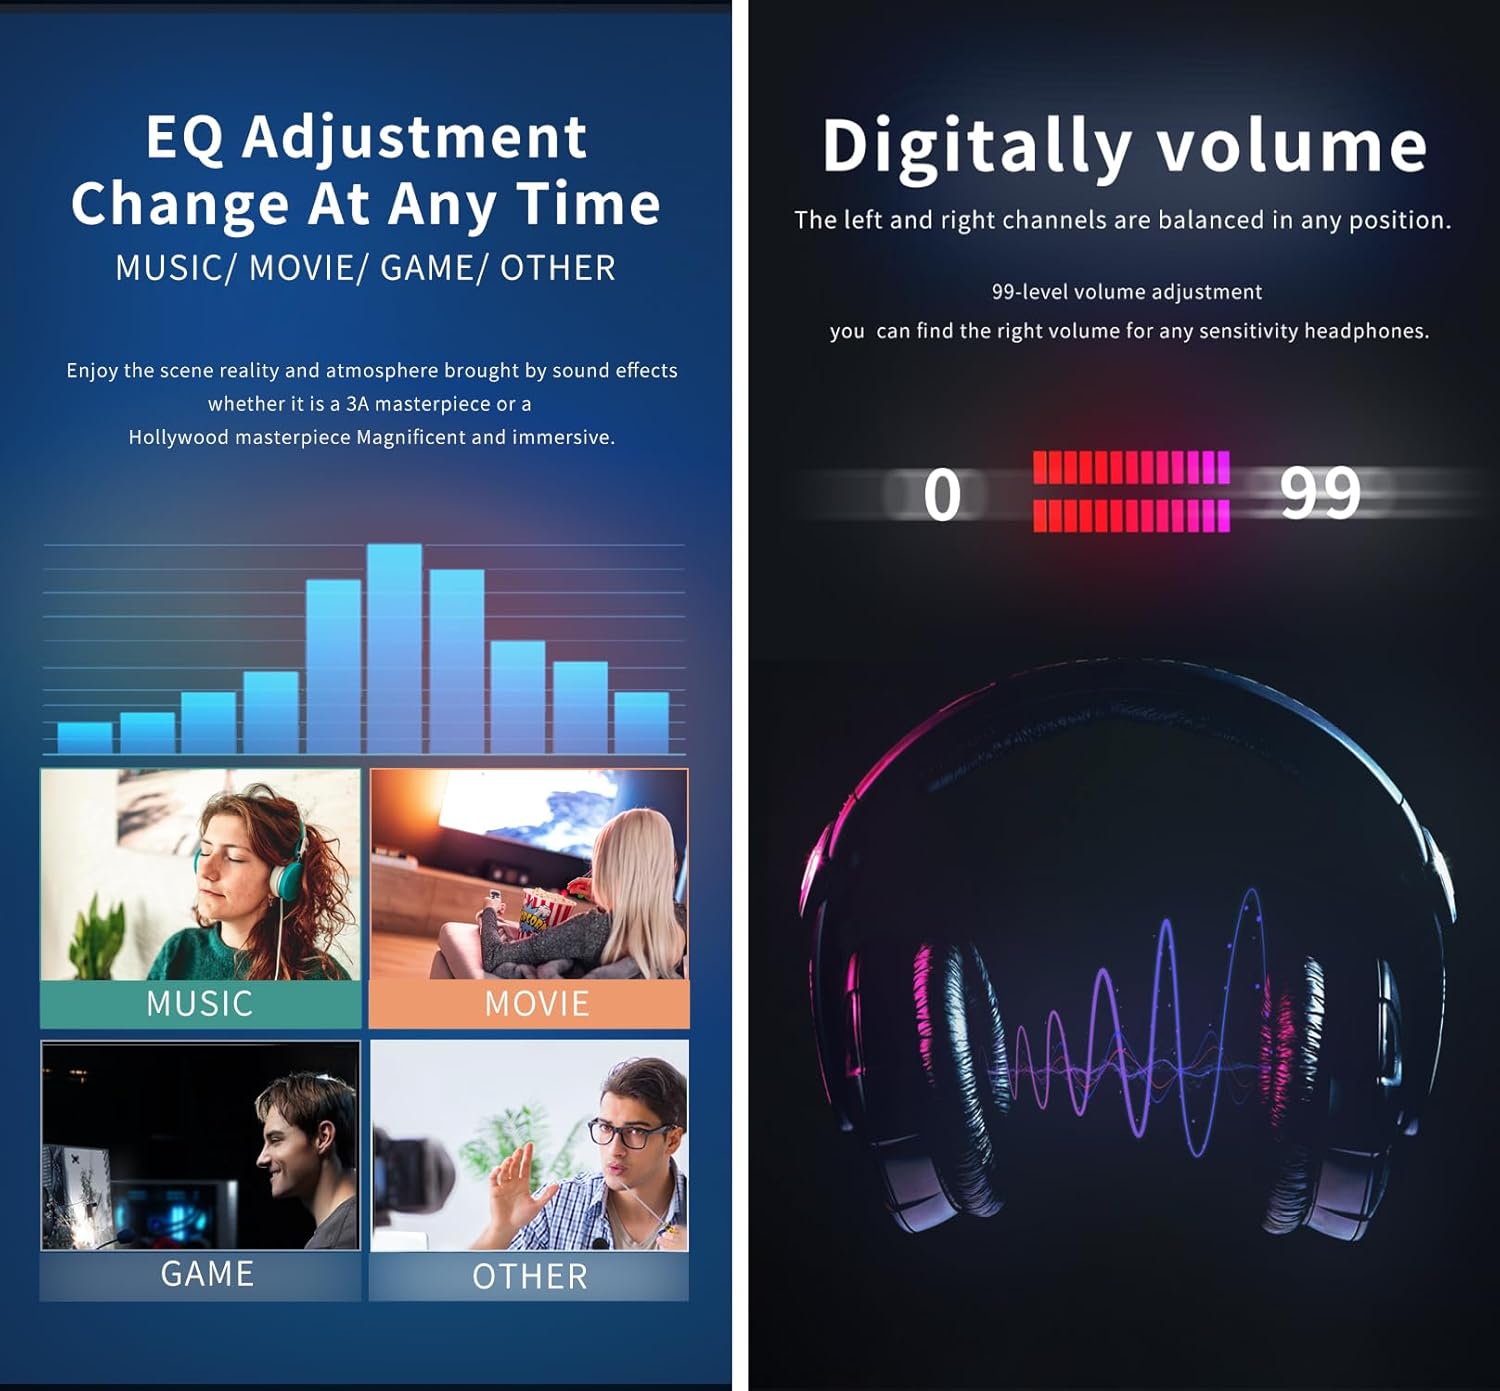
Image: Screen displaying digital volume level and EQ adjustment options.
5.3. Input Selection
Short press the Multi-function Knob (5) to cycle through available input channels: Bluetooth, AUX, Coaxial, Optical, and USB. The selected input will be shown on the screen (6).
5.4. Damping Adjustment
Use the DAMPING switch (3) to select the appropriate output impedance for your headphones. Choose the left position for low impedance headphones and the right position for high impedance headphones.
5.5. Turbo Mode
Use the TURBO switch (4) to adjust the output power of the amplifier. The available power levels are 500mW, 1000mW, and 1200mW.
5.6. EQ Adjustment (12)
Short press the EQ button (12) to select different equalization presets: NONE (off), POP, MOVIE, GAME, and TONE (custom adjustment).
- Custom TONE Adjustment: When TONE is selected, long press the EQ button to enter the settings window. Short press the EQ button to select BASS or TREBLE. Rotate the Multi-function Knob (5) to adjust the value from -10dB to 10dB. The settings will automatically save after 2 seconds of inactivity, or you can press the Multi-function Knob to exit.
5.7. DAC Filter Settings (13)
Short press the DAC Filter button (13) to select different digital filters:
- DSD Filters: Low Cut-off (DSD1), High Cut-off (DSD2).
- PCM Filters: Sharp roll-off (PCM1), Slow roll-off (PCM2), Short delay Sharp roll-off (PCM3), Short delay Slow roll-off (PCM4), Super Slow roll-off (PCM5), Low dispersion Short delay (PCM6).
5.8. Bluetooth Pairing & Control (14)
Long press the Pairing & Delay button (14) for 3 seconds to force the device into Bluetooth pairing mode. In Bluetooth mode, short press the button for Play/Pause, double press for the next song, and triple press for the previous song.
5.9. Key Lock Function
Long press the Multi-function Knob (5) to lock all keys, preventing accidental changes. Long press again to unlock.
6. Specifications
Detailed technical specifications for the xDuoo XD05 PLUS2:

Image: Table detailing the technical parameters of the xDuoo XD05 PLUS2.
| Category | Parameter | Value |
|---|---|---|
| General | Battery | 3.8V/5000mAh |
| Screen | 0.91 inch OLED screen | |
| Compliant OS | Windows/Linux/Mac OS X/iOS/Android | |
| Gain | +0dB/3dB/6dB | |
| Frequency Response | USB/SPDIF | 20Hz~20KHz (±0.5dB) |
| AMP | 10Hz~80KHz (±0.5dB) | |
| Sampling Rate Support | USB | PCM: 16-32BIT/44.1-384KHz |
| DSD: DOP/NATIVE DSD64-256 | ||
| MQA: OFS | ||
| OPT/COA | PCM: 16-24BIT/44.1-192KHz | |
| DSD: DSD64 (DOP) | ||
| Bluetooth Formats: AAC/SBC/aptX/aptX LL/aptX HD/LDAC | ||
| Headphone Out Parameters | Output power | 1200mW (32Ω LOAD) |
| THD+N | 0.0015%@1KHz | |
| S/N | 121dB | |
| Crosstalk | ≥76dB | |
| AUX OUT Parameters | Output Level | 2.0Vrms |
| THD+N | 0.0009%@1KHz | |
| S/N | 122dB | |
| Crosstalk | ≥109dB | |
| Physical & Power | Battery life | ≥9H (USB IN), ≥15H (SPDIF IN), ≥18H (BT IN) |
| Charging time | ≤3 hours (fast charging), ≤5 hours (slow charging) | |
| Size | 13.0 x 7.5 x 2.2 cm | |
| Weight | 0.29 kg |
7. Maintenance
To ensure the longevity and optimal performance of your xDuoo XD05 PLUS2, follow these maintenance guidelines:
- Cleaning: Use a soft, dry cloth to clean the device. Avoid using liquid cleaners, aerosols, or solvents.
- Storage: Store the device in a cool, dry place away from direct sunlight, extreme temperatures, and high humidity.
- Handling: Handle the device with care to prevent physical damage. Avoid dropping or subjecting it to strong impacts.
- Battery Care: For optimal battery life, avoid fully discharging the battery frequently. Charge the device regularly, even if not in use for extended periods.
8. Troubleshooting
If you encounter issues with your xDuoo XD05 PLUS2, refer to the following common troubleshooting steps:
- No Power: Ensure the device is fully charged. Connect it to a power source using the provided Type-C USB cable.
- No Sound:
- Check headphone connections and ensure they are fully inserted.
- Verify the correct input source is selected using the Multi-function Knob (5).
- Adjust the volume using the Multi-function Knob (5).
- Ensure the DAMPING and TURBO switches (3, 4) are set appropriately for your headphones.
- If using USB input, confirm the UAC mode (9) is correctly set and any necessary drivers are installed.
- Bluetooth Connection Issues:
- Ensure the device is in Bluetooth pairing mode (long press Pairing & Delay button (14)).
- Check that Bluetooth is enabled on your source device and it is searching for new devices.
- Move the devices closer to each other to reduce interference.
- Distorted Audio:
- Reduce the volume on both the XD05 PLUS2 and the source device.
- Check the DAMPING and TURBO settings.
- Ensure the audio cables are securely connected and not damaged.
- Device Unresponsive: Try restarting the device by holding the Power button (2). If unresponsive, allow the battery to fully discharge and then recharge.
If the issue persists after attempting these steps, please contact customer support.
9. Warranty and Support
The xDuoo XD05 PLUS2 comes with a standard manufacturer's warranty. Please refer to the included Warranty Card for specific terms and conditions, including warranty period and coverage details.
For technical support, service, or warranty claims, please contact xDuoo customer service through their official website or the retailer from whom you purchased the product. Keep your purchase receipt as proof of purchase for warranty purposes.
xDuoo Official Website: www.xduoo.com