
XTPTFABS Pancake Air Compressor Belt
Contents
XTPTFABS Replacement Belt for RIDGID Pancake Air Compressors
Model: Pancake Air Compressor Belt
Introduction
This manual provides instructions for the installation and maintenance of the XTPTFABS Replacement Belt, designed for specific RIDGID Pancake Air Compressor models. Please read this manual thoroughly before installation to ensure proper operation and safety.
Compatibility
This replacement belt is compatible with the following RIDGID Pancake Air Compressor models:
- OF60150HA
- OF60150HB
- OF60150HBT
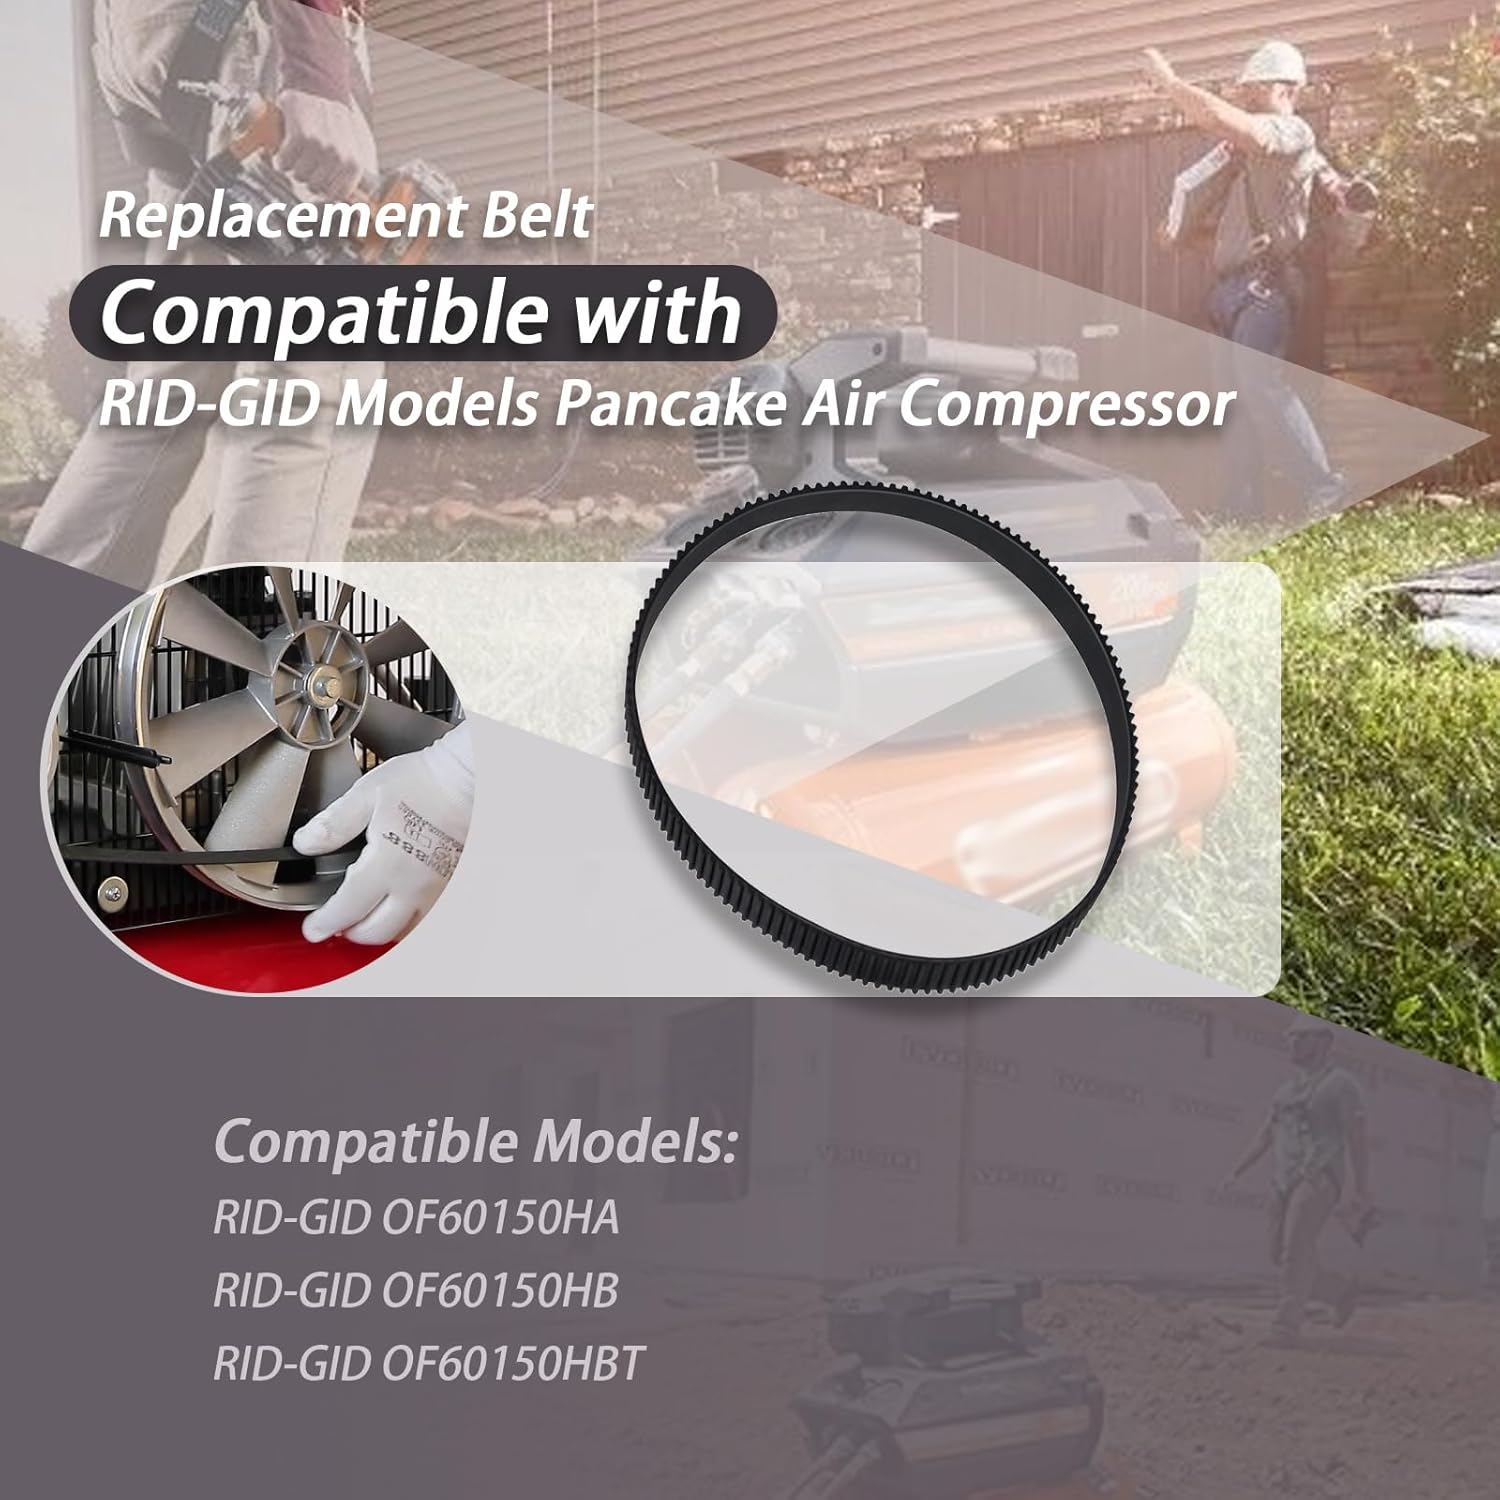
Image Description: A graphic illustrating the replacement belt and listing the compatible RIDGID pancake air compressor models: OF60150HA, OF60150HB, OF60150HBT. The image emphasizes the belt's compatibility.
Product Specifications
| Component | 1 PCS Replacement Belt |
| Material | Rubber |
| Width | 0.67 inches (17 mm) |
| Diameter | 4.8 inches (121 mm) |
| Thickness | 0.1 inches |

Image Description: A visual representation of the replacement belt with its key dimensions labeled: width (0.67 inches), diameter (4.8 inches), and thickness (0.1 inches).
Installation Instructions
Replacing the air compressor belt requires careful attention to detail. Follow these steps for a safe and effective installation:
- Safety First: Ensure the air compressor is unplugged from its power source and any residual air pressure is released before beginning.
- Access the Belt: Locate and remove any covers or guards that obstruct access to the existing belt and pulleys. Refer to your compressor's specific manual for cover removal.
- Remove Old Belt: Carefully remove the old belt from the pulleys. Note its orientation and path for reference.
- Inspect Pulleys: Check the pulleys for any wear, damage, or debris. Clean them if necessary to ensure smooth operation with the new belt.
- Install New Belt: Place the new XTPTFABS replacement belt onto the pulleys. It may require some effort to stretch it into place. Ensure it is seated correctly in the grooves of both pulleys.
- Verify Tension: Once installed, the belt should have appropriate tension. It should be snug but not overly tight, allowing for a small amount of deflection when pressed.
- Replace Covers: Reinstall any covers or guards that were removed.
- Test Operation: Plug in the compressor and perform a brief test run to ensure the belt operates smoothly without slipping or unusual noises.
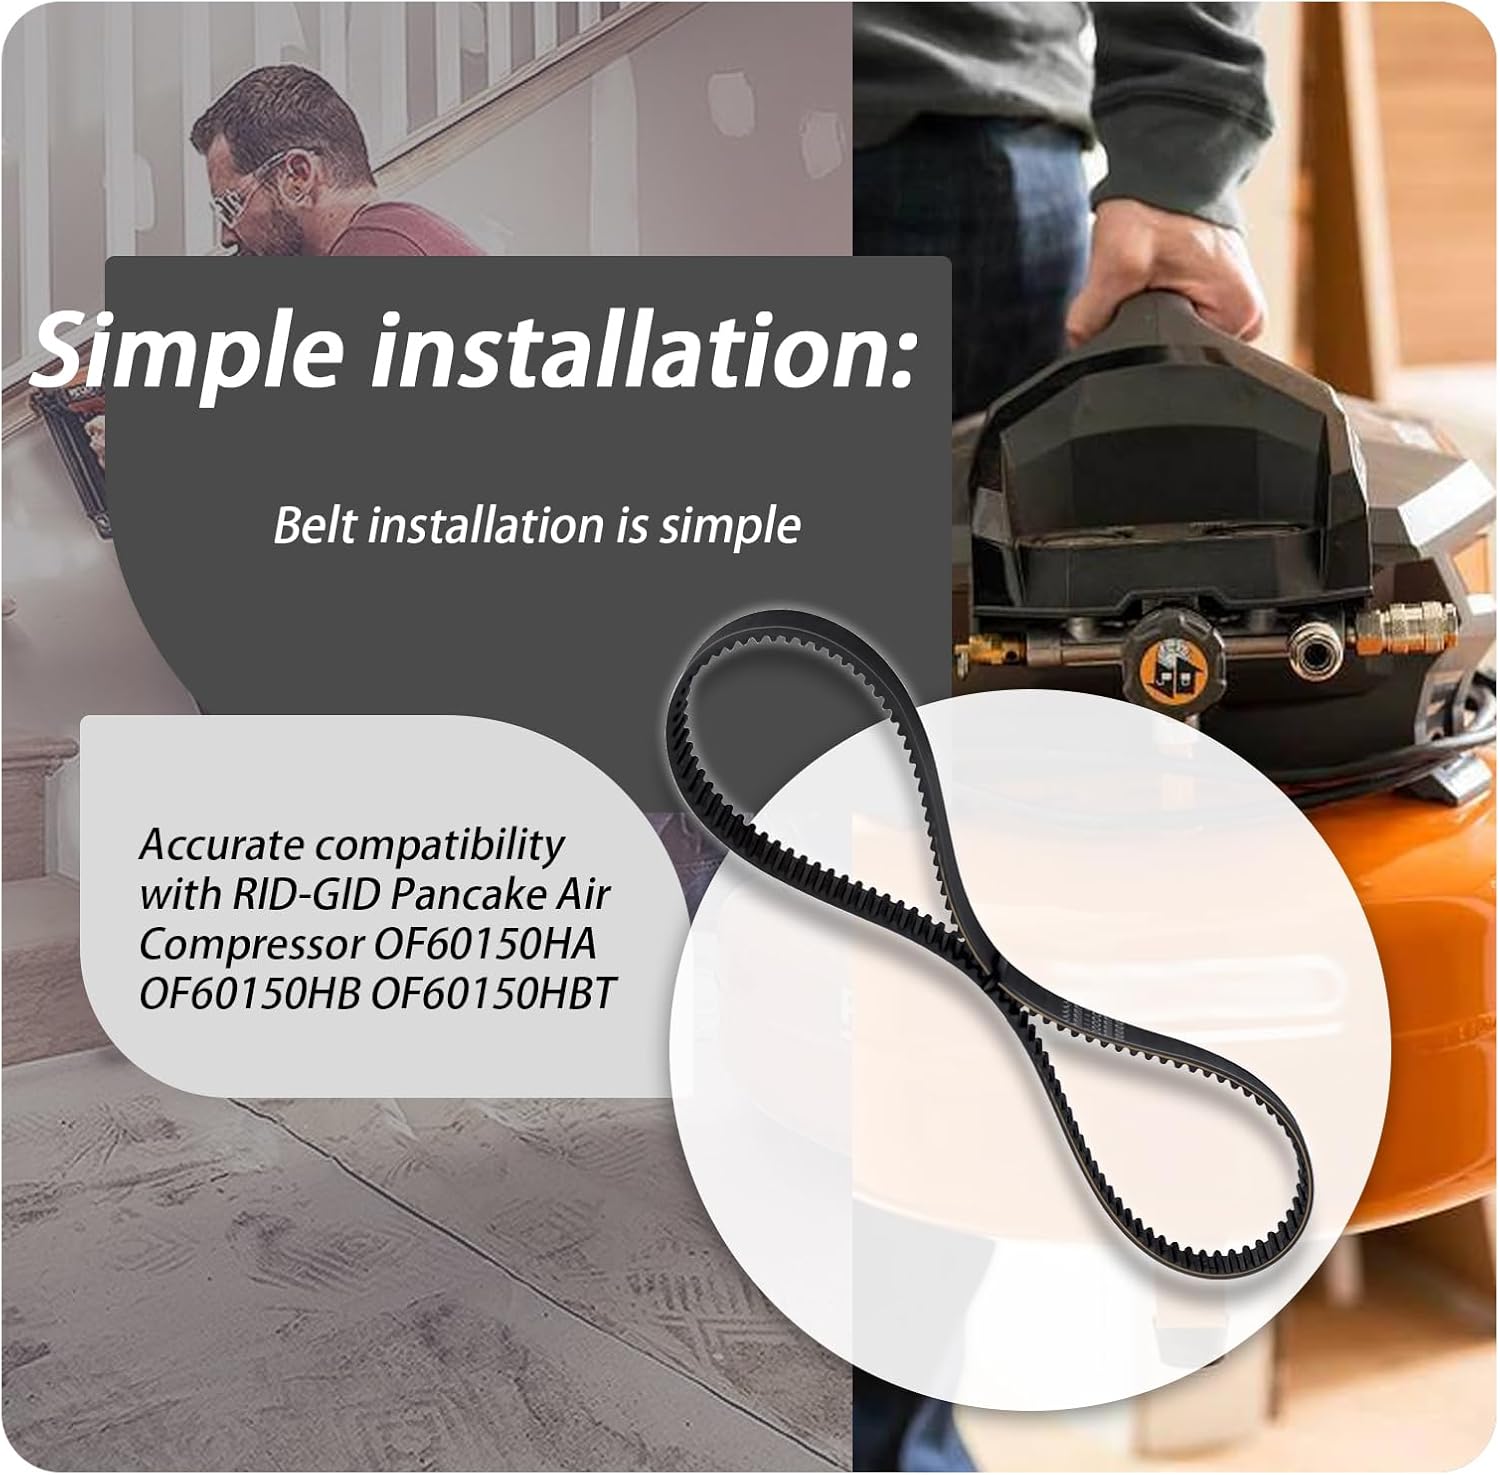
Image Description: A visual guide demonstrating the ease of installing the replacement belt. It shows the belt being placed onto the compressor's pulleys.
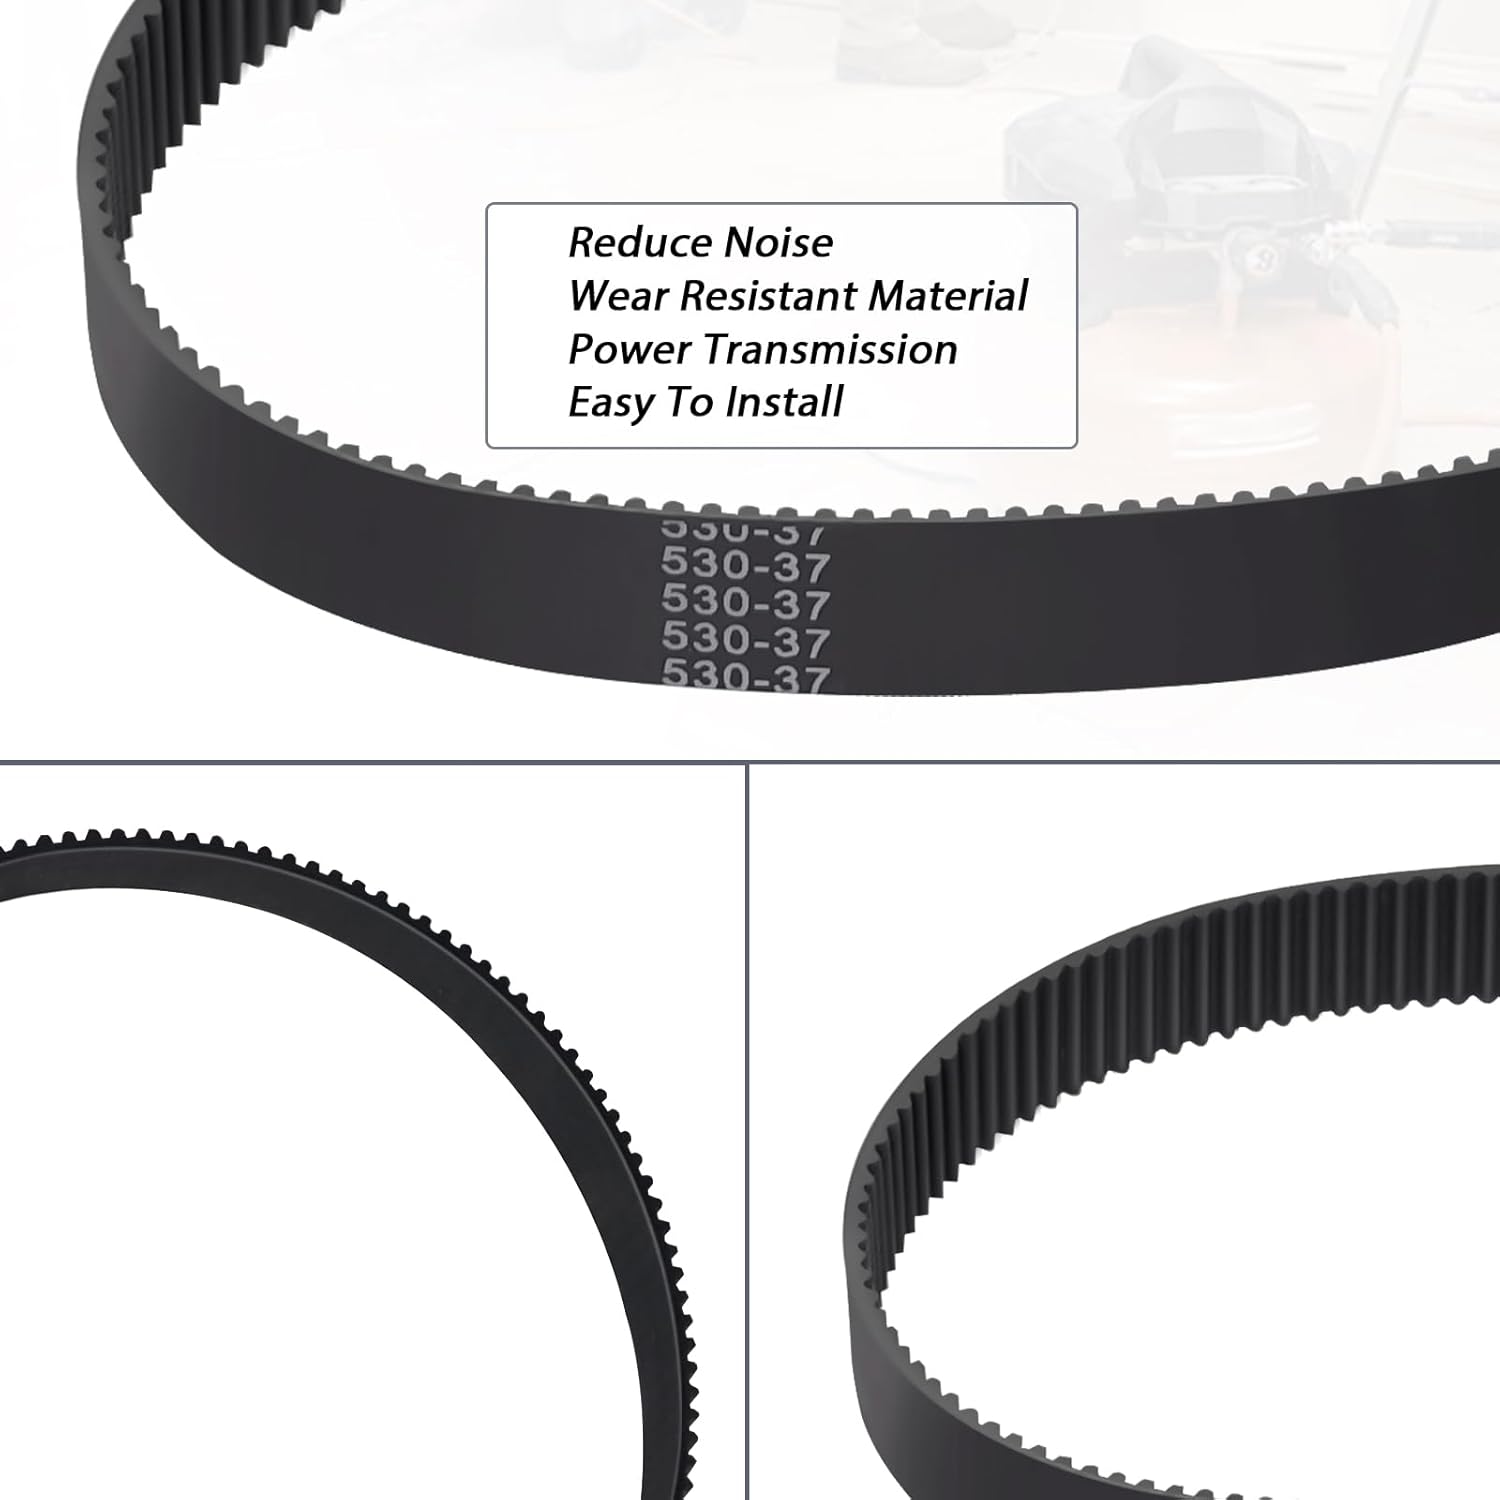
Image Description: A detailed view of the belt's construction, emphasizing its wear-resistant material and ribbed surface designed for efficient power transmission and reduced noise.
Maintenance
Regular inspection of your air compressor belt is crucial for optimal performance and longevity of your equipment.
- Visual Inspection: Periodically check the belt for signs of wear, cracking, fraying, or glazing.
- Tension Check: Ensure the belt maintains proper tension. A loose belt can slip, causing power loss and heat buildup, while an overly tight belt can strain bearings.
- Cleanliness: Keep the belt and pulleys free from oil, grease, and dirt, which can cause premature wear and slippage.
- Replacement: Replace the belt immediately if any significant wear or damage is observed.
Troubleshooting
If you encounter issues after belt replacement, consider the following:
- Belt Slippage: If the belt is slipping, check its tension. It might be too loose. Also, inspect pulleys for oil or debris.
- Unusual Noise: Squealing or grinding noises can indicate improper belt tension, misalignment, or worn pulleys. Re-check installation and pulley condition.
- Compressor Not Building Pressure: A severely slipping or broken belt will prevent the compressor from building pressure. Verify the belt is intact and properly tensioned.
Safety Information
Always prioritize safety when working with power tools and their components:
- Disconnect power before servicing.
- Wear appropriate personal protective equipment (PPE), such as gloves and eye protection.
- Ensure all guards are in place before operating the compressor.
- If unsure about any step, consult a qualified technician.
Warranty and Support
For information regarding warranty coverage or technical support for your XTPTFABS replacement belt, please refer to the product packaging or contact XTPTFABS customer service directly. Contact details are typically available on the manufacturer's official website or product documentation.
Ask a question about this manual
Ask about setup, troubleshooting, compatibility, parts, safety, or missing instructions. Manuals+ will review the question and use this page’s manual context to help answer it.