
1. Product Overview
The Spider Farmer Grow Tent Heater (Model SF-Heater) is a 530W portable heating unit designed for precise temperature control in plant rooms, greenhouses, and grow tents. It features advanced PTC heating technology, PWM control, and a customized temperature sensor for intelligent climate management. The heater offers multiple operating modes and adjustable settings to maintain optimal growing conditions year-round.

Figure 1: Front view of the Spider Farmer Grow Tent Heater, showcasing its compact design and digital display.
Key Features:
- Temperature Zone Regulation: Features built-in dead zones (set temperature -3°F on, heating to +3°F off) to prevent frequent cycling and provide stable temperature control. Accuracy can be improved by setting the dead zone to 1°F.
- Efficient & Energy-Saving: Utilizes advanced PTC heating technology and PWM control with 530W power.
- Adjustable Levels: Offers 10 adjustable levels for both temperature and fan speed.
- Intelligent Temperature Control: Built-in customized temperature sensor monitors the grow space in real-time, automatically adjusting heating and ventilation.
- Multiple Operating Modes: Includes Normal Open Mode, Temperature All-day Mode, Temperature Daytime Mode, and Temperature Night Mode.
- 24H Countdown Timer: Intuitive timer for flexible heating time settings.
- Quiet Operation: Designed for minimal noise output.
- Extension Hose: Equipped with a 160cm (63 inch) adjustable hose to direct airflow and prevent direct blowing on plants.
- Automatic Screen-Off: Panel automatically shuts off after 30 seconds of inactivity to ensure a dark environment and prevent light interference.
- Power-Outage Recovery: Automatically restores previous settings after a power outage.
- Safety Protection: Incorporates thermostat hardware protection, internal and environmental over-temperature protection, and high-quality flame-retardant materials.
2. Safety Instructions
Please read and understand all safety instructions before operating the Spider Farmer Grow Tent Heater. Failure to follow these instructions may result in electric shock, fire, or serious injury.
- Always connect the heater to a grounded outlet. Do not use with extension cords unless absolutely necessary and ensure the cord is rated for the heater's power.
- Do not operate the heater if the cord or plug is damaged.
- Keep flammable materials at least 3 feet (0.9 meters) away from the heater.
- Do not block air intakes or exhaust. Ensure proper ventilation around the unit.
- This heater is equipped with internal and environmental over-temperature protection. If it overheats, it will automatically shut off. Unplug the unit and allow it to cool before restarting.
- Do not immerse the heater in water or other liquids.
- Always unplug the heater when not in use or before cleaning.
- Ensure the unit is placed on a stable, level surface. The unit supports both vertical and horizontal placement.
- Keep out of reach of children and pets.
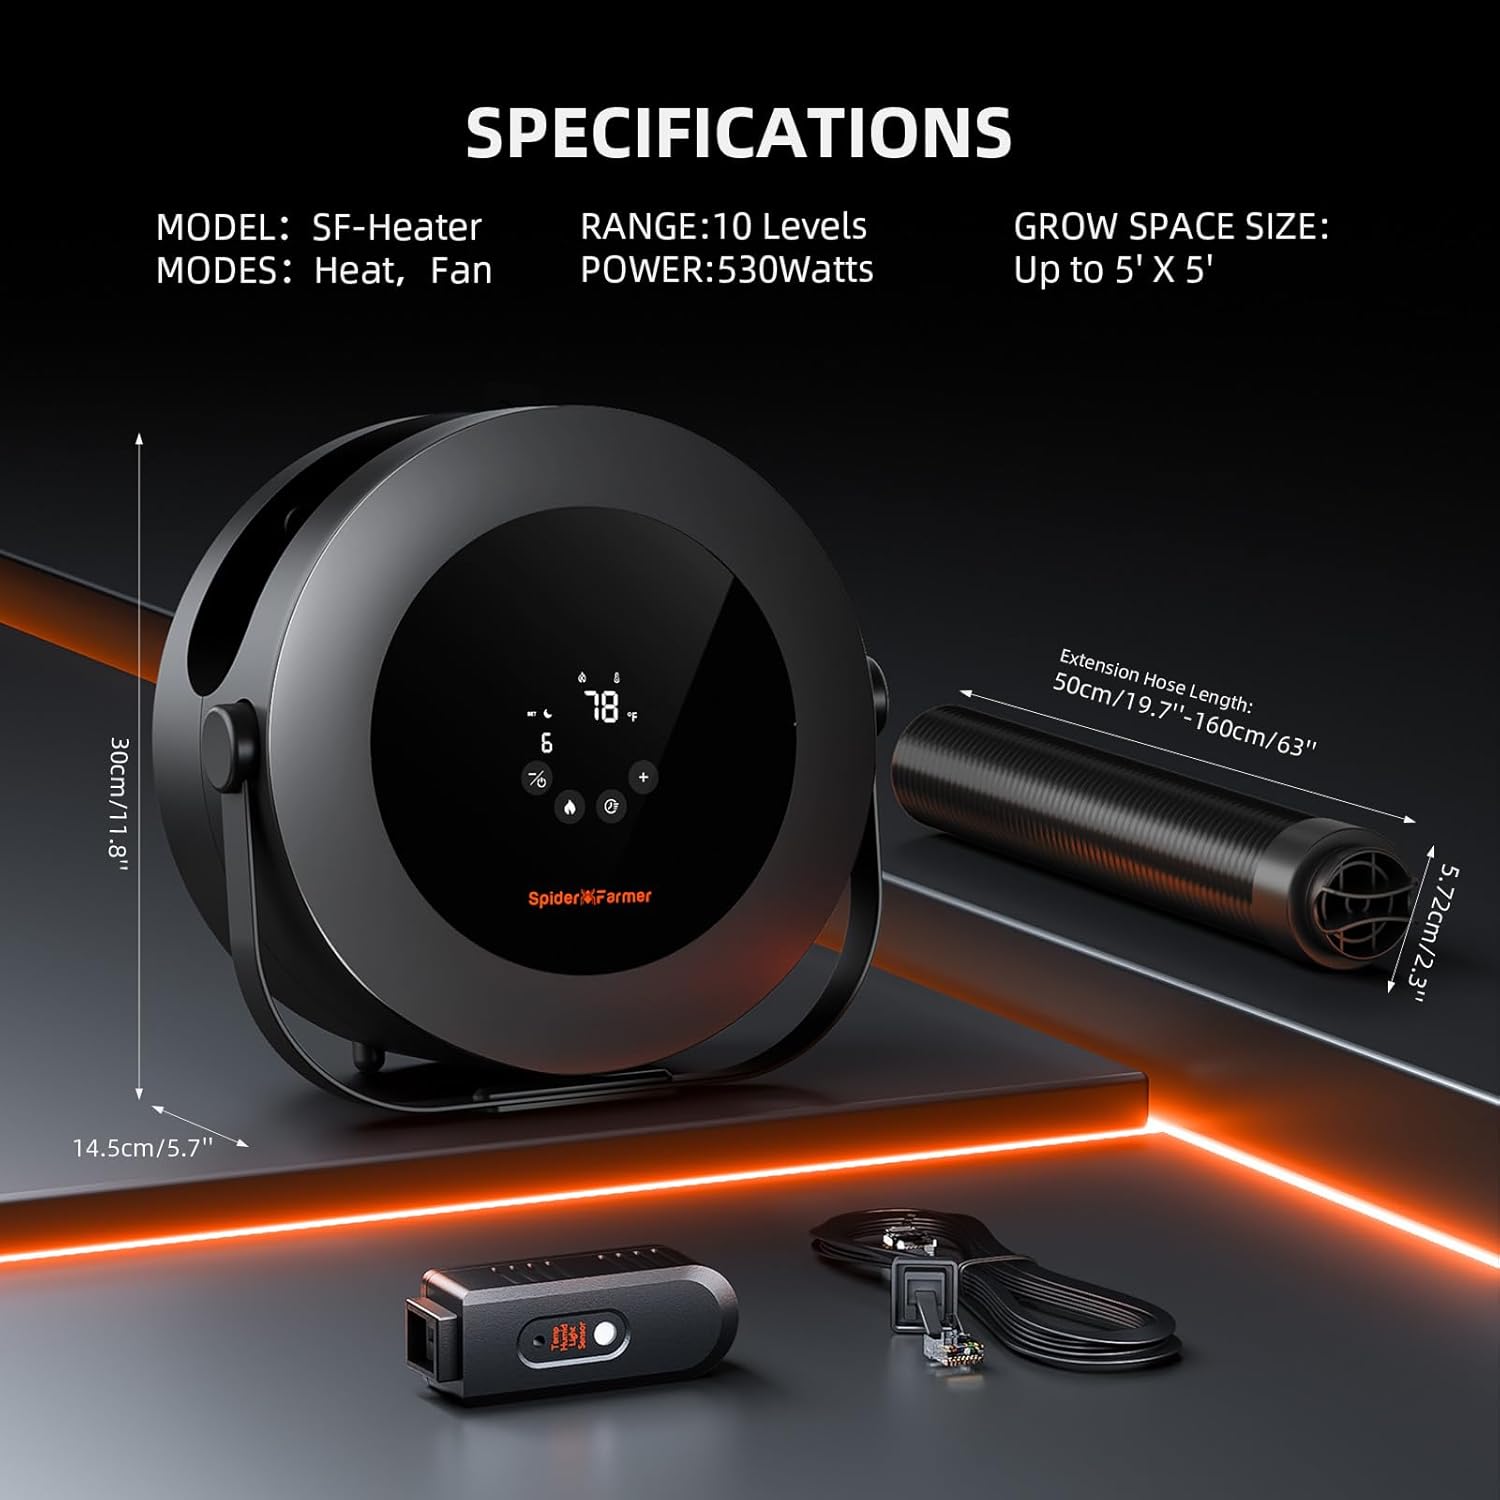
Figure 2: The heater incorporates multiple safety mechanisms including NTC Thermostat, Overheat Protection, and a 5VA Flammability Rating.
3. Setup
Follow these steps to set up your Spider Farmer Grow Tent Heater:
- Unpack the Unit: Carefully remove all components from the packaging. Verify that all parts are present: heater unit, extension hose (160cm), power cord, and integrated temperature sensor.
- Connect the Extension Hose: Attach the adjustable 160cm extension hose to the heater's air outlet. Ensure it is securely screwed on. This hose allows for precision zone heating, directing airflow to specific areas within your grow space.
- Position the Heater: Place the heater unit outside your grow tent or greenhouse. The unit can be placed vertically or horizontally.
- Route the Hose: Guide the extension hose into your grow tent through an available port. Position the end of the hose to avoid direct blowing on plants.
- Connect the Temperature Sensor: Plug the integrated temperature sensor cable into the designated port at the back of the heater. Ensure the connection is firm and fully inserted. The sensor is designed to be placed away from ventilation, ideally within the plant canopy, to provide accurate temperature readings.
- Power Connection: Connect the 2.5-meter power cord to the heater and then plug it into a standard 110V AC electrical outlet.

Figure 3: The heater connected to a grow tent via its 1.6m vent hose, enabling accurate heat airflow to specific areas.

Figure 4: The SF-Heater can be placed vertically or horizontally to suit your space requirements.
4. Operating Instructions
The Spider Farmer Grow Tent Heater features an intuitive digital display and control panel for easy operation.

Figure 5: The digital display provides real-time temperature, humidity, and setting information.
Control Panel Functions:
- Temperature Display: Shows current temperature in °F.
- Gear Level Display: Indicates the current fan speed/heat level (1-10).
- Countdown Timer: Displays remaining time for timed operations.
- MINUS/POWER Button: Decreases settings or powers the unit on/off.
- PLUS Button: Increases settings.
- FUNCTION Button: Cycles through various settings and parameters.
- MODE Button: Selects between different operating modes.
Operating Modes:
The heater offers four intelligent operating modes to suit different plant growth stages and environmental conditions:
- Normal Open Mode: Heater runs continuously at the set temperature.
- Temperature All-day Mode: Maintains a consistent temperature throughout a 24-hour period.
- Temperature Daytime Mode: Automatically regulates temperature based on daylight settings.
- Temperature Night Mode: Automatically adjusts temperature to suit night-time conditions.

Figure 6: The heater supports distinct temperature settings for Daytime and Night Mode to mimic natural conditions.

Figure 7: Visual representation of the four exclusive custom modes available on the heater.
Temperature Control & Dead Zones:
The heater uses a temperature zone regulation design with built-in dead zones to ensure stable temperature control and avoid frequent on/off cycling. The default dead zone is 3°F (heater turns on at Set Temperature -3°F and off at Set Temperature +3°F). For higher accuracy, it is recommended to set the dead zone to 1°F.
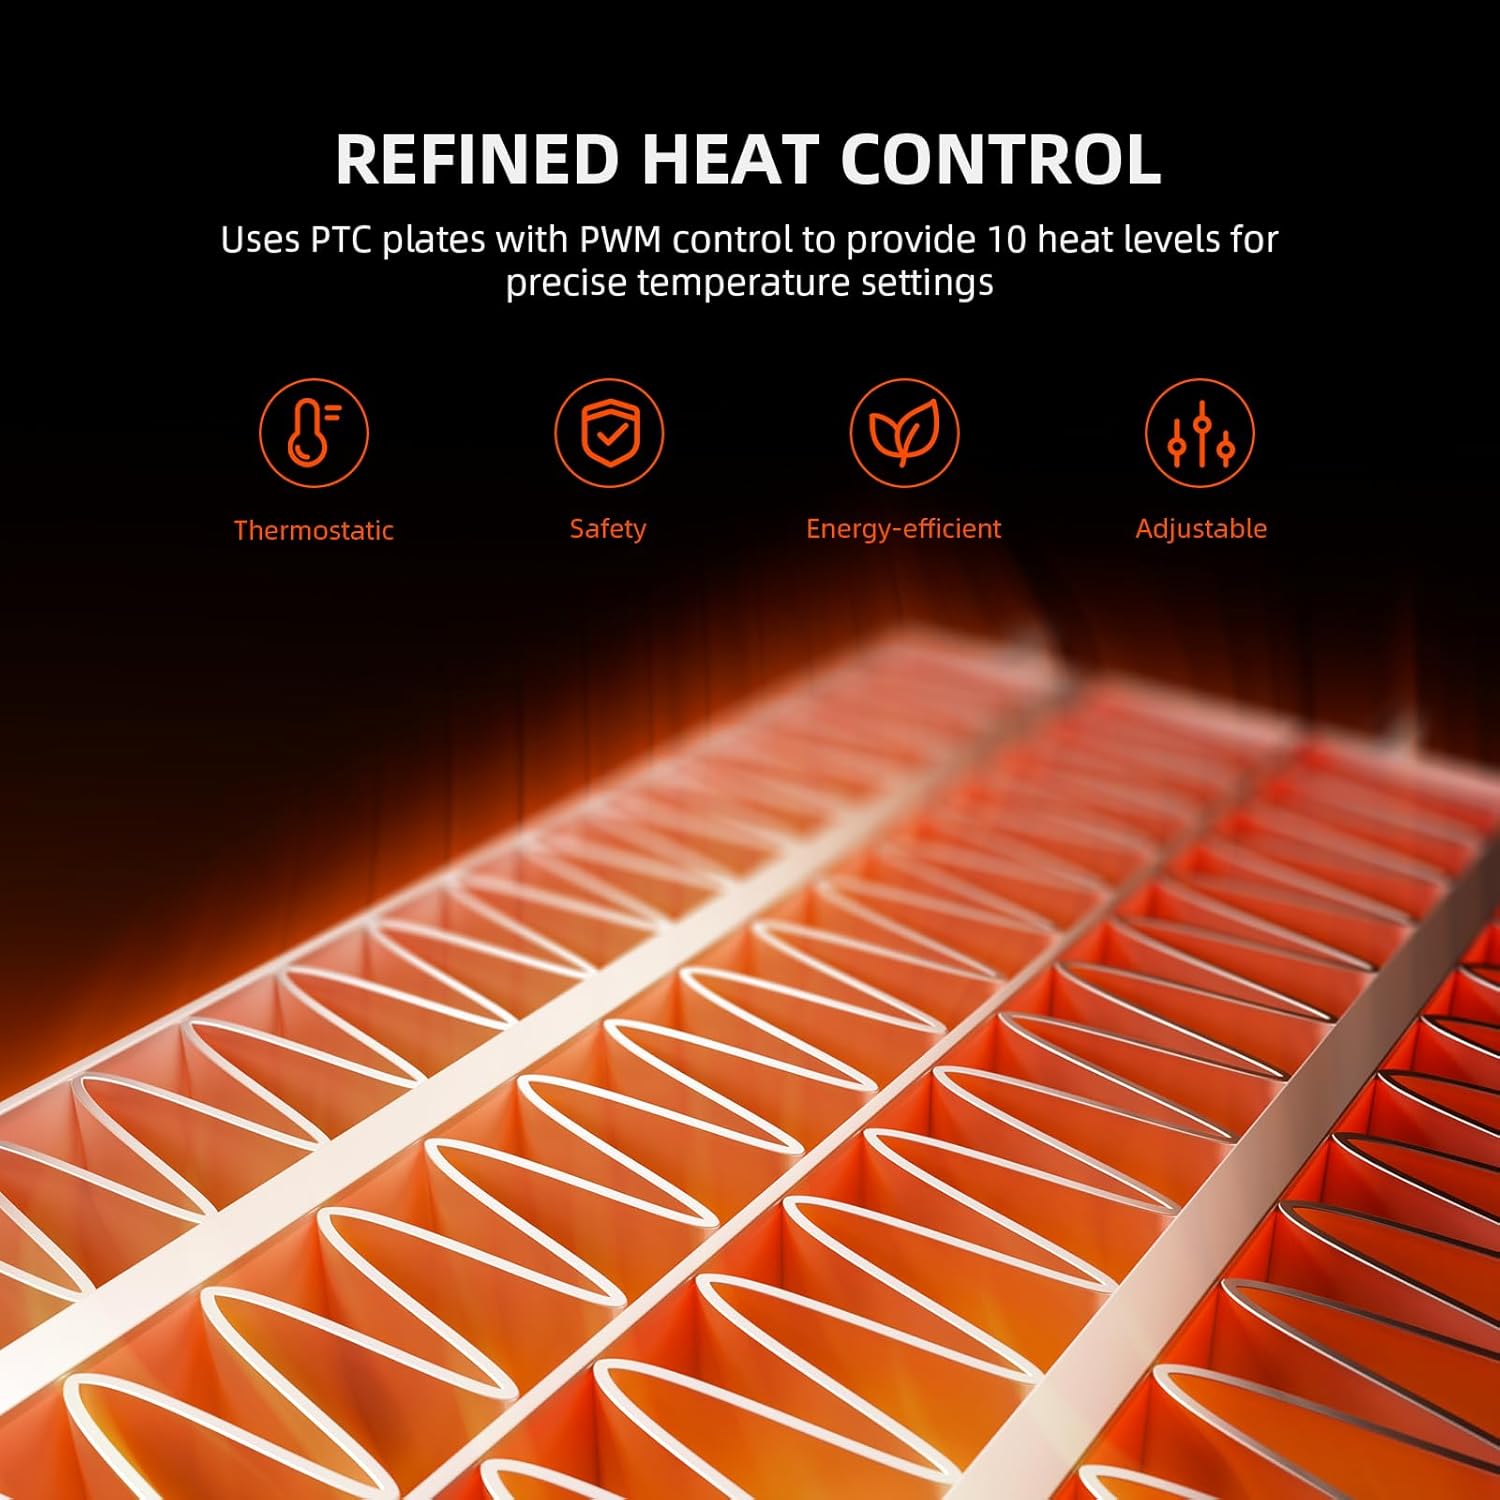
Figure 8: PTC plates with PWM control provide 10 heat levels for precise temperature settings.
Countdown Function:
The 24H countdown timer allows you to set specific heating durations. Time can be adjusted from 00:00 to 00:10 (increase/decrease by 1 minute) or from 00:00 to 24:00 (increase/decrease by 10 minutes) based on your timing needs.
Energy Saving & Quiet Operation:
The heater is designed for energy efficiency and quiet operation, minimizing disturbance in your growing environment. The automatic screen-off function further contributes to energy saving and prevents unnecessary light interference at night.

Figure 9: The heater's energy-saving design and quiet operation are ideal for sensitive environments.
5. Maintenance
Regular maintenance ensures the longevity and optimal performance of your Spider Farmer Grow Tent Heater. Always unplug the unit before performing any maintenance.
- Cleaning: Wipe the exterior of the heater with a soft, damp cloth. Do not use abrasive cleaners or solvents.
- Air Intake/Exhaust: Periodically check and clean the air intake and exhaust vents to ensure they are free from dust and debris, which can impede airflow and reduce efficiency.
- Hose Inspection: Inspect the extension hose for any signs of wear, tears, or blockages. Replace if damaged.
- Storage: When not in use for extended periods, store the heater in a cool, dry place, away from direct sunlight and extreme temperatures. Utilize the integrated cord management design for tidy storage.
6. Troubleshooting
If you encounter issues with your Spider Farmer Grow Tent Heater, refer to the following common troubleshooting tips:
- Heater Not Turning On: Ensure the power cord is securely plugged into a working outlet. Check if the unit is powered on via the control panel. Verify the temperature sensor is fully inserted into its port.
- Inaccurate Temperature Reading: Ensure the temperature sensor is placed correctly within the grow space, away from direct airflow from the heater or other heat sources (e.g., grow lights). Make sure the sensor cable is not damaged.
- E4 Error: An E4 error indicates that the heating level is too low to reach the set temperature. Increase the heating level to resolve this. In large spaces or environments below 0°C (32°F), if the heater's warming effect is insufficient, try increasing the heating level or placing the heater inside the tent to enhance heating capacity (ensure tent humidity is below 60%).
- Frequent On/Off Cycling: Adjust the dead zone setting to a wider range (e.g., default 3°F) to reduce frequent cycling.
- No Heat Output: Check the selected operating mode and ensure the temperature setting is above the current ambient temperature. Verify the fan speed is not set to zero.
For more detailed troubleshooting or persistent issues, please refer to the official User Manual PDF or contact Spider Farmer customer support.
7. Specifications
| Feature | Specification |
|---|---|
| Brand | Spider Farmer |
| Model Number | SF-Heater |
| Power | 530 Watts |
| Voltage | 110 Volts (AC) |
| Amperage | 3 Amps |
| Heating Technology | PTC Heating |
| Number of Speeds | 10 |
| Min Temperature Setting | 32 Degrees Fahrenheit |
| Max Temperature Setting | 140 Degrees Fahrenheit |
| Product Dimensions | 12"D x 12"W x 6.3"H |
| Item Weight | 5.38 pounds |
| Extension Hose Length | 160cm / 63 inches |
| Recommended Grow Space Size | Up to 5' X 5' |
| Indoor/Outdoor Usage | Outdoor, Indoor |

Figure 10: Detailed specifications and dimensions of the Spider Farmer Grow Tent Heater.
8. Warranty and Support
For detailed warranty information and customer support, please refer to the official documentation provided with your product or visit the Spider Farmer website.
- Official User Manual: For comprehensive instructions and detailed information, please refer to the User Manual (PDF).
- Protection Plans: Additional protection plans may be available for purchase. Please check your retailer for options.
- Manufacturer: SPIDER FARMER