
1. Introduction
Thank you for choosing the Kinglucky K12 Portable Karaoke Machine. This manual provides essential information for setting up, operating, and maintaining your device. Please read it thoroughly before use to ensure optimal performance and safety.
2. What's in the Box
- 1 Karaoke Speaker
- 2 Wireless Microphones
- 1 Charging Cable
- User Manual

Image: The Kinglucky K12 Karaoke Machine package contents, showing the main speaker unit, two wireless microphones, and a charging cable.
3. Product Features
- Portable Design: Compact and lightweight with a sturdy carry handle for easy transport.
- Dual Light-Up Microphones: Two wireless microphones with colorful LED lights for interactive performances.
- Voice Effects: 5 built-in voice effects (Robot, Chipmunk, Monster, Princess, Echo) for varied vocal styles.
- Crystal Clear Sound: Enhanced speaker with DSP chip and 3D Surround Sound for improved audio quality.
- Easy Connectivity: Bluetooth 5.3 for seamless pairing with smartphones, tablets, and PCs. Supports TF/Micro SD card and USB input.
- Long-Lasting Battery: Rechargeable battery for extended use.

Image: A visual comparison of the Kinglucky K12 Karaoke Machine, highlighting its larger size compared to a typical toy karaoke machine.

Image: An exploded view of the Kinglucky K12 speaker, illustrating its internal components including the DSP chip and elements contributing to 3D Surround Sound.
4. Setup Instructions
- Charge the Devices: Before first use, fully charge the karaoke speaker and both microphones using the provided USB Type-C charging cable. The charging port for the microphones is located at the bottom.
- Power On: Press and hold the power button on the karaoke speaker until the LED lights illuminate and you hear a power-on prompt. Repeat for each microphone.
- Bluetooth Pairing:
- Ensure the karaoke speaker is in Bluetooth pairing mode (indicated by a flashing blue light).
- On your smartphone, tablet, or PC, go to Bluetooth settings and search for available devices.
- Select 'Kinglucky K12' (or similar name) from the list to pair. You will hear a confirmation sound once connected.
- The microphones will automatically connect to the speaker when both are powered on.
- Play Music: Open your preferred music app (e.g., YouTube, Spotify) on your connected device and select a karaoke track. The music will play through the Kinglucky speaker.
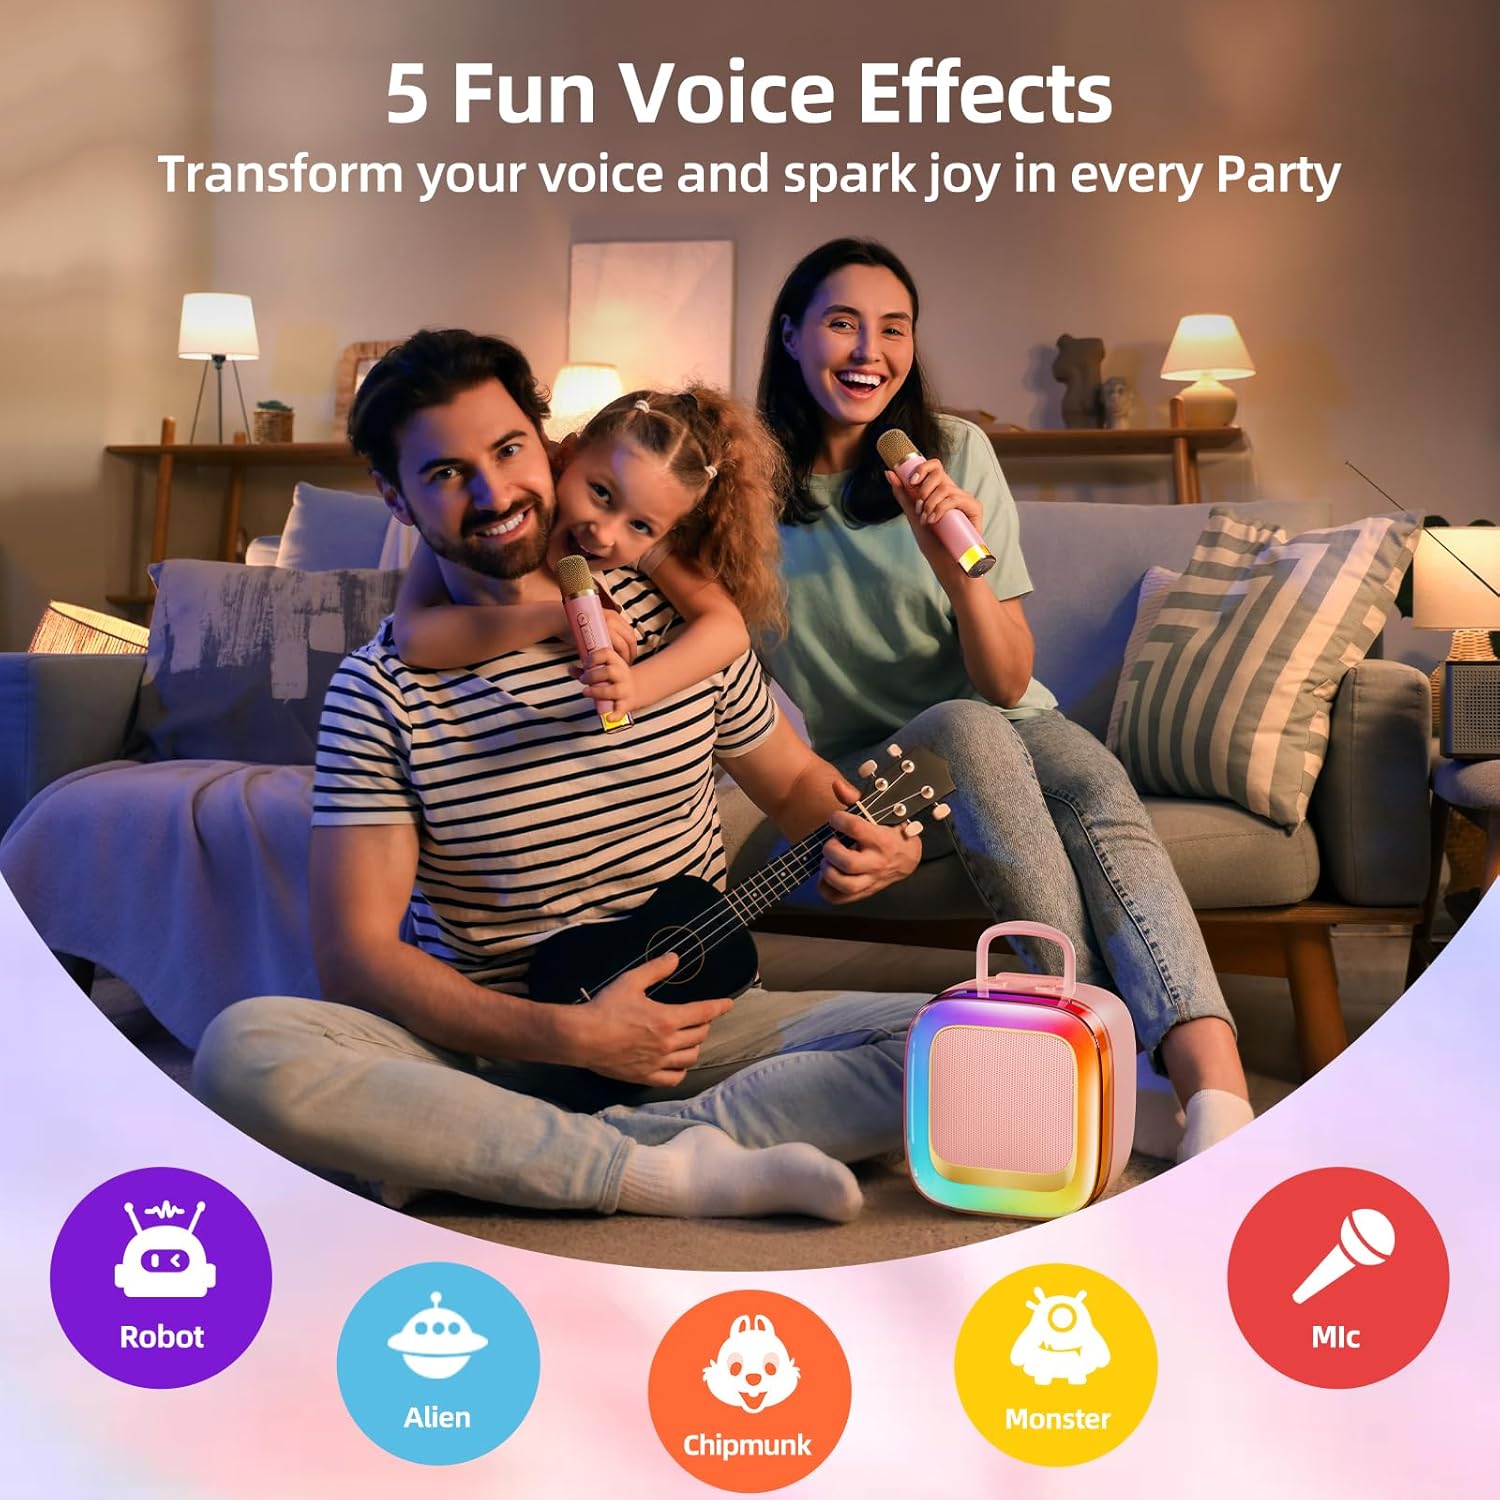
Image: The Kinglucky K12 Karaoke Machine demonstrating its easy Bluetooth 5.3 pairing capability with multiple devices, including smartphones, tablets, and laptops.
5. Operating Instructions
5.1 Speaker Controls
- Power Button: Press and hold to turn on/off. Short press to switch modes (Bluetooth, TF Card, USB, AUX).
- Volume Control: Use the '+' and '-' buttons to adjust the speaker volume.
- Light Mode Button: Short press to cycle through different colorful LED light modes (RGB Spin, Mono Shift, Smooth Fade, RGB Breathe, Soft Breathe) or turn lights off.
5.2 Microphone Controls
- Power Button: Press and hold to turn on/off.
- Volume Control: Use the '+' and '-' buttons on the microphone to adjust microphone volume.
- Voice Changer Button: Short press to cycle through 5 different voice effects (Robot, Chipmunk, Monster, Princess, Echo).
- Echo Effect: The microphone has a built-in echo effect that can be adjusted or turned off via the controls.

Image: A detailed view of the upgraded wireless microphone for the Kinglucky K12, showing its control buttons for voice effects, volume, and the enhanced mic head for clearer sound.
6. Voice Effects
The Kinglucky K12 features 5 fun voice effects to enhance your singing experience:
- Robot: Transforms your voice into a robotic tone.
- Chipmunk: Pitches your voice higher for a fun, squeaky sound.
- Princess: Adds a delicate, ethereal quality to your voice.
- Echo: Creates a reverberating sound, simulating a large hall.
To activate these effects, simply press the dedicated voice changer button on the microphone and cycle through the options.
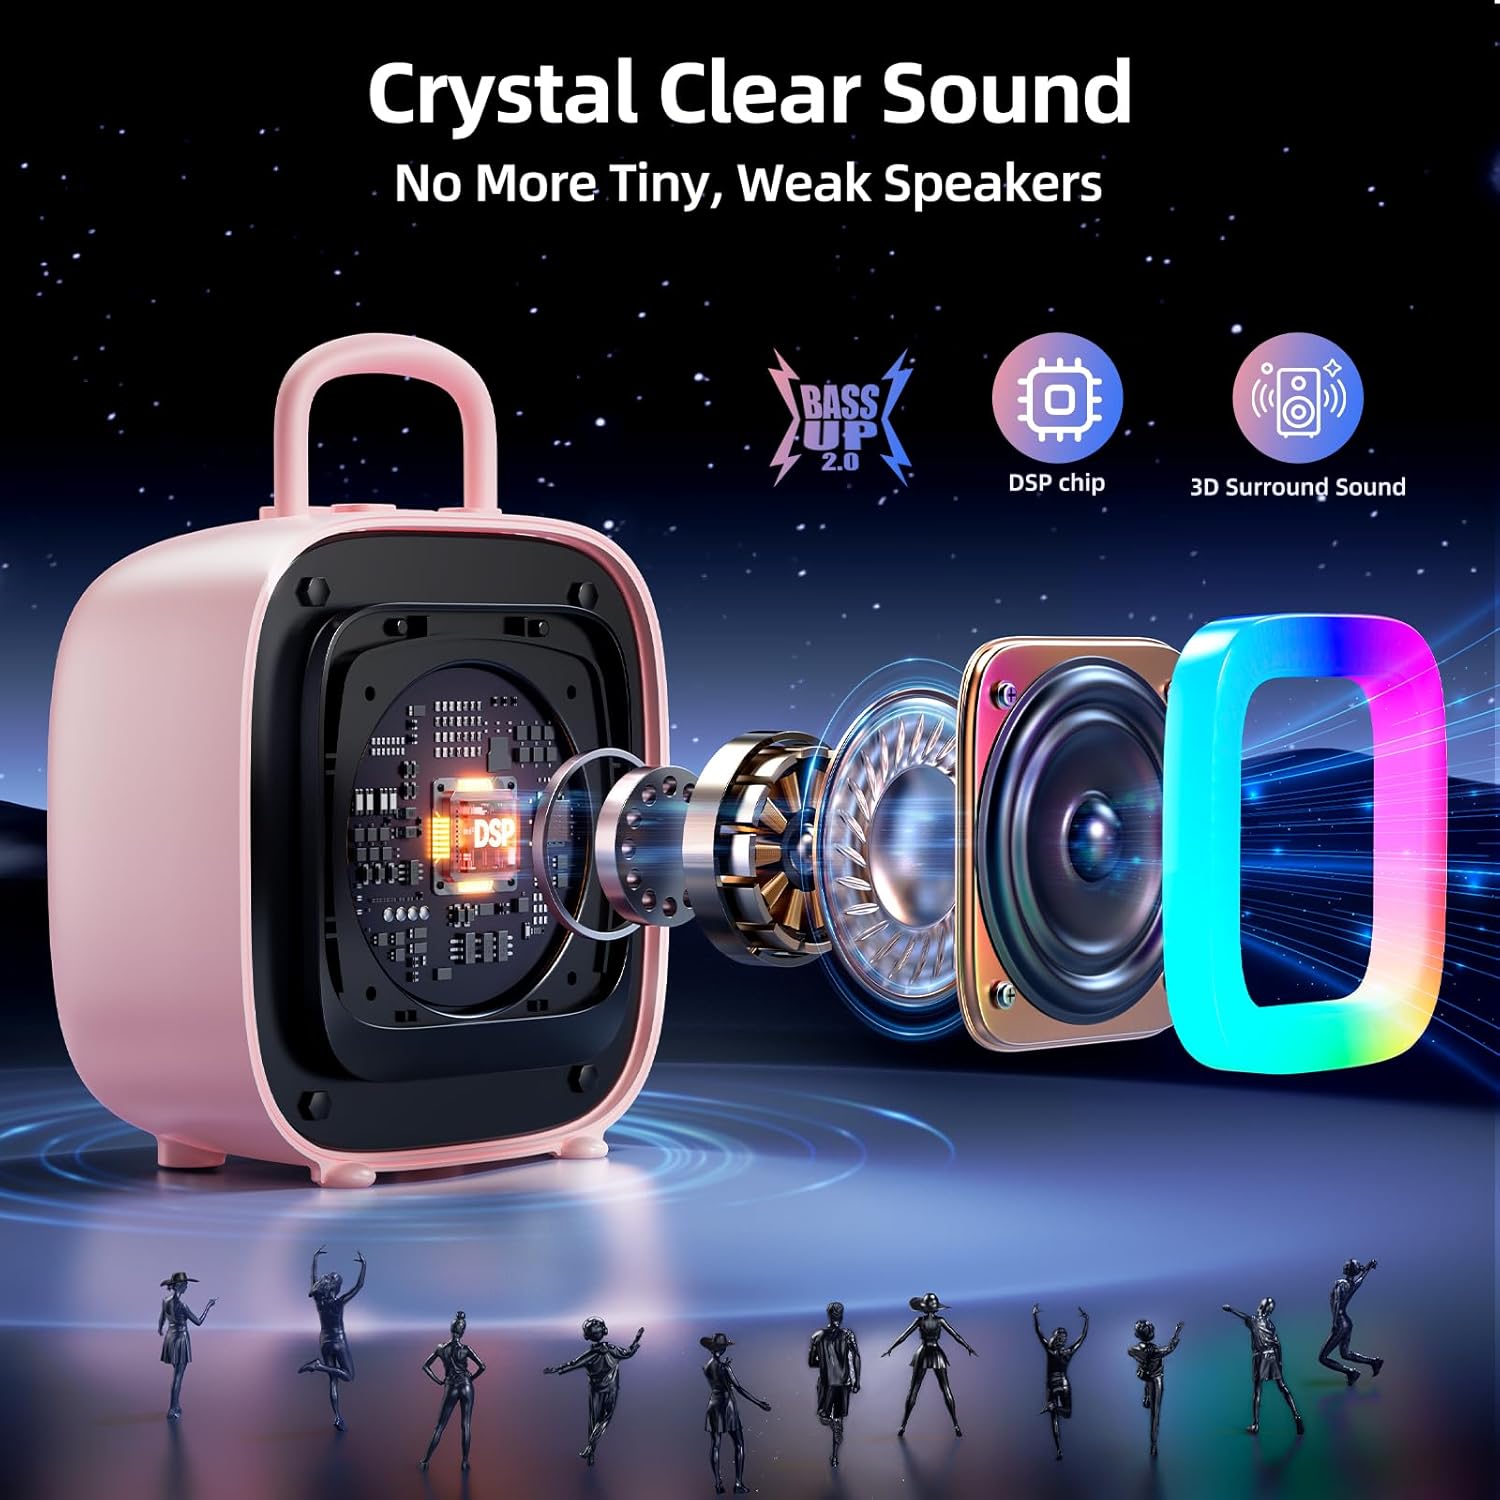
Image: A family using the Kinglucky K12 Karaoke Machine, with visual representations of the five voice effects available: Robot, Alien, Chipmunk, Monster, and a standard microphone icon.
7. Charging
The Kinglucky K12 speaker and microphones are equipped with rechargeable batteries. Use the provided USB Type-C cable to charge them. Connect the cable to a compatible USB power adapter (not included) or a computer's USB port. The LED indicators will show charging status.
8. Maintenance
- Clean the device with a soft, dry cloth. Do not use abrasive cleaners or solvents.
- Keep the device away from water, moisture, and extreme temperatures.
- Store in a cool, dry place when not in use.
9. Troubleshooting
| Problem | Solution |
|---|---|
| Device does not power on | Ensure the battery is charged. Connect to power and try again. |
| No sound from speaker | Check volume levels on both the speaker and connected device. Ensure Bluetooth is connected. |
| Microphone not working | Ensure microphone is powered on and charged. Re-pair the microphone with the speaker if necessary. |
| Bluetooth connection unstable | Ensure devices are within range (approx. 10 meters). Avoid obstacles between devices. Disconnect and re-pair. |
10. Specifications
- Model Number: K12
- Product Dimensions: 2.8 x 3.74 x 3.2 inches
- Item Weight: 1.96 pounds
- Power Source: Battery Powered
- Connector Type: USB Type C
- Compatible Devices: PC, Smartphone, TF Card, Tablet
- Included Components: 1 Karaoke Speaker, 2 Wireless Microphones, 1 Charging Cable, User Manual
11. Warranty and Support
Kinglucky offers a 365-Day Extended Service for this product, including free replacement for damage. For any questions, technical support, or warranty claims, please contact Kinglucky customer service. Refer to the contact information provided on the product packaging or the official Kinglucky website.


