1. Introduction
Thank you for purchasing the Karlsson Alarm Clock Duo. This manual provides detailed instructions for setting up, operating, and maintaining your new alarm clock. Please read this manual thoroughly before use and retain it for future reference.
2. Safety Information
- Keep the device away from water and high humidity.
- Do not expose the device to direct sunlight or extreme temperatures.
- Do not attempt to disassemble or repair the device yourself. Refer all servicing to qualified personnel.
- Use only the specified battery type. Ensure correct polarity when inserting batteries.
- Remove batteries if the device will not be used for an extended period.
3. Package Contents
Please check that all items are present:
- Karlsson Alarm Clock Duo (Model KA5954BK)
- User Manual (this document)
Note: Batteries are not included and must be purchased separately.
4. Product Overview
The Karlsson Alarm Clock Duo features a classic analog clock face combined with a modern digital display for temperature and humidity. Its compact design makes it suitable for various settings.

Figure 1: Front view of the Karlsson Alarm Clock Duo. The top section features an analog clock with a white face and black numbers, while the bottom section has a digital display showing temperature (e.g., 22.0 °C) and relative humidity (e.g., 58%).

Figure 2: The alarm clock viewed from the side, demonstrating its compact size and matte black finish. It is shown on a surface next to a white desk lamp, indicating its suitability for bedside tables or desks.
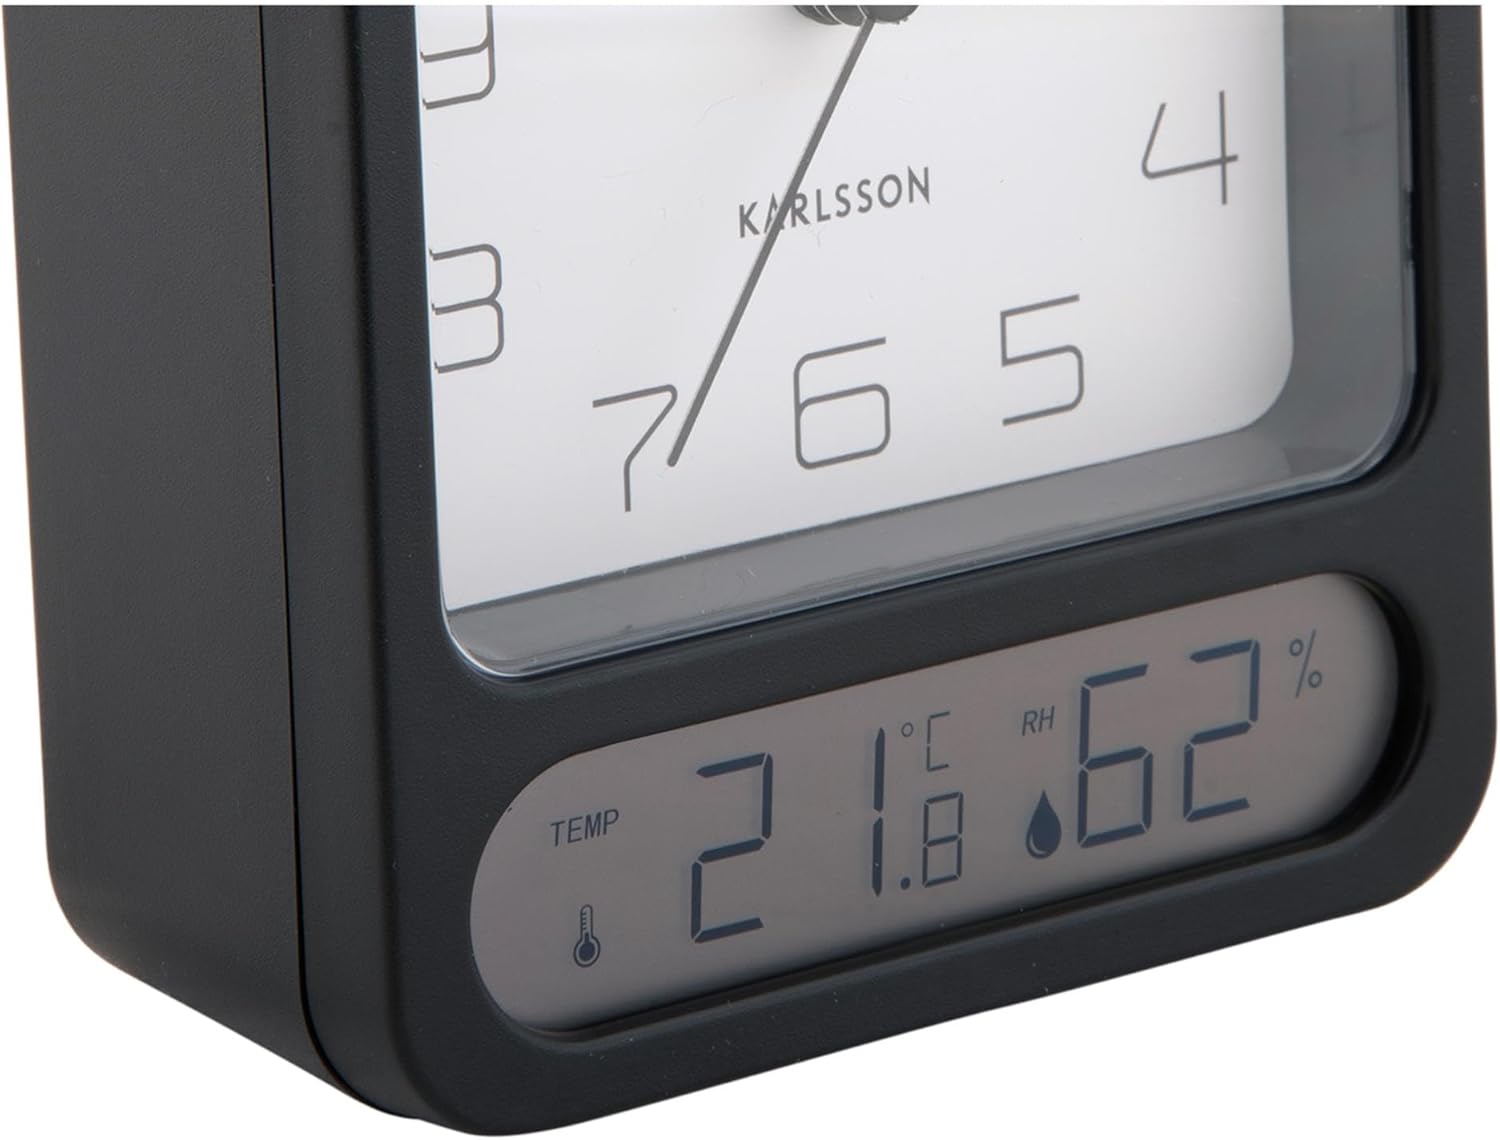
Figure 3: A detailed close-up of the digital display, clearly showing the temperature in Celsius (e.g., 21.8 °C) and the relative humidity percentage (e.g., 62% RH). Small icons for temperature and humidity are also visible.

Figure 4: An angled perspective of the alarm clock, providing a comprehensive view of its design, including the square analog clock face and the rectangular digital display below it, all encased in a matte black frame.
5. Setup
5.1. Battery Installation
- Locate the battery compartment cover on the back of the alarm clock.
- Remove the cover by sliding or lifting it according to the markings.
- Insert the required batteries (typically 1x AA for the analog clock and 2x AAA for the digital display, though specific types may vary - refer to the compartment markings) ensuring correct polarity (+ and -).
- Replace the battery compartment cover securely.
5.2. Setting the Time
- On the back of the clock, locate the time setting knob (usually labeled "TIME SET" or similar).
- Rotate the knob in either direction to adjust the hour and minute hands to the current time.
5.3. Setting the Alarm
- Locate the alarm setting knob (usually labeled "ALARM SET" or similar) on the back of the clock.
- Rotate this knob to set the alarm hand to your desired alarm time.
- Locate the alarm ON/OFF switch (often a small slider or button). Slide it to the "ON" position to activate the alarm.
6. Operating Instructions
6.1. Reading the Time
The current time is displayed on the analog clock face with hour, minute, and second hands.
6.2. Reading Temperature and Humidity
The digital display at the bottom of the clock shows the current room temperature (in Celsius or Fahrenheit, depending on model) and relative humidity percentage. There may be a button (e.g., "°C/°F") to switch between temperature units if applicable.
6.3. Alarm Function
- When the alarm is set to "ON", it will sound at the designated alarm time.
- To stop the alarm, slide the alarm ON/OFF switch to the "OFF" position.
- Snooze Function: If your model includes a snooze button (often a large button on top), pressing it during an active alarm will temporarily silence the alarm for a few minutes before it sounds again.
7. Maintenance
7.1. Cleaning
Wipe the clock with a soft, dry cloth. Do not use abrasive cleaners or solvents, as these may damage the finish or display.
7.2. Battery Replacement
Replace batteries when the clock hands slow down, the alarm becomes weak, or the digital display fades or stops working. Follow the battery installation steps in Section 5.1.
8. Troubleshooting
| Problem | Possible Cause | Solution |
|---|---|---|
| Clock not working / Digital display off | Dead or incorrectly inserted batteries. | Replace batteries, ensuring correct polarity. |
| Alarm not sounding | Alarm is not activated (OFF position) or set incorrectly. | Ensure alarm switch is ON and alarm time is set correctly. |
| Incorrect time displayed | Time was not set correctly or batteries are low. | Reset the time. Replace batteries if necessary. |
| Inaccurate temperature/humidity | Sensor obstruction or extreme environmental conditions. | Ensure the clock is in a well-ventilated area, away from direct heat sources or drafts. Allow time for readings to stabilize. |
9. Specifications
| Model Number | KA5954BK |
| Brand | Karlsson |
| Dimensions (L x W x H) | 9.7 x 4.5 x 12 cm |
| Weight | 600 g |
| Power Source | Battery (not included) |
| ASIN | B0DHL8TMB6 |
10. Warranty and Support
This Karlsson product is covered by a manufacturer's warranty. Please refer to the warranty card included with your purchase or visit the official Karlsson website for detailed warranty terms and conditions.
For technical support, troubleshooting assistance, or inquiries regarding your product, please contact Karlsson customer service through their official website or the contact information provided with your purchase documentation.


