
Retevis MB63
Retevis MB63 CB Radio User Manual
Model: MB63 | Brand: Retevis
1. Introduction
The Retevis MB63 CB Radio is a compact and versatile communication device designed for use in vehicles such as trucks, vans, and lorries. It supports both AM and FM modes, offering flexibility for various communication needs. Key features include VOX hands-free operation, emergency channels 9 and 19, adjustable squelch (SQ/ASQ), and a clear LCD with adjustable backlight. This manual provides essential information for the proper installation, operation, and maintenance of your MB63 CB Radio.
2. Package Contents
Before proceeding with installation, please verify that all components listed below are present in your package:
- MB63 CB Radio x1
- Bracket x1
- Speaker Microphone x1
- Spare Fuse x1
- Bracket Knob x2
- Upholstered (Stop Pad) x2
- Screw x4
- Non-slip Mat x4
- User Manual x1
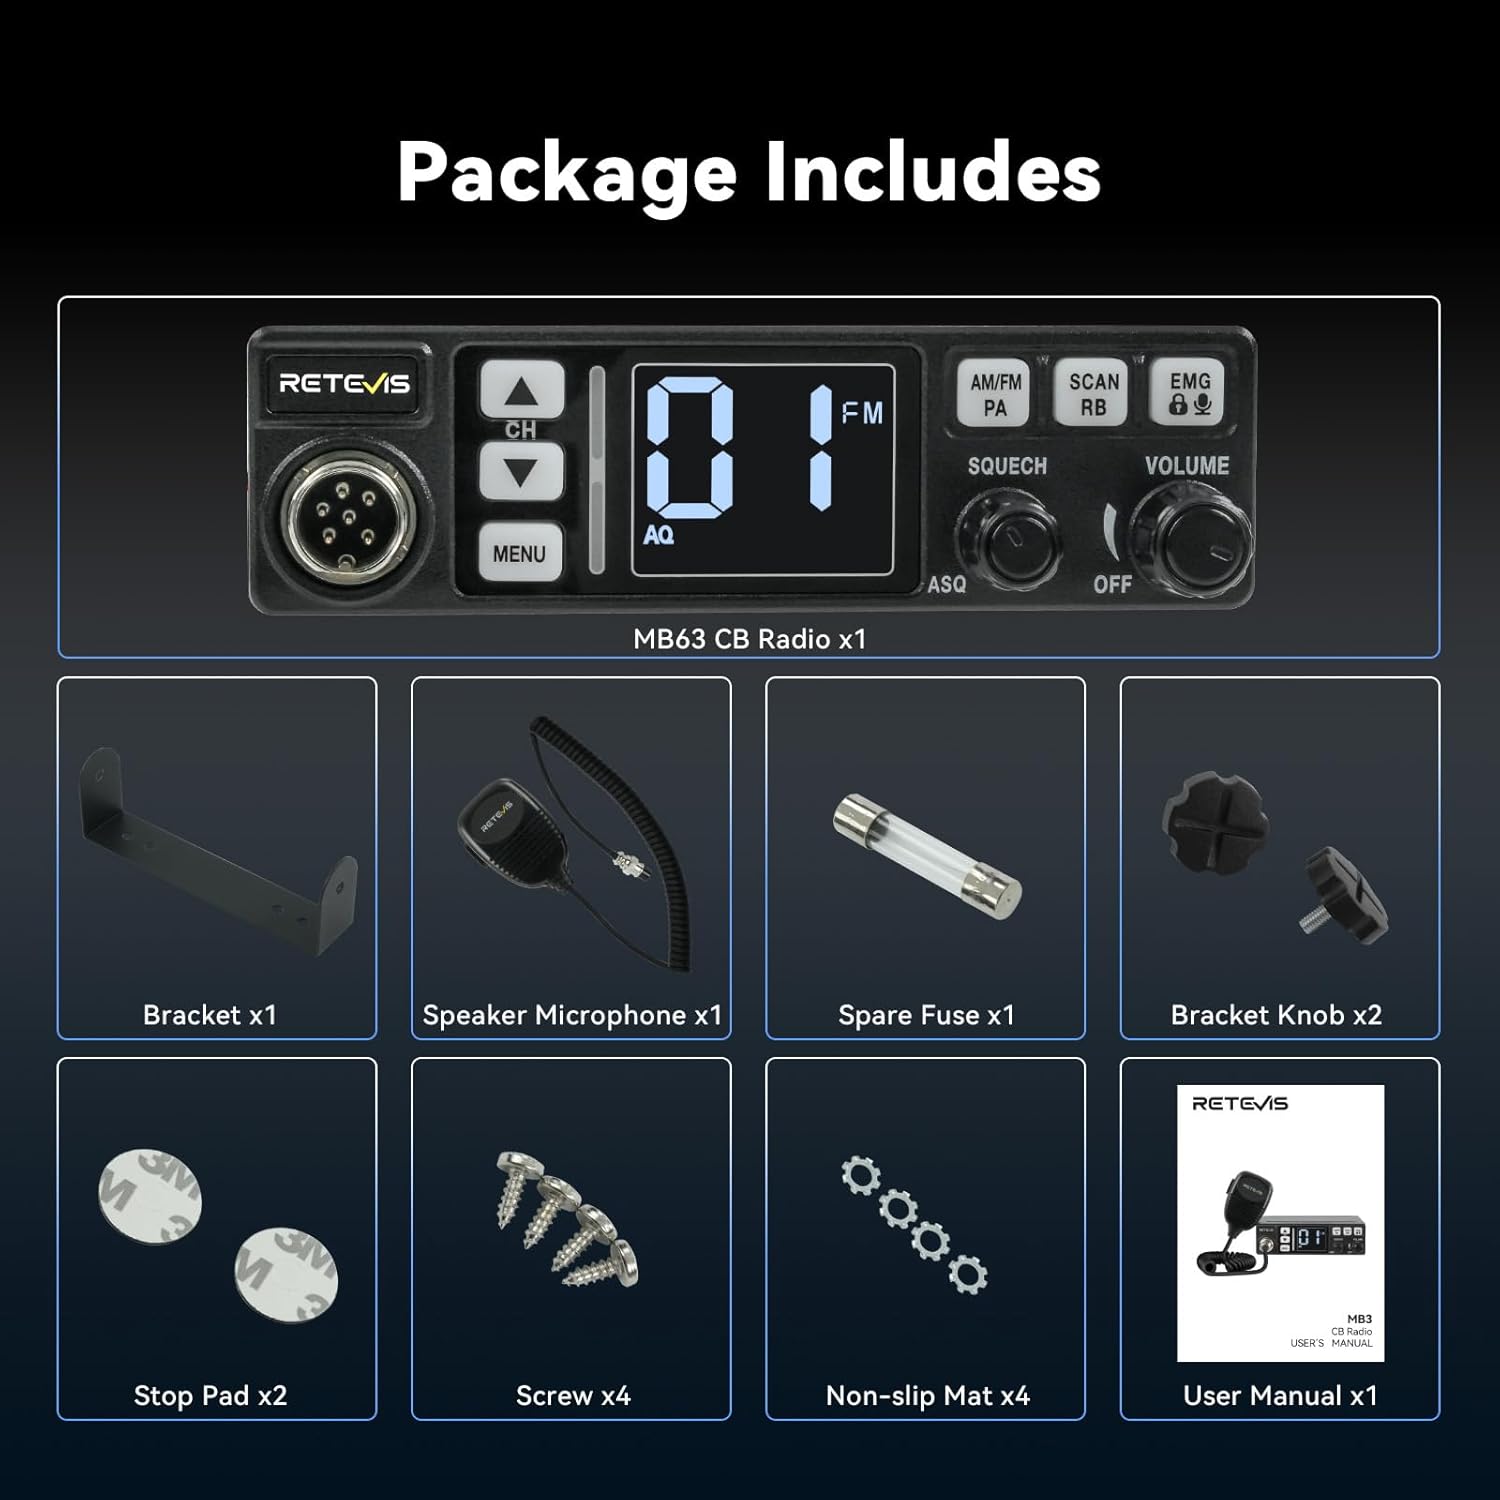
Image: All components included in the Retevis MB63 CB Radio package, laid out for inspection.
3. Setup and Installation
3.1 Mounting the Radio
- Select a suitable location in your vehicle that allows for easy access to controls and clear visibility of the display, without obstructing driving.
- Use the provided bracket as a template to mark drilling points.
- Drill pilot holes and secure the bracket using the supplied screws.
- Attach the non-slip mats to the radio if desired, then slide the radio into the bracket and secure it with the bracket knobs.
3.2 Power Connection
The MB63 CB Radio operates on a 12-13.8V DC power supply. Connect the red wire to the positive (+) terminal of your vehicle's battery or a suitable 12V power source, and the black wire to the negative (-) terminal or chassis ground. Ensure connections are secure to prevent power loss or damage.
3.3 Antenna Connection
Connect a suitable CB antenna (not included) to the antenna connector on the rear of the radio. Ensure the antenna is properly tuned for optimal performance and to prevent damage to the radio's transmitter.
3.4 Speaker Microphone Connection
Plug the speaker microphone cable into the dedicated port on the front of the radio. Ensure the connector is fully inserted and secured.
3.5 External Speaker Connection
For louder audio output, an external speaker (not included) can be connected to the 3.5mm port located on the side of the radio.

Image: Close-up view of the 3.5mm external speaker port on the Retevis MB63 CB Radio, highlighting its location for connecting an external speaker.
4. Operating Instructions
4.1 Power On/Off and Volume Control
Rotate the VOLUME knob clockwise to turn the radio on and adjust the audio output level. Rotate counter-clockwise until it clicks to turn the radio off.
4.2 Channel Selection
Use the CH UP and CH DOWN buttons to cycle through the 40 available channels. The selected channel number will be displayed on the LCD.
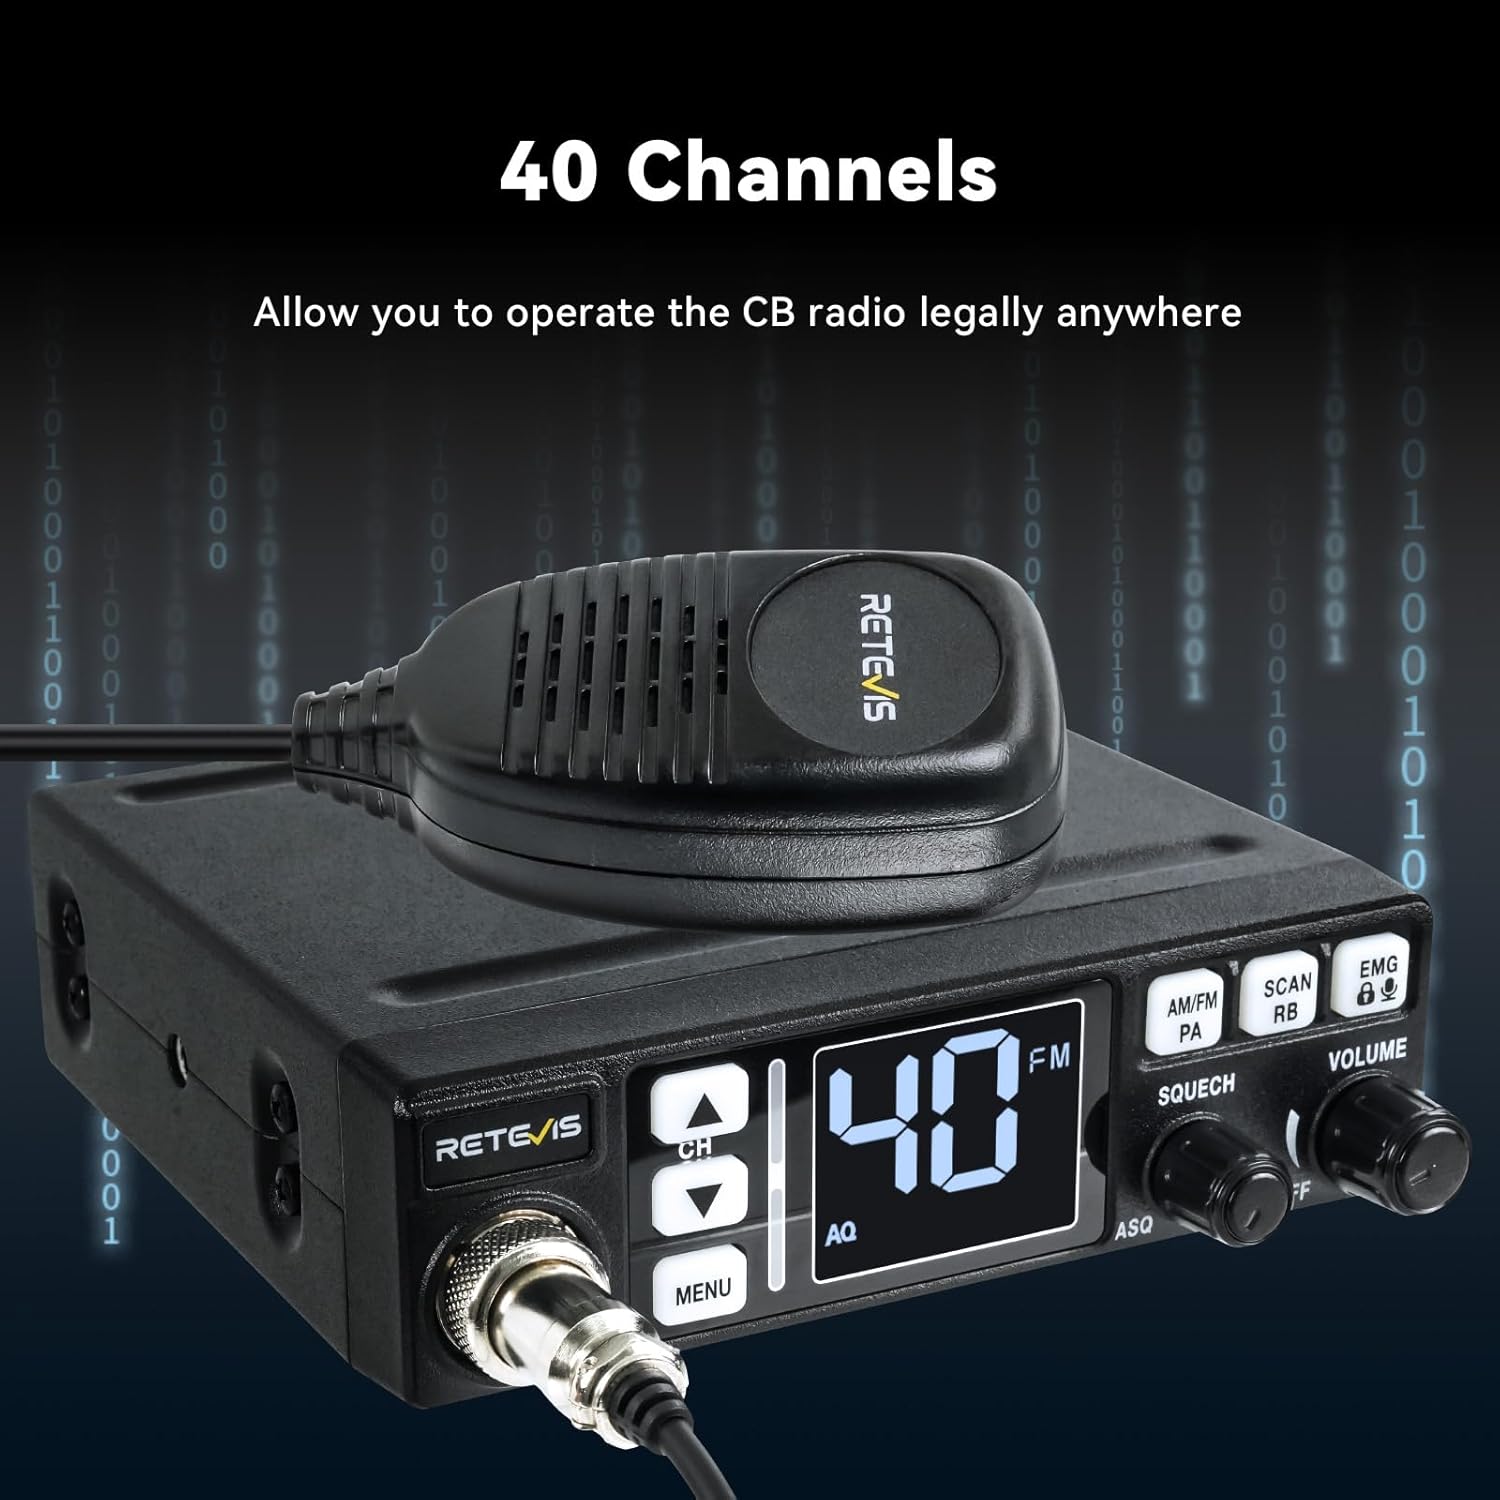
Image: The Retevis MB63 CB Radio's LCD screen showing '40' for channel 40, indicating its 40-channel capability.
4.3 AM/FM Mode Selection
Press the AM/FM/PA button to switch between AM (Amplitude Modulation) and FM (Frequency Modulation) modes. AM is generally used for longer-range communication, while FM provides clearer audio over shorter distances.
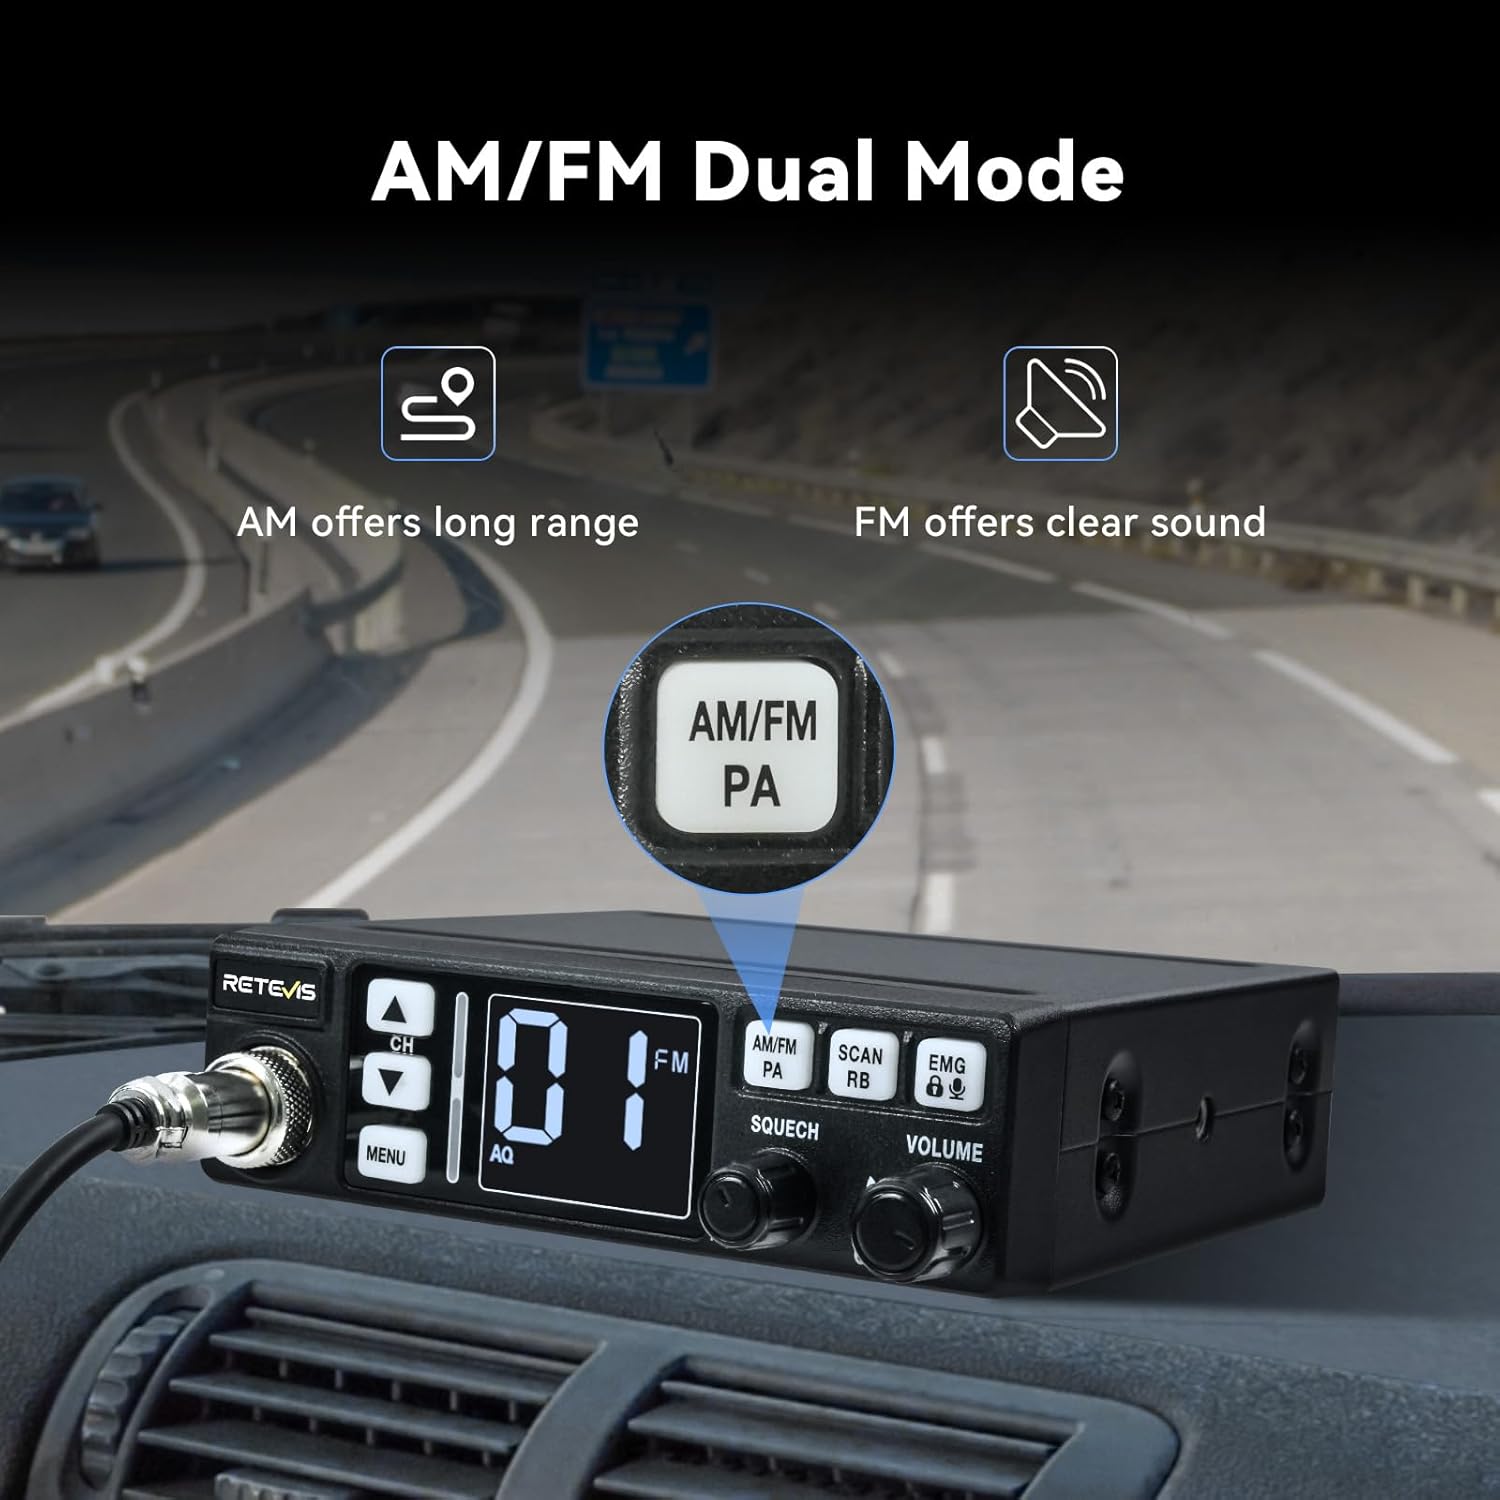
Image: The Retevis MB63 CB Radio displaying its AM/FM dual mode capability, with a close-up on the AM/FM/PA button.
4.4 Squelch (SQ/ASQ) Function
The squelch function eliminates background noise when no signal is being received. Rotate the SQUELCH knob to adjust the squelch level. For automatic squelch (ASQ), press the ASQ button. This feature helps in reducing background noise for clearer communication.

Image: The Retevis MB63 CB Radio demonstrating the SQ (Squelch) and ASQ (Automatic Squelch) functions, which reduce background noise for clear audio.
4.5 VOX Hands-free Operation
The VOX (Voice Operated Transmit) function allows you to transmit without pressing the PTT (Push-To-Talk) button on the microphone. This is particularly useful for hands-free operation while driving. Refer to the menu settings to activate and adjust VOX sensitivity.

Image: The Retevis MB63 CB Radio shown in a vehicle, illustrating its VOX hands-free capability, allowing the user to transmit without manually pressing the microphone button.
4.6 Emergency Channels (CH9/19)
The radio provides quick access to emergency channels. Press the EMG button to instantly switch to Channel 9 (emergency calls) or Channel 19 (trucker information channel). Press EMG again to return to the previous channel.
4.7 Key Lock Function
To prevent accidental changes to settings or channels, activate the key lock function. This will disable most buttons while keeping the radio operational. Refer to the user manual for specific instructions on activating/deactivating the key lock.
4.8 Backlight Adjustment
The LCD backlight has 3 adjustable levels to ensure clear visibility day or night. Access the menu settings to cycle through the backlight options.

Image: The Retevis MB63 CB Radio demonstrating its 3-level adjustable backlight, showing how the display brightness can be changed for optimal viewing in different lighting conditions.
5. Maintenance
5.1 Cleaning
Wipe the radio's exterior with a soft, damp cloth. Do not use harsh chemicals or abrasive cleaners. Ensure the radio is powered off before cleaning.
5.2 Fuse Replacement
If the radio does not power on, check the inline fuse on the power cable. If blown, replace it with a fuse of the same rating (a spare fuse is included in the package). Always disconnect power before replacing the fuse.
5.3 Cable and Microphone Care
Regularly inspect all cables for signs of wear or damage. Avoid sharp bends or excessive pulling on the microphone cable. Store the microphone securely when not in use.
6. Troubleshooting
| Problem | Possible Cause | Solution |
|---|---|---|
| Radio does not power on. | No power connection; Blown fuse; Faulty power cable. | Check power connections; Replace fuse; Inspect power cable. |
| No sound or low sound. | Volume too low; Squelch set too high; Speaker microphone disconnected; Faulty speaker. | Increase volume; Adjust squelch; Reconnect microphone; Test with external speaker. |
| Cannot transmit or receive. | Antenna not connected or damaged; Incorrect channel/mode; PTT button faulty. | Check antenna connection; Verify channel and AM/FM mode; Test microphone. |
| Excessive static or noise. | Squelch too low; Electrical interference; Poor antenna tuning. | Increase squelch level; Check vehicle's electrical system; Have antenna tuned by a professional. |
7. Specifications

Image: The Retevis MB63 CB Radio with its compact dimensions (124mm length, 101mm depth, 36mm height) clearly marked.
| Feature | Specification |
|---|---|
| Brand | Retevis |
| Model | MB63 |
| Tuner Technology | AM/FM |
| Compatible Devices | Mic, External Speaker |
| Special Features | Rechargeable (Note: Refers to internal components, not user-replaceable battery) |
| Display Type | LCD |
| Voltage | 7.4 Volts (Internal circuit) / 12-13.8 Volts (Input) |
| Power Source Type | Corded Electric |
| Batteries Included | Yes (Internal 12V battery required, included) |
| Connector Type | Aux (for external speaker) |
| Radio Bands Supported | AM, FM |
| Product Dimensions | 12.4 x 10.1 x 3.6 cm (4.88 x 3.98 x 1.42 inches) |
| Item Weight | 470 Grams |
8. Warranty and Support
For warranty information, please refer to the documentation provided with your purchase or visit the official Retevis website. If you encounter any issues not covered in this manual or require further assistance, please contact Retevis customer support through their official channels.
Related documentsMB63


Ask a question about this manual
Ask about setup, troubleshooting, compatibility, parts, safety, or missing instructions. Manuals+ will review the question and use this page’s manual context to help answer it.