
1. Introduction
This manual provides detailed instructions for the installation, operation, and maintenance of your Volam 9-inch Portable Carplay Screen (Model RC07). This device is designed to integrate your smartphone's functionalities, such as navigation, music, and communication, into your vehicle's dashboard via Apple CarPlay or Android Auto. It also includes features like a backup camera and screen mirroring.
2. Safety Information
- Always prioritize safe driving. Do not operate the device in a way that distracts you from the road.
- Ensure the device is securely mounted and does not obstruct your view or interfere with vehicle controls.
- Avoid exposing the device to extreme temperatures, direct sunlight for prolonged periods, or moisture.
- Do not attempt to disassemble or repair the device yourself. Refer to qualified service personnel.
- Use only the provided power cable and accessories to prevent damage or fire hazards.
3. Package Contents
Verify that all items are present in the package:
- 9-inch HD Carplay Screen
- Suction Cup Bracket
- Base Bracket
- Car Charger (TYPE-C)
- Reversing Camera
- Instruction Manual
- AUX Cable (1.5m)
- Camera Cable (5.5m)
- Sticky Base
- Cable Clips
- Car Wire Trim Tool

Image: All components included in the Volam 9-inch Portable Carplay Screen package.
4. Setup and Installation
4.1 Mounting the Device
The Volam Carplay Screen offers multiple mounting options, including a suction cup mount and a base bracket, to suit various vehicle dashboards. Ensure the chosen location does not obstruct your view or interfere with airbags.

Image: Examples of four different mounting positions for the Carplay screen on a vehicle dashboard.
Using the Suction Cup Mount:
- Clean the dashboard surface thoroughly where you intend to mount the device.
- Apply the positioning sticker (if included) to the cleaned surface.
- Allow the sticker to set for 10 hours for optimal adhesion.
- Install the suction cup mount onto the sticker, ensuring a firm grip.
- Attach the Carplay screen to the mount.

Image: A four-step visual guide demonstrating how to securely install the suction cup mount on a dashboard.
4.2 Powering the Device
Connect the provided Type-C car charger to the Carplay screen and plug the other end into your vehicle's 12V power outlet (cigarette lighter socket). The device will power on automatically when the vehicle starts.

Image: The Carplay screen displayed on a dashboard, indicating a simple plug-and-play installation process.
4.3 Connecting to Your Smartphone (Wireless CarPlay/Android Auto)
The Volam Carplay Screen supports wireless Apple CarPlay and Android Auto via Bluetooth and Wi-Fi connectivity.

Image: The Carplay screen showing both Apple CarPlay and Android Auto interfaces, with corresponding smartphone displays.
- On the Carplay screen, navigate to the 'Carplay' or 'Android Auto' icon and select it.
- On your smartphone, ensure both Bluetooth and Wi-Fi are enabled.
- Go to your phone's Bluetooth settings and search for available devices.
- Select the device name displayed on the Carplay screen (e.g., "T86B-D069" or similar).
- Confirm the pairing code on both your phone and the Carplay screen.
- Once paired via Bluetooth, your phone will automatically establish a Wi-Fi connection for CarPlay or Android Auto.
Video: A demonstration of connecting a smartphone to the Volam Carplay Screen for wireless Apple CarPlay functionality, including Bluetooth pairing and music playback.
4.4 Audio Output Options
The device supports multiple audio output methods:
- Built-in Speaker: Audio plays directly from the Carplay screen.
- BT Audio (Bluetooth): Connect the Carplay screen to your vehicle's original stereo system via Bluetooth for higher quality audio.
- FM Transmitter: Transmit audio to your car's FM radio by tuning both devices to the same FM frequency.
- AUX Output: Connect the Carplay screen to your car's AUX input using the provided 3.5mm AUX cable.

Image: The Carplay screen displaying Bluetooth 5.3 connectivity, illustrating how audio can be streamed to the car's stereo system.
Video: A demonstration of the unboxing, installation, and initial setup of the Volam Carplay Screen, including mounting and power connection.
5. Operating Instructions
5.1 Using Apple CarPlay / Android Auto
Once connected, your smartphone's compatible apps will appear on the Carplay screen. You can interact with them directly via the touchscreen.
- Navigation: Access map applications like Google Maps or Waze for real-time navigation.
- Music/Audio: Play music, podcasts, or audiobooks from your preferred streaming services.
- Calls & Messages: Make and receive calls, and send/receive messages using the screen interface.
5.2 Voice Assistant
The device supports Siri (for Apple CarPlay) and Google Voice Assistant (for Android Auto). Activate the voice assistant to control navigation, make calls, play music, and access other apps hands-free.

Image: The Carplay screen displaying GPS navigation with voice control prompts for making calls and playing music.
5.3 Mirror Link (Airplay/Android Cast)
The screen mirroring function allows you to cast content from your smartphone directly to the Carplay screen. This is useful for displaying videos or other media when the vehicle is stationary.
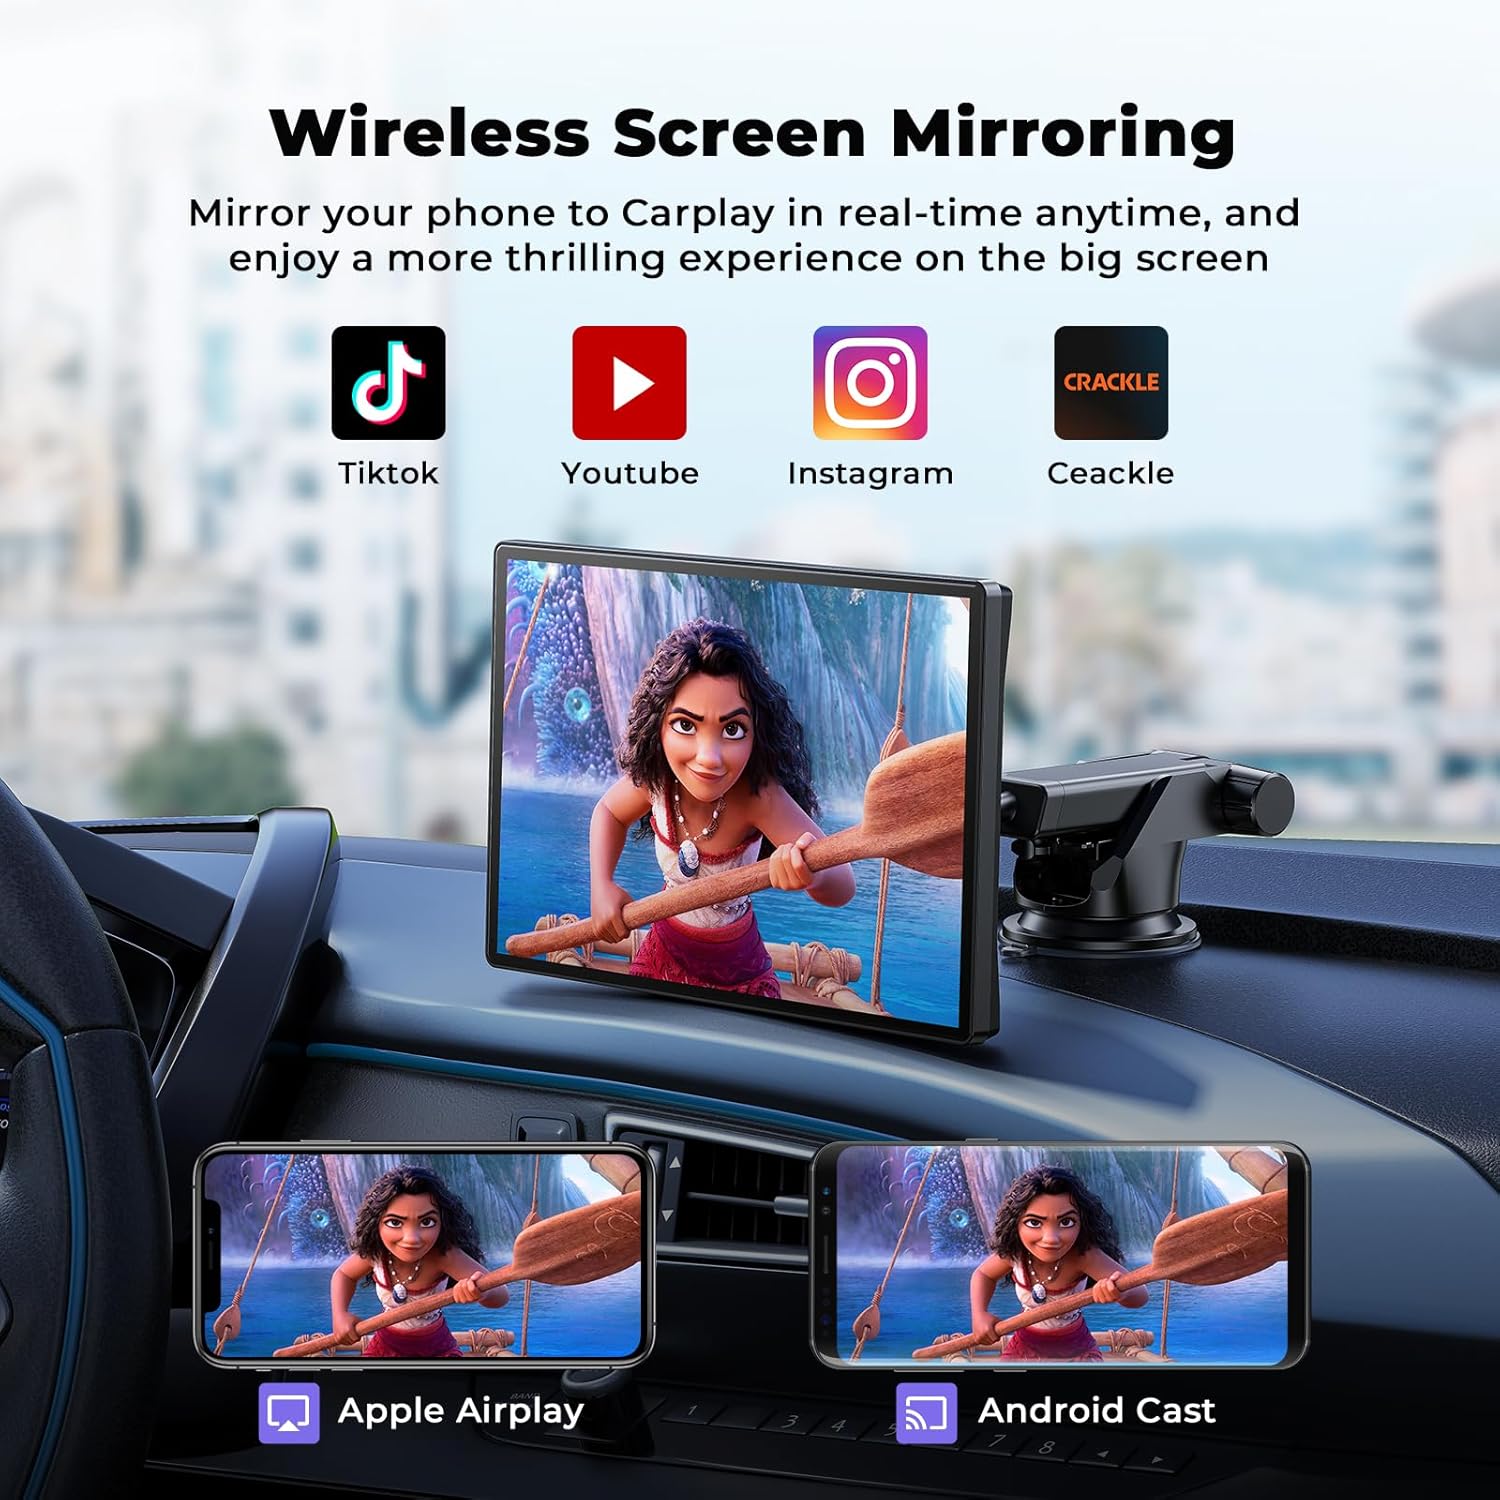
Image: The Carplay screen mirroring video content from a smartphone, showing compatibility with Apple Airplay and Android Cast.
5.4 Backup Camera Functionality
The included backup camera provides a wide 170° viewing angle and night vision capabilities. When properly installed and connected, the screen will automatically display the rear view when the vehicle is in reverse.
- IP67 Waterproof: The camera is designed to withstand various weather conditions.
- Adjustable Guide Lines: Parking guide lines can be adjusted on the screen to assist with parking maneuvers.

Image: The Carplay screen showing a backup camera view with night vision, 170° angle, IP67 waterproof rating, and adjustable parking lines.
6. Maintenance
- Clean the screen with a soft, lint-free cloth. Do not use abrasive cleaners or solvents.
- Keep the device free from dust and debris.
- Regularly check the security of the mounting bracket.
- Ensure all cables are securely connected and free from damage.
7. Troubleshooting
| Problem | Possible Cause | Solution |
|---|---|---|
| Device does not power on. | No power, faulty cable, or vehicle power outlet issue. | Check car charger connection. Ensure vehicle's 12V outlet is functional. Try a different power outlet if available. |
| Cannot connect to CarPlay/Android Auto. | Bluetooth/Wi-Fi off, incorrect pairing, or phone compatibility issue. | Ensure Bluetooth and Wi-Fi are enabled on your phone. Re-pair the device. Check phone's compatibility with CarPlay/Android Auto. |
| No audio or poor audio quality. | Incorrect audio output setting, loose AUX cable, or FM interference. | Verify audio output setting (Speaker, BT Audio, FM, AUX). Check AUX cable connection. Adjust FM frequency to avoid interference. |
| Backup camera not displaying. | Camera not connected, faulty camera cable, or incorrect wiring. | Ensure the camera cable is securely connected to the Carplay screen. Check the camera's power connection (if separate). Consult a professional for wiring issues. |
| Touchscreen unresponsive. | Temporary software glitch or physical damage. | Restart the device by unplugging and re-plugging the power. If the issue persists, contact support. |
8. Specifications
| Feature | Detail |
|---|---|
| Model Number | RC07 |
| Screen Size | 9 Inches |
| Display Type | Touch Screen (Capacitive) |
| Operating System Compatibility | Android, iOS |
| Connectivity Technology | Super Link & Airplay, AUX, Bluetooth 5.3, FM, Wireless Carplay & Android Auto |
| Supported Navigation System | GPS |
| Special Features | Latest map navigation, Reversing camera, Split screen music playback, Siri/Google voice assistant support |
| Mounting Type | Suction Cup Mount |
| Compatible Vehicle Types | Car, Truck, SUV, Van, Trailer, Hunting Vehicle |
| Human-Interface Input | Touchscreen |
| Control Method | App, Touch, Voice |
9. Warranty and Support
For warranty information and customer support, please refer to the contact details provided with your product packaging or visit the official Volam website. Keep your purchase receipt for warranty claims.