1. Product Overview
This accessory kit is designed for the GKU Dash Cam D600, providing essential components for secure and flexible installation. The kit includes an adjustable mount, high-strength adhesive tapes, and static electronic tapes for versatile mounting options.
2. Kit Contents
- Adjustable Mount (x1): Allows precise positioning of your dash cam.
- High-Strength Adhesive Tapes (x2): For secure attachment of the mount.
- Static Electronic Tapes (x2): Enables repositioning or transfer between vehicles without leaving residue.
- Installation Tool (x1): Assists in tucking wires for a neat installation.
3. Installation Guide
3.1 Preparing the Windshield
- Clean the Area: Select a suitable location on your windshield, ensuring it does not obstruct your view. Clean the area thoroughly with a soft cloth to remove any dust, oil, or moisture.
- Apply Static Electronic Tape: Peel off the protective film from one of the static electronic tapes. Carefully apply it to the cleaned area of the windshield. This tape acts as a protective layer, allowing for easier removal of the adhesive mount later without leaving sticky residue.
Image: A hand applying a clear static electronic tape to the car's windshield. This tape protects the windshield from adhesive residue.

3.2 Attaching the Adjustable Mount
- Prepare Adhesive Tape: Peel off the protective film from one of the high-strength adhesive tapes. Attach this adhesive tape firmly to the base of the adjustable mount.
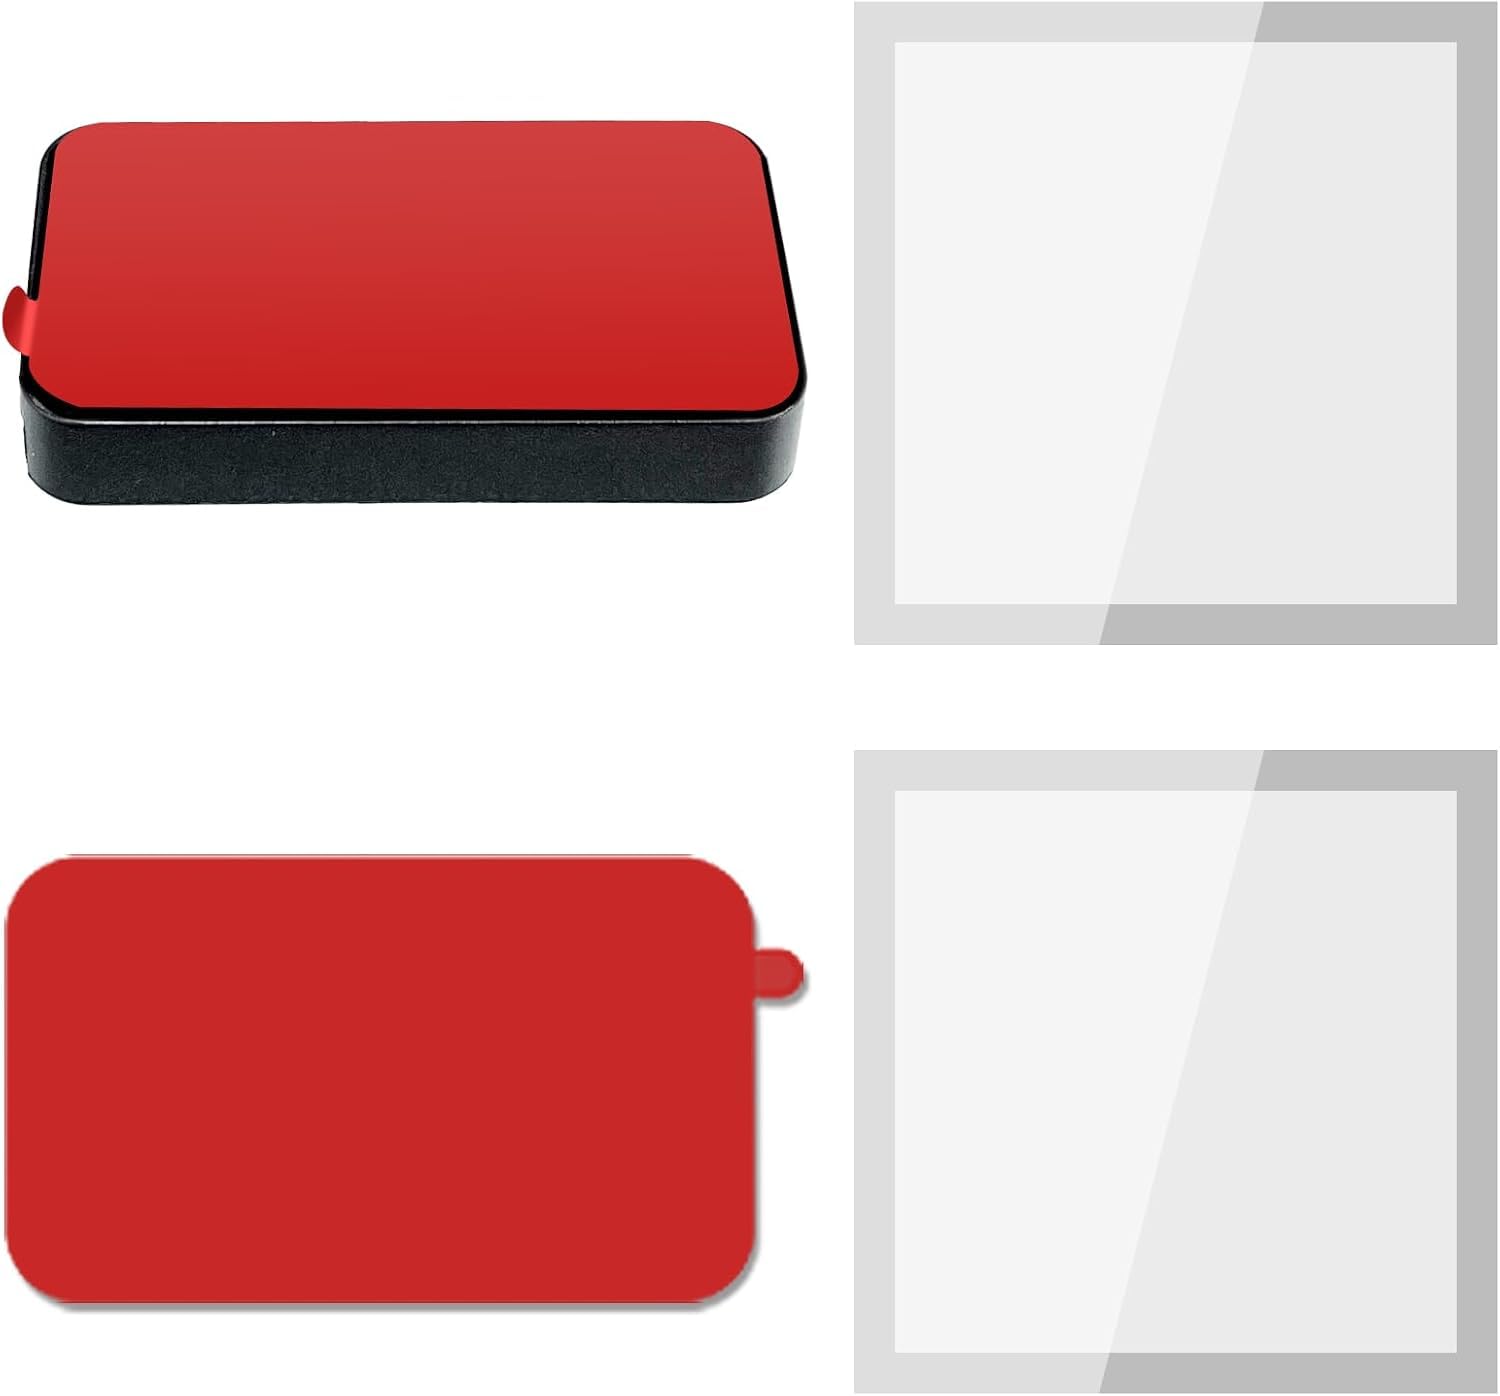
Image: The adjustable mount with a red adhesive tape attached to its base, ready for installation.
- Attach Mount to Windshield: Press the adjustable mount, with the adhesive tape, firmly onto the static electronic tape on the windshield. Ensure a strong bond by holding it in place for a few seconds.
Image: A hand pressing the dash cam mount onto the static electronic tape on the windshield, securing it in place.
- Adjust Mount Angle: Use the provided Allen wrench to loosen the screw on the adjustable mount. Position the mount to achieve the desired camera angle for optimal recording. Tighten the screw to secure the angle.
3.3 Connecting the Dash Cam
- Attach Dash Cam to Mount: Slide the GKU Dash Cam D600 onto the adjustable mount until it clicks securely into place. The mount features a quick-release mechanism, allowing the dash cam to be easily removed while the mount remains attached to the windshield.
- Connect Power: Plug the dash cam's power cable into the designated port on the side of the dash cam and route it to your vehicle's 12V power outlet (cigarette lighter socket). Use the installation tool to tuck the cable neatly along the windshield trim and dashboard to keep it out of sight and prevent obstruction.
Image: A hand using an orange trim tool to tuck the dash cam's power cable into the car's interior trim for a clean installation.
- Connect Rear Camera (if applicable): If using a rear camera (not included in this accessory kit, but compatible with D600), plug its cable into the dedicated port on the dash cam and route it to the rear of the vehicle, tucking the cable along the vehicle's interior.
4. Operating the Dash Cam (D600)
Once installed and powered, the GKU Dash Cam D600 typically begins recording automatically. For advanced settings and footage management, refer to the dash cam's specific user manual.
- Mobile App: The dash cam can connect to a dedicated mobile app (e.g., Jarvis app) via Wi-Fi. This allows for live viewing, downloading, editing, and sharing of recorded footage directly from your smartphone.
- SD Card: Recorded footage is stored on a micro SD card (not included in this accessory kit, but required for D600 operation). The SD card can be removed and inserted into a computer for direct viewing of files.
- Parking Mode: If the GKU Dash Cam D600 supports parking mode, a separate hardwire kit (not included) may be required to provide continuous power to the dash cam when the vehicle is off.
5. Maintenance
- Clean Lens: Regularly clean the dash cam lens with a soft, dry cloth to ensure clear recording quality.
- Check Connections: Periodically verify that all cables and the mount are securely connected.
- SD Card Health: Format the micro SD card regularly (e.g., monthly) to maintain optimal performance and prevent data corruption. Back up important footage before formatting.
6. Troubleshooting
- Dash Cam Not Powering On: Check the power cable connection to both the dash cam and the vehicle's 12V outlet. Ensure the vehicle's ignition is on if the outlet is not continuously powered.
- Recording Issues: Ensure a compatible micro SD card is inserted and properly formatted. If issues persist, try formatting the card again or using a different card.
- Mount Not Sticking: Ensure the windshield surface is clean and dry before applying static tape and adhesive. For optimal adhesion, apply pressure for a sufficient duration.
7. Specifications
| Feature | Detail |
|---|---|
| Product Dimensions | 0.8 x 0.4 x 1.2 inches |
| Item Weight | 0.317 ounces |
| Material | Plastic |
| Mounting Type | Windshield |
| Compatible Devices | Cameras (specifically GKU Dash Cam D600) |
| Special Feature | Compact Design |


