
1. Introduction
The SUNYIN YALP Y2 Acoustic Guitar Pickup Preamp is designed to enhance the sound of your acoustic guitar, offering versatile effects and amplification options. This system features a dual-pickup design with both magnetic and microphone elements, providing rich and dynamic sound reproduction. It includes built-in Reverb, Chorus, and Delay effects, and can operate with or without an external amplifier. Bluetooth connectivity allows for background music playback, with a vocal removal function for accompaniment. This manual will guide you through the installation, operation, and maintenance of your YALP Y2 preamp.
2. Package Contents
Please verify that all items are present in the package:
- Acoustic Guitar Pickup (Main Unit) x 1
- Transmission Device (Small Speaker) x 1
- Type-C Charging Cable x 1
- Endpin Output Jack x 1
- Wire Clips (for cable management)
- Screwdriver x 1
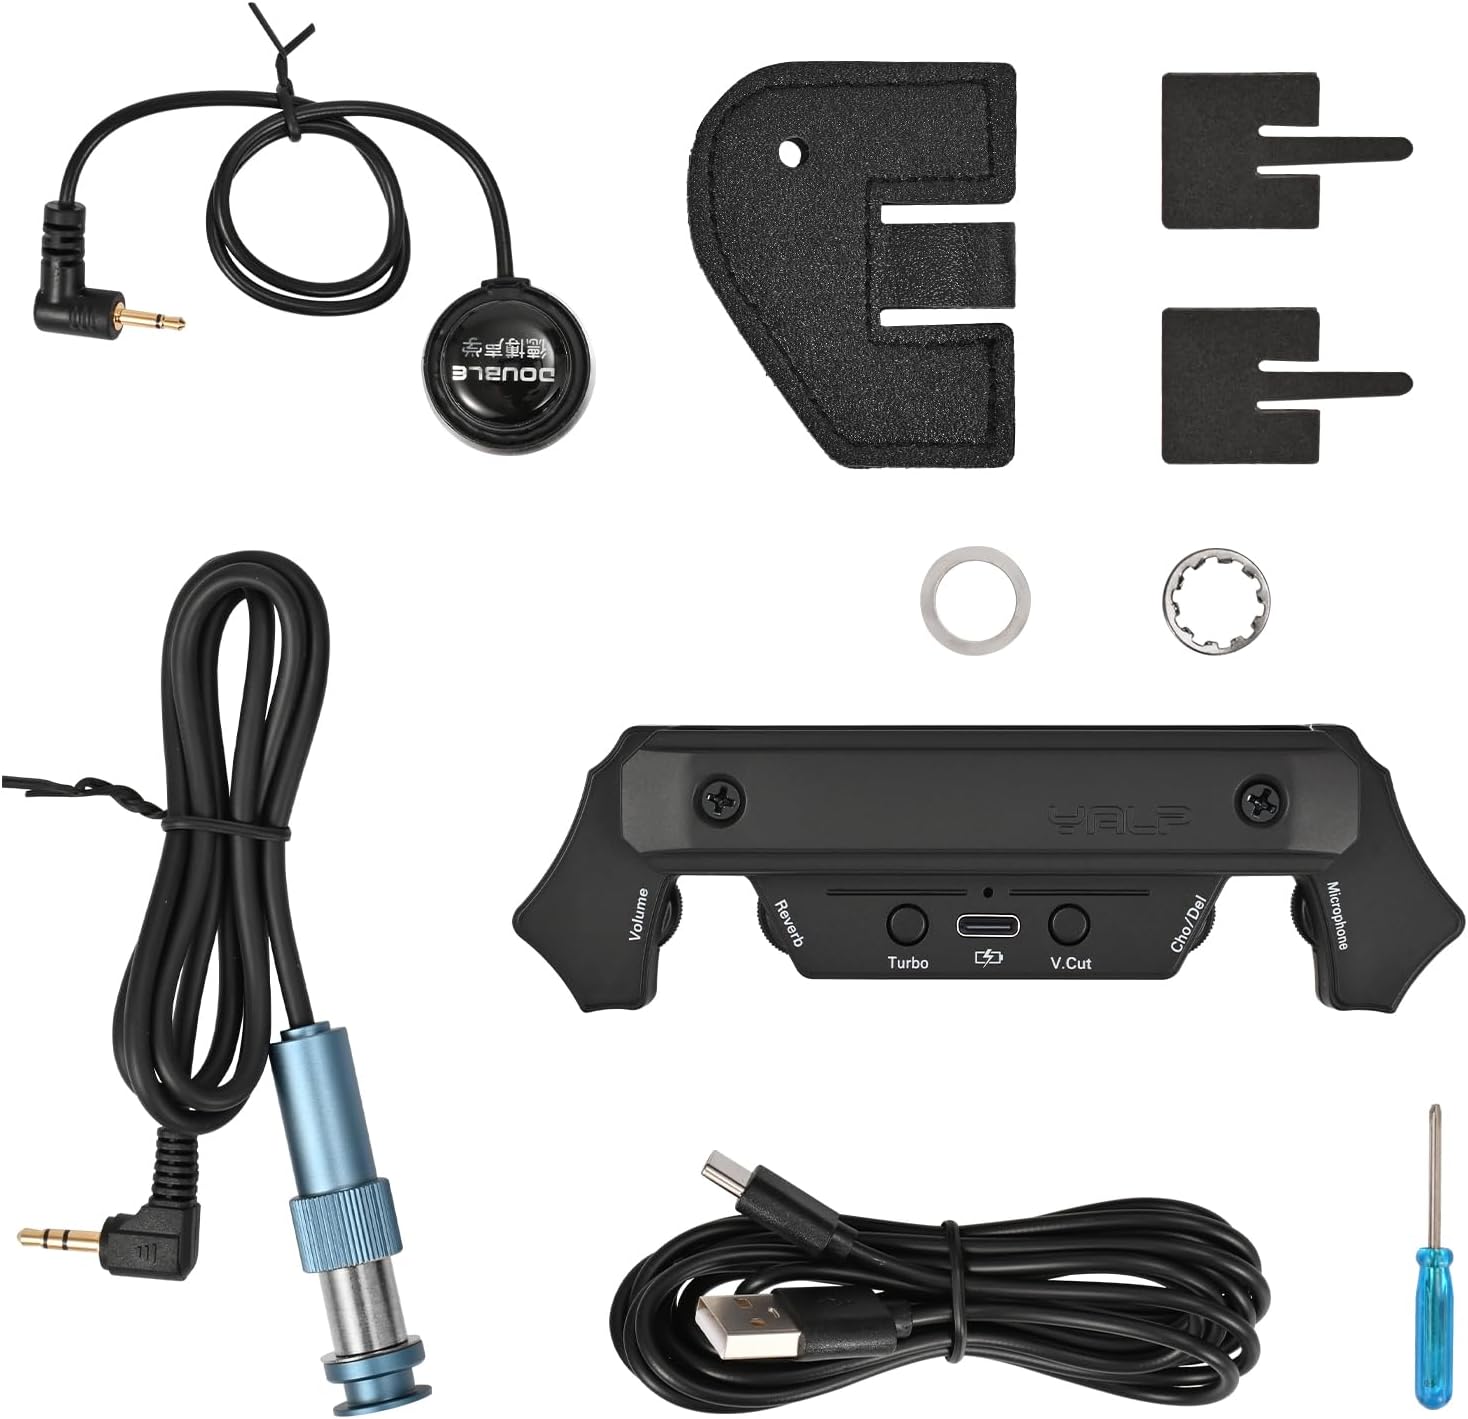
Figure 1: Package Contents
3. Product Features
- Multifunctional Effect Adjustment: Built-in Delay, Reverb, and Chorus effects usable without an amplifier. Features adjustable microphone volume.
- Integrated Speaker Functionality: Can increase acoustic guitar sound and effects independently without requiring external speakers, due to a built-in same-frequency speaker.
- Amplifier Connectivity: Functions as a standard guitar pickup when connected to an amplifier.
- No Amp Speaker Amplification: System picks up sound and drives the guitar body through a custom transmission device, enhancing frequency response and making the sound more resonant, solid, and dynamic when unplugged.
- Bluetooth Audio Input & Vocal Removal: Connects to a mobile phone via Bluetooth for background music playback. The V.Cut button can remove vocals from the Bluetooth accompaniment.
- Creative Dual-Pickup System: Combines magnetic pickup and microphone to capture playing details and add depth and dynamics to the guitar sound.
4. Controls and Functions
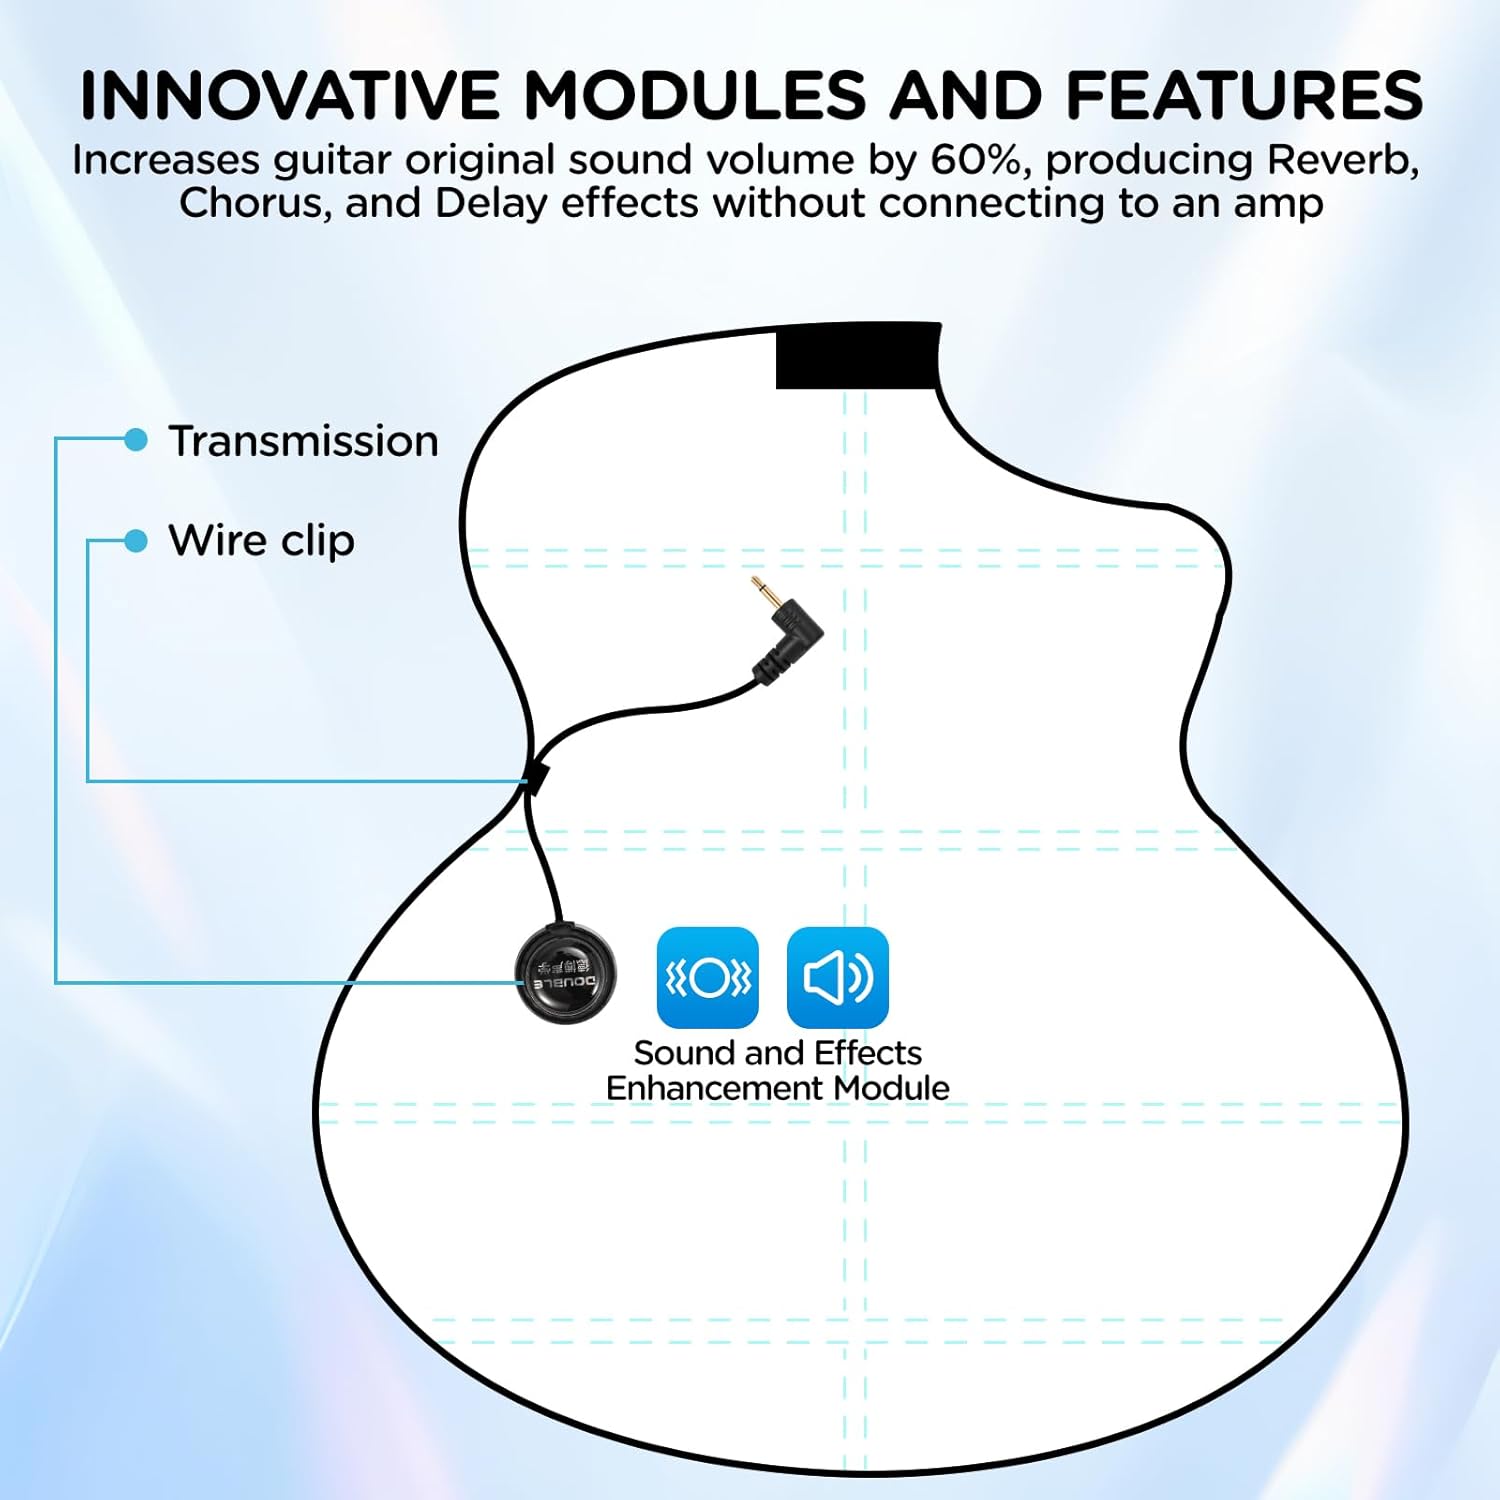
Figure 2: Controls and Functions Overview
- Volume Knob: Adjusts the overall output volume.
- Reverb Knob: Controls the intensity of the reverb effect.
- Turbo Button: Activates/deactivates the "No Amp Vibration Mode" for enhanced unplugged sound.
- USB Port: For charging the internal battery.
- V.Cut Button: Removes vocals from Bluetooth accompaniment.
- Cho/Del Knob: Adjusts the intensity of the Chorus or Delay effect.
- Microphone Knob: Controls the volume of the built-in microphone.
- Indicator Light: Displays battery status (Green for sufficient power, Red for low power).
- Output Jack: Connects to an external amplifier or audio system.
5. Installation Guide
The YALP Y2 preamp offers two installation methods: without drilling holes (external endpin jack) or standard installation (internal endpin jack requiring drilling). Please follow the instructions carefully for your chosen method.
5.1. Installation Overview Video
Video 1: Detailed installation guide for the YALP Y2 guitar preamp, demonstrating both non-drilling and standard installation methods. This video covers attaching the transmission speaker, connecting the host unit, installing the endpin jack, and testing the functions.
5.2. Installation Without Drilling Holes (External Endpin Jack)
- Install Transmission Device:
- Peel off the adhesive backing from the small circular transmission device.
- Carefully stick it inside the guitar body, on the back panel, between the second and third bracing, approximately 3cm from the guitar side.
- Use the provided wire clips to secure the transmission device's wire along the inside of the guitar body, attaching it to the guitar side.
- Install Main Unit (Host):
- Connect the endpin jack cable and the transmission device cable to the main unit (host).
- Remove the battery insulation tab from the host unit.
- Loosen the two screws on the host unit.
- Position the host unit vertically across the guitar soundhole, ensuring the endpin jack cable remains outside the guitar.
- Tighten the screws to secure the host unit firmly in place.
- Install External Endpin Jack:
- Disassemble the nuts and washers from the endpin jack.
- Attach the endpin jack to the provided leather buckle.
- Re-assemble the nuts and washers to secure the endpin jack to the leather buckle.
- Attach the leather buckle with the endpin jack to the strap pin at the bottom of the guitar.
- Cable Management:
- Use additional wire clips to tidy up any loose cables along the guitar's side.

Figure 3: Installation Methods (Outside Guitar vs. Inside Guitar)
5.3. Standard Installation (Internal Endpin Jack)
- Drill Hole for Endpin Jack:
- Carefully mark the center of the existing endpin hole at the bottom of your guitar.
- Apply masking tape around the area to protect the guitar finish.
- Using a 12mm or stepped drill bit, carefully drill a hole at the marked center.
- Clean Dust:
- Use a vacuum cleaner or air blower to remove any wood dust from inside the guitar body. This ensures proper adhesion for the pickup accessories.
- Install Transmission Device:
- Peel off the adhesive backing from the small circular transmission device.
- Carefully stick it inside the guitar body, on the back panel, between the second and third bracing, approximately 3cm from the guitar side.
- Install Internal Endpin Jack:
- Disassemble the nuts and washers from the endpin jack.
- Insert the endpin jack through the drilled hole from the outside of the guitar.
- From inside the guitar, install the large circular gasket and then the toothed gasket onto the endpin jack in sequence.
- Adjust the length of the endpin jack so that its bottom is flush with the guitar's side panel.
- Securely tighten the nuts from the outside using a wrench.
- Cable Management:
- Connect the endpin jack cable and the transmission device cable to the main unit (host).
- Use the provided wire clips to secure the cables along the inside of the guitar body, attaching them to the guitar side. Avoid sticking clips on the guitar back.
- Install Main Unit (Host):
- Loosen the two screws on the host unit.
- Position the host unit vertically across the guitar soundhole.
- Tighten the screws to secure the host unit firmly in place.
6. Operation
6.1. Power On/Off
- To power on, press and hold the Turbo button for 3 seconds. The indicator light will illuminate.
- To power off, press and hold the Turbo button for 3 seconds. The indicator light will turn off.
6.2. Adjusting Effects and Volume
- Volume: Rotate the Volume knob to increase or decrease the overall output level.
- Reverb: Rotate the Reverb knob to adjust the intensity of the reverb effect.
- Chorus/Delay: Rotate the Cho/Del knob to adjust the intensity of the chorus or delay effect.
- Microphone Volume: Rotate the Microphone knob to adjust the volume of the built-in microphone.
6.3. Transmission Mode (Unplugged Play)
- Short press the Turbo button to activate or deactivate the transmission mode. When active, the guitar's body will resonate, enhancing the sound and effects without an external amplifier.
6.4. Stage Mode (Amplified Play)
- Connect the endpin output jack to an external amplifier using a standard instrument cable.
- Adjust the volume and effects on both the YALP Y2 preamp and your amplifier for desired sound.
6.5. Bluetooth Connectivity
- Activate Bluetooth on your mobile device.
- Search for "YALP Y2" and pair with the device.
- Play background music from your mobile device. The sound will be transmitted through the guitar's internal transmission device.
- Press the V.Cut button to remove vocals from the Bluetooth accompaniment, allowing you to play along with instrumental tracks.
7. Maintenance
- Cleaning: Wipe the unit with a soft, dry cloth. Do not use liquid cleaners or solvents.
- Battery Charging: Charge the unit using the provided Type-C cable when the indicator light shows low power. Avoid overcharging.
- Storage: Store the unit in a cool, dry place away from direct sunlight and extreme temperatures.
- Cable Care: Ensure all cables are not kinked or strained to prevent damage.
8. Troubleshooting
| Problem | Possible Cause | Solution |
|---|---|---|
| No sound in Transmission Mode. | Transmission mode not activated; low battery. | Short press the Turbo button. Charge the unit. |
| No sound when connected to amplifier. | Cable not connected properly; amplifier off; low volume. | Check cable connections. Ensure amplifier is on and volume is up. Adjust YALP Y2 volume. |
| Bluetooth not connecting. | Bluetooth on YALP Y2 or phone is off; device too far. | Ensure both devices have Bluetooth enabled. Move devices closer. Restart YALP Y2. |
| Effects not working. | Effect knobs set to minimum; unit not powered on. | Rotate effect knobs to increase intensity. Power on the unit. |
9. Specifications
- Brand: SUNYIN
- Model: YALP Y2
- Color: Black
- Compatible Devices: Acoustic Guitar
- Material: Plastic
- Item Weight: Approximately 0.6 Pounds (272 grams)
- Effects: Reverb, Chorus, Delay
- Connectivity: Bluetooth, 1/4" Output Jack
- Power: Rechargeable Battery (Lithium)
10. Warranty and Support
For warranty information, technical support, or service inquiries, please refer to the official SUNYIN website or contact your retailer. Keep your purchase receipt as proof of purchase for warranty claims.
Online Resources: Visit the SUNYIN Store on Amazon