
Maxax 19200-1BU
Maxax Blue Pendant Light Kitchen Island (Model 19200-1BU) Instruction Manual
Brand: Maxax | Model: 19200-1BU
1. Introduction
This manual provides detailed instructions for the safe installation, operation, and maintenance of your Maxax Blue Pendant Light Kitchen Island, Model 19200-1BU. Please read this manual thoroughly before installation and retain it for future reference.
The Maxax Blue Pendant Light features a clear glass construction with a minimalist design, suitable for various indoor settings such as kitchen islands, bar areas, bathrooms, above sinks, or dining rooms. It is designed for adjustable height and uses an E26 bulb base.
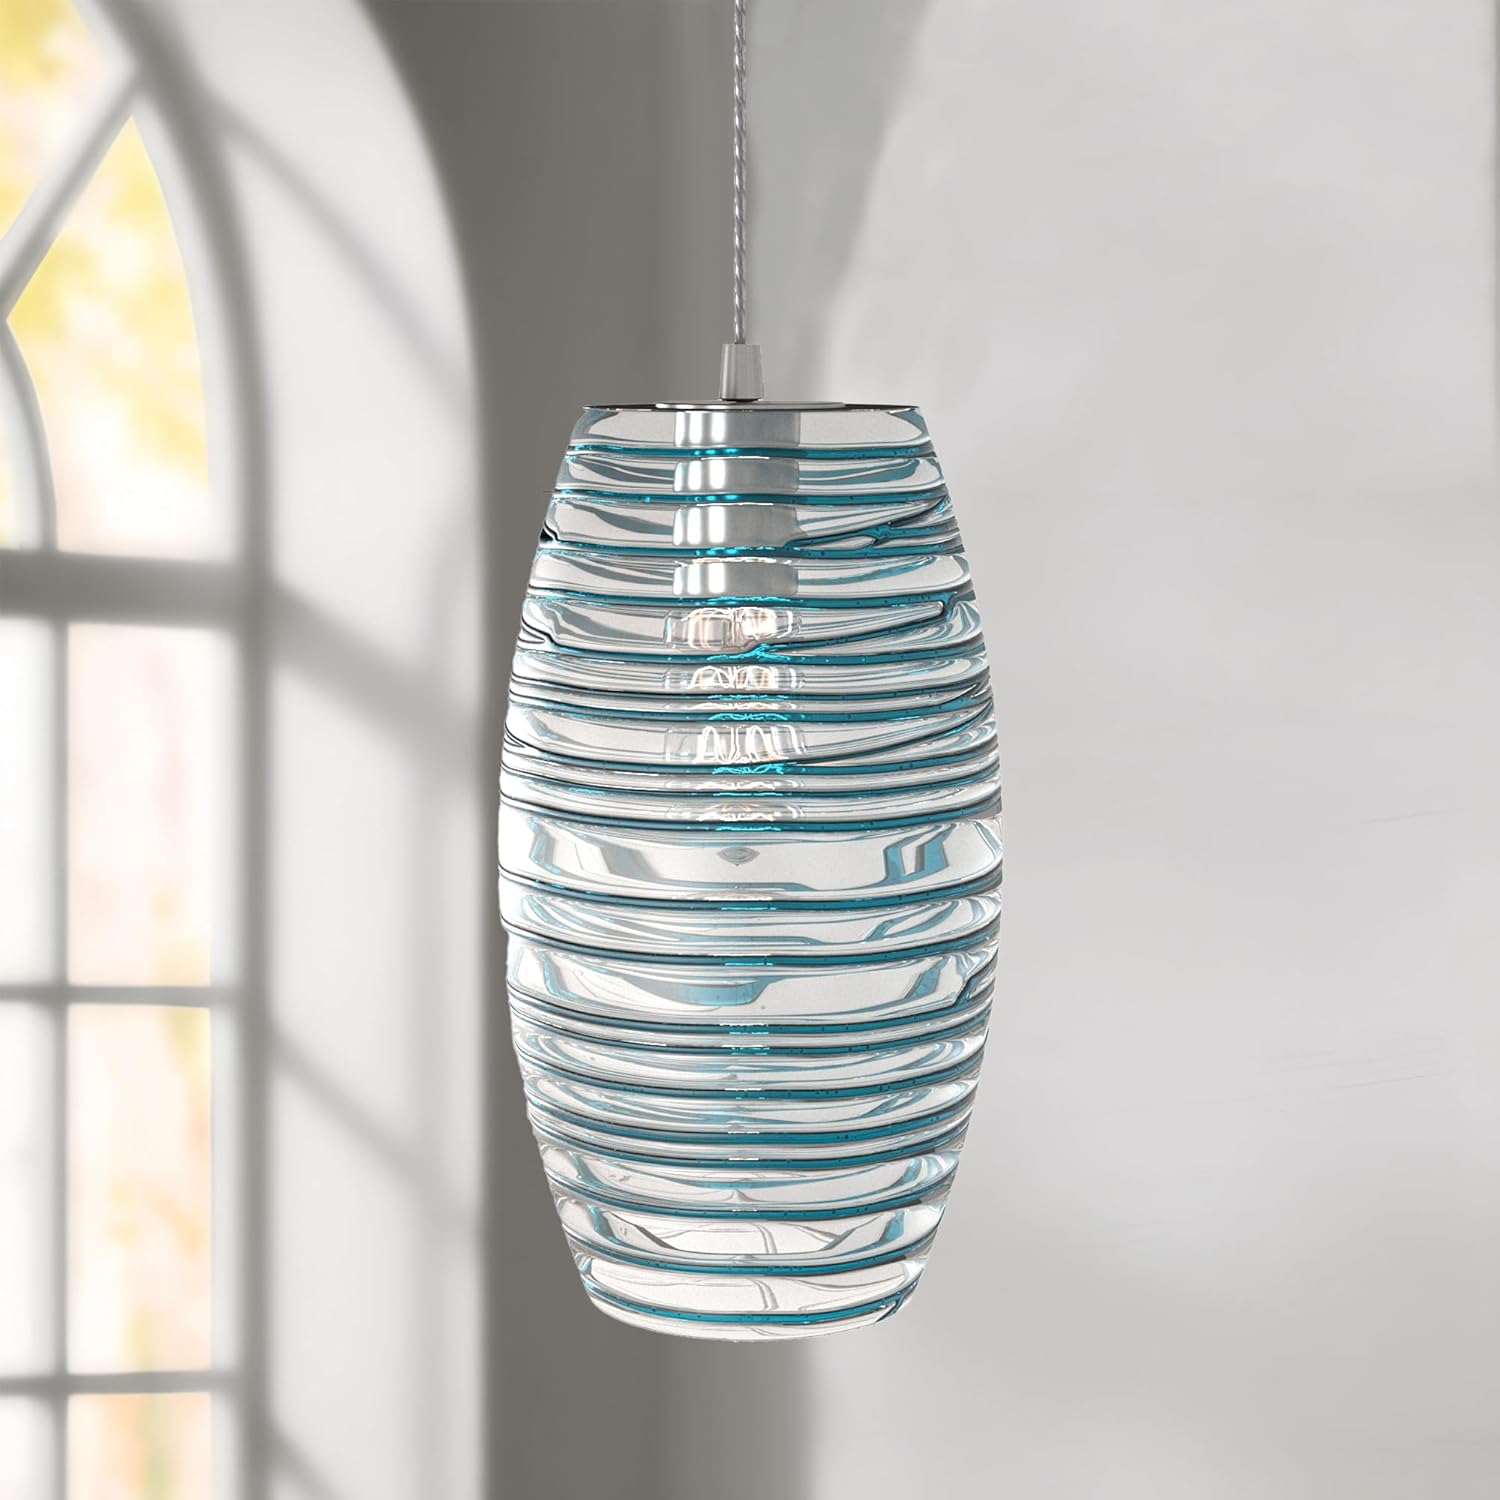
Figure 1: Maxax Blue Pendant Light, Model 19200-1BU.
2. Safety Information
WARNING: To reduce the risk of fire, electric shock, or personal injury, always follow these safety precautions:
- Always turn off the power at the main circuit breaker or fuse box before beginning installation or performing any maintenance.
- Consult a qualified electrician if you are unsure about the installation process.
- Ensure all electrical connections are made in accordance with local codes and ordinances.
- Do not install this fixture in wet locations. It is designed for indoor use only.
- Use only the specified bulb type (E26, max 60W). Do not exceed the recommended wattage.
- Handle glass components with care to prevent breakage.
- Keep flammable materials away from the light fixture when in operation.
- This product is UL certified for quality assurance.
3. What's in the Box
Carefully unpack all components and check for any damage. Ensure all parts are present before discarding packaging materials.
- Pendant Light Fixture (including shade)
- Mounting Hardware (canopy, mounting bracket, screws, wire nuts)
- Instruction Manual (this document)
Note: An E26 bulb is not included and must be purchased separately.
4. Setup and Installation
Follow these steps for proper installation of your pendant light. It is recommended to have two people for installation.
4.1 Prepare for Installation
- Turn off power at the circuit breaker or fuse box.
- Clear the work area and gather necessary tools (screwdriver, wire strippers, electrical tape, ladder).
- Unpack the fixture and inspect all components.
4.2 Mounting the Fixture
The fixture is designed for semi-flush mount installation and features adjustable height.
- Attach the mounting bracket to the junction box in the ceiling using the provided screws. Ensure it is securely fastened.
- Determine the desired hanging height for the pendant light. The cable length is adjustable up to 62 inches. Adjust the cable length by pushing the pin on the canopy and pulling the cable through to the desired length.
- Connect the fixture's ground wire (usually bare copper or green) to the ground wire from the junction box (usually bare copper or green) using a wire nut.
- Connect the fixture's neutral wire (usually white) to the neutral wire from the junction box (usually white) using a wire nut.
- Connect the fixture's hot wire (usually black) to the hot wire from the junction box (usually black) using a wire nut.
- Carefully tuck all wires into the junction box.
- Align the canopy with the mounting bracket and secure it with the canopy screws.

Figure 2: Product Dimensions and Adjustable Height Mechanism.
4.3 Installing the Bulb
- Once the fixture is securely mounted, screw an E26 base bulb (max 60W, not included) into the socket.
- Ensure the bulb is seated firmly.
After installation, restore power at the circuit breaker and test the light.
Video 1: Overview of the Maxax Blue Pendant Light, showcasing its design and potential applications in various room settings.
5. Operating Instructions
The Maxax Blue Pendant Light is operated via a standard wall switch (toggle switch). If connected to a dimmable switch and using a dimmable E26 bulb, you can adjust the light intensity.
- To turn the light ON/OFF: Flip the connected wall switch.
- To dim the light (if applicable): Adjust the dimmer switch to your desired brightness level.
6. Maintenance
6.1 Cleaning
Always turn off power before cleaning the fixture.
- Wipe the glass shade with a soft, dry cloth. For stubborn marks, a slightly damp cloth can be used, followed by drying.
- Do not use abrasive cleaners or solvents, as they may damage the finish or glass.
- Clean the metal components with a soft, dry cloth.
6.2 Bulb Replacement
Always turn off power at the circuit breaker before replacing the bulb.
- Allow the bulb to cool completely before touching it.
- Unscrew the old E26 bulb from the socket.
- Screw in a new E26 base bulb (max 60W).
- Restore power and test the light.
7. Troubleshooting
| Problem | Possible Cause | Solution |
|---|---|---|
| Light does not turn on. |
|
|
| Light flickers. |
|
|
If the problem persists after attempting these solutions, please contact customer support.
8. Specifications
| Feature | Detail |
|---|---|
| Brand | Maxax |
| Model Name | 19200-1BU |
| Color | Blue |
| Material | Metal, Glass |
| Style | Modern |
| Light Fixture Form | Pendant |
| Product Dimensions | 7"L x 7"W x 62"H (Adjustable) |
| Specific Uses | Home (Bedroom, Dining Room, Kitchen) |
| Indoor/Outdoor Usage | Indoor |
| Power Source | Corded Electric |
| Installation Type | Semi Flush Mount |
| Special Feature | Adjustable Height |
| Control Method | Wall Switch (Toggle) |
| Light Source Type | E26 Bulb Compatible (LED compatible) |
| Finish Type | Matte |
| Shade Material | Glass |
| Number of Light Sources | 1 |
| Voltage | 110 Volts |
| Wattage | 60 watts (Max) |
| Bulb Base | E26 |
| Switch Type | Toggle (Standard wall switch) |
| Item Weight | 5.7 Pounds |
| Water Resistance Level | Not Water Resistant |
| Brightness | 800 lumen (Typical for recommended 60W bulb) |
| Efficiency | 13.33 lumens per watt (Typical for recommended 60W bulb) |
| UL Certified | Yes |
9. Warranty and Support
Maxax modern glass pendant lights are UL certified, ensuring quality and safety standards are met.
If your product arrives damaged or you encounter any issues during installation or operation, please contact the seller, 4ModernHome, for assistance. Refer to your purchase documentation for specific contact details.
For further information or to explore other products, visit the Maxax Store on Amazon.
Related documents19200-1BU


Ask a question about this manual
Ask about setup, troubleshooting, compatibility, parts, safety, or missing instructions. Manuals+ will review the question and use this page’s manual context to help answer it.