
Comfort Glow DVP08
Contents
Comfort Glow DVP08 8,000 BTU Direct Vent Liquid Propane Wall Mounted Heater User Manual
Model: DVP08
1. Introduction
This manual provides essential information for the safe installation, operation, and maintenance of your Comfort Glow DVP08 8,000 BTU Direct Vent Liquid Propane Wall Mounted Heater. Please read all instructions carefully before installation and use. Retain this manual for future reference.
The Comfort Glow DVP08 is a powerful and efficient direct vent propane heater designed to heat spaces up to 280 sq. ft. It features a fully enclosed combustion system that vents directly through an exterior wall, eliminating the need for a chimney. This unit is approved for use in bedrooms, bathrooms, mobile homes, and modular homes, offering reliable heating without requiring electricity.

Image 1.1: Front view of the Comfort Glow DVP08 Direct Vent Liquid Propane Wall Mounted Heater.
2. Important Safety Information
WARNING: Improper installation, adjustment, alteration, service, or maintenance can cause property damage, injury, or death. Read the installation, operating, and maintenance instructions thoroughly before installing or servicing this equipment.
- Professional Installation: Installation and service must be performed by a qualified installer, service agency, or gas supplier.
- Ventilation: This is a direct vent appliance. Ensure the vent kit is installed correctly to exhaust combustion byproducts outside. Do not block the vent.
- Fuel Type: This heater is designed for use with Liquid Propane (LP) gas only. Do not use with natural gas or any other fuel.
- Safety Features: Equipped with a sealed burn system, matchless piezo ignition, a safety pilot, and a built-in pressure regulator. The safety pilot system will stop the flow of gas if the pilot light is extinguished.
- Clearances: Maintain proper clearances from combustible materials as specified in the installation section.
- Carbon Monoxide: Although direct vent, ensure proper installation and regular maintenance to prevent carbon monoxide buildup. Install carbon monoxide detectors in your home.
- Children and Pets: Keep children and pets away from the heater, especially when operating, as surfaces can become hot.
3. Package Contents
Verify that all components are present and undamaged before beginning installation.
- Comfort Glow DVP08 Heater Unit
- Mounting Bracket
- Hardware Kit (screws, anchors, etc.)
- Professional Vent Kit

Image 3.1: Included Professional Vent Kit and Hardware Pack.
4. Product Specifications
| Feature | Specification |
|---|---|
| Model Number | DVP08 |
| Heating Capacity | 8,000 BTU |
| Heating Coverage | Up to 280 sq. ft. |
| Fuel Type | Liquid Propane (LP) |
| Ignition Type | Matchless Piezo Ignition |
| Safety Features | Low-Oxygen Safety Shutoff, Safety Pilot, Built-in Pressure Regulator |
| Burner Type | Radiant, Noise-Free Stainless Steel |
| Mounting Type | Wall Mount |
| Dimensions (D x W x H) | 9.8" x 16.5" x 29.5" |
| Item Weight | 23 pounds |
| Color | Gray / Black |
| Electricity Required | No |

Image 4.1: Overview of key features including BTU, no electricity requirement, and heating area.
5. Installation
It is highly recommended that installation be performed by a qualified professional to ensure compliance with local codes and safety standards.
5.1 Site Selection
- Choose an exterior wall for direct venting.
- Ensure adequate clearance from combustible materials (refer to local codes and product labels).
- The heater should be mounted securely to wall studs.
5.2 Mounting the Heater
- Secure the mounting bracket to the wall at the desired height, ensuring it is level.
- Carefully lift the heater unit and hang it onto the mounting bracket.
- Ensure the heater is firmly seated and secured to the bracket.
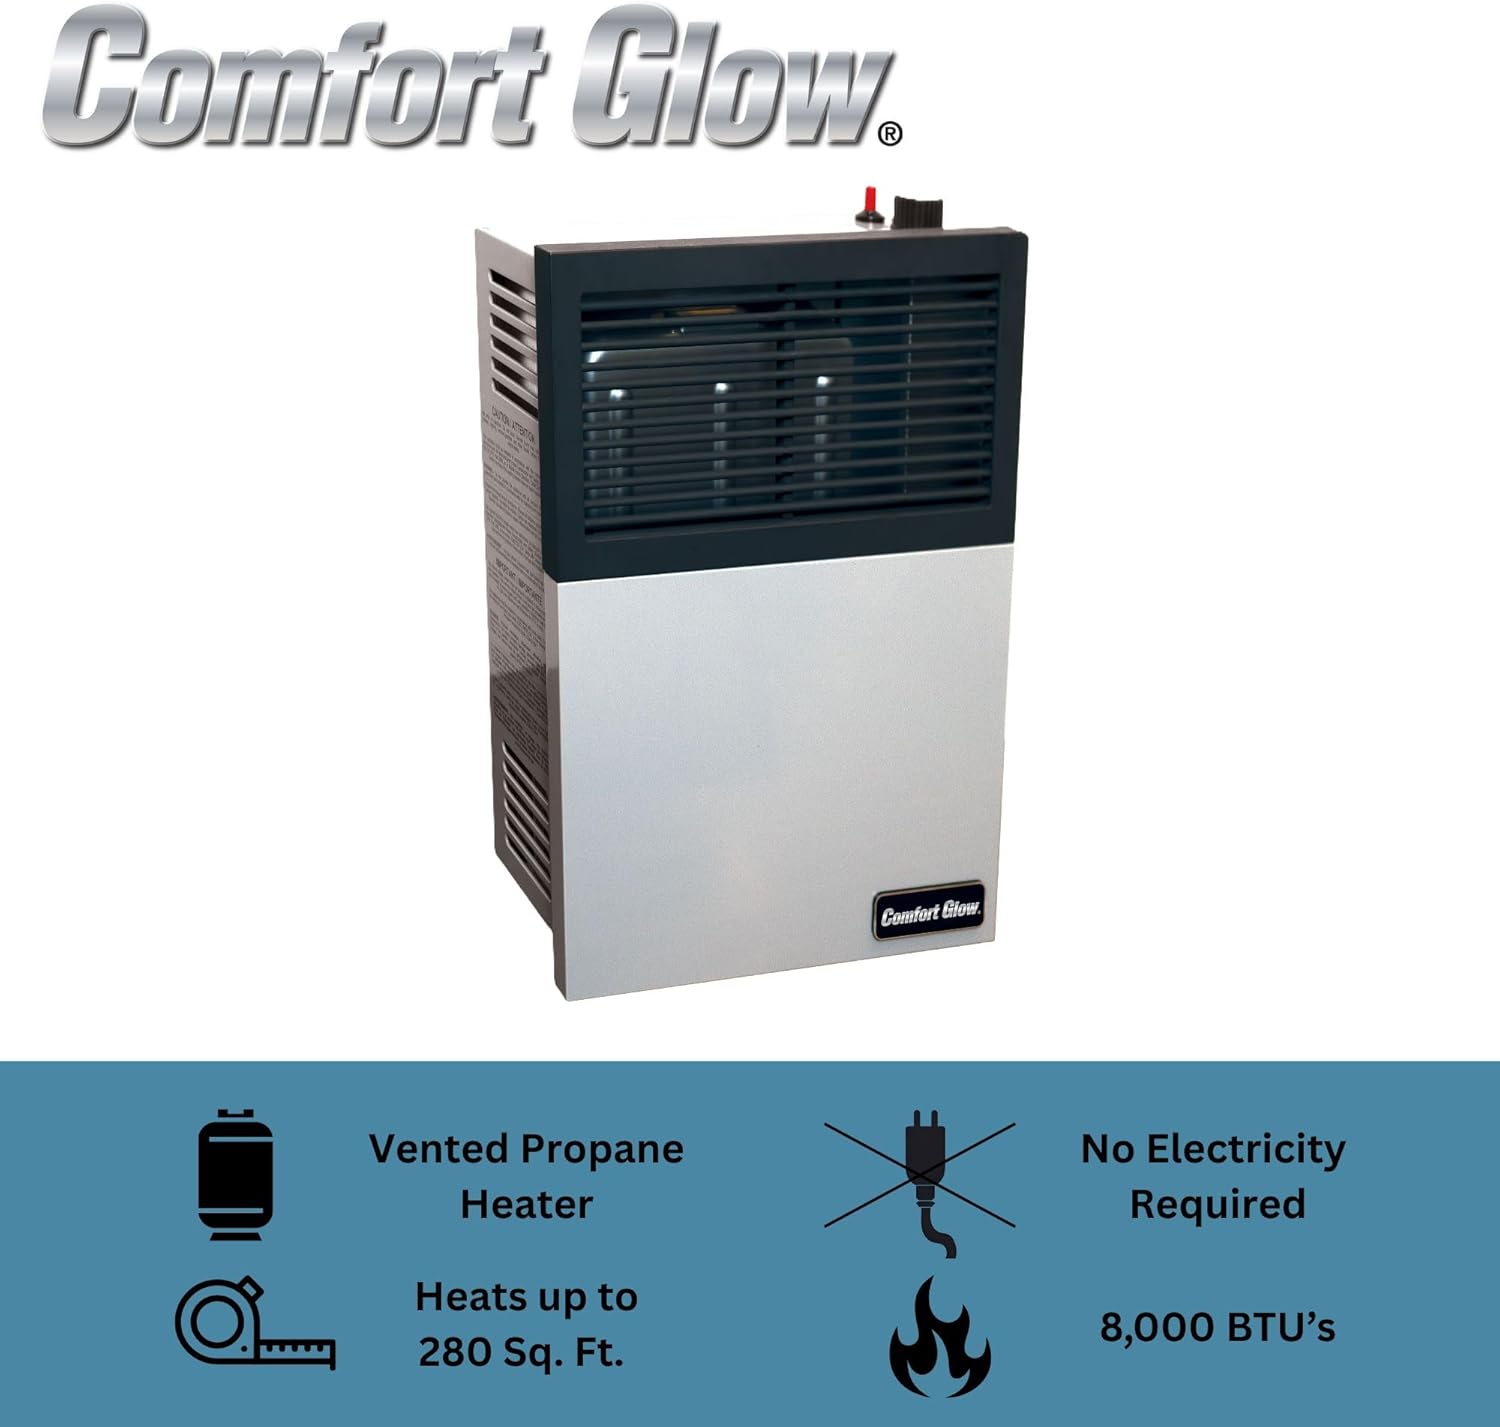
Image 5.1: Rear view of the heater, illustrating the vent connection point.
5.3 Vent Kit Installation
The professional vent kit allows for direct venting through an exterior wall.
- Following the vent kit instructions, cut the appropriate size hole through the exterior wall.
- Assemble the vent components and connect them to the heater's exhaust port.
- Ensure all vent connections are sealed properly to prevent leaks and maintain the integrity of the sealed combustion system.
- Install the exterior vent cap according to the kit instructions.

Image 5.2: Diagram illustrating the direct vent installation process through an exterior wall.
5.4 Gas Connection
A qualified gas technician must perform the gas line connection.
- Connect the liquid propane supply line to the heater's gas inlet.
- Ensure all connections are tight and leak-free. Perform a leak test using a non-corrosive leak detection solution.
- Verify correct gas pressure at the heater.
6. Operating Instructions
6.1 Lighting the Pilot
- Ensure the gas supply valve is open.
- Turn the control knob to the 'PILOT' position and push it in.
- While holding the knob in, press the piezo igniter button repeatedly until the pilot flame ignites.
- Continue to hold the control knob in for approximately 30-60 seconds after ignition to allow the thermocouple to heat up.
- Release the knob. If the pilot light goes out, repeat steps 2-4.
6.2 Operating the Heater
- Once the pilot is lit, turn the control knob from 'PILOT' to the desired heat setting ('LO' or 'HI').
- The main burner will ignite, and heat will begin to radiate from the unit.
- Adjust the control knob between 'LO' and 'HI' to regulate the heat output.

Image 6.1: Close-up of the control knob for ignition and heat adjustment.
6.3 Shutting Down the Heater
- To turn off the main burner, turn the control knob to the 'PILOT' position. The pilot light will remain lit.
- To completely shut down the heater, turn the control knob to the 'OFF' position. This will extinguish both the main burner and the pilot light.
- For extended periods of non-use, it is recommended to close the main gas supply valve to the heater.
7. Maintenance
Regular maintenance ensures efficient and safe operation of your heater. Always turn off the heater and disconnect the gas supply before performing any maintenance.
7.1 Cleaning
- Exterior: Wipe the exterior surfaces with a soft, damp cloth. Do not use abrasive cleaners or solvents.
- Burner and Pilot Assembly: Periodically inspect the burner and pilot assembly for dust, lint, or debris. Use a soft brush or vacuum cleaner to gently remove any accumulations. Do not obstruct the burner ports.
- Vent System: Annually inspect the vent system for any obstructions, damage, or signs of corrosion. Ensure the exterior vent cap is clear of debris.
7.2 Annual Inspection
It is recommended to have a qualified service technician inspect your heater annually to ensure all components are functioning correctly and safely.
8. Troubleshooting
Before contacting customer support, review the following common issues and solutions.
| Problem | Possible Cause | Solution |
|---|---|---|
| Pilot light will not light or stay lit. | Gas supply off; air in gas line; thermocouple not heating; pilot orifice clogged. | Ensure gas supply is open. Purge air from line. Hold control knob longer. Clean pilot orifice. Contact service if issue persists. |
| Main burner does not ignite. | Pilot light not lit; control knob not set to 'LO' or 'HI'; gas pressure too low. | Light pilot. Turn control knob to a heat setting. Check gas supply and pressure. |
| Heater produces insufficient heat. | Incorrect heat setting; vent obstruction; room size too large for BTU output. | Adjust to 'HI' setting. Check vent for obstructions. Ensure heater BTU matches room requirements. |
| Unusual odors. | Initial burn-off of manufacturing residues; gas leak; dust on burner. | First use odors are normal. If odor persists or smells like gas, immediately shut off gas supply and ventilate area. Do not operate. Contact gas supplier and service technician. Clean burner. |
9. Warranty and Support
9.1 Limited Warranty
The Comfort Glow DVP08 heater typically comes with a 2-year limited warranty covering defects in materials and workmanship under normal use. Please refer to the warranty card included with your product for specific terms, conditions, and exclusions. Keep your proof of purchase for warranty claims.
9.2 Customer Support
For technical assistance, parts, or warranty inquiries, please contact Comfort Glow customer service. Contact information can usually be found on the product packaging or the official Comfort Glow website.
Documents and downloads
Ask a question about this manual
Ask about setup, troubleshooting, compatibility, parts, safety, or missing instructions. Manuals+ will review the question and use this page’s manual context to help answer it.