1. Introduction
This manual provides detailed instructions for the installation, operation, and maintenance of your myGEKOgear Orbit D111 Full HD Dash Cam. Please read this manual thoroughly before using the device to ensure proper functionality and to maximize your user experience.
2. What's in the Box
Verify that all items are present in the package:
- Orbit D111 Dashcam
- Power Cable (Car Charger)
- Suction Cup Mount
- 32GB Micro SD Card
- User Manual (this document)
3. Product Overview
The myGEKOgear Orbit D111 is a compact dash camera designed to record your driving in Full HD 1080P resolution. It features a 3-inch display, a 140-degree wide-angle lens, G-Sensor for emergency recording, and supports loop recording.
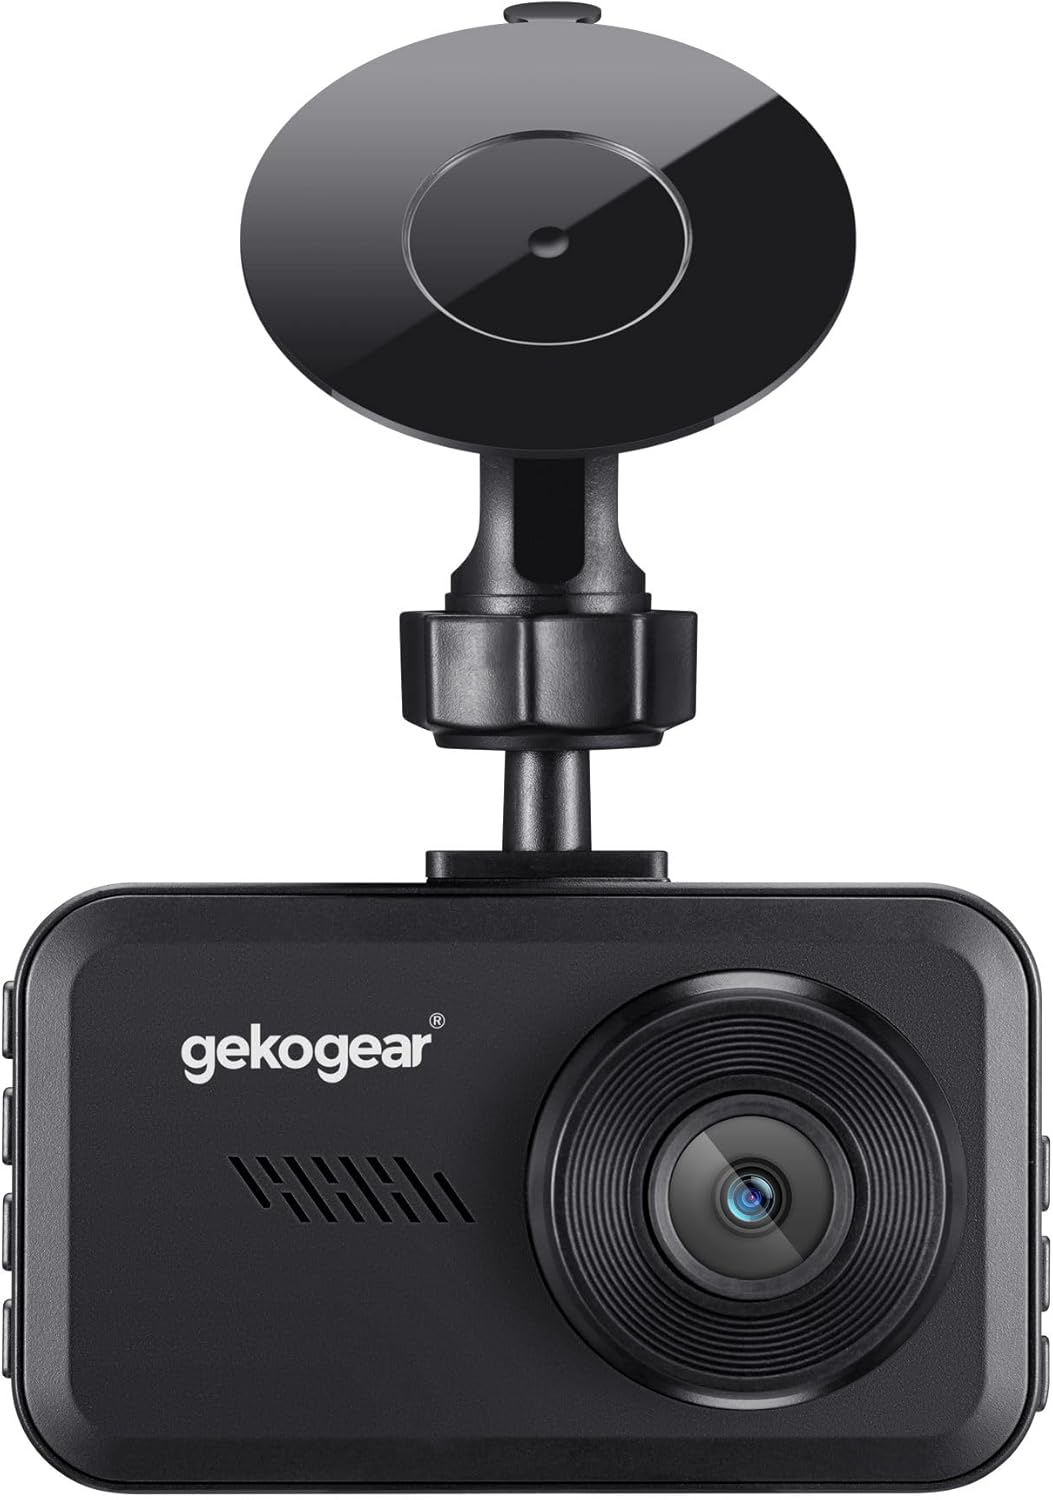
Figure 3.1: Front view of the Orbit D111 Dash Cam with its suction cup mount.
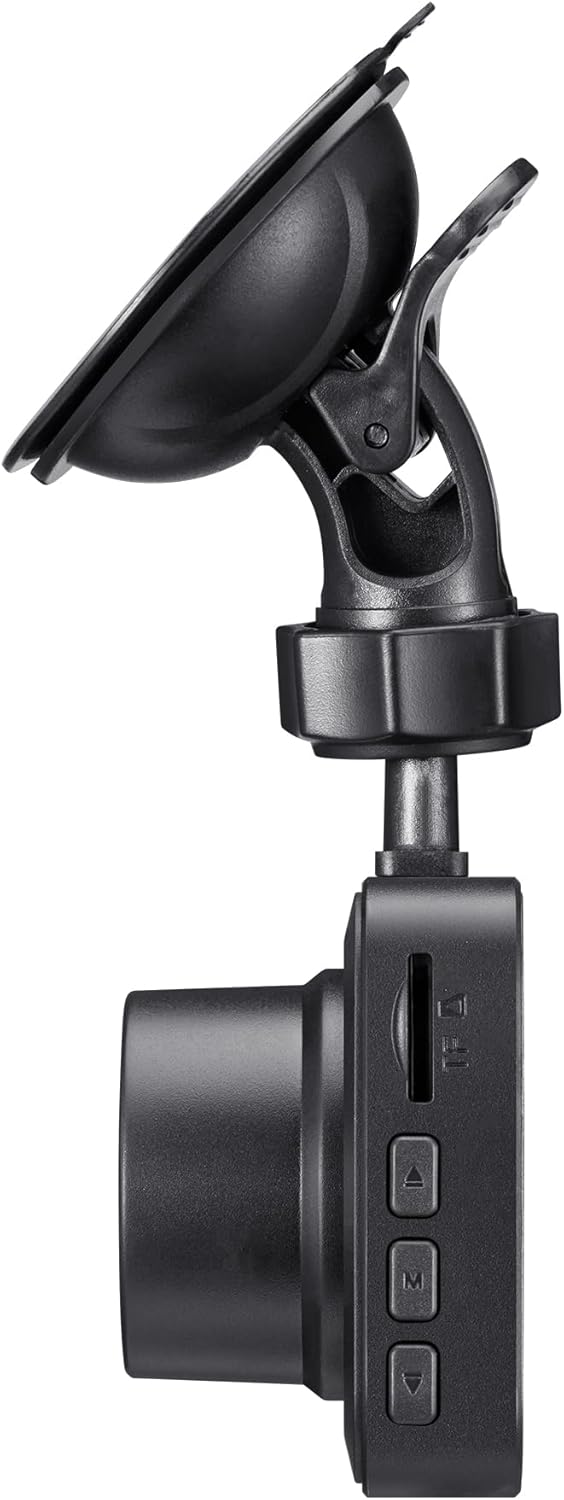
Figure 3.2: Side view illustrating the control buttons and ports on the Orbit D111 Dash Cam.
4. Setup
4.1. MicroSD Card Installation
The Orbit D111 supports MicroSD cards up to 64GB. A 32GB MicroSD card is included. Ensure the card is inserted correctly before use.
- Locate the MicroSD card slot on the side of the dash cam.
- Insert the MicroSD card with the gold contacts facing the back of the camera until it clicks into place.
- To remove, gently push the card in until it springs out.

Figure 4.1: MicroSD card and adapter, illustrating the type of storage supported.
4.2. Mounting the Dash Cam
Use the provided suction cup mount to secure the dash cam to your vehicle's windshield.
- Clean the area on your windshield where you intend to mount the dash cam.
- Attach the suction cup mount to the dash cam.
- Press the suction cup firmly against the windshield and flip the lever to secure it.
- Adjust the camera angle to ensure a clear view of the road ahead.

Figure 4.2: The Orbit D111 Dash Cam securely mounted on a vehicle's windshield, displaying its live recording view.
4.3. Power Connection
Connect the dash cam to your vehicle's power source using the included power cable.
- Plug the small end of the power cable into the dash cam's power port.
- Plug the other end (car charger) into your vehicle's 12V power outlet (cigarette lighter socket).
- The dash cam will typically power on and begin recording automatically when the vehicle's ignition is turned on.
5. Operating Instructions
5.1. Power On/Off
The dash cam is designed to power on and off automatically with your vehicle's ignition. You can also manually power it on or off by pressing and holding the power button.
5.2. Recording Modes
The Orbit D111 features continuous loop recording and emergency recording via its G-Sensor.
- Loop Recording: The camera records video in segments (e.g., 1, 3, or 5 minutes). When the MicroSD card is full, the oldest unlocked files are overwritten to make space for new recordings.
- G-Sensor (Emergency Recording): The built-in G-Sensor detects sudden impacts or rapid deceleration. When triggered, it automatically locks the current video segment, preventing it from being overwritten by loop recording.

Figure 5.1: Visual representation of the G-Sensor feature, which automatically saves critical footage during incidents.
5.3. Display and Menu Navigation
The 3-inch IPS display provides a live view of the recording and allows access to settings.

Figure 5.2: A clear view of the 3-inch display, showing the live feed and recording indicators.
Use the physical buttons on the side of the dash cam to navigate through the menu options and adjust settings such as video resolution, loop recording duration, G-Sensor sensitivity, and date/time.
5.4. Wide-Angle Lens
The 140-degree wide-angle lens captures a broad view of the road, covering multiple lanes and reducing blind spots.

Figure 5.3: Illustration of the 140-degree wide-angle lens coverage, showing an expansive view of the road.
6. Maintenance
- Cleaning: Use a soft, dry cloth to clean the camera lens and display. Avoid abrasive cleaners or solvents.
- MicroSD Card: Periodically format the MicroSD card (at least once a month) within the camera's settings to ensure optimal performance and prevent data corruption. Back up any important files before formatting.
- Firmware Updates: Check the myGEKOgear website for available firmware updates. Keeping your dash cam's firmware updated can improve performance and add new features.

Figure 6.1: A laptop screen displaying a firmware update interface, indicating the availability of ongoing software support.
7. Troubleshooting
- Camera not powering on:
- Ensure the power cable is securely connected to both the dash cam and the vehicle's 12V outlet.
- Check if the vehicle's 12V outlet is functioning (e.g., by testing with another device).
- The dash cam may have a low battery; charge it for a few minutes. - Recording stops or freezes:
- The MicroSD card may be full. Format the card (after backing up important files).
- The MicroSD card may be faulty or too slow. Use a high-speed (Class 10 or U1/U3) MicroSD card.
- Ensure the card is properly inserted. - Poor video quality:
- Clean the camera lens.
- Ensure the protective film has been removed from the lens.
- Check the video resolution settings in the camera menu. - G-Sensor is too sensitive/not sensitive enough:
- Adjust the G-Sensor sensitivity setting in the camera menu. - Date/Time is incorrect:
- Set the correct date and time in the camera's settings menu.
8. Specifications
| Feature | Specification |
|---|---|
| Model Name | D111 |
| Video Capture Resolution | 1080p Full HD |
| Display | 3-inch IPS Screen |
| Field Of View | 140 Degrees |
| Special Features | Built-In Display, Compact Design, G-Sensor, Loop Recording |
| Storage Support | Up to 64GB MicroSD (32GB included) |
| Connectivity Technology | USB |
| Mounting Type | Windshield Mount (Suction Cup) |
| Product Dimensions | 3.5 x 2 x 2 inches |
| Item Weight | 9.6 ounces |
| Manufacturer | Adesso |
9. Warranty and Support
For warranty information and technical support, please refer to the official myGEKOgear website or contact their customer service directly. Keep your purchase receipt as proof of purchase.