
1. Introduction
Thank you for choosing the GROWNEER Digital Torque Wrench. This manual provides essential information for the safe and effective operation, maintenance, and troubleshooting of your new tool. Please read this manual thoroughly before use and retain it for future reference.
2. Important Safety Information
- Do Not Overload: Exceeding 120% of the maximum torque value (30 Nm) may permanently damage the wrench and void the warranty.
- Keep Dry: This tool is not waterproof. If the wrench accidentally gets wet, immediately wipe it with a dry towel. Exposure to saltwater or corrosive liquids can cause severe damage.
- Proper Handling: Always hold the wrench by the handle. Do not use extension bars on the handle to increase leverage, as this can lead to over-tightening and damage.
- Battery Safety: Use only specified AAA batteries. Do not mix old and new batteries or different types of batteries. Remove batteries if the tool will not be used for an extended period.
- Storage: Store the wrench in its protective case in a dry, clean environment away from extreme temperatures.
- Maintenance: Do not attempt to disassemble or repair the wrench yourself. Contact qualified service personnel for repairs.
3. Package Contents
Your GROWNEER Digital Torque Wrench set includes the following items:
- Digital Torque Wrench (1/4'' Drive) x 1
- Sockets x 13
- Bits x 20 (PH0, PH1, PH2, PH3, T8, T10, T15, T20, T25, T27, T30, T40, H2, H2.5, H3, H4, H5, H6, H7, H8, H10, SL4, SL8)
- Bit Adapter x 1
- Screwdriver x 1
- AAA Batteries x 1 (Note: Typically 2 AAA batteries are required for operation)
- Storage Case x 1
- User Manual x 1

Image 3.1: Complete 41-in-1 Digital Torque Wrench Set with all included accessories.
4. Product Overview
The GROWNEER Digital Torque Wrench provides precise torque measurement and application with a clear digital display and user-friendly features.
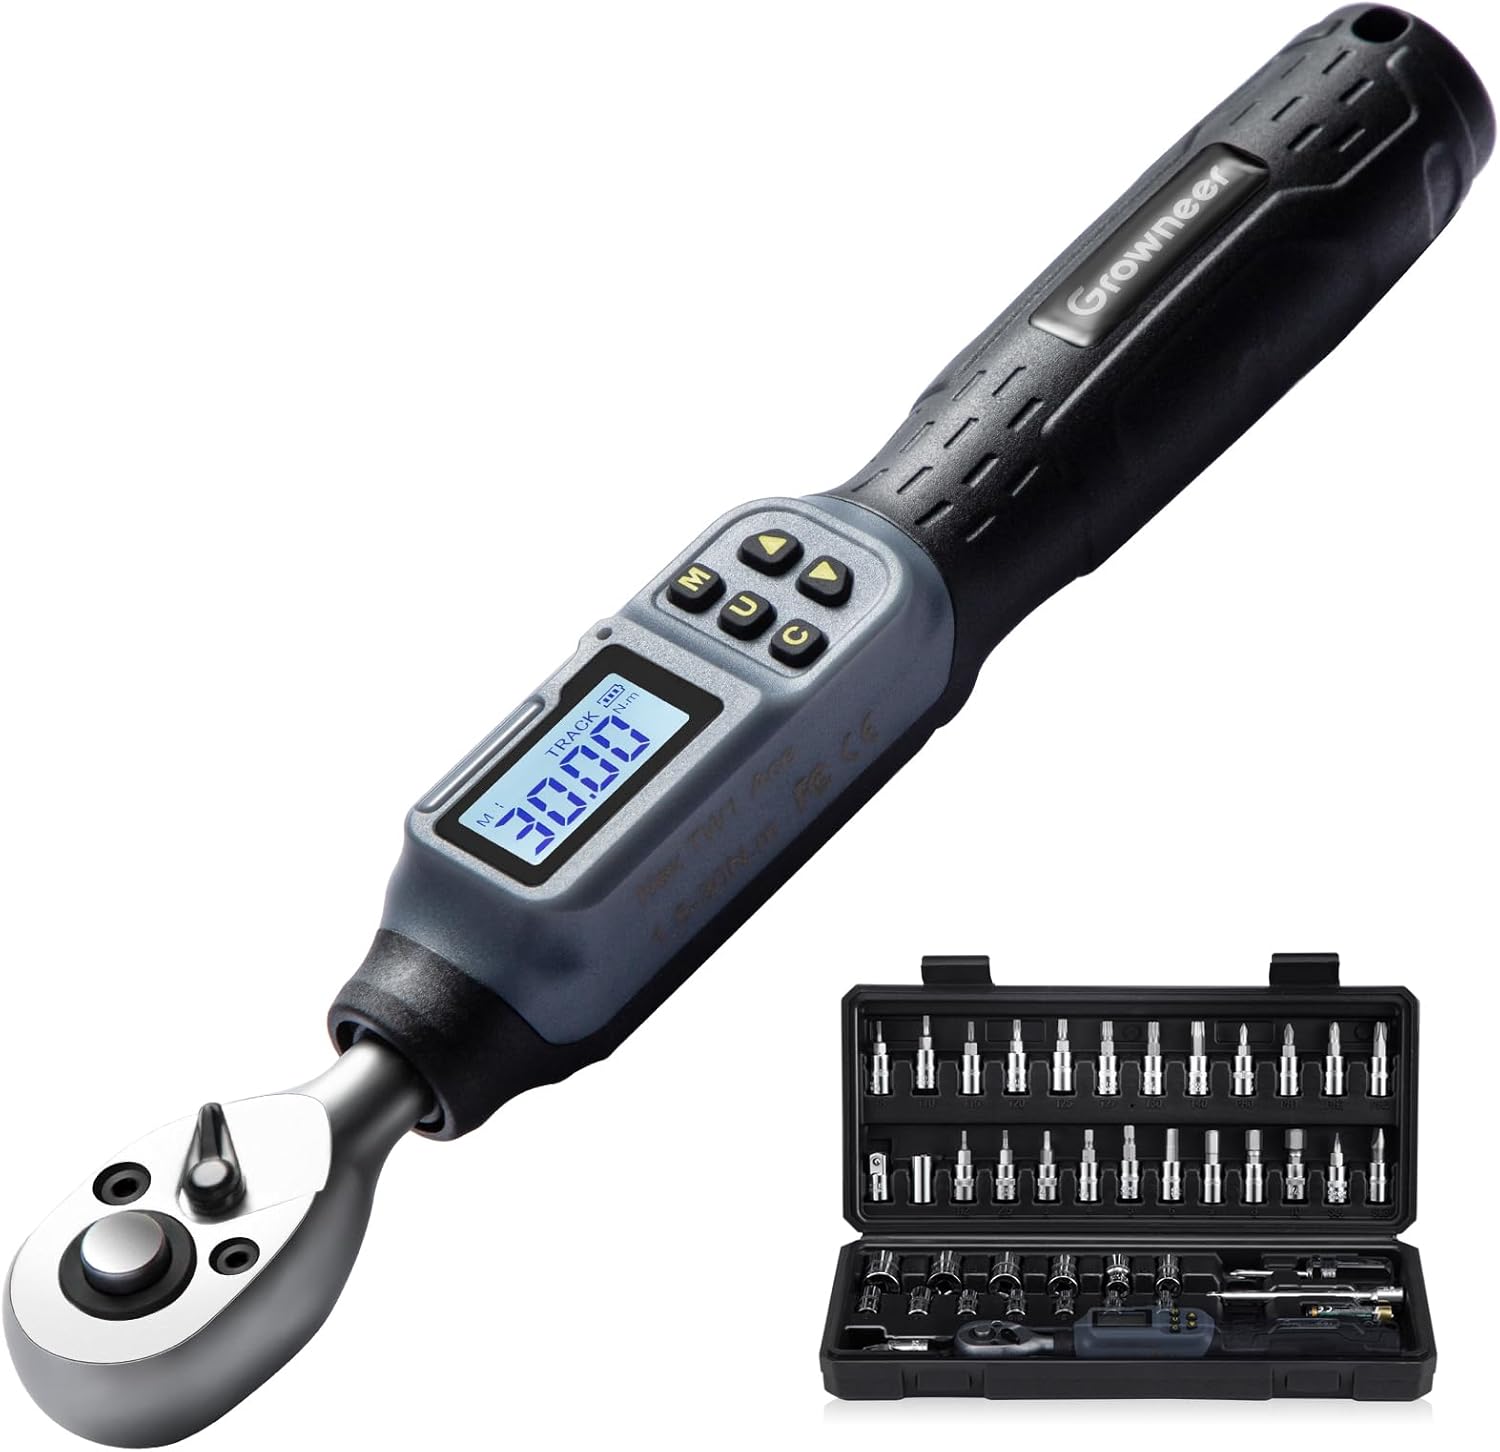
Image 4.1: GROWNEER Digital Torque Wrench showing overall dimensions and model information.
Key Features:
- High Accuracy: ±2% clockwise, ±3% counter-clockwise.
- Digital Display: Large backlit LCD for easy reading in various lighting conditions.
- Multiple Units: Switchable between N.m, Ft-Lb, In-Lb, and Kg.cm.
- Dual Warning System: Buzzer and LED indicators alert when approaching and reaching target torque.
- Measurement Modes: PEAK mode (records maximum torque applied) and TRACK mode (displays real-time torque).
- Data Storage: Stores up to 500 sets of data for historical review.
- Quick Release Ratchet Head: For easy socket and bit changes.

Image 4.2: Overview of key digital torque wrench features including instant display, unit switching, buzzer/LED, and data storage.
5. Setup
5.1 Battery Installation
- Locate the battery compartment cover at the base of the wrench handle.
- Twist or slide the cover to open it.
- Insert two AAA batteries, ensuring correct polarity (+/-) as indicated inside the compartment.
- Replace the battery compartment cover securely.
5.2 Attaching Sockets and Bits
- Select the appropriate socket or bit for your task.
- Align the square drive of the socket or the bit adapter with the 1/4'' square drive on the wrench's ratchet head.
- Push firmly until the socket/adapter clicks into place.
- To remove, press the quick-release button on the ratchet head and pull the socket/adapter off.
6. Operating Instructions
6.1 Power On/Off
- Power On: Press the power button (usually marked with a power symbol or 'C' for Clear/On) to turn on the wrench. The LCD will illuminate.
- Power Off: The wrench will automatically shut off after a period of inactivity to conserve battery life. You can also press and hold the power button to manually turn it off.
6.2 Unit Selection
Press the 'U' button to cycle through the available torque units:
- N.m (Newton-meters)
- Ft-Lb (Foot-pounds)
- In-Lb (Inch-pounds)
- Kg.cm (Kilogram-centimeters)
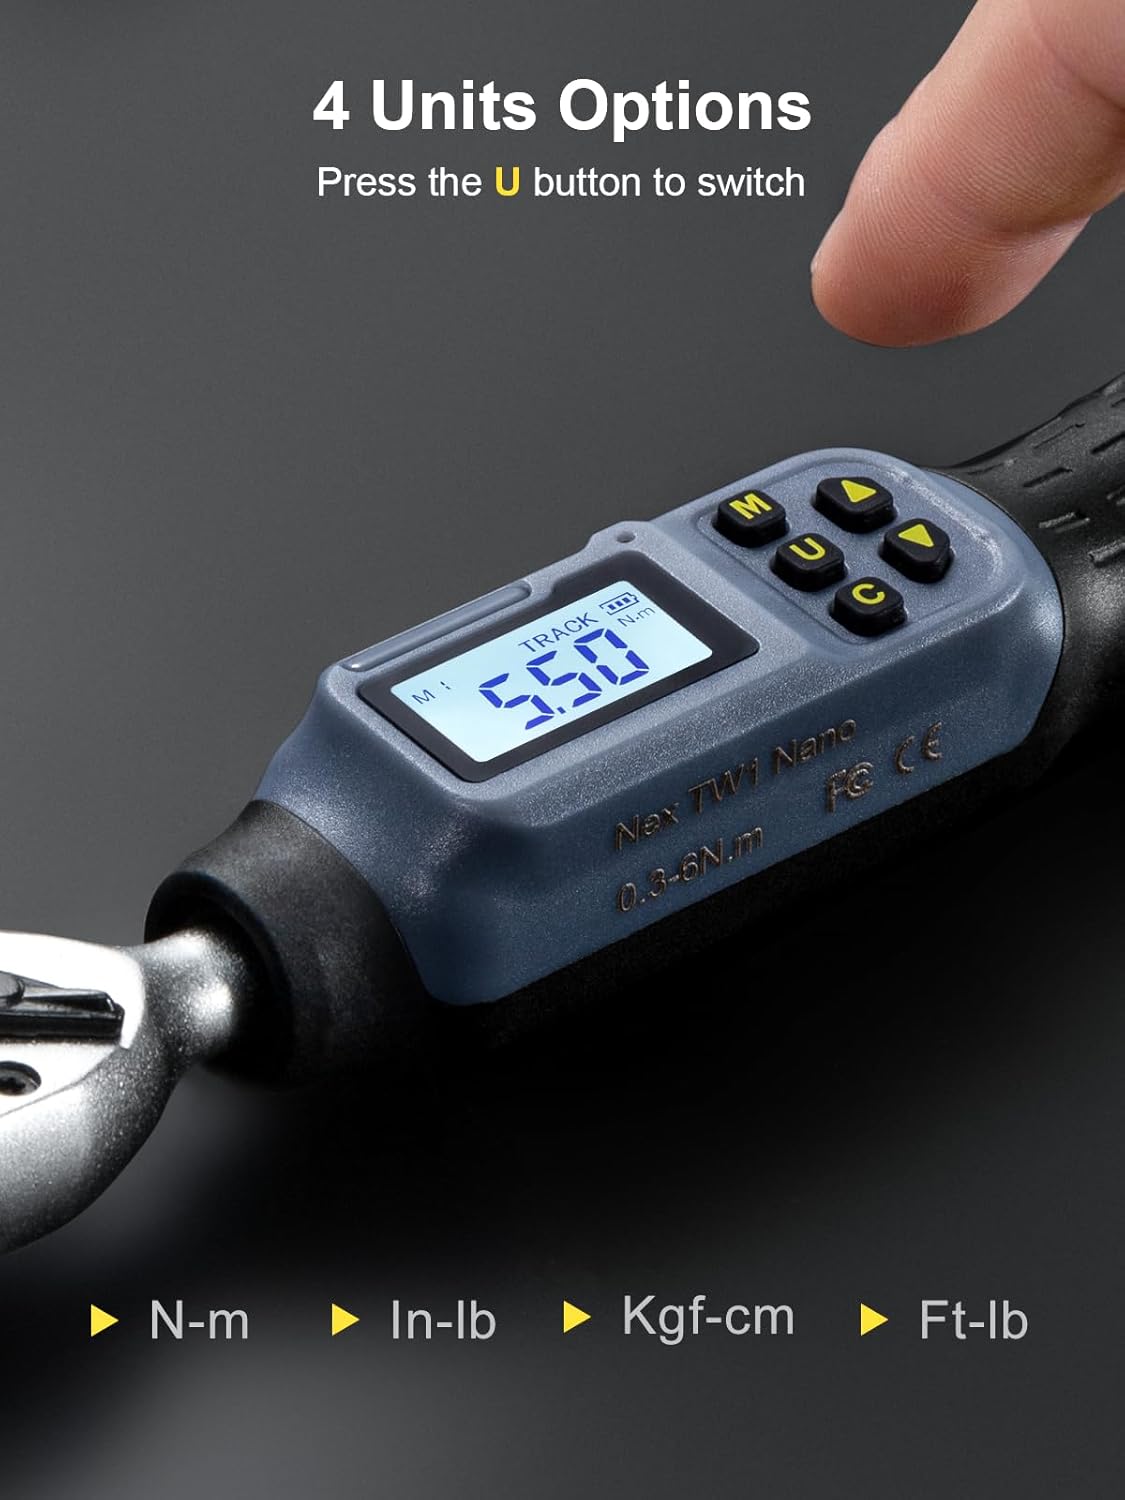
Image 6.1: Pressing the 'U' button to switch between N.m, In-lb, Kgf-cm, and Ft-lb units.
6.3 Mode Selection (PEAK/TRACK)
Press the 'M' button to switch between measurement modes:
- TRACK Mode: Displays the real-time torque being applied. Useful for monitoring torque during tightening.
- PEAK Mode: Records and displays the maximum torque value achieved during the tightening process. This value remains on the screen until reset or a higher torque is applied.
6.4 Setting Target Torque
- Ensure the wrench is in the desired unit (N.m, Ft-Lb, etc.).
- Press the 'M' button to enter the torque setting mode (often indicated by a flashing display or a specific icon).
- Use the Up (▲) and Down (▼) arrow buttons to adjust the target torque value.
- Press 'M' again or wait a few seconds for the setting to be confirmed.
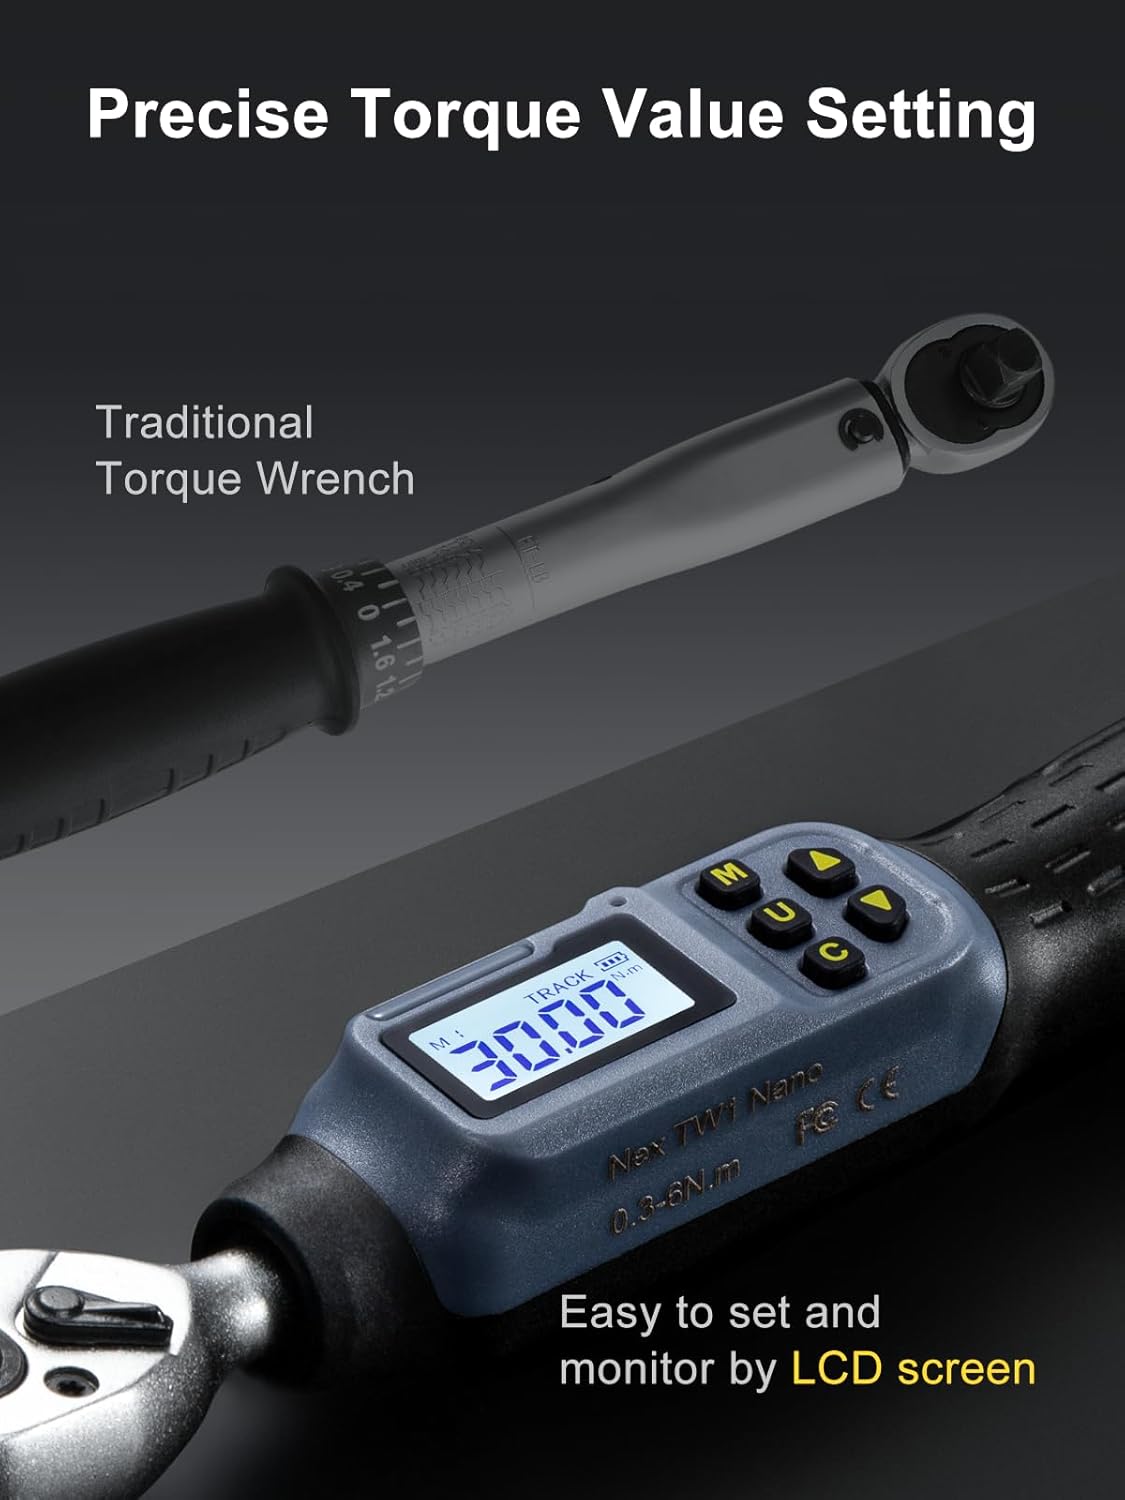
Image 6.2: Setting a precise torque value using the LCD screen and control buttons.
6.5 Torque Application and Alerts
- Attach the appropriate socket/bit to the wrench.
- Place the socket/bit onto the fastener.
- Apply steady, smooth force to the wrench handle. Observe the real-time torque value on the LCD.
- Approaching Target Torque: As you get close to the preset torque (typically 85-90%), the wrench will emit intermittent beeps and/or the LED indicator will flash green.
- Reaching Target Torque: Once the preset torque is reached, the wrench will emit a continuous beep and/or the LED indicator will flash red. Stop applying force immediately to prevent over-tightening.

Image 6.3: The dual warning system with LED indicators and buzzer alarm for precise torque application.
6.6 Button Lock Function
To prevent accidental changes to settings during operation:
- Lock: Long press the 'M' button for 3 seconds. The display may show a lock icon.
- Unlock: Long press the 'M' button for 3 seconds again.

Image 6.4: Long pressing the 'M' button to lock or unlock unit and torque adjustment operations.
6.7 Data Storage and Recall
The wrench can store up to 500 sets of torque data. Refer to the on-screen prompts or the specific user interface for your model to access and recall stored data.
Video 6.1: Official GROWNEER video demonstrating the use of the digital torque wrench for bike maintenance, showcasing its features and alerts.
7. Maintenance
7.1 Cleaning
- Wipe the wrench with a clean, dry, soft cloth after each use.
- Do not use abrasive cleaners, solvents, or immerse the wrench in liquids.
7.2 Storage
- Always store the torque wrench in its protective case when not in use.
- Store in a dry, cool place, away from direct sunlight and extreme temperatures.
- Remove batteries if the wrench will be stored for an extended period (more than one month) to prevent leakage.
7.3 Battery Replacement
Replace batteries when the low battery indicator appears on the LCD or if the wrench fails to power on. Follow the battery installation steps in Section 5.1.
8. Troubleshooting
| Problem | Possible Cause | Solution |
|---|---|---|
| Wrench does not power on | Dead or incorrectly installed batteries | Check battery polarity, replace with fresh AAA batteries. |
| Inaccurate readings | Wrench overloaded, damaged, or needs recalibration | Ensure wrench was not overloaded. If issue persists, contact customer support. |
| Display is dim or flickering | Low battery power | Replace batteries. |
| Buzzer/LED not working | Low battery or internal fault | Replace batteries. If still not working, contact customer support. |
9. Specifications
| Feature | Specification |
|---|---|
| Model | Nex TW1 Ace |
| Drive Size | 1/4 inch |
| Torque Range | 1.5 - 30 Nm (1.1 - 22.1 Ft-lbs) |
| Accuracy | ±2% Clockwise, ±3% Counter-clockwise |
| Units | N.m, Ft-Lb, In-Lb, Kg.cm |
| Working Modes | PEAK / TRACK |
| Operation Mode | Battery (2 x AAA) |
| Material | Tool Steel |
| Item Length | 21.1 cm / 8.3 inches |
| Item Weight | 3 pounds (approx. with accessories) |

Image 9.1: Display showing the high accuracy of the torque wrench for both clockwise (±2%) and counter-clockwise (±3%) operations.
10. Warranty and Support
GROWNEER products are manufactured to high-quality standards. For warranty information, technical support, or service inquiries, please refer to the warranty card included with your product or contact GROWNEER customer service through your purchase platform. Please have your product model and purchase date available when contacting support.