1. Introduction
This manual provides detailed instructions for the proper use and maintenance of your GOWENIC 4K HD Digital Camera. Please read this manual thoroughly before operating the camera to ensure optimal performance and longevity. This compact and lightweight camera is designed for capturing high-quality photos and videos, making it suitable for various occasions including travel, gatherings, and personal recording.

Image 1.1: The GOWENIC 4K HD Digital Camera is compact and portable, ideal for capturing moments on the go.
2. Product Overview
The GOWENIC 4K HD Digital Camera features advanced capabilities for capturing high-resolution images and videos. Key components and features are outlined below.
2.1 Key Features
- 40MP Image Resolution: Capture still images with exceptional detail.
- 4K Video Recording: Record videos in high definition for clear, vibrant footage.
- 8x Digital Zoom: Magnify subjects for closer shots.
- AF Auto Focus: Ensures fast and stable focusing on subjects.
- Dual Cameras: Facilitates easy self-portraits.
- CMOS Sensor: Provides superior light sensitivity for clearer images and videos.
- 2.4-inch Screen: Offers a clear display for viewing photos and videos.
- Rechargeable Battery: Integrated lithium-ion battery for convenient power.
- 32GB Card Support: Expandable storage for extensive photo and video capture (memory card not included).
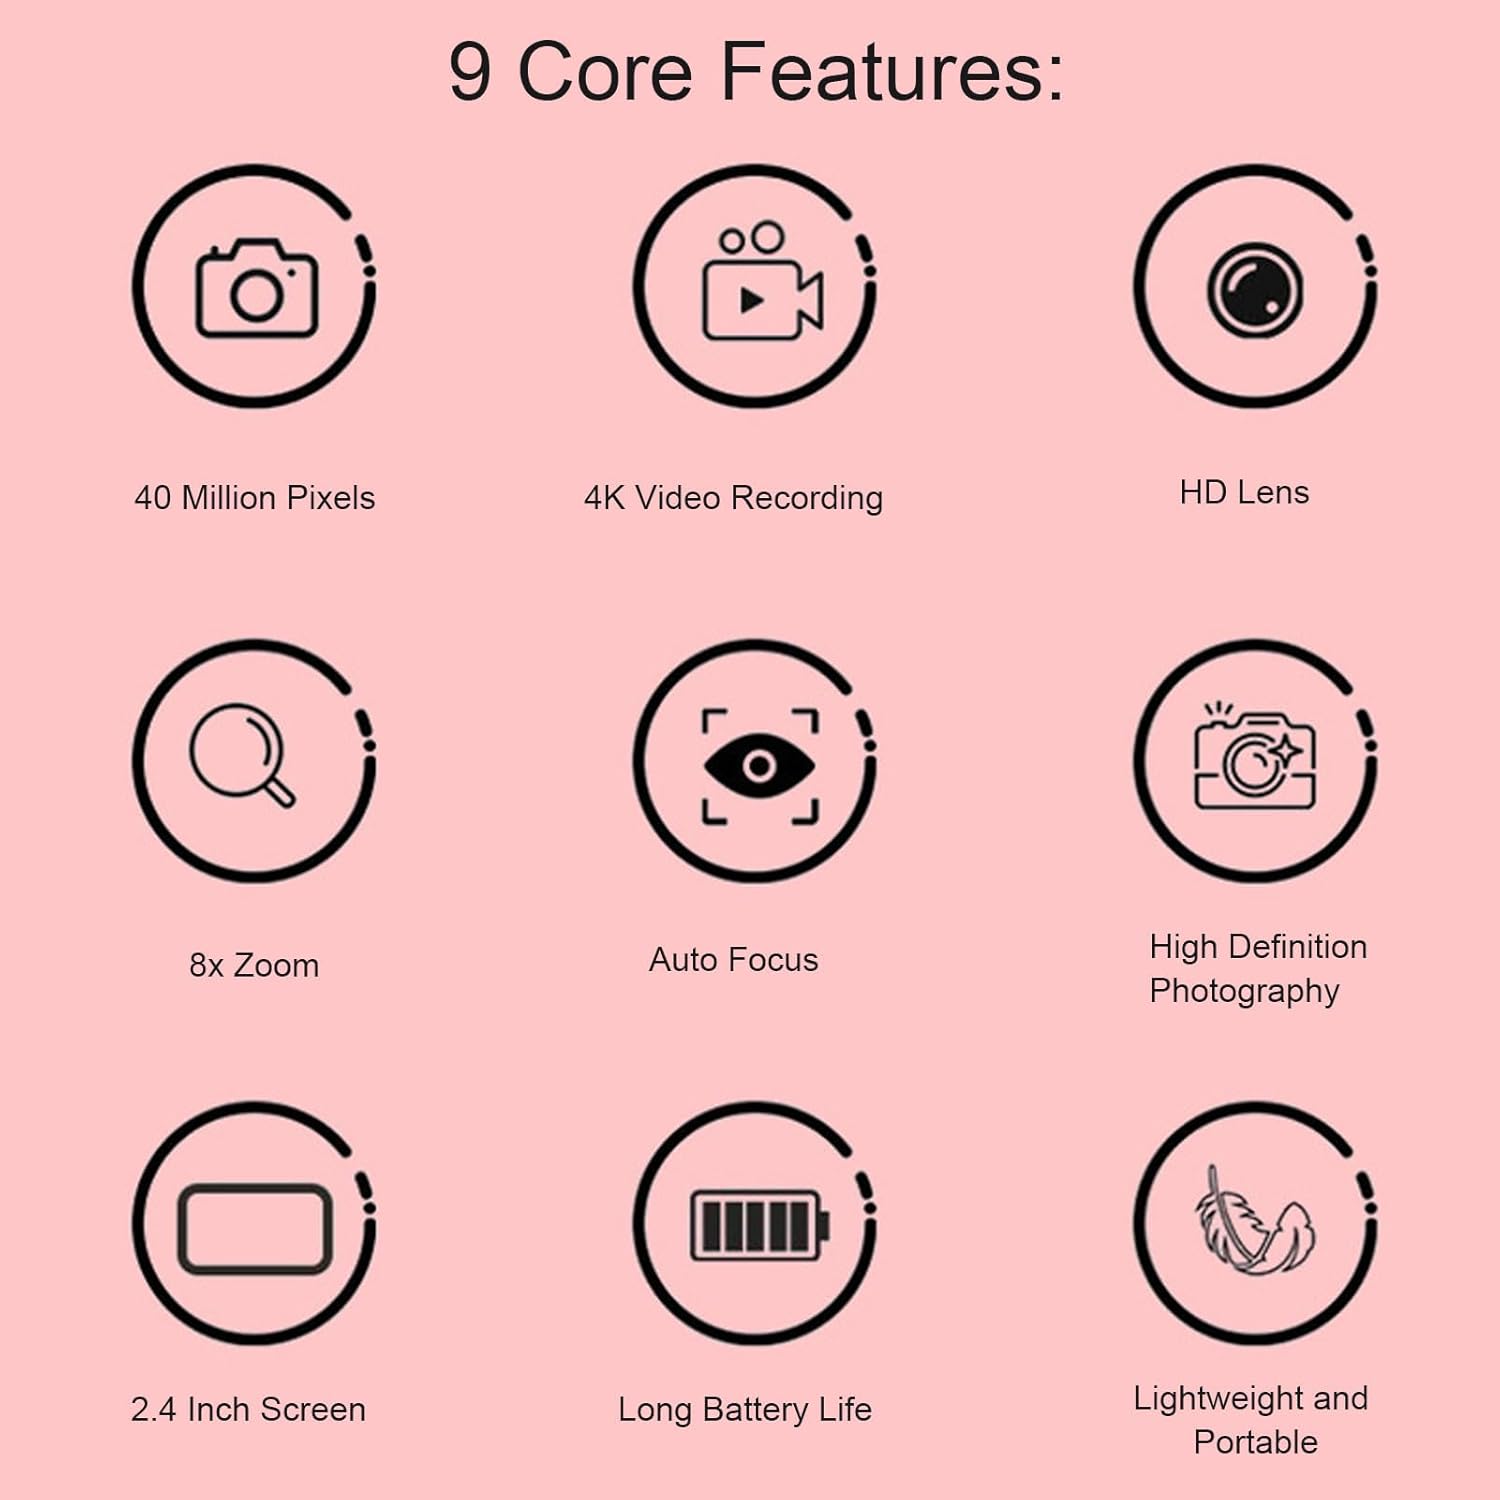
Image 2.1: Visual representation of the camera's core features.
2.2 Camera Components
Familiarize yourself with the camera's physical components.

Image 2.2: Front view of the camera, highlighting the lens and flash.

Image 2.3: Top view of the camera, indicating button placement.
3. Setup
3.1 Charging the Battery
The camera is equipped with a built-in 600mAh lithium battery. Before first use, fully charge the battery.
- Connect the provided USB charging cable to the camera's USB port.
- Connect the other end of the USB cable to a USB power adapter (not included) or a computer's USB port.
- The charging indicator light will illuminate. Once charging is complete, the light will change or turn off.
3.2 Installing a Memory Card
The camera supports small memory cards up to 32GB (not included). A memory card is required to save photos and videos.
- Locate the memory card slot on the camera.
- Insert the memory card into the slot with the metal contacts facing the correct direction (refer to the diagram near the slot).
- Push the card gently until it clicks into place. To remove, push the card again until it springs out.
4. Operating Instructions
4.1 Powering On/Off
- To power on, press and hold the Power button located on the top of the camera.
- To power off, press and hold the Power button again.
4.2 Taking Photos
The camera supports up to 40MP image pixels and features 8x digital zoom and AF auto focus.
- Turn on the camera.
- Frame your shot using the 2.4-inch screen.
- The AF auto focus system will automatically adjust for clarity.
- Press the Shutter button to capture the photo.

Image 4.1: The camera's auto-focus system quickly and stably focuses on subjects.
4.3 Recording Videos
Record videos in 4K resolution.
- Turn on the camera.
- Switch to video recording mode (refer to on-screen icons or mode button).
- Press the Record button to start recording.
- Press the Record button again to stop recording.
4.4 Playback
View your captured photos and videos directly on the camera's screen.
- Turn on the camera.
- Switch to playback mode (usually indicated by a play icon).
- Use the navigation buttons to browse through your media.
- Press the OK/Enter button to view a photo or play a video.

Image 4.2: Viewing captured media on the camera's 2.4-inch display.
4.5 Connecting to a Computer (Data Transfer)
Transfer photos and videos to your computer for storage or sharing.
- Ensure the camera is powered on.
- Connect the camera to your computer using the provided USB cable.
- The camera should appear as a removable disk or device on your computer.
- Open the camera's folder to access and transfer your files.
5. Maintenance
5.1 Cleaning the Camera
- Use a soft, dry cloth to clean the camera body.
- For the lens, use a specialized lens cleaning cloth and solution to avoid scratches.
- Do not use harsh chemicals or abrasive materials.
5.2 Storage
- Store the camera in a cool, dry place away from direct sunlight and extreme temperatures.
- If storing for an extended period, ensure the battery is partially charged (around 50%) and remove the memory card.
6. Troubleshooting
6.1 Common Issues and Solutions
| Problem | Possible Cause | Solution |
|---|---|---|
| Camera does not power on. | Battery is depleted. | Charge the battery fully. |
| Cannot take photos/videos. | No memory card inserted or card is full. | Insert a memory card or delete unnecessary files. |
| Images are blurry. | Lens is dirty; insufficient light; subject too close. | Clean the lens; ensure adequate lighting; maintain proper distance from subject. |
| Camera not recognized by computer. | Loose USB connection; camera not in data transfer mode. | Ensure USB cable is securely connected; check camera settings for USB mode. |
7. Specifications
| Feature | Detail |
|---|---|
| Item Type | Camera |
| Material | ABS |
| Image Resolution | Up to 40MP (maximum) |
| Video Resolution | 1080P (maximum), supports 4K recording |
| Screen Size | 2.4 inches |
| Digital Zoom | 8x |
| Storage | Supports up to 32GB small memory card (not included) |
| Battery | 1 x Lithium battery, 600mAh (built-in) |
| Item Weight | 4.7 ounces |
| Package Dimensions | 3.94 x 3.54 x 2.76 inches |
| Model Number | GOWENICs856v3zqwo-13 |
8. Warranty and Support
For warranty information or technical support, please refer to the documentation included with your purchase or contact GOWENIC customer service directly. Keep your purchase receipt as proof of purchase for any warranty claims.


