
1. Introduction
Thank you for choosing the Misby Coffee Mug Warmer. This device is designed to keep your beverages at your preferred warm temperature, enhancing your drinking experience. It features a large heating panel, adjustable temperature settings, and a customizable timer with an auto shut-off function for convenience and safety.
Please read this manual thoroughly before use to ensure proper operation and to maintain the product's longevity.
2. Safety Instructions
- Hot Surface: The heating panel becomes hot during operation. Avoid direct contact with the hot area to prevent burns.
- Water Exposure: Do not submerge the warmer in water or any other liquid. Clean only by wiping the surface.
- Mug Compatibility: For optimal performance and safety, use flat-bottomed, thin-walled mugs that make good contact with the heating surface.
- Silicone Pad: Utilize the provided anti-scald silicone pad to prevent accidental burns and improve mug stability.
- Auto Shut-off: The device includes an automatic shut-off feature (default 8 hours) for safety. Do not override this feature unless actively monitoring the device.
- Placement: Place the warmer on a stable, flat, heat-resistant surface, away from flammable materials.
- Children and Pets: Keep the device out of reach of children and pets.
3. Package Contents
- Misby Coffee Mug Warmer (Model A311-BL)
- Anti-scald Silicone Pad
- User Manual
4. Product Overview

Figure 4.1: Misby Coffee Mug Warmer with LED Digital Display, Timer/Reservation Button, Temperature Control (Down/Up), and ON/OFF Button.
Components:
- Large Heating Panel: Accommodates one or two mugs for simultaneous warming.
- LED Digital Display: Shows current temperature and timer settings.
- Control Buttons: Touch-sensitive buttons for power, temperature adjustment, and timer settings.
- Anti-scald Silicone Pad: Provides a protective layer and prevents mug slippage.
- EVA Pads (Bottom): Non-slip feet for stability.

Figure 4.2: The Misby Coffee Mug Warmer with two mugs, demonstrating its large heating surface.
5. Setup
- Unpack all components from the box.
- Place the Misby Coffee Mug Warmer on a flat, stable, and dry surface.
- Connect the power cord to a standard 120V electrical outlet.
- Optionally, place the anti-scald silicone pad on the heating surface, aligning the central opening with the heating element.
6. Operating Instructions
6.1 Power On/Off
- Press the Power Button (
 ) to turn the warmer on. The LED display will light up, showing the default temperature (130°F).
 - Press and hold the Power Button to turn the warmer off.
6.2 Temperature Settings
The warmer offers six adjustable temperature settings, ranging from 130°F to 180°F.
- Use the Up Arrow Button (
 ) to increase the temperature.
 - Use the Down Arrow Button (
 ) to decrease the temperature.

Figure 6.1: Visual representation of the six temperature settings available on the warmer.
6.3 Timer and Auto Shut-Off
- Default Auto Shut-Off: The warmer automatically shuts off after 8 hours of continuous use for safety.
- Customizable Timer: Press the Timer Button (
 ) to set a custom shut-off time from 1 to 12 hours. Each press cycles through the available hours.
 - Scheduling Start Time: When the coffee warmer is off, press the timer button to schedule a start time.
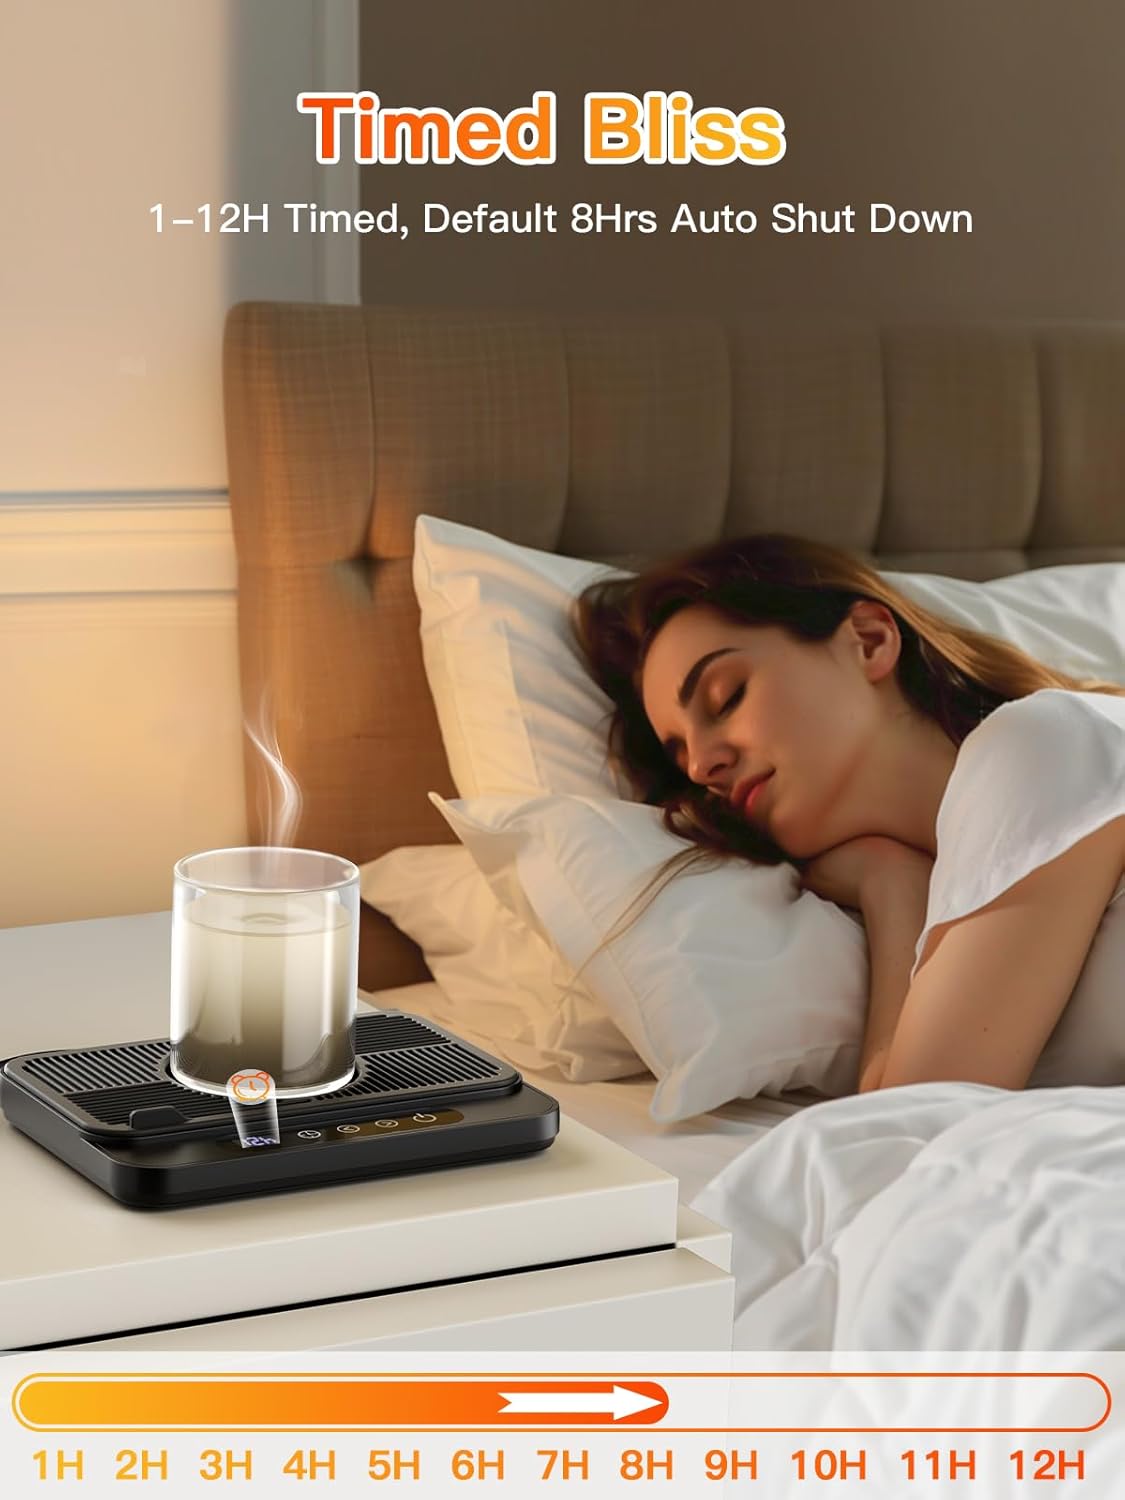
Figure 6.2: The timer function allows for scheduled operation and automatic shut-off.
6.4 Usage Tips
- The warmer is suitable for coffee, tea, milk, other beverages, and even warming candles.
- Ensure the mug is placed centrally on the heating panel for efficient warming.

Figure 6.3: The warmer can be used for a variety of hot beverages and other items like candles.
7. Maintenance and Cleaning
- Always unplug the device and allow it to cool completely before cleaning.
- Wipe the heating panel and exterior with a soft, damp cloth. Do not use abrasive cleaners or immerse the device in water.
- The silicone pad can be removed and washed with mild soap and water. Ensure it is completely dry before placing it back on the warmer.
8. Troubleshooting
| Problem | Possible Cause | Solution |
|---|---|---|
| Warmer does not turn on. | Not plugged in or power outlet issue. | Ensure the power cord is securely plugged into a working outlet. |
| Beverage is not warming effectively. | Mug material or shape is unsuitable; poor contact with heating panel. | Use flat-bottomed, thin-walled mugs. Ensure the mug is centered on the heating panel. Increase temperature setting if needed. |
| Warmer shuts off unexpectedly. | Auto shut-off timer activated. | This is a safety feature. Reset the timer or turn the device back on if continued use is desired. |
9. Specifications
| Feature | Detail |
|---|---|
| Model Number | A311-BL |
| Brand | Misby |
| Power Source | Corded Electric |
| Voltage | 120 Volts |
| Wattage | 50 Watts |
| Temperature Settings | 6 (130°F to 180°F) |
| Auto Shut-off | 8 Hours (Default) |
| Customizable Timer | 1-12 Hours |
| Product Dimensions | 7.87"L x 5.75"W x 0.83"H |
| Item Weight | 0.95 Pounds (15.2 ounces) |
| Material | Tempered Glass |
| UPC | 602581633297 |

Figure 9.1: Dimensions of the Misby Coffee Mug Warmer.
10. Official Product Video
Video 10.1: An overview of the Misby Coffee Mug Warmer, demonstrating its features, temperature settings, and timer function. This video also shows the unboxing and various uses for different beverages.
11. Warranty and Support
For warranty information or technical support, please refer to the contact details provided on the product packaging or visit the official Misby website. Keep your purchase receipt for warranty claims.

