
HOLEWOR B0DGT95T7Q
HOLEWOR Biometric Gun Safe User Manual
Model: B0DGT95T7Q
1. Introduction
Thank you for choosing the HOLEWOR Biometric Gun Safe. This manual provides essential information for the safe and effective use of your new gun safe. Please read this manual thoroughly before installation and operation, and keep it for future reference. This safe is designed to provide secure storage for your firearms, preventing unauthorized access, especially from children.
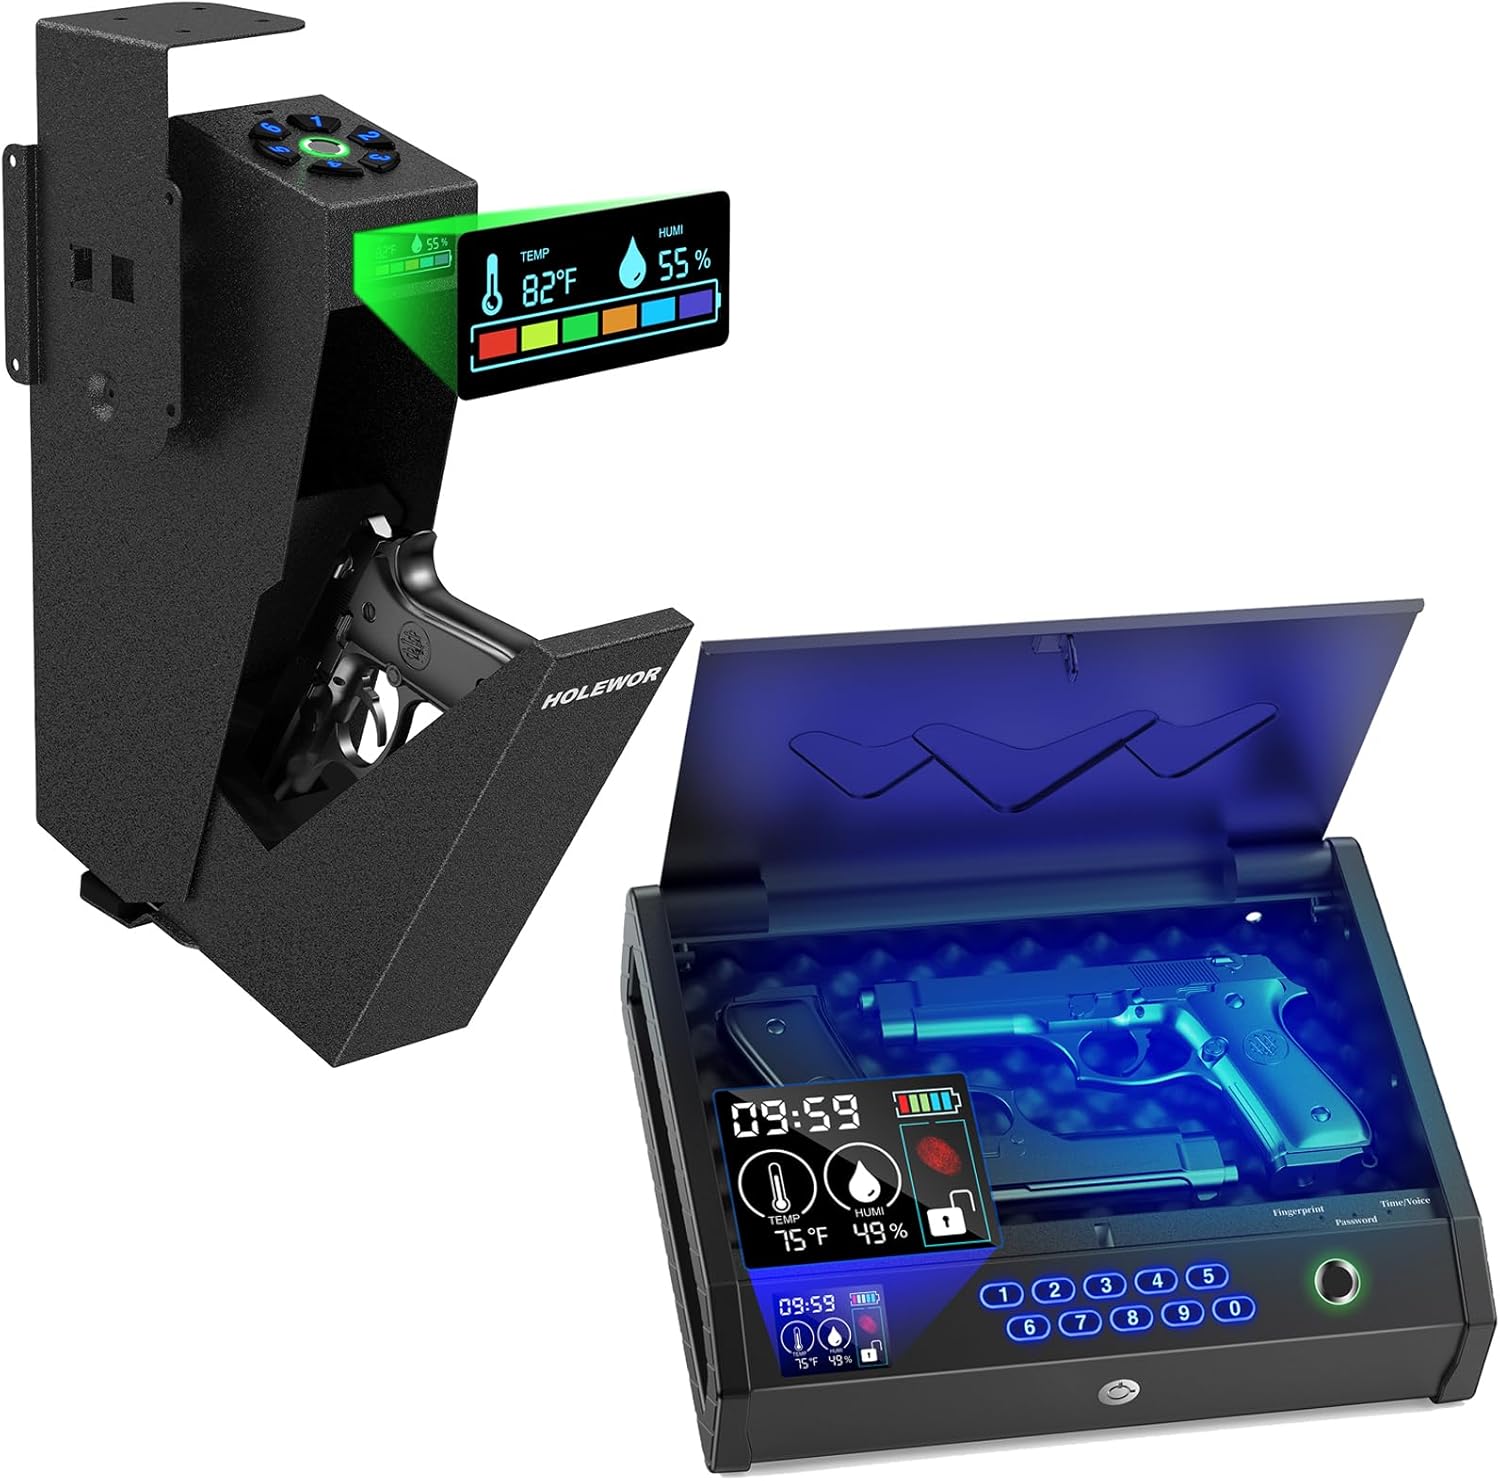
Image: The HOLEWOR Biometric Gun Safe, illustrating both the bedside and drop-down configurations, highlighting their integrated LCD displays for temperature and humidity monitoring.
2. Important Safety Information
WARNING: Always store firearms unloaded and separate from ammunition. This safe is a deterrent to theft and unauthorized access, but it cannot guarantee complete security against determined criminal activity. Always follow all local and federal laws regarding firearm storage.
- Keep all keys, passcodes, and registered fingerprints in a secure location away from the safe and out of reach of children.
- Never store the safe keys inside the safe.
- Ensure the safe is securely mounted to prevent removal or tampering.
- Do not allow children to play with or near the safe.
- Regularly check the battery level and replace batteries as needed to ensure continuous operation.

Image: A visual reminder to keep firearms securely stored away from children, showing a child reaching for a gun while a gun safe is safely stored in a drawer.

Image: The vertical gun safe mounted securely, emphasizing the importance of keeping firearms out of reach of children, with a child shown below attempting to access a firearm.
3. Product Overview
The HOLEWOR Biometric Gun Safe offers multiple access methods and advanced features for secure firearm storage.
Key Features:
- LCD Display: Shows real-time temperature, humidity, and battery level.
- Multiple Access Methods: Biometric fingerprint, programmable passcode, and backup keys.
- Emergency USB-C Power: Provides temporary power in case of battery depletion or lost keys.
- Durable Construction: Made from thick metal for enhanced security.
4. Setup
4.1 Unboxing and Initial Inspection
Carefully remove the safe from its packaging. Inspect the safe for any signs of damage. Ensure all components are present:
- HOLEWOR Biometric Gun Safe
- Backup Keys (2)
- Mounting Hardware
- User Manual
4.2 Battery Installation
Locate the battery compartment, typically on the inside of the safe door or rear panel. Insert the required batteries (usually AA, refer to the safe's internal label for exact type and quantity) ensuring correct polarity. Close the battery compartment securely.
4.3 Mounting Options
The HOLEWOR gun safe offers versatile mounting options to suit your needs. Choose a secure location, such as under a desk, inside a cabinet, or beside a nightstand, ensuring it is out of sight and reach of unauthorized individuals.

Image: Illustrations demonstrating the flexible mounting capabilities of the HOLEWOR gun safe, including top, left-side, and right-side mounting configurations.
- Tabletop/Drawer Mounting: Place the safe securely on a flat surface or inside a drawer.
- Under-Desk/Side Mounting: Use the provided mounting hardware to secure the safe to the underside of a desk or the side of a cabinet. Ensure the mounting surface is sturdy enough to support the safe's weight and the force of opening.
Mark the drilling points, drill pilot holes, and secure the safe using the appropriate screws and anchors. Do not overtighten.
5. Operating Instructions
5.1 Access Methods
Your HOLEWOR safe offers three convenient ways to access your firearms:

Image: The gun safe's interface, highlighting the fingerprint scanner, numerical keypad for passcodes, and the keyhole for backup key access.

Image: The vertical gun safe, illustrating the three primary access methods: biometric fingerprint recognition, passcode entry, and the use of backup keys.
5.1.1 Biometric Fingerprint Access
The safe can store up to 100 unique fingerprints.
- Open the safe using a backup key or existing passcode.
- Locate the "Enroll" or "Set" button inside the safe (refer to specific model instructions if needed). Press it.
- Place your finger on the fingerprint scanner. Lift and repeat several times from different angles until the safe confirms successful registration (usually with a beep or LED indicator).
- Test the registered fingerprint to ensure it unlocks the safe.
5.1.2 Passcode Keypad Access
The safe supports up to 10 programmable passcodes.
- Open the safe using a backup key or existing fingerprint.
- Locate the "Program" or "Code Set" button inside the safe. Press it.
- Enter your desired passcode (typically 4-8 digits) on the keypad, followed by the "#" or "Confirm" button.
- Re-enter the passcode to confirm. The safe will indicate successful programming.
- Test the new passcode to ensure it unlocks the safe.
5.1.3 Backup Key Access
In case of battery failure or forgotten codes/fingerprints, use the backup keys. Insert the key into the emergency keyhole and turn to unlock the safe. Keep backup keys in a secure location away from the safe.
5.2 LCD Display Information
The integrated LCD provides crucial information about the safe's environment and status.

Image: The LCD display of the gun safe, clearly showing the battery indicator, current time, temperature, and humidity levels, along with the unlock status.
- Temperature (Temp): Displays the internal temperature of the safe.
- Humidity (Humi): Displays the internal humidity level. If humidity is consistently high, consider adding desiccant packets to prevent moisture damage to contents.
- Battery Level: Indicates the current battery charge. Replace batteries when the indicator shows low power.
- Time: Displays the current time.
- Unlock State: Shows the current lock status of the safe.
5.3 Emergency USB-C Power
In the event of completely depleted batteries or if backup keys are unavailable, the safe can be temporarily powered via a USB-C cable.

Image: The gun safe being powered by an external USB-C connection, illustrating its function as a temporary power source when keys are lost or batteries are depleted.

Image: The vertical gun safe model, demonstrating the emergency USB-C power feature, useful when backup keys are lost or internal batteries are dead.
- Connect a standard USB-C cable to the USB-C port on the safe (usually located near the keypad or on the side).
- Connect the other end of the USB-C cable to a power source (e.g., wall adapter, power bank).
- Once powered, you can use your registered fingerprint or passcode to open the safe.
Note: This feature provides temporary power for unlocking only; it does not charge the internal batteries.
6. Maintenance
6.1 Battery Replacement
When the LCD display indicates low battery, replace all batteries with new ones of the specified type. Use high-quality alkaline batteries for optimal performance. Do not mix old and new batteries or different battery types.
6.2 Cleaning
Wipe the exterior of the safe with a soft, damp cloth. Do not use abrasive cleaners or solvents, as they may damage the finish or electronic components. Keep the fingerprint scanner and keypad clean and free of debris for reliable operation.
6.3 Environmental Considerations
Monitor the humidity level displayed on the LCD. If humidity is consistently high (above 60%), consider placing a desiccant packet (e.g., silica gel) inside the safe to absorb moisture and protect your firearms from rust and corrosion. Replace desiccant packets periodically.
7. Troubleshooting
| Problem | Possible Cause | Solution |
|---|---|---|
| Safe does not open with fingerprint. | Finger not placed correctly; unregistered fingerprint; dirty scanner; low battery. | Ensure finger covers the entire scanner; re-register fingerprint; clean scanner; replace batteries. |
| Safe does not open with passcode. | Incorrect passcode entered; low battery. | Verify passcode; re-enter carefully; replace batteries. |
| LCD display is dim or off. | Low or dead batteries. | Replace batteries. Use emergency USB-C power if needed. |
| Safe makes no sound or response. | Completely dead batteries. | Use emergency USB-C power to open, then replace batteries immediately. |
If you encounter issues not listed here or if solutions do not resolve the problem, please contact HOLEWOR customer support.
8. Specifications
| Feature | Detail |
|---|---|
| Brand | HOLEWOR |
| Model | B0DGT95T7Q |
| Lock Type | Biometric |
| Material | Metal |
| Special Feature | Fingerprint Sensor, LCD Display (Temp & Humidity) |
| Mounting Type | Tabletop, Under-desk, Side-mount |
| Control Type | Biometric Control, Keypad, Key |
| Water Resistance Level | Not Water Resistant |
| Date First Available | September 12, 2024 |
9. Warranty and Support
HOLEWOR stands behind the quality of its products. For warranty information, technical support, or any questions regarding your gun safe, please contact HOLEWOR customer service. Please have your model number (B0DGT95T7Q) and purchase date ready when contacting support.
You can typically find contact information on the HOLEWOR official website or through your purchase platform.
Related documentsB0DGT95T7Q


Ask a question about this manual
Ask about setup, troubleshooting, compatibility, parts, safety, or missing instructions. Manuals+ will review the question and use this page’s manual context to help answer it.