
Introduction
Thank you for choosing the Range Tour Car Dash Cam. This device is designed to provide comprehensive video surveillance for your vehicle, featuring simultaneous front and rear recording in FHD 1080P resolution. It includes a 64GB memory card, 170° wide-angle lens, HDR for improved image quality, loop recording, night vision, and motion detection capabilities. This manual will guide you through the installation, operation, and maintenance of your new dash cam.
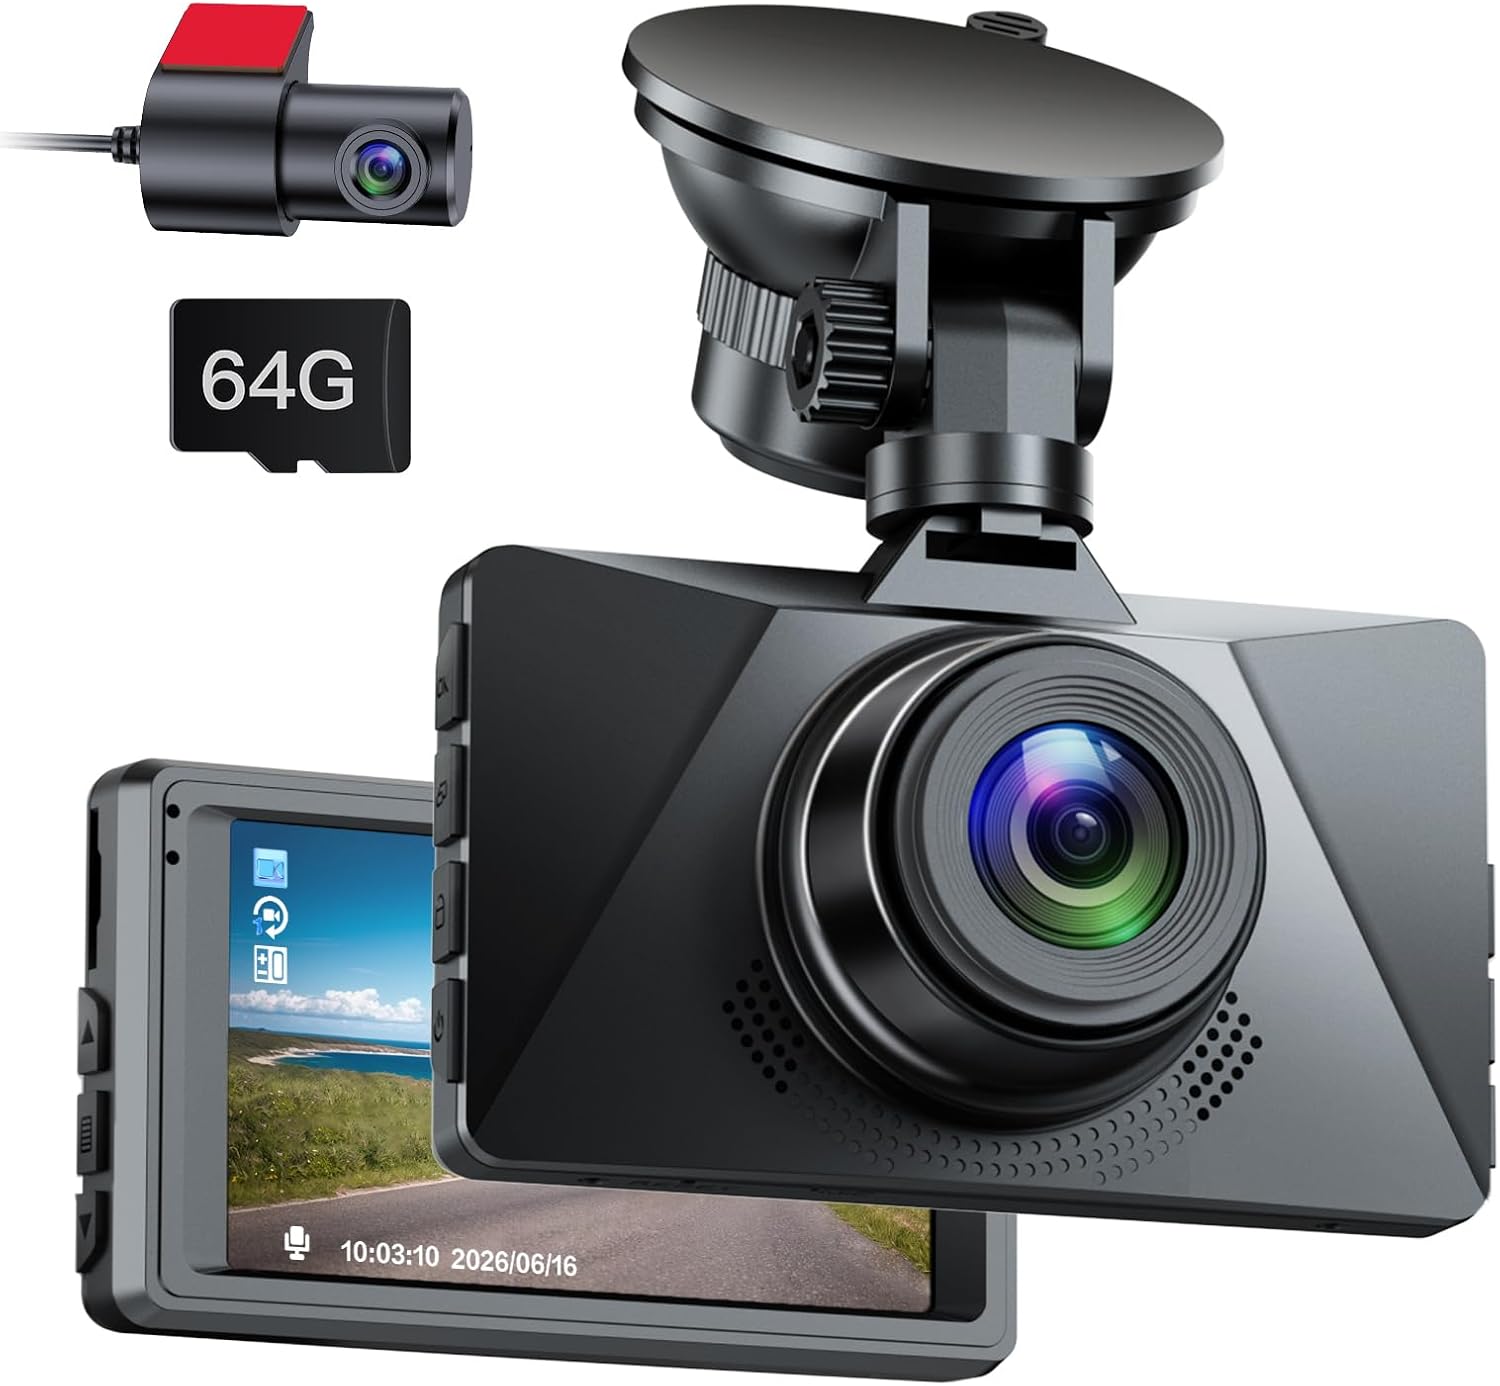
Image: The Range Tour Car Dash Cam system, showing the main front camera unit, the rear camera, and the included 64GB memory card.
Package Contents
Please verify that all items listed below are included in your package:
- 1 x Dash Camera
- 1 x Suction Cup Mount
- 1 x Rear Camera
- 1 x 3.5m Car Charger
- 1 x 5.5m Rear Camera Cable
- 1 x 64GB Memory Card (pre-installed or separate)
- 1 x Card Reader
- 1 x Crowbar Tool (for cable routing)
- 1 x User Manual

Image: All components included in the Range Tour Car Dash Cam package, laid out for inspection.
Product Components and Dimensions
Familiarize yourself with the main components of your dash cam system.

Image: Detailed dimensions of the main dash camera unit, its suction cup mount, and the rear camera.
- Front Dash Camera: Main recording unit with a 3-inch LCD screen.
- Rear Camera: Compact camera for rear view recording.
- Suction Cup Mount: For secure attachment of the front camera to the windshield.
- Buttons: Located on the side of the main unit for navigation and control.
Setup
1. Memory Card Insertion
The 64GB memory card is included and may be pre-installed. If not, gently insert the memory card into the designated slot on the dash camera until it clicks into place. Ensure the card is inserted correctly to avoid damage. The dash cam supports up to 256GB memory cards.

Image: Illustration showing the 64GB SD card and its role in loop recording within the dash cam system.
2. Installation
Follow these steps for proper installation of your dash cam system:
- Front Dash Cam Placement: Attach the suction cup mount to the front windshield, ideally near the rearview mirror, ensuring it does not obstruct your view. Secure the main dash camera unit to the mount.
- Rear Camera Placement: Use the adhesive sticker to mount the rear camera on the rear windshield. Ensure the lens has a clear view of the road behind.
- Cable Routing: Connect the 5.5m rear camera cable to the main dash cam and route it neatly along the car's interior trim using the provided crowbar tool.
- Power Connection: Connect the 3.5m car charger to the main dash cam and plug it into your vehicle's cigarette lighter socket. Hide the power cord in the car bezel for a clean installation.
- Reverse Signal Connection (Optional): For the rear camera's reverse image function, connect the red wire from the rear camera cable to your vehicle's reverse light power supply.

Image: Diagram illustrating the recommended placement for the front dash cam (A), the routing of the rear camera reversing image line (B), and the installation position of the rear camera (C).
Operation
1. Basic Functions
- Power On/Off: The dash cam will automatically power on and begin recording when your vehicle starts and power is supplied. It will power off automatically when the vehicle is turned off. You can also manually power it on/off using the power button.
- Menu Navigation: Use the buttons on the side of the unit to navigate through the menu options on the 3-inch LCD screen.
- Playback: Access recorded videos and images through the menu for playback on the screen.
2. Loop Recording
The loop recording function ensures continuous video recording. When the memory card is full, the oldest unlocked video files will be automatically overwritten by new recordings. This prevents the recording from stopping due to a full memory card.
3. Night Vision and HDR
The dash cam is equipped with night vision capabilities and High Dynamic Range (HDR) technology to enhance video clarity in various lighting conditions. Night vision makes recordings brighter in low-light environments, while HDR helps prevent overexposure in bright areas and improves detail in dark areas, ensuring clear footage day or night. Note that effective night vision requires some ambient light (e.g., car headlights, streetlights).

Image: Visual comparison of dash cam footage quality under different lighting conditions: bright daylight, HDR-enhanced twilight, and dark night, demonstrating the camera's high definition resolution.
4. Wide Angle View
The 170° wide-angle lens of the front camera and the 160° wide-angle lens of the rear camera provide an expansive field of view, capturing more lanes of traffic and reducing blind spots, ensuring comprehensive coverage of the road.

Image: Diagram showing the wide-angle coverage of the dash cam, with 170° for the front and 160° for the rear, minimizing blind spots.
5. Rear Camera Reversing Display
When the rear camera is properly connected to your vehicle's reverse light, the dash cam's screen will automatically display the rear camera's view with parking guidelines when you shift into reverse. This feature assists with safer parking and reversing maneuvers.

Image: The dash cam screen displaying the rear camera feed with parking lines, and a comparison of normal versus mirror image views for reversing.
6. Motion Detection
When enabled, the motion detection feature allows the dash cam to automatically start recording if it detects movement in front of the camera while the vehicle is parked. This provides surveillance for potential incidents when you are away from your car.
7. Screen Saver (LCD Brightness)
The screen saver function allows the dash cam's LCD screen to automatically turn off after a set period (e.g., 1, 3, or 5 minutes) while recording continues in the background. This prevents the screen from being a distraction during driving, especially at night.
Maintenance
- Cleaning: Use a soft, dry cloth to clean the camera lenses and the screen. Do not use abrasive cleaners or solvents.
- Memory Card Management: Periodically format the memory card (at least once a month) within the dash cam's settings to ensure optimal performance and prevent data corruption. Back up any important footage before formatting.
- Firmware Updates: Check the official Range Tour website for any available firmware updates to ensure your dash cam has the latest features and bug fixes.
- Temperature: Avoid exposing the dash cam to extreme temperatures for prolonged periods, as this can affect battery life and component integrity.
Troubleshooting
| Problem | Possible Cause / Solution |
|---|---|
| Dash cam does not power on. |
|
| Recording stops or freezes. |
|
| Poor video quality. |
|
| Rear camera not displaying. |
|
| Date/Time is incorrect. |
|
Specifications
| Feature | Detail |
|---|---|
| Brand | Range Tour |
| Model Name | Range Tour |
| Video Capture Resolution | 1080p (FHD) |
| Display Type | LCD |
| Screen Size | 3 Inches |
| Front Camera Viewing Angle | 170 Degrees |
| Rear Camera Viewing Angle | 160 Degrees (implied from wide angle image) |
| Special Features | Loop Recording, Motion Sensing, Night Vision, HDR |
| Memory Card Included | 64GB MicroSD |
| Max Memory Card Support | 256GB |
| Mounting Type | Suction Mount |
| Power Source | Car Charger (Auxiliary) |
| Battery Type | Lithium Polymer (included) |
| Product Dimensions | 3.6 x 8 x 5 cm; 360 g |
Warranty and Support
For warranty information and technical support, please refer to the contact details provided with your product packaging or visit the official Range Tour website. Keep your purchase receipt as proof of purchase for any warranty claims.
Manufacturer: Range Tour
Date First Available: September 11, 2024