
AnyTone SMART
AnyTone Smart CB Radio User Manual
Model: SMART
Introduction
Thank you for choosing the AnyTone Smart CB Radio. This compact and reliable 40-channel CB radio is designed for clear communication in various mobile environments, including trucks and other vehicles. With features like AM/FM modulation, emergency channel access, and VOX voice activation, it ensures dependable communication for your journeys. This manual provides detailed instructions for proper installation, operation, and maintenance of your device.
Important Safety Information
WARNING:
- Your equipment is protected against an inversion of polarities. However, before switching it on, you are advised to check all the connections.
- Your equipment must be supplied with a continued current of 12 volts (A).
- For lorries with two batteries and a 24-volt electrical installation, it is necessary to insert a 24/12 volt converter into the electrical circuit.
- The following connection steps should be carried out with the power cable disconnected from the set:
- Check that the battery is 12 volts.
- Locate the positive and negative terminals of the battery (+ is red and – is black).
- Should it be necessary to lengthen the power cable, you should use the same or a superior type of cable.
What's in the Box

Image: Contents of the AnyTone Smart CB Radio package.
Upon unpacking your AnyTone Smart CB Radio, please ensure all the following items are present:
- CB Radio Unit
- Microphone
- Mobile Mounting Bracket
- Power Cord
- Small Hardware (screws, washers, etc.)
- User Manual (this document)
Product Overview
Front Panel and Microphone

Image: Front panel of the CB radio and microphone.
- LCD Display: Shows channel number, TX/AQ status, signal strength, and modulation mode (FM/AM).
- Power On/Off Volume Control (VOL): Rotary knob to turn the unit on/off and adjust audio volume.
- SQ (Squelch Control): Adjusts the squelch level to eliminate background noise.
- A/F (Mode/Scan Key): Toggles between AM and FM modulation modes, and activates scan function.
- RFG (RF Gain Control): Adjusts the receiver sensitivity.
- EMG (Ch9/Ch19/Keypad Lock): Provides quick access to emergency channels 9 and 19, and can lock the keypad.
- Microphone: Integrated microphone for voice transmission.
- PTT (Push To Talk) Button: Located on the microphone, pressed to transmit, released to receive.
- DN/UP Buttons: Located on the microphone, used to change channels down or up.
Rear Panel

Image: Rear panel of the CB radio.
- Antenna Jack: Connector for external CB antenna.
- External Speaker Jack (EXT.SP): Allows connection of an external speaker for enhanced audio output.
Setup and Installation
- Mounting the Radio:
Use the provided mobile mounting bracket and hardware to securely install the CB radio in your vehicle. Choose a location that allows for easy access to controls and clear visibility of the display, without obstructing driving.
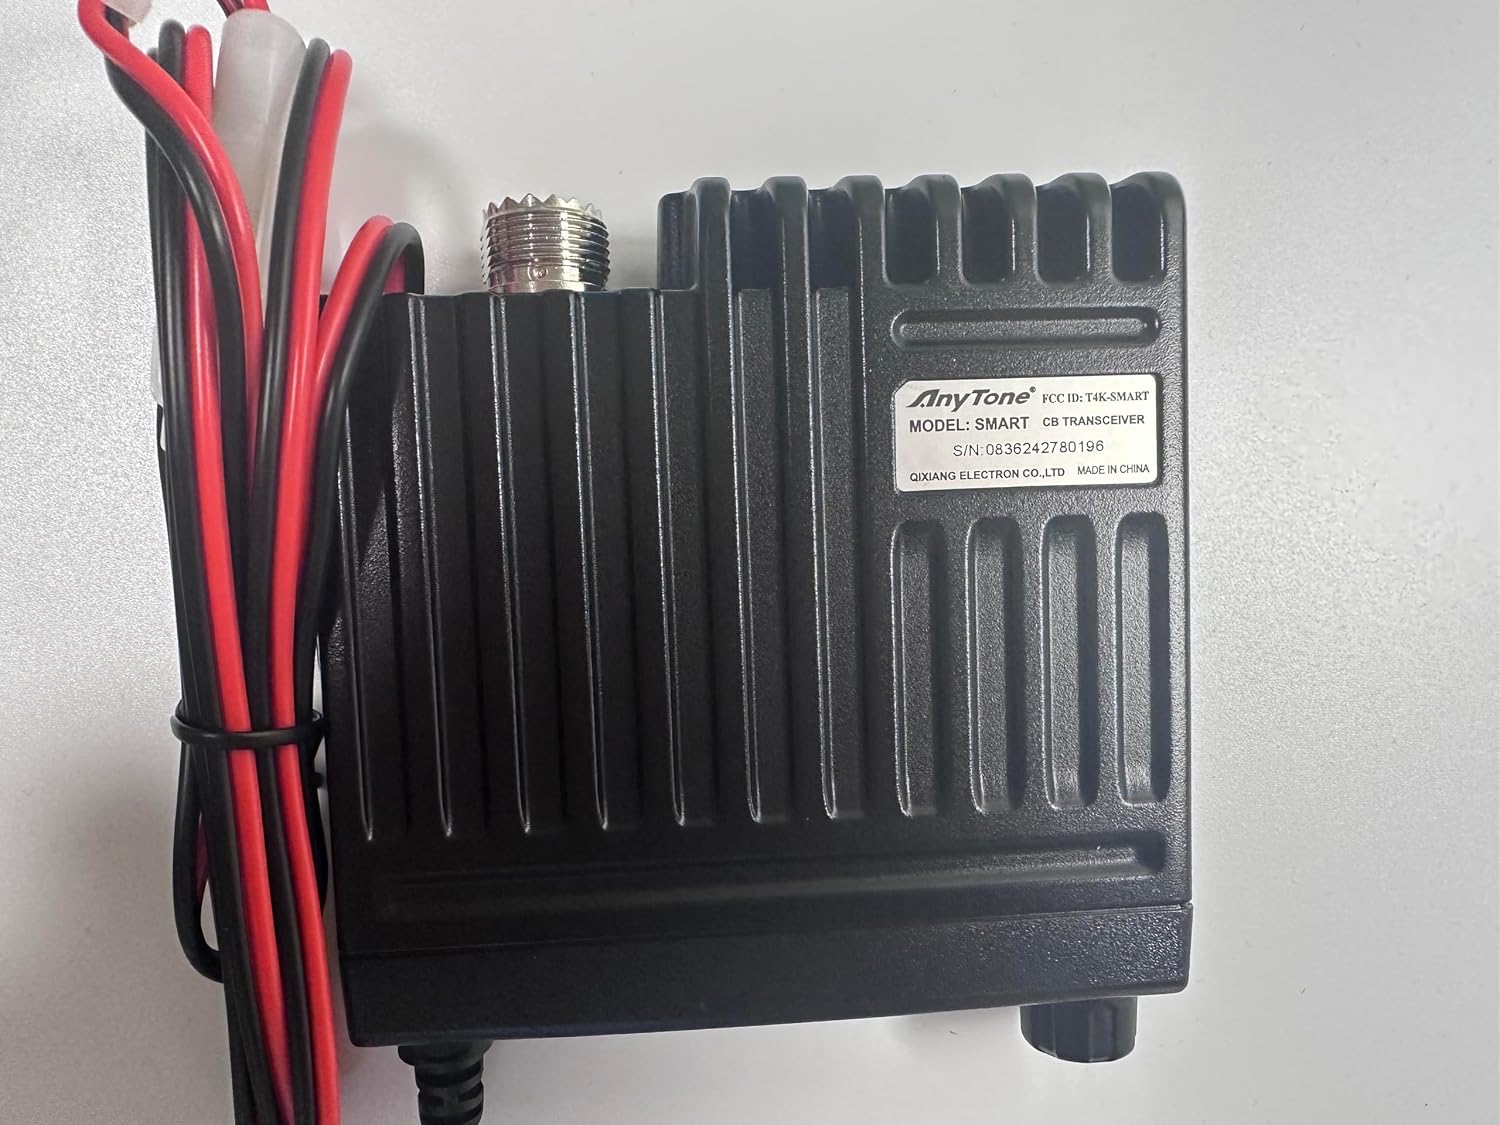
Image: Example of the compact CB radio installed in a vehicle.
- Power Connection:
Ensure the power cable is disconnected from the radio before making connections. Connect the red wire to the positive (+) 12-volt terminal of your vehicle's battery and the black wire to the negative (-) terminal or a suitable ground point. If your vehicle operates on 24 volts, a 24/12 volt converter is required (not included).
- Antenna Connection:
Connect a suitable CB antenna (not included) to the Antenna Jack on the rear panel of the radio. Ensure the antenna is properly tuned for optimal performance and to prevent damage to the radio.
- External Speaker (Optional):
If desired, connect an external speaker to the External Speaker Jack (EXT.SP) on the rear panel for improved audio clarity in noisy environments.
Operating Instructions
- Powering On/Off and Volume:
Rotate the VOL knob clockwise to turn the radio on. Continue rotating to increase the volume. Rotate counter-clockwise to decrease volume and turn the radio off.
- Channel Selection:
Use the UP and DN buttons on the microphone to select your desired channel (1-40). The selected channel will be displayed on the LCD.
- Modulation Mode (AM/FM):
Press the A/F button to switch between AM (Amplitude Modulation) and FM (Frequency Modulation) modes. FM provides clearer signals over shorter distances, while AM is standard for most CB communication.
- Squelch Control (SQ/ASQ):
The SQ button controls the squelch. Adjust the squelch level to block out background static and noise when no signal is present. The ASQ (Automatic Squelch) feature provides levels A.1-A.9 for automatic noise reduction.
- RF Gain Control (RFG):
Press the RFG button to adjust the receiver sensitivity. This helps optimize signal quality, especially in areas with strong or weak signals.
- Emergency Channels (EMG):
Press the EMG button for instant access to Channel 9 (emergency) or Channel 19 (truckers' channel). This is crucial for critical communication during emergencies.
- VOX Voice Activation:
The radio supports VOX voice activation, allowing hands-free transmission. Refer to the detailed manual for specific activation and sensitivity settings (if applicable, as this is a general feature bullet point).
- Scan Function:
The A/F button also functions as a scan key. Press and hold (or short press, depending on model specifics) to activate the scan function, which automatically scans through channels to find active transmissions.
- Transmitting:
To transmit, press and hold the PTT (Push To Talk) button on the microphone. Speak clearly into the microphone. Release the PTT button to return to receive mode.
Maintenance
- Cleaning: Use a soft, dry cloth to clean the radio's exterior. Do not use abrasive cleaners or solvents.
- Connections: Periodically check all cable connections (power, antenna, external speaker) to ensure they are secure and free from corrosion.
- Antenna Tuning: Ensure your CB antenna is properly tuned for your vehicle and operating frequency to maximize performance and prevent damage to the radio's output stage.
- Storage: If storing the radio for an extended period, disconnect it from power and store it in a cool, dry place.
Troubleshooting
| Problem | Possible Cause | Solution |
|---|---|---|
| No Power | Power cable disconnected; Blown fuse; Incorrect voltage. | Check power connections; Replace fuse (if applicable); Ensure 12V power supply or use 24/12V converter. |
| No Reception / Weak Signal | Antenna not connected or damaged; Squelch set too high; RF Gain set too low; Out of range. | Check antenna connection and condition; Adjust SQ level; Adjust RFG level; Move closer to transmitting station. |
| Distorted Audio | Volume too high; Poor signal quality; External interference. | Adjust volume; Try different channel; Check antenna SWR. |
| Cannot Transmit | Microphone PTT button not pressed; Antenna issue; Radio fault. | Ensure PTT is pressed firmly; Check antenna connection; Contact support if issue persists. |
Specifications

Image: Physical dimensions of the CB radio and microphone.
| Feature | Detail |
|---|---|
| Brand | AnyTone |
| Model Number | SMART |
| Item Weight | 14.6 ounces (415 Grams) |
| Product Dimensions | 3.9 x 3.9 x 0.9 inches |
| Number of Channels | 40 |
| Frequency Range | 26.965 MHz to 27.405 MHz |
| Power Output | 4W |
| Modulation Modes | AM, FM |
| Special Features | Adjustable Receiver Sensitivity, Lightweight, Portable, Emergency Channel Access (Ch9/Ch19), VOX Voice Activation |
| Talking Range Maximum | 15 Kilometer (approx. 9.3 miles) |
| Voltage | 13.2 Volts |
| Water Resistance Level | Not Water Resistant |
| FCC ID | T4K-SMART |
| Manufacturer | Qixiang Electron Sciencs & Technology Co., Ltd |
Warranty Information
The AnyTone Smart CB Radio comes with a warranty period of 12 months from the date of purchase. Please retain your proof of purchase for any warranty claims. This warranty covers manufacturing defects and malfunctions under normal use. It does not cover damage caused by misuse, accidents, unauthorized modifications, or improper installation.
Customer Support
For technical assistance, troubleshooting beyond this manual, or warranty inquiries, please contact AnyTone customer support. Refer to the contact information provided with your product packaging or visit the official AnyTone website for the most up-to-date support details.
Please note: Always refer to the latest information provided by the manufacturer for specific support channels.
Related documentsSMART


Ask a question about this manual
Ask about setup, troubleshooting, compatibility, parts, safety, or missing instructions. Manuals+ will review the question and use this page’s manual context to help answer it.