1. Product Overview
This manual provides detailed instructions for the installation, operation, and maintenance of your WEELMOTO Headlight Assembly. Designed for optimal performance and durability, this replacement headlight assembly meets DOT (Department of Transportation) and SAE (Society of Automotive Engineers) standards, ensuring high-quality automotive lighting.
The assembly features a high-transmittance PC lens with UV coating and a special reflector designed to reflect over 98% of light, enhancing visibility during night drives. It is built with durable materials to withstand various environmental impacts, including drops, vibrations, rain, UV radiation, and dust exposure.
2. Vehicle Compatibility
This WEELMOTO Headlight Assembly is specifically designed for the following vehicle models:
- 2006-2011 Honda Civic 2-Door Coupe ONLY
Important: This product does NOT fit 4-Door Honda Civic models.
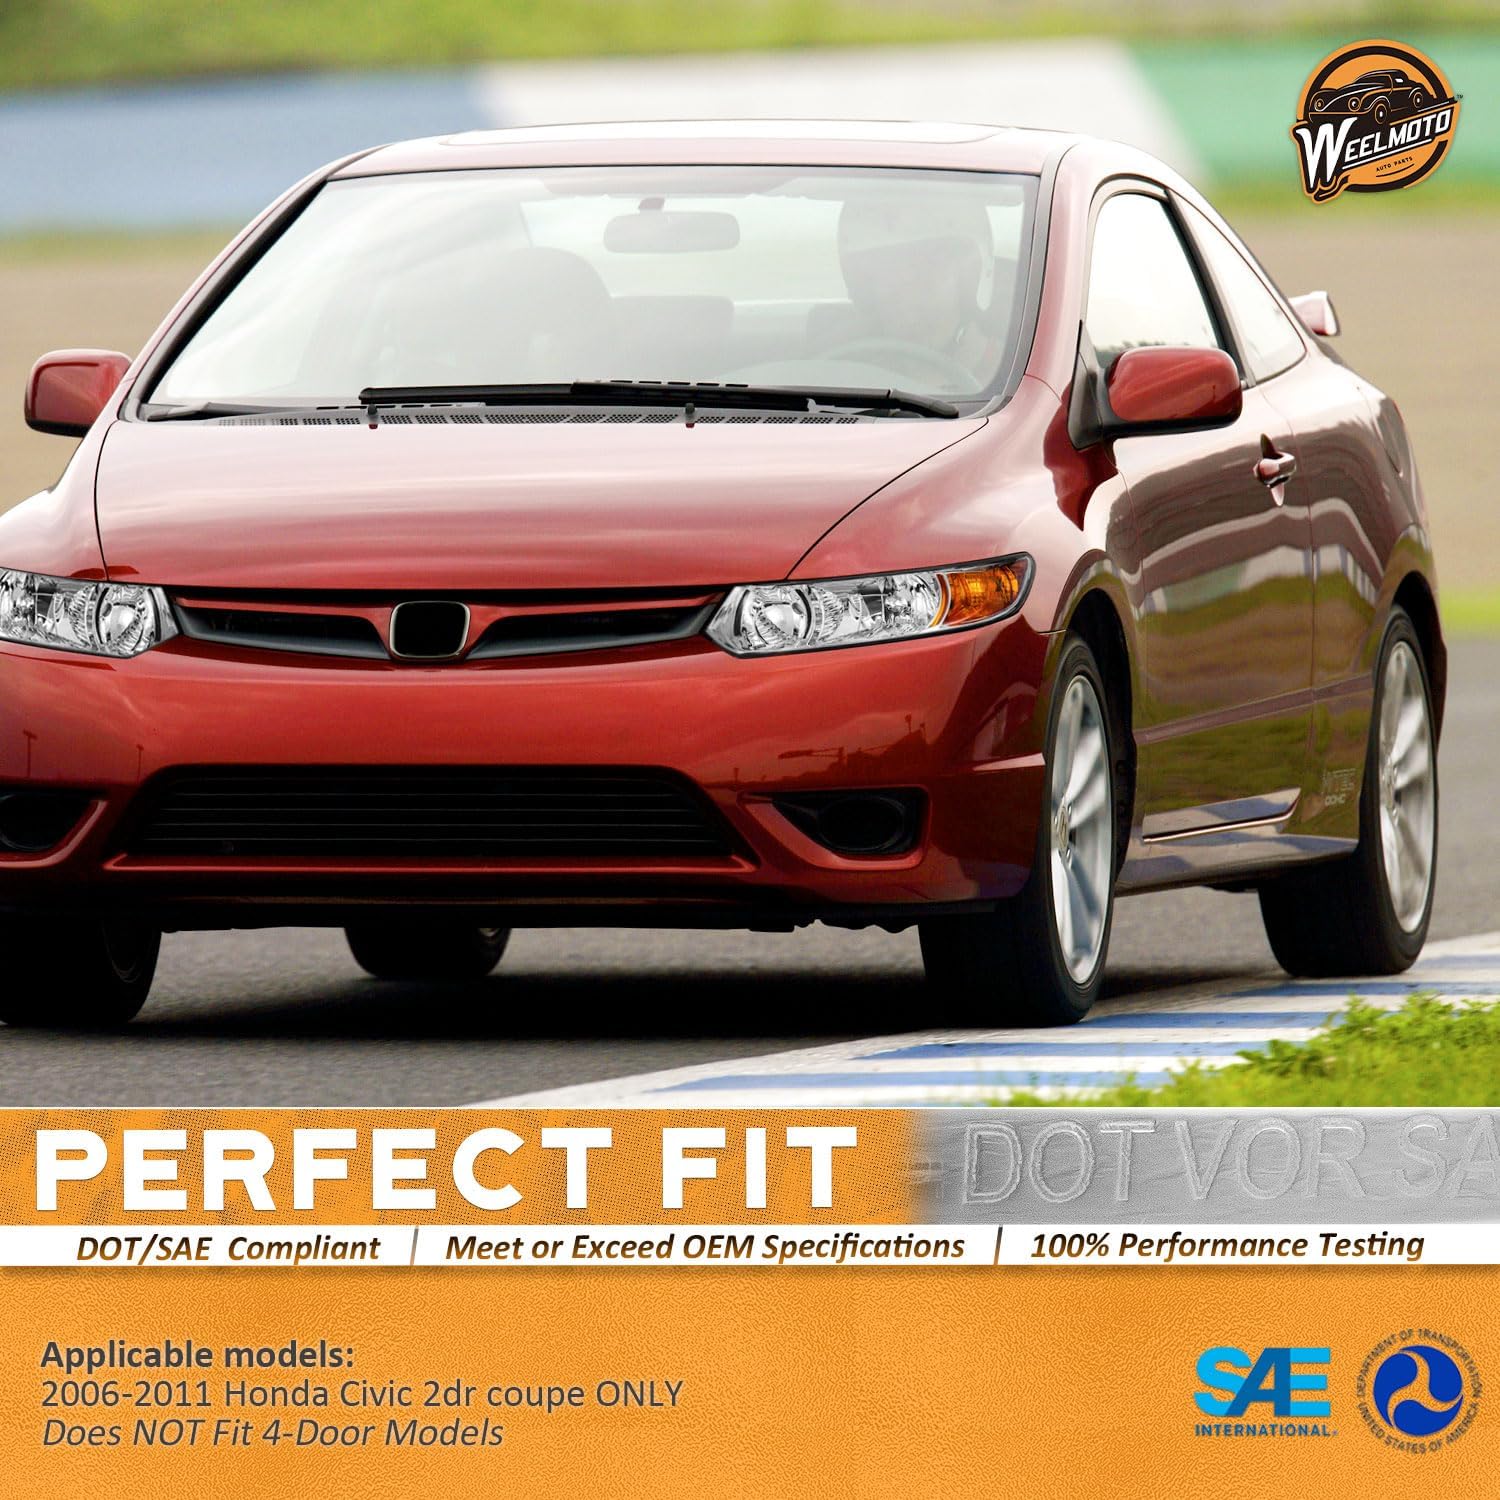
Figure 2.1: WEELMOTO Headlight Assembly installed on a 2-door Honda Civic, highlighting perfect fitment.

Figure 2.2: Visual guide for identifying compatible 2-door Honda Civic models versus incompatible 4-door models.
3. Installation Instructions
The WEELMOTO Headlight Assembly features a plug-and-play design for easy installation. Bulbs are not included; please use your vehicle's stock HB3 (High Beam) and HB4 (Low Beam) bulbs for installation.
3.1. General Installation Steps
- Remove the grille.
- Unscrew the screws, clips, or retainer springs that hold the headlight in place.
- Remove the fasteners typically located at the top and bottom of the headlight.
- Disconnect the wiring from the stock headlight and detach the stock headlight.
- Fit the WEELMOTO headlight and fix it into place.
- Reconnect the wiring that was unplugged from the assembly. Make sure to seal the screws, clips, or retainer springs.
- Put back the grille and seal them back into place.
Note: Do not touch the bulb with bare hands. Oils from skin can affect the lifespan or intensity of the bulb. If you accidentally touch the bulb, please clean it with rubbing alcohol and a clean cloth before installation.

Figure 3.1: Rear view of the headlight assembly, highlighting the plug-and-play connection points, one-way vent, and adjustable beams.

Figure 3.2: Included installation manual with detailed steps and adjustment instructions.
3.2. Installation Video Guide
Video 3.1: Official WEELMOTO installation guide for 2006-2011 Honda Civic headlights, demonstrating the plug-and-play feature and bulb installation.
4. Operation and Adjustment
4.1. Headlight Functions
- High Beam: Provides maximum illumination for clear visibility on dark roads.
- Low Beam: Standard illumination for regular driving conditions, designed to not blind oncoming traffic.
- Turn Signal: Amber reflector for clear signaling of turns.

Figure 4.1: Detailed view of the headlight's turn signal, safety reflector, high beam, and low beam sections.

Figure 4.2: Front view of the headlight assembly indicating the positions of the high beam, low beam, and turn signal.
4.2. Adjusting Your Headlights
The headlights have been pre-adjusted when leaving the factory. There is generally no need to adjust the beam angle manually. However, if you find the light pattern unsatisfactory, you can use the regulator to change the light pattern.
- Park your car in front of a flat wall and mark the center points of each light on the wall with tape.
- Pull back 25 feet (7.6 meters) to see how your lights relate to the center of each "hot spot" on the wall.
- Turn the headlight adjustment screws on top of each bulb. Adjust these screws as needed until your headlights are correct.
Caution: Do NOT adjust over three times either clockwise/counter-clockwise to avoid any damage to the adjuster.
5. Maintenance
5.1. Durability and Protection
WEELMOTO headlights are constructed with high-durability materials designed to withstand various environmental challenges:
- Anti-Heat: Resists damage from high temperatures.
- Anti-UV-Aging: Protects against UV radiation to prevent yellowing and hazing of the lens.
- Anti-Freezing: Maintains performance in cold weather conditions, tested from -22°F to 140°F.
- Waterproof (IP65 Certified): Ensures reliable operation even in rain and wet conditions.
Figure 5.1: Rear view of the headlight assembly, showing the one-way vent for moisture management.
Figure 5.2: The one-way vent helps prevent condensation buildup inside the headlight.

Figure 5.3: High durability features ensure the headlight performs reliably in extreme temperatures and conditions.

Figure 5.4: The headlight assembly is IP65 certified waterproof, providing protection against water ingress.
6. Troubleshooting
6.1. Temporary Condensation
It is normal for the lens to fog up due to temperature differences, air pressure, and other weather circumstances. This is temporary condensation and can be resolved.
How to Drive Away Temporary Condensation:
- Check the one-way vents in the housing and make sure they are not blocked.
- Turn on the low beam for 20 minutes.
- Take the bulbs out and clear the mist.
- Put a silica gel packet inside to leave it dry.
Figure 6.1: The included manual provides guidance on addressing temporary condensation.
6.2. Important Safety Reminder: LED Bulbs
Do NOT directly replace with LED bulbs.
This headlight assembly is designed for standard halogen bulbs (HB3/HB4). Using LED bulbs not specifically designed or adapted for this housing may lead to improper light patterns, reduced visibility, and potential damage to the headlight unit or vehicle's electrical system.

Figure 6.2: Safety reminder regarding the use of LED bulbs.
7. Product Specifications
| Feature | Detail |
|---|
| Brand | WEELMOTO |
| Model Number | HDCV062D00 |
| OEM Part Numbers | 33151-SVB-A01 (Left), 33101-SVB-A02 (Right) |
| Vehicle Service Type | 2006-2011 Honda Civic 2-Door Coupe ONLY |
| Color | Clear Lens, Chrome Housing, Amber Reflector |
| Light Source Type | High Beam: HB3 / Low Beam: HB4 (Bulbs are Not Included) |
| Wattage | 60 watts |
| Voltage | 12 Volts (DC) |
| Lens Material | Polycarbonate |
| Special Features | High Beam, Low Beam, Pair of headlights (driver and passenger sides), Waterproof (IP65 Certified) |
| Auto Part Position | Front Outside |
| Assembly Required | No |
| Unit Count | 2.0 Count (Pair) |
8. Warranty and Support
WEELMOTO provides a 3-year assurance period for this product, ensuring peace of mind regarding its quality and performance.
For any issues or questions regarding your product after receiving it, please contact WEELMOTO customer support. You can typically find a "Contact Seller" or "Ask a Question" option on the platform where you purchased the product. This ensures you receive direct 1-to-1 service and avoids additional charges.
