
1. Product Overview
The JVC HA-A4TW True Wireless Earbuds are designed for clear audio and comfortable use. Featuring 12mm driver units and Bluetooth 5.1 connectivity, these earbuds offer a reliable listening experience. They are IPX4 rated for splash resistance and provide up to 30 hours of total playback time with the included charging case.
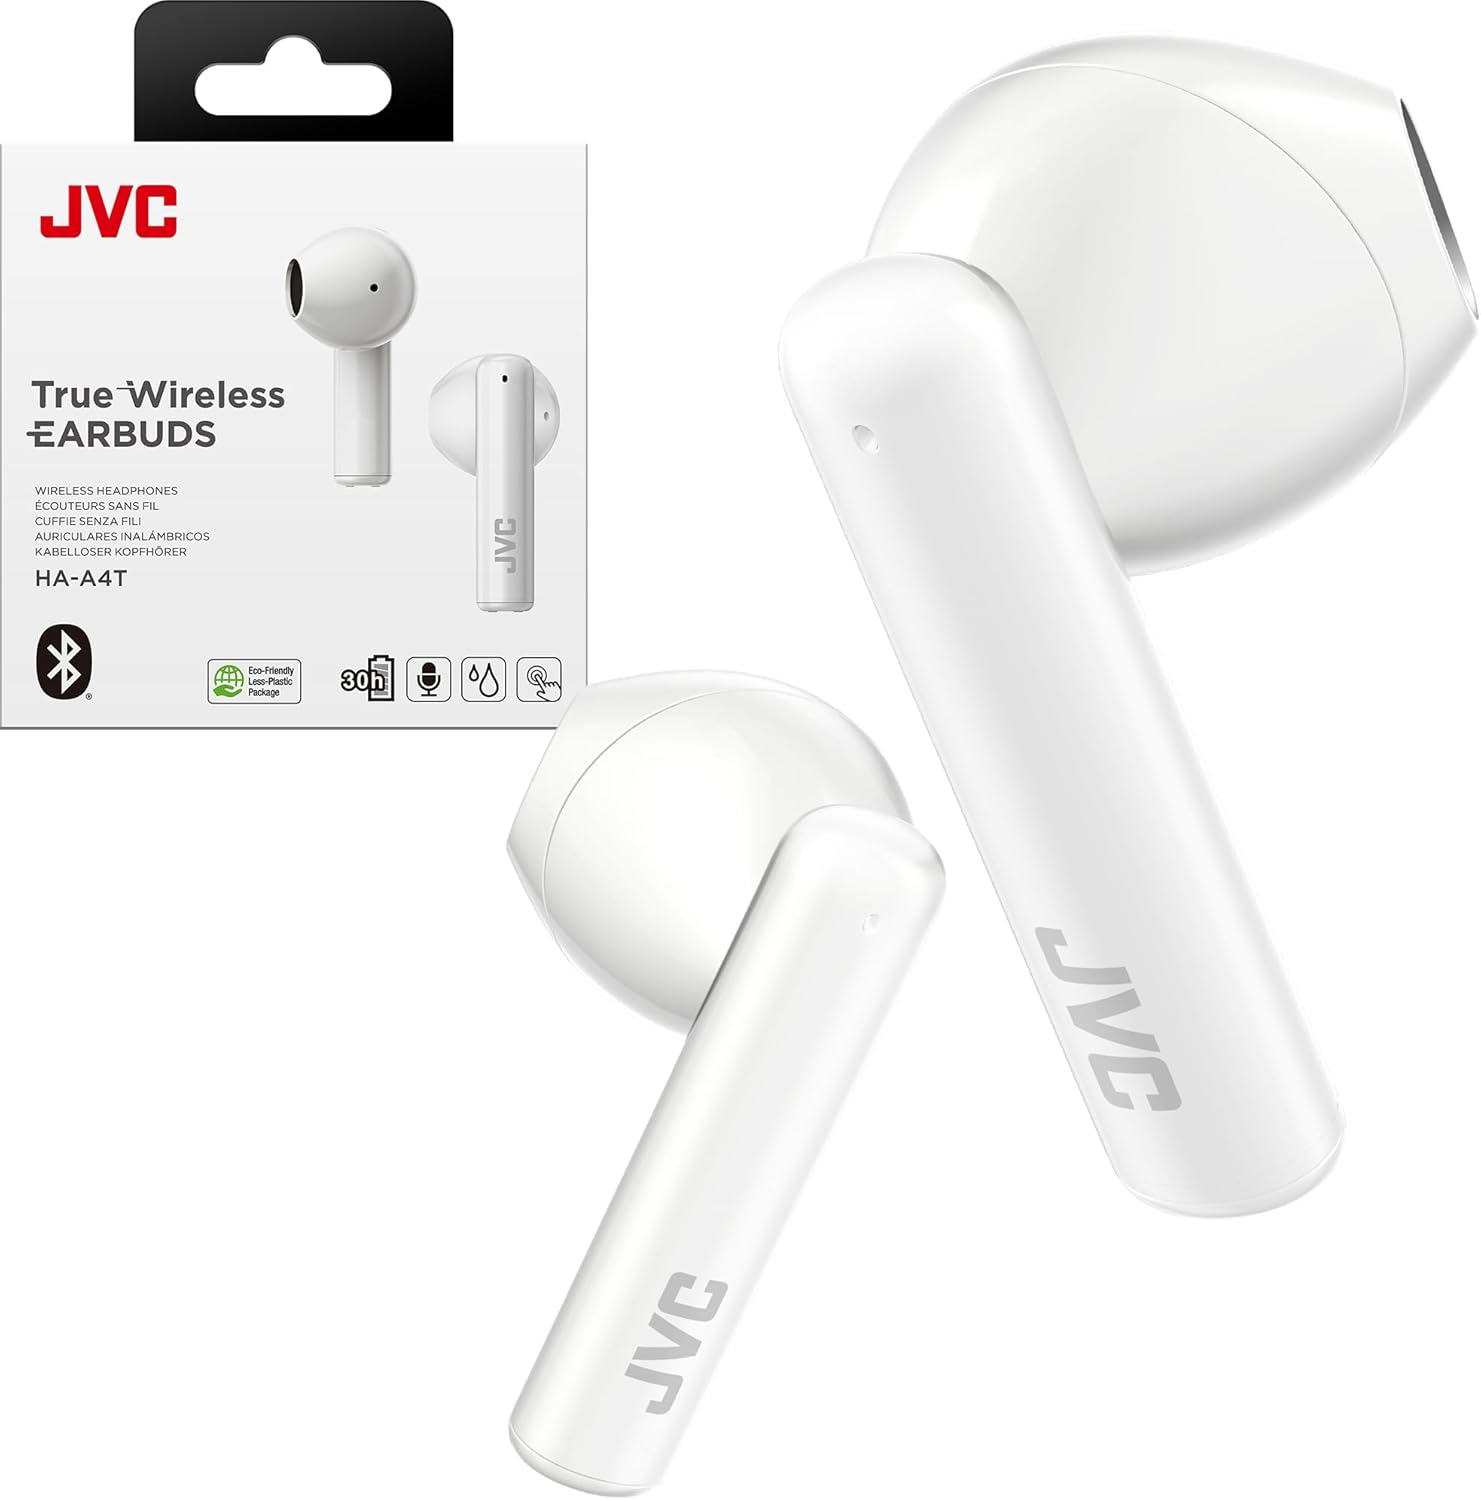
Image 1.1: JVC HA-A4TW True Wireless Earbuds and their retail packaging.
Key Features:
- 12mm Diameter Diaphragm Driver Units: For clear and powerful sound.
- Long Battery Life: Up to 30 hours of total playback with the charging case.
- Sound Modes: Three customizable sound modes: Normal, Bass, and Clear.
- Lightweight Design: Compact and easy to carry.
- IPX4 Water Resistance: Splash-proof for everyday use.
- Effortless Touch Control: Intuitive controls for music and calls.
- Single-Ear Use: Compatible for use with either earbud independently.

Image 1.2: A person wearing the JVC HA-A4TW earbuds, showcasing their sleek and glossy design.
2. Setup
2.1 What's in the Box
- JVC HA-A4TW True Wireless Earbuds
- Wireless Charging Case
- Charging Cable
- User Manual
2.2 Charging the Earbuds and Case
Before first use, fully charge the earbuds and the charging case.
- Place the earbuds into the charging case. Ensure they are correctly seated.
- Connect the charging cable to the charging case and a USB power source.
- The charging time for a full charge is approximately 2 hours.
A 10-minute quick charge provides approximately 75 minutes of playback.

Image 2.1: The slim and easy-to-carry charging case, providing up to 30 hours of total playtime.
2.3 Bluetooth Pairing
The earbuds utilize Bluetooth 5.1 for a stable connection.
- Ensure the earbuds are charged.
- Open the charging case. The earbuds will automatically power on and enter pairing mode.
- On your device (smartphone, tablet, etc.), enable Bluetooth and search for available devices.
- Select "JVC HA-A4TW" from the list of devices to connect.
- Once connected, a confirmation sound will be heard, and the indicator light on the earbuds will change.

Image 2.2: The earbuds automatically power on and connect when taken out of the case.
3. Operating Instructions
3.1 Power On/Off
- Power On: The earbuds automatically power on when removed from the charging case.
- Power Off: Place the earbuds back into the charging case to automatically power them off and begin charging.
3.2 Touch Controls
The HA-A4TW earbuds feature intuitive touch controls on each earbud for various functions.

Image 3.1: The earbuds feature effortless touch control, even with their IPX4 splash-proof design.
Refer to the quick start guide or the full manual for specific touch gestures for:
- Play/Pause music
- Skip tracks (Next/Previous)
- Answer/End calls
- Activate voice assistant
- Adjust volume
3.3 Sound Modes
Customize your listening experience with three distinct sound modes:
- Normal: Balanced audio for everyday listening.
- Bass: Enhanced low frequencies for a richer sound.
- Clear: Optimized for vocal clarity.
Switch between modes using the touch controls (refer to the quick start guide for specific gestures).

Image 3.2: Tailor your sound with Normal, Bass, and Clear modes.
3.4 Single-Ear Use
Either earbud can be used independently. Simply remove one earbud from the case, and it will connect to your device. This allows you to stay aware of your surroundings while enjoying audio.

Image 3.3: The earbuds are ready for convenient single-ear use.
4. Maintenance
4.1 Cleaning
Regularly clean your earbuds and charging case to ensure optimal performance and hygiene.
- Use a soft, dry, lint-free cloth to wipe the earbuds and charging case.
- Do not use abrasive cleaners, solvents, or aerosol sprays.
- Gently remove any earwax or debris from the earbud tips and speaker mesh using a small, soft brush or cotton swab.
4.2 Water Resistance (IPX4)
The earbuds are rated IPX4, meaning they are resistant to splashing water from any direction. This makes them suitable for workouts and light rain.
- Do not submerge the earbuds in water.
- Ensure the earbuds are dry before placing them back into the charging case to prevent damage.
- The charging case is not water-resistant.
5. Troubleshooting
If you encounter issues with your JVC HA-A4TW earbuds, try the following solutions:
5.1 No Sound or Connection Issues
- Recharge: Ensure both earbuds and the charging case are fully charged.
- Re-pair: Disconnect the earbuds from your device's Bluetooth settings and attempt to pair them again.
- Device Volume: Check the volume level on your connected device.
- Distance: Ensure the earbuds are within the Bluetooth range (approximately 10 meters) of your device.
5.2 Touch Control Unresponsive
- Ensure your fingers are clean and dry when using touch controls.
- Try restarting the earbuds by placing them back in the case and then removing them.
5.3 Charging Issues
- Verify the charging cable is securely connected to both the case and the power source.
- Try using a different charging cable or USB power adapter.
- Ensure the charging contacts on the earbuds and inside the case are clean and free of debris.
6. Specifications
| Feature | Specification |
|---|---|
| Model Name | HAA4T True Wireless |
| Connectivity Technology | Bluetooth, Wireless |
| Bluetooth Version | 5.1 |
| Bluetooth Range | 10 Meters |
| Audio Driver Size | 12 Millimeters |
| Frequency Response | 20000 Hz |
| Impedance | 16 Ohm |
| Battery Life (Earbuds) | 7.5 Hours |
| Battery Life (Total with Case) | 30 Hours |
| Charging Time | 2 Hours |
| Water Resistance Level | IPX4 (Splash Proof) |
| Control Type | Touch Control |
| Item Weight | 3.04 ounces (earbuds and case) |
| Material | Plastic |
| Color | White |
7. Official Product Video
Video 7.1: An official JVC product video showcasing the HA-A4TW earbuds' features, including sleek design, long battery life, touch control, sound modes, and water resistance.
8. Warranty and Support
For warranty information, technical support, or further assistance, please refer to the warranty card included with your product or visit the official JVC website. Contact details for customer service can typically be found on the manufacturer's support pages.


