1. Introduction
This manual provides detailed instructions for the operation and maintenance of your Bewinner 16MP 1080P Vlogging Camera Camcorder. This device is designed for capturing high-definition video and photos, featuring a 2.4-inch color screen, 16x digital zoom, and electronic anti-shake capabilities. Please read this manual thoroughly before use to ensure proper functionality and to maximize your camera's performance.
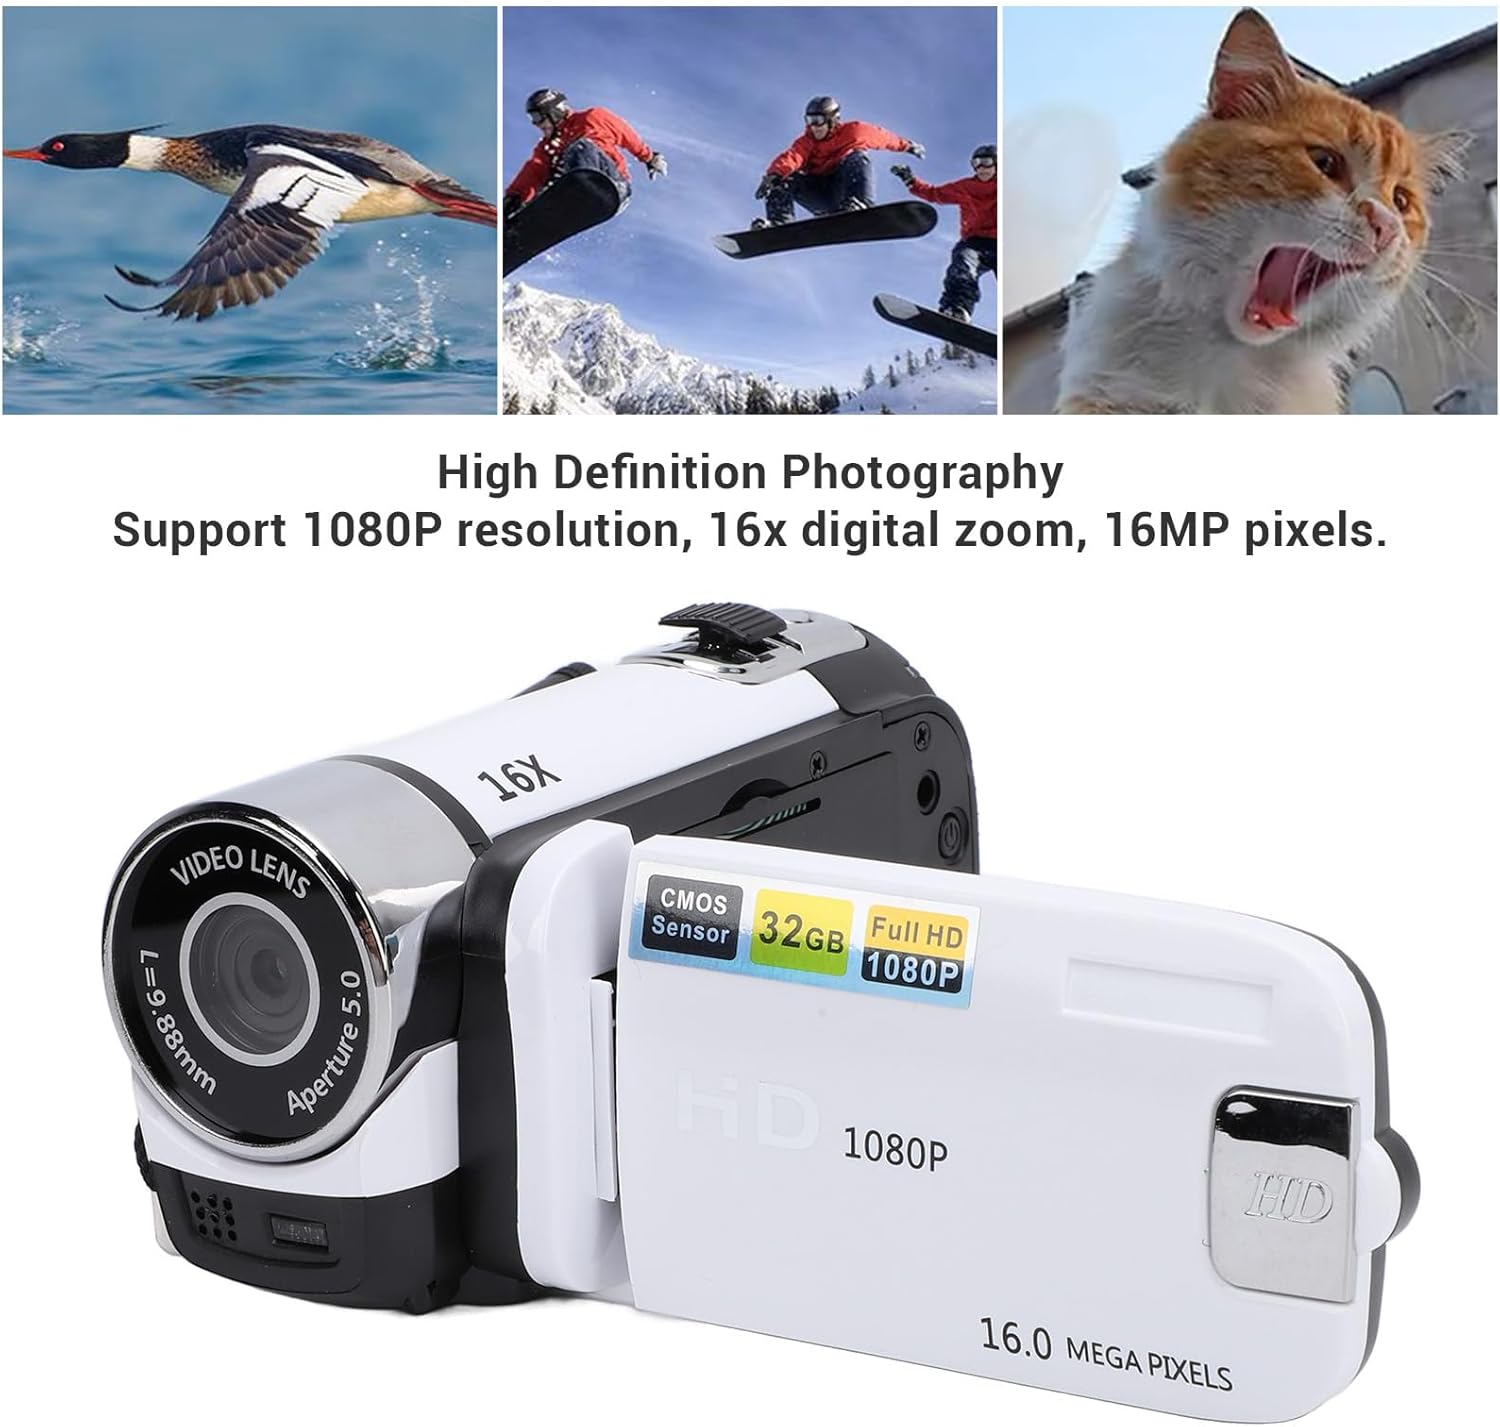
Image: High Definition Photography - Supports 1080P resolution, 16x digital zoom, and 16MP pixels.
2. Setup
2.1 Unpacking
Verify that the following items are included in your package:
- Bewinner Video Camera Camcorder
- USB Cable
- Instruction Manual
2.2 Battery and Charging
The camera features a built-in 600mAh lithium battery. To charge the camera, connect the provided USB cable to the camera's USB port and a compatible USB power source (e.g., computer, USB wall adapter). The camera supports recording while charging.
2.3 Storage Card Installation
A storage card (not included) is required for recording videos and taking photos. The camera supports storage cards up to 32GB. Insert the storage card into the designated slot on the camera. Ensure it is inserted correctly until it clicks into place. If a storage card is not detected, the camera will display a "No Card" message.

Image: Bewinner Video Camera and USB Cable for charging and data transfer.
3. Operating Instructions
3.1 Power On/Off
To power on the camera, press and hold the power button (usually located near the screen or on the back panel) for a few seconds. To power off, repeat the process.
3.2 Basic Recording and Photography
The camera features a 2.4-inch color screen for easy viewing and navigation.

Image: Camera with 2.4 Inch Color Screen, indicating support for 32GB storage and electronic shutter.
- Mode Selection: Use the 'MODE' button to switch between video recording mode and photo capture mode.
- Start/Stop Recording: In video mode, press the 'SNAP' or record button to start recording. Press it again to stop.
- Take Photo: In photo mode, press the 'SNAP' button to capture a still image.
- Digital Zoom: Use the 'W/T' (Wide/Telephoto) rocker switch, typically located near the 'SNAP' button, to adjust the 16x digital zoom.
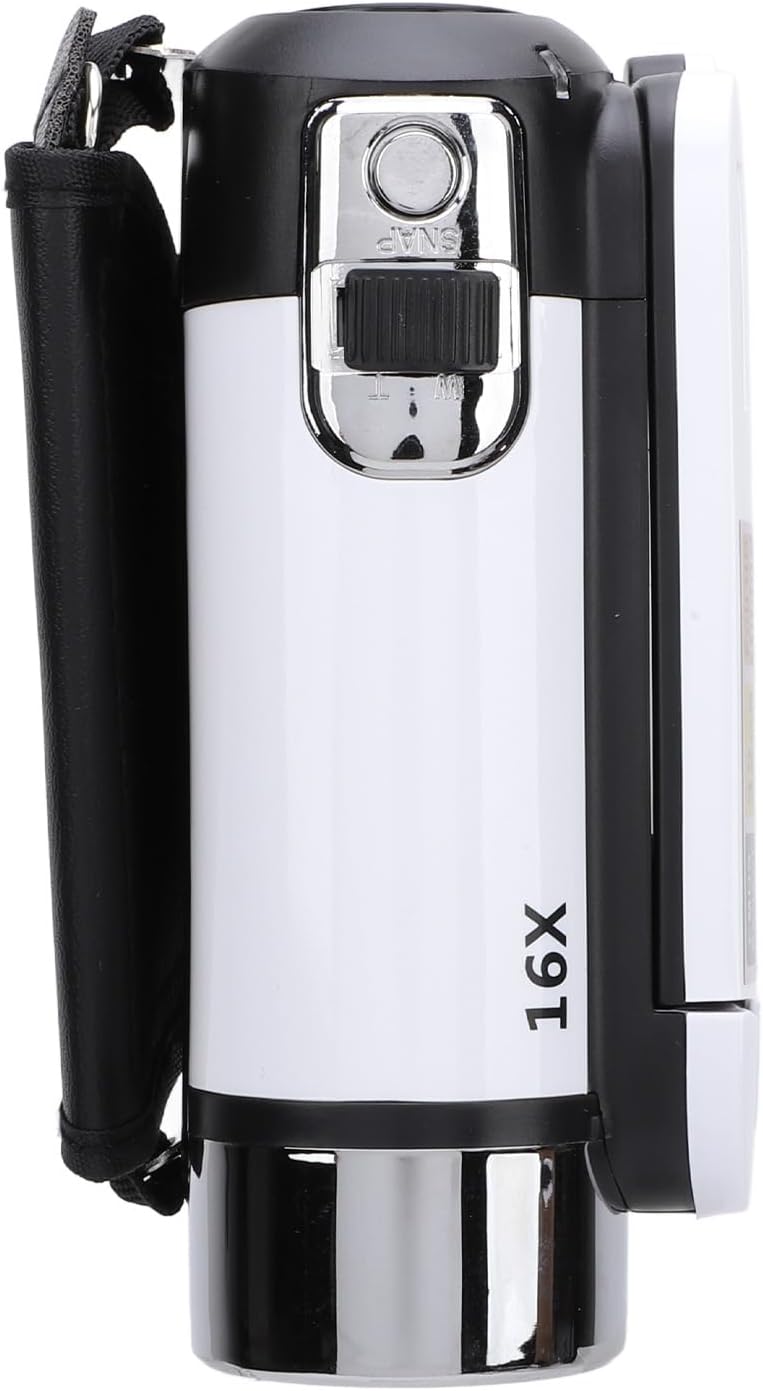
Image: Top view of the camera, highlighting the SNAP button and 16X zoom control.
3.3 Advanced Features
Your camera supports various functions to enhance your recording experience:

Image: Multi-function display, showing support for selfie, electronic anti-shake, loop recording, time watermark, and video pause.
- Electronic Anti-Shake: This feature helps stabilize your footage, reducing blur from camera movement. Activate it through the camera's menu settings.
- Loop Recording: When enabled, the camera will continuously record, overwriting the oldest files when the storage card is full.
- Time Watermarking: Add a date and time stamp to your videos and photos.
- Video Pause Function: Pause and resume video recording without creating multiple files.
- Selfie Function: Utilize the rotatable screen to frame yourself for vlogging or self-portraits.
- Supplemental Fill Light: The front of the camera is equipped with a fill light. Activate it in low-light conditions to improve illumination for your subjects.
3.4 Connecting to External Devices

Image: Rear view of the camera, detailing the USB port, Menu, and Mode buttons.
- External Microphone: The camera supports an external microphone for improved audio quality. Connect it to the appropriate port (if available, typically a 3.5mm jack).
- Tripod Mounting: A 1/4 inch threaded hole is located at the bottom of the camera, allowing for easy attachment to a tripod or other compatible mounting equipment.
- Connecting to a Computer: Use the provided USB cable to connect the camera to your computer. This allows you to view and transfer photos and videos.
4. Maintenance
- Cleaning: Use a soft, lint-free cloth to clean the camera body and screen. For the lens, use a specialized lens cleaning cloth and solution. Avoid abrasive materials or harsh chemicals.
- Storage: Store the camera in a cool, dry place away from direct sunlight and extreme temperatures. Remove the storage card if storing for extended periods.
- Battery Care: To prolong battery life, avoid fully discharging the battery frequently. Charge the camera regularly, even if not in use, to maintain battery health.
5. Troubleshooting
- Camera does not power on: Ensure the battery is charged. Connect the camera to a power source using the USB cable and try again.
- "No Card" error message: Verify that a compatible storage card (up to 32GB) is correctly inserted into the camera's slot. Reinsert the card or try a different card if the issue persists.
- Poor image/video quality: Check that the lens is clean and free from smudges. Ensure adequate lighting for your subject. Activate the electronic anti-shake feature if recording handheld.
- Cannot transfer files to computer: Ensure the USB cable is securely connected to both the camera and the computer. Check if the camera is in the correct USB mode (e.g., Mass Storage) if prompted.
- Camera freezes or becomes unresponsive: Try removing and reinserting the storage card (if accessible) or performing a soft reset by holding the power button until the camera turns off, then restarting it.
6. Specifications
| Screen | 2.4 Inch Color |
| Maximum Video Resolution | 1080P |
| Maximum Photo Pixels | 16MP |
| Digital Zoom | 16x |
| Storage Card Support | Maximum 32GB (Excluded) |
| Shutter | Electronic |
| Battery Information | Lithium Battery, 600mAh (Built-In) |
| Item Model Number | Bewinnerhscirx6bp3-13 |
| Item Weight | 8 ounces |
| Package Dimensions | 5.12 x 4.33 x 2.76 inches |
7. Warranty and Support
This product is manufactured by Bewinner. For any issues not covered in this manual, or for warranty inquiries, please contact Bewinner customer support. Keep your purchase receipt as proof of purchase for warranty claims.
For further assistance, please refer to the official Bewinner website or contact their customer service department.


