
1. Safety Instructions
Always read and understand all safety warnings, instructions, illustrations, and specifications provided with this power tool. Failure to follow all instructions listed below may result in electric shock, fire, and/or serious injury.
General Power Tool Safety
- Work Area Safety: Keep your work area clean and well-lit. Cluttered or dark areas invite accidents. Do not operate power tools in explosive atmospheres, such as in the presence of flammable liquids, gases, or dust.
- Electrical Safety: Power tool plugs must match the outlet. Never modify the plug in any way. Do not abuse the cord. Keep cord away from heat, oil, sharp edges, or moving parts.
- Personal Safety: Always wear eye protection. Use hearing protection when operating the tool. A dust mask should be worn in dusty conditions. Stay alert, watch what you are doing, and use common sense when operating a power tool.
- Tool Use and Care: Do not force the power tool. Use the correct power tool for your application. Disconnect the plug from the power source before making any adjustments, changing accessories, or storing power tools.
- Specific Circular Saw Safety: Keep hands away from the cutting area and the blade. Do not reach underneath the workpiece. Ensure the blade guard is functioning correctly before each use. Secure the workpiece with clamps or a vise.
2. Product Overview
Familiarize yourself with the components of your ENVENTOR Mini Circular Saw before operation.

Image 2.1: Key components of the ENVENTOR Mini Circular Saw, including the Spindle Lock Button, Dust Extraction Port, Ergonomic Soft Rubber Handle, Switch, Safety Button, Depth Clamp Lever, Blade Clamp, and Iron Plate.
3. Setup
3.1 Blade Installation
Follow these steps to safely install or replace the saw blade:
- Press and hold the Spindle Lock Button.
- Using the provided inner hexagonal wrench, loosen the inner hexagonal screw and remove the pressure bolt.
- Carefully remove the protective cover, place the desired saw blade onto the spindle, and then re-install the pressure plate and bolts. Ensure the blade teeth are facing the correct direction for cutting.
- Tighten the assembly by turning the fixed blade counter-clockwise with the inner hexagonal wrench until secure.

Image 3.1: Visual guide for blade installation, showing the steps to secure the blade onto the saw.
3.2 Laser Guide Battery Installation
The laser guide requires batteries for operation.
- Locate the battery compartment on the laser guide module.
- Open the compartment and insert the required dry batteries, ensuring correct polarity.
- Close the battery compartment securely.

Image 3.2: Illustration of installing dry batteries into the laser guide for functionality.
3.3 Dust Extraction
For a cleaner work environment, connect a dust extraction system.
- Attach the provided dust pipe to the Dust Extraction Port on the saw.
- Connect the other end of the dust pipe to a compatible vacuum cleaner or dust collection system.
4. Operating Instructions
4.1 Adjusting Cutting Depth
The cutting depth can be adjusted between 0-27mm to suit your material.
- Ensure the saw is unplugged from the power source.
- Locate and release the Depth Clamp Lever.
- Adjust the base plate to the desired cutting depth by sliding it up or down. Refer to the depth scale for accuracy.
- Securely lock the Depth Clamp Lever to fix the cutting depth.

Image 4.1: The saw's maximum cutting depth is 27mm, suitable for various materials.

Image 4.2: Steps for adjusting the cutting depth: 1. Release Button, 2. Adjust The Scale, 3. Lock Button.
4.2 Using the Laser Guide
The integrated laser guide provides a precise line for straight cuts.
- Activate the laser guide using its dedicated switch (if applicable).
- Align the laser line with your desired cutting path on the workpiece.
- Maintain alignment throughout the cut for accuracy.

Image 4.3: The laser indicator and scale ruler assist in making precise and straight cuts.
4.3 Starting and Stopping the Saw
To operate the saw:
- Plug the saw into a suitable power outlet.
- Press the Safety Button (usually located near the trigger).
- While holding the safety button, press the Switch (trigger) to start the saw.
- To stop the saw, release the Switch. The blade will come to a stop.
4.4 Cutting Different Materials
The ENVENTOR Mini Circular Saw comes with three different blades for various materials:
- 85mm 24T TCT Blade: Ideal for cutting wood, plywood, and plastic. Maximum cutting depth: 27mm.
- 85mm 44T HSS Blade: Suitable for cutting thin metals and plastics. Maximum cutting depth: 3mm.
- 85mm Diamond Blade: Designed for cutting tiles, stone materials, cement board, and drywall. Maximum cutting depth: 8mm.

Image 4.4: The three included blades: 24T TCT for wood/plastic, 44T HSS for thin metal/plastic, and Diamond for tile/stone.
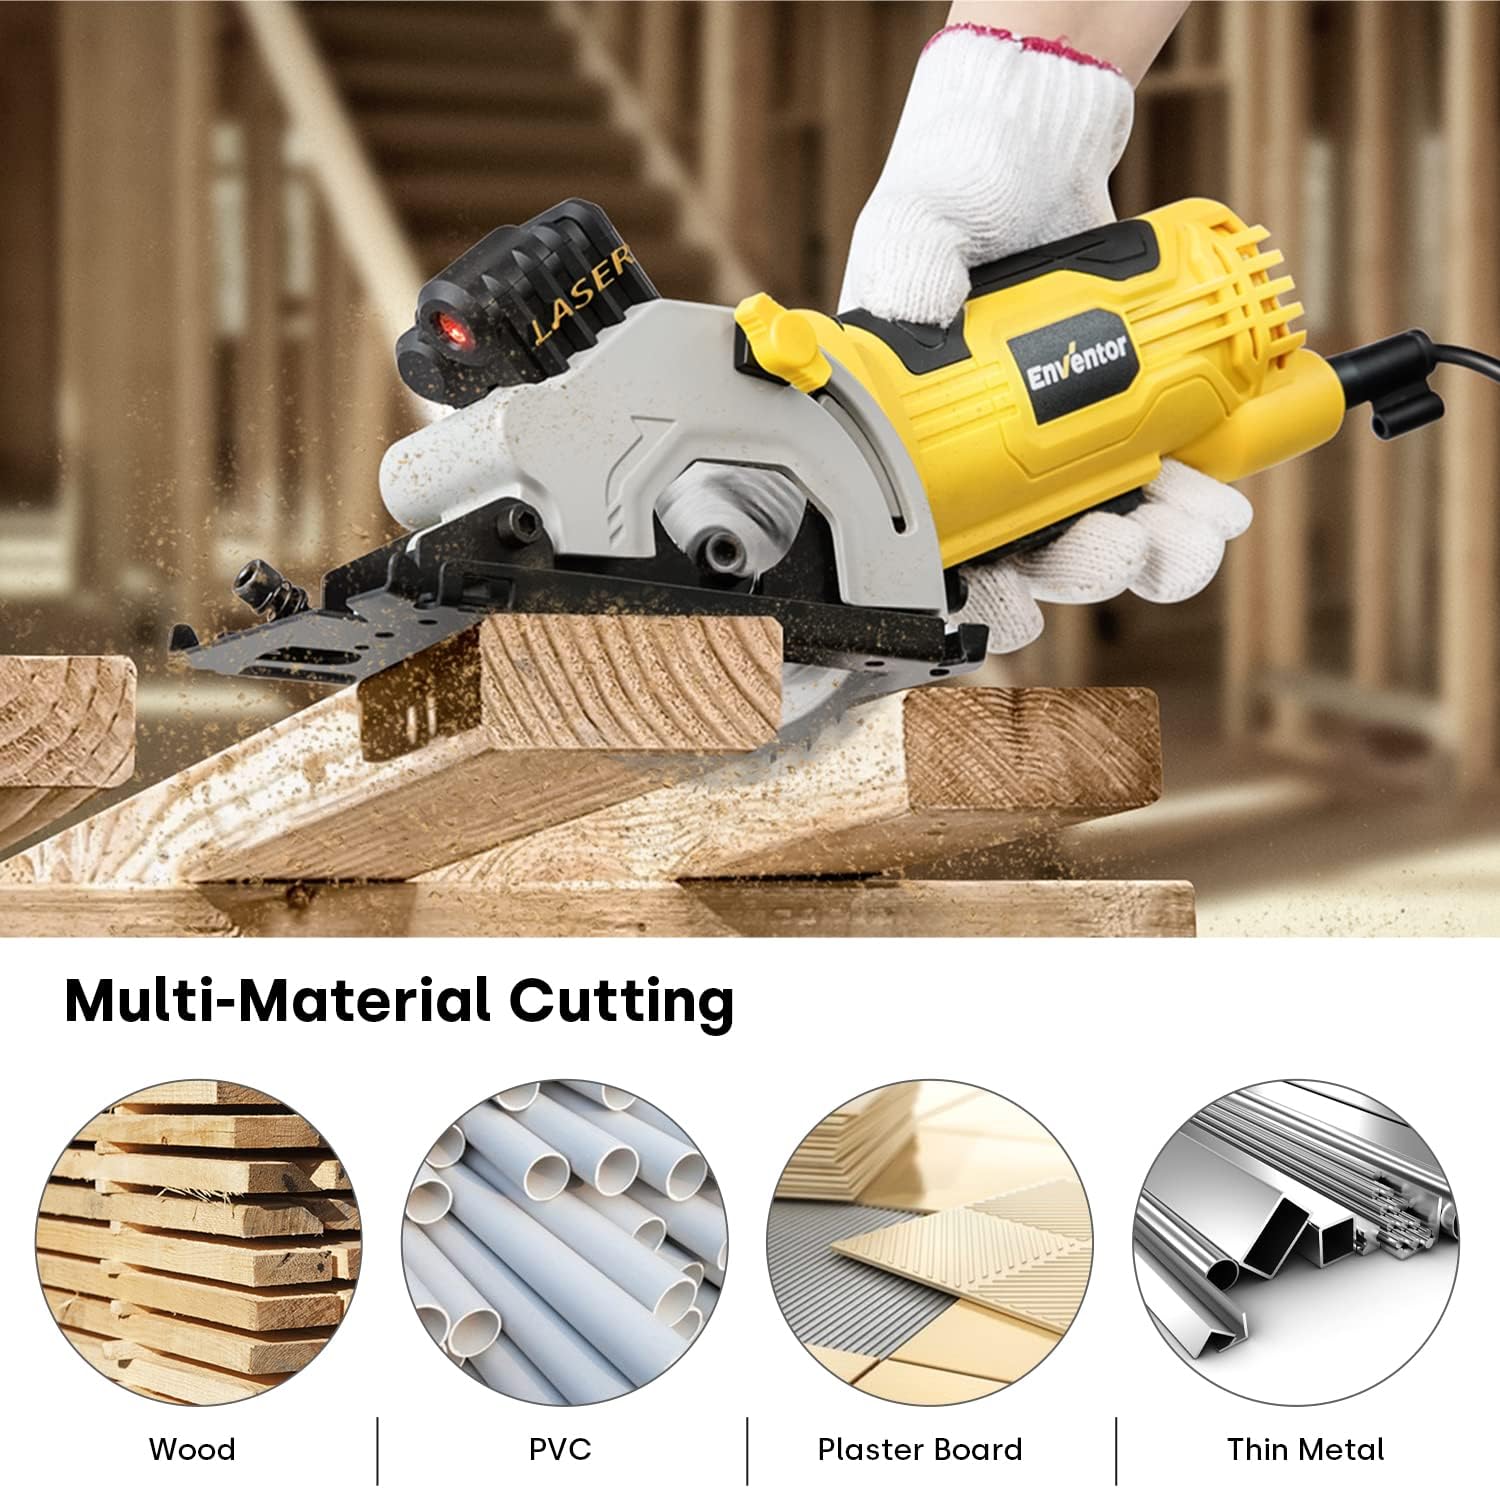
Image 4.5: Examples of materials that can be cut with the saw, including wood, PVC, plasterboard, and thin metal.
5. Maintenance
Regular maintenance ensures the longevity and safe operation of your circular saw.
- Cleaning: After each use, unplug the tool and clean it with a dry cloth. Remove any dust or debris from the ventilation slots to prevent overheating. Do not use water or chemical cleaners.
- Blade Inspection: Regularly inspect the saw blades for sharpness, damage, or missing teeth. Replace dull or damaged blades immediately to ensure safe and efficient cutting.
- Cord Inspection: Check the power cord for any cuts, fraying, or damage. If damaged, have it repaired by a qualified professional.
- Storage: Store the saw in a dry, secure location out of reach of children. Ensure the blade is protected to prevent accidental contact.
6. Troubleshooting
If you encounter issues with your ENVENTOR Mini Circular Saw, refer to the following common problems and solutions:
| Problem | Possible Cause | Solution |
|---|---|---|
| Saw does not start | No power supply; Safety button not pressed; Faulty switch | Check power connection; Ensure safety button is pressed before trigger; Contact customer support if switch is faulty. |
| Poor cut quality (rough edges, burning) | Dull or incorrect blade; Incorrect cutting depth; Forcing the saw | Replace blade or use appropriate blade for material; Adjust cutting depth; Allow the saw to cut at its own pace. |
| Saw overheats during use | Blocked ventilation slots; Prolonged heavy use | Clean ventilation slots; Allow the tool to cool down; Avoid continuous heavy loads. |
| Laser guide not working | Dead batteries; Laser switch off | Replace batteries; Turn on laser switch. |
If the problem persists after attempting these solutions, please contact ENVENTOR customer support.
7. Specifications
Technical details for the ENVENTOR 580W Mini Circular Saw.
| Feature | Detail |
|---|---|
| Model Number | 76601L-1 |
| Power | 580W / 4.8A |
| No-Load Speed | Up to 3700 RPM |
| Blade Diameter | 85mm |
| Max Cutting Depth (Wood) | 27mm |
| Max Cutting Depth (Soft Metal) | 3mm |
| Max Cutting Depth (Tile) | 8mm |
| Power Source | AC (Alternating Current) |
| Cable Length | 2 meters |
| Product Dimensions (L x W x H) | 41 x 10.5 x 14.5 cm |
| Product Weight | 2.62 kg |
| Blade Material | Carbon Steel |
| Handle Material | Rubber |
| Special Features | Lightweight, Spindle Lock, Laser Guide, Dust Extraction Port |

Image 7.1: Product dimensions (41x11x15cm) and weight (2.5kg).
8. Warranty and Support
For warranty information or technical support, please refer to the warranty card included with your product or contact ENVENTOR customer service directly. Contact details can typically be found on the manufacturer's official website or on the product packaging.
